Everyone here at my place has been vaccinated, and through the wait period for full effectiveness. So, face-to-face gaming is starting up again. On June 5th, Jason came over for the afternoon, and he introduced me to The Last Hundred Yards.
You can definitely see some influences from Squad Leader (yet another game with the same basic terrain modifiers on fire), but there’s plenty of places where its different as well. We ended up playing the first two scenarios, with me as the Americans both times. We also had a fair amount of ‘good to see you again’, and… a long show-and-tell session, as I’ve gotten a lot of stuff over the last year.
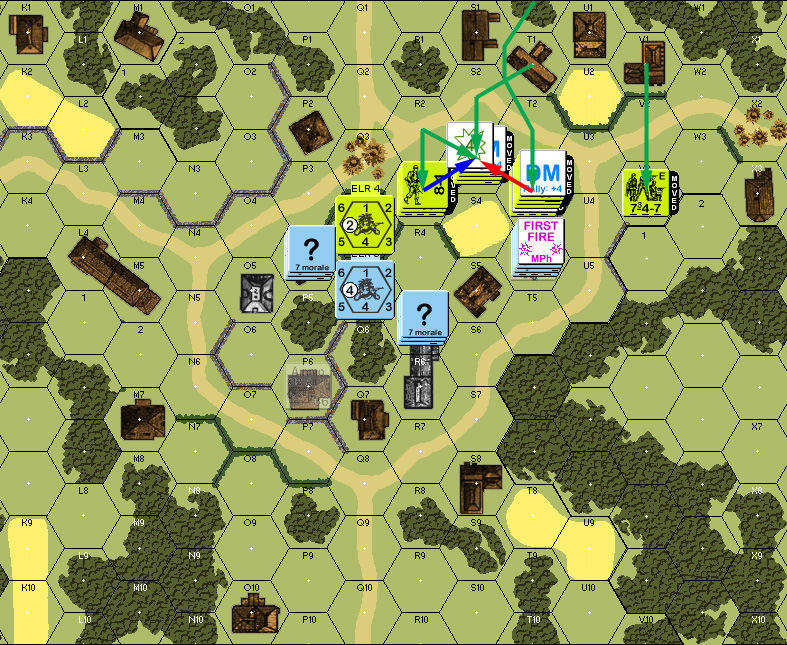
The first scenario has the Americans completely hidden at start with a single platoon (plus MG), while the Germans come in with a full company. I set up with the MG at the village crossroads, a squad plus platoon leader across the way, another squad overlooking the fields on one side, and the last in the trees on the other. That last kind of backfired, as Jason got pulled in on that flank to move to assault the squad, who withdrew towards the church (the primary, but not only, German goal), and he was on my flank in a hurry.

The MG should be revealed here, but I hadn’t spotted that he was within three hexes yet.
↓ Read the rest of this entry…