After going through First Ypres, Mark and I tried out one of the old Dwarfstar titles, Demonlord. It’s a strategic fantasy game, showing a border clash between the demons and the declining human kingdoms.
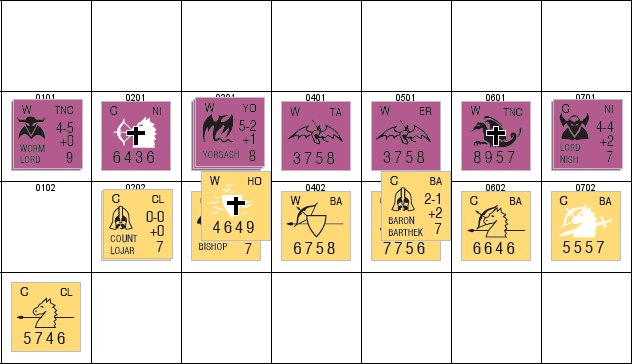
You can tell that it’s by the same designer as Star Viking, as the units have a similar set of four factors (missile-melee-morale-movement). In combat, units face off against each other (with someone with more troops doubling up—also limited by the terrain type), for magic, missile, and melee in turn, a little like Federation Space‘s combat. Setup is largely fixed (a few ‘good/human’ forces have variable setup), and there’s a number of neutral factions that both sides can try to get on their side (at a potential cost in victory points), a few units they can invoke (summon; the only units that might return after being killed), and can ask for reinforcements (also at a cost of VPs).
The terrain system is fairly neat, with different movement rates for foot, cavalry, and winged units, and a limit to how big battles are. The depiction of it isn’t. I think the problem is made worse with some suspect color balancing of the Vassal module scan of the map, but it takes some time to figure out what is what on the map. Hills are described as red-brown—they’re an orangeish red. Mountains are listed as dark brown, they’re actually purple. It took a bit to really grasp things, but the primary goal is to take a city or castle from the other side, as that will start tilting the VP balance towards your side. (Well, the primary goal, which it is easy to get mesmerized by, is to take the captials of Timur or Nisshar, which provide an auto-win.)
Mark had Hosar (the human kingdom), which goes first, and he started moving troops from the various temples, while I moved forward to the border river in the south, and started moving troops from Nisshar behind the cover of the central mountains. By the end of the second turn, Timur had a large host encamped in its walls, while I was assembling a small flying strike army at the south end of the mountains. Mark had invoked the light spirit (the only thing they get that way except for a wizard that can be invoked after taking the reinforcements), and I had gotten the main group of five units invoked at the Temple of Ninnghiz.
Mark sent a small force around the northern edge of the mountains, and I quickly pulled back the few forces I had gathering up there, and sent the just-invoked forces that way, causing Mark to pull back again pursued (not really the right word…) by my army. Meanwhile, I had sent a force along the north to feel things out as Mark pulled more garrisons out. Lord Erush finally invoked Yorgash (a large dragon) at the Temple of Yorgash, and set out after the rest of his army, while Yorgash joined my flying force, which was now near my main army.
Mark set out from Castle Lojar, crossing the river flowing south from the great woods, and I retreated back to Taegul while the main army skirted around the woods headed south. (I should have taken Castle Lojar, but at this point we understood taking cities was VPs, but hadn’t really grasped that holding an extra castle was also worthwhile.)
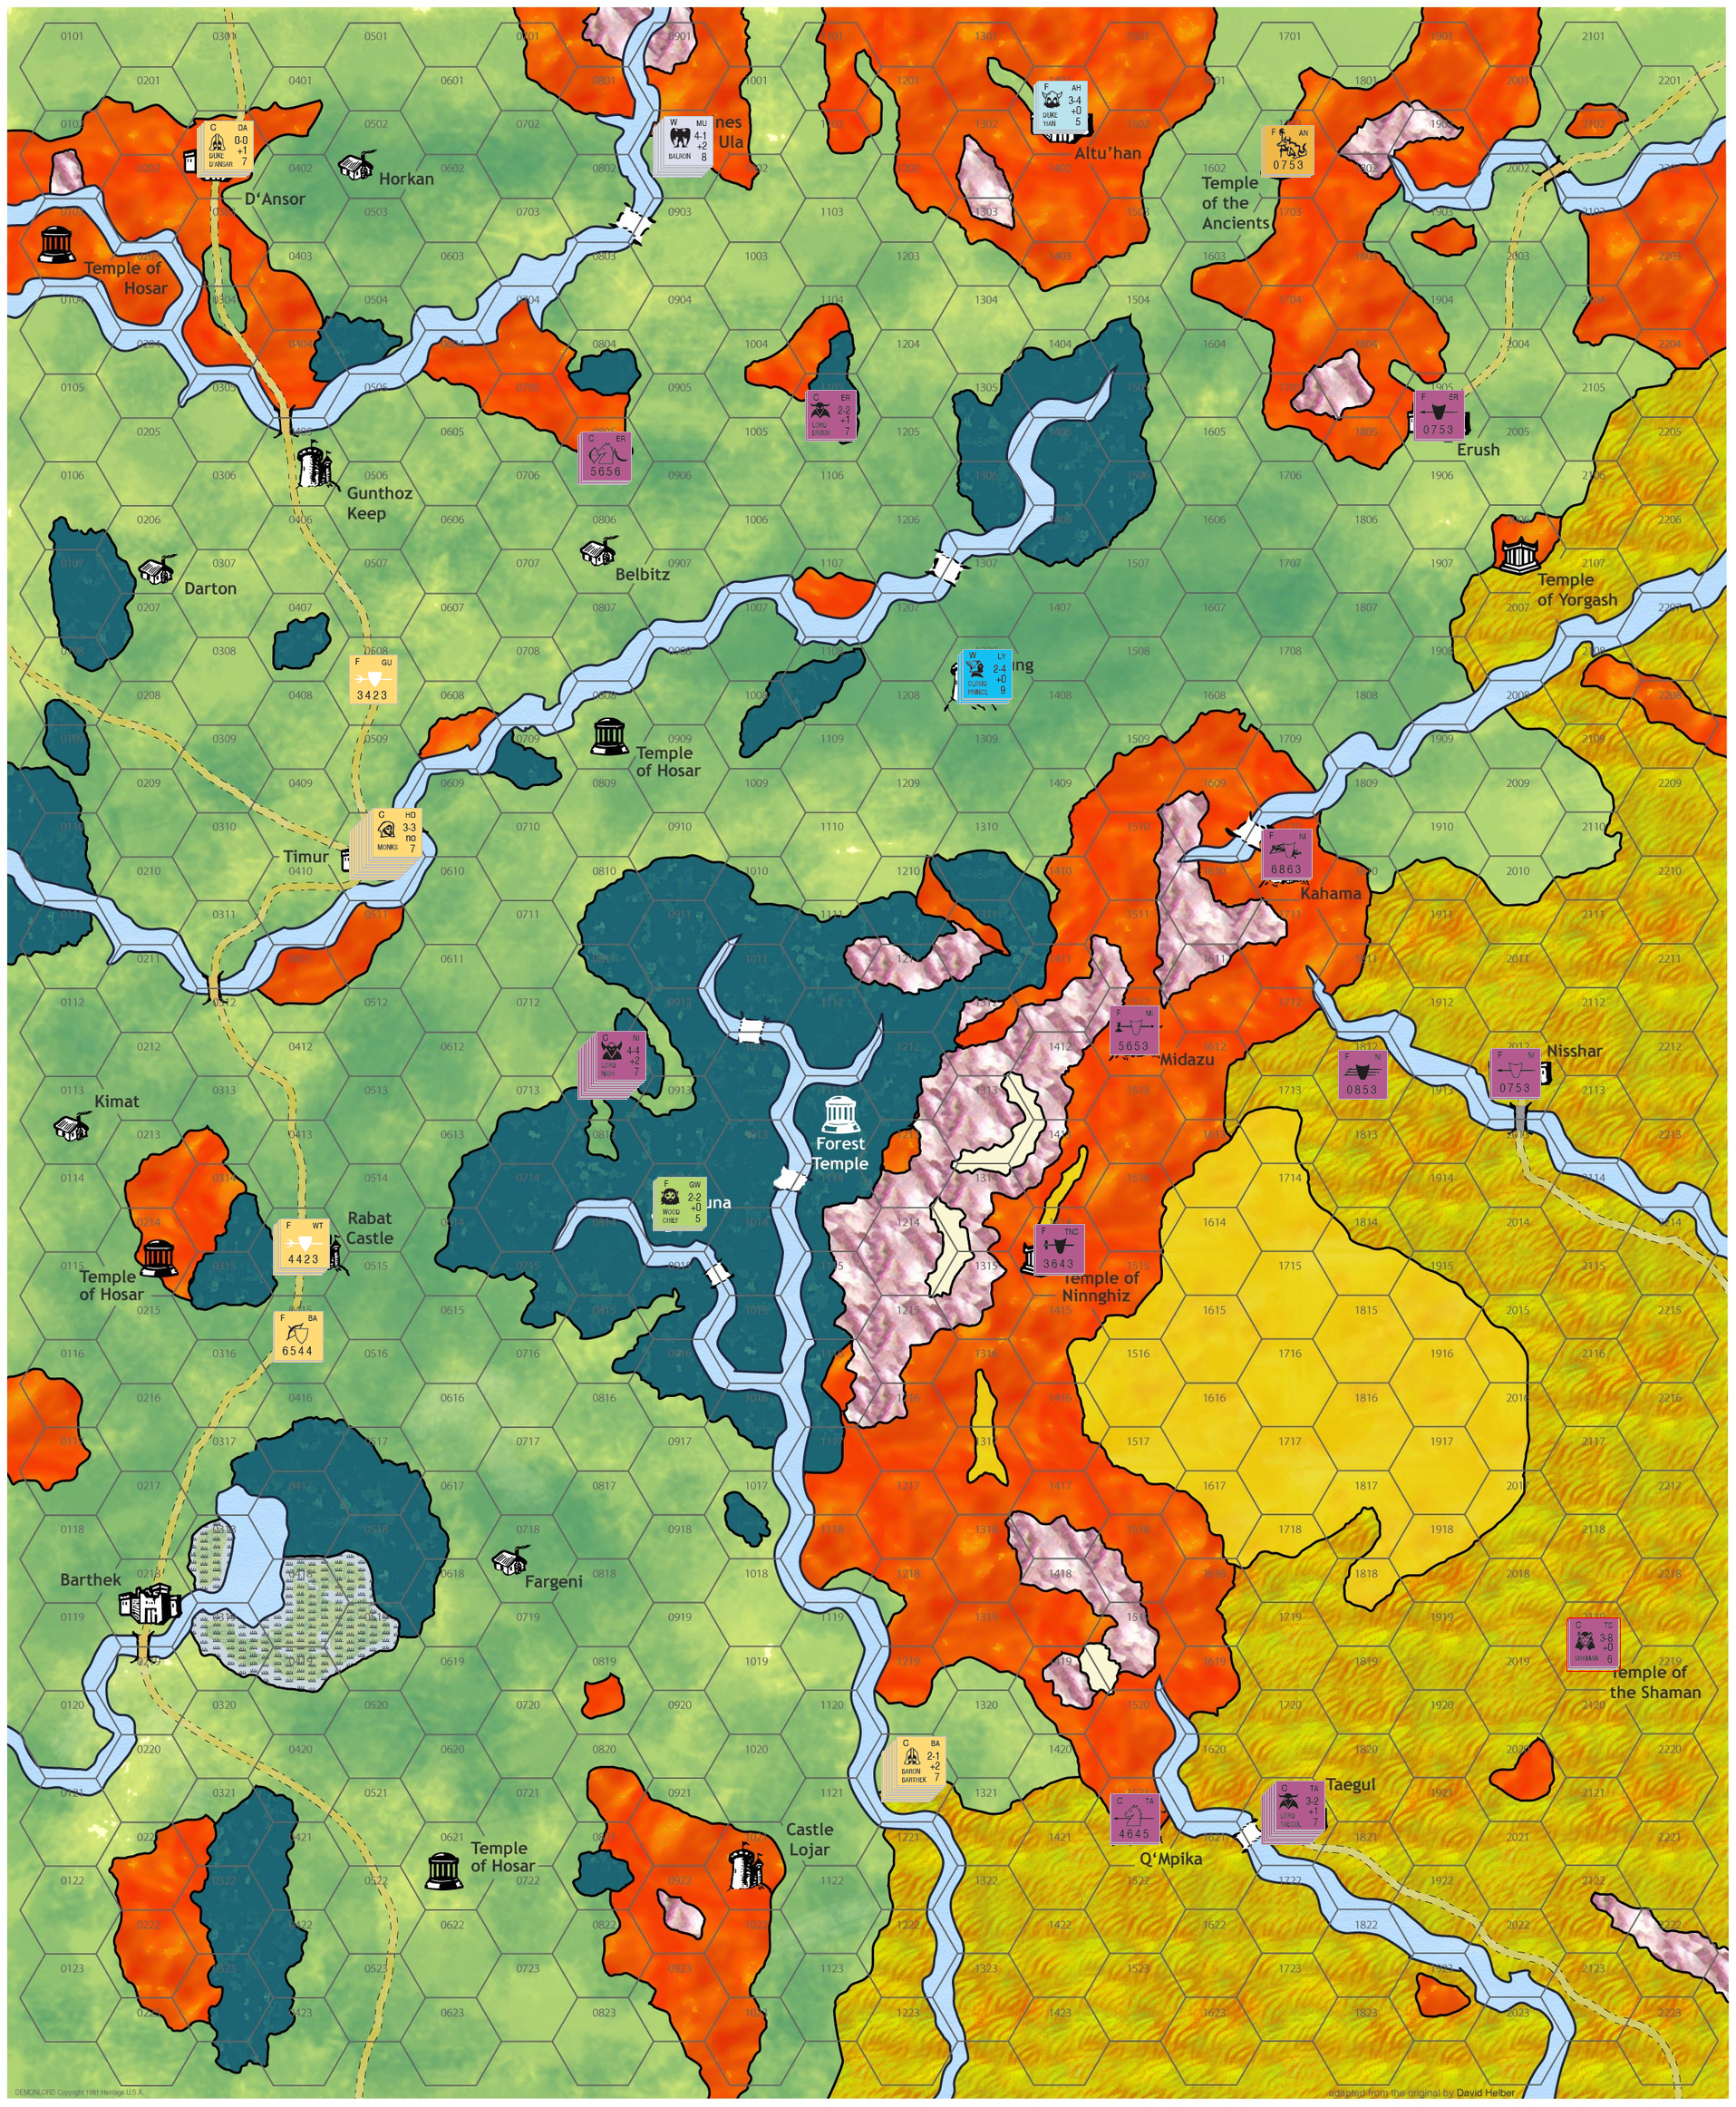
Mark assaulted the castle of Q’Mpika, and we got to see how nasty those are. There’s a penalty the first turn, so Mark merely invested the fortifications, and still lost a unit. On my turn, we both lost a unit, getting the garrison down to a unit of lancers.
Mark pulled out at that point, and finally tried to cover Barthek, which he’d left without a garrison. But he couldn’t get anyone there in one move, and my big army simply sent a couple of dragon riders to take it, while the main force picked off the intended garrison in the field. At the same time, my northern army finally got to Gunthoz Keep, which also had no garrison.
Now that I had a lead in VPs, I started calling for a truce, which took a few turns to happen (need to roll a 6, but it starts the end of game sequence). Mark sent armies from Rabat and Lojar after my major one, and I left a couple slower units to hold Barthek while everything took off after the force from Castle Lojar.
I had a small numeric advantage, and more of the magic-casting characters, which did no good, but the initial missile round routed a Hosar unit, and killed one, and killed two of mine, while also killing the Hosar bishop. Melee routed two of my units, wounded Yorgash and killed the Worm Lord, but routed two of Mark’s. Round 2 was a 4:3 battle, which went entirely my way, destroying two units in melee and killing Count Lojar. Baron Barthek and the horse patrol made a stand of it, routing some dragon riders before being routed themselves, letting me capture four units and the baron.
After that, Mark sent an army towards the center the great woods, and my southern army moved north to intercept with my field army also in pursuit. I rolled for, and got, an alliance with the Great Woods Barbarians. One of the VPs you can get is for having fewer alliances than the opponent, but with the fortifications I’d taken, I could afford to give that to Mark. This put Mark’s army in a bind, but it continued forward into the woods, where I caught up to it with the veterans of the earlier battle and the barbarians, and I took the empty Castle Lojar.
The battle featured better Hosar units, but was 7:5, and Mark withdrew after the first round, after Yorgash destroyed a unit and Wizard Rabat in the magic phase, and another was routed in melee. The army struggled through the forest on Mark’s turn, and a force arrived at my border in the north, and got an alliance with the Principality of Lyung (Cloud Prince). I forced another battle in the woods, this time destroying the army.
The peace talks were finally started, and the game would end after the next turn (13). The Cloud Prince took his two flying units to try a quick siege at Nisshar, which would be an autovictory if it worked (thankfully unlikely, but the best shot Mark had), and Prince Timur besieged Kahama with his small army. He assaulted both, and as it happened, forced Kahama to surrender, but he lost both air legions against the defenses of Nisshar.
Afterword
You get one VP per turn that you don’t call for reinforcements (we never did), one per turn for each enemy city you hold (Temple Ninnghiz also counts for that, which is where Mark was trying to get to—its not fortified—but I took Barthek), and one per turn for holding more of the fortifications than the enemy (…an alliance with someone who has a fortified space would count). Mark got a couple for me having more alliances. All told, the final total was 29 to 17. They don’t go into the nature of the peace afterwords, but I would think we’d trade Kahama and Gunthoz Keep back, and I’d retain my grip on the south with Barthek and Castle Lojar.
So the game is fairly neat, and certainly survived its outing better than my two plays of Star Viking. Mark wonders if it might have limited replayability, but certainly it can hold up to more than we’ve done, and it plays fast. It’s also made me interested in getting my copy of Dragons of Glory back out.
That said, sieges seem off. A little too deadly to the attacker (who certainly should lose units, but probably not at the pace we’ve seen), and there’s no punishment for having a lot of units trapped inside with no food. Also, all units are effectively identical in a siege, so no trying to assault (or defend) with your crack units.
Combat has potential problems of coming down to a few high-morale units that will rout on a 6, and otherwise shrug everything off. That’s not entirely bad, but I could see some combats really dragging out with one or two high-morale units on each side. There’s some nice combat modifiers I didn’t go into, but it took us a bit to really ‘get’ them all. The Demonlord army seems a bit nicer overall, though the part I was using was missile deficient (lots of low ratings, whereas Mark’s units were either ‘0’, or had a rating that could actually hit—despite that, his dice didn’t turn it into a practical advantage). In some ways combat feels like a more primitive version of what is seen in Levy & Campaign.