Well, this is a little embarrassing….
Saturday was another FtF day with Patch in our ongoing effort to play through the scenarios of Festung Budapest. Ahead of time, I had done a Vassal setup file, so Patch could see what we were dealing with. Of course, cropping the board down does leave a problem: the compass rose is not visible. But, the Vassal boards have an orientation, the text is all oriented in that direction… up is north, right?
Um, no. Up is east; north is off to the left. And neither of us noticed until partway through our second play.
So, whatever we played Saturday, it wasn’t quite the intended scenario. It was still fun and interesting though.
The general situation is that Soviets have started pushing back the Hungarian defenders, and are now trying to take the Siesta Sanatorium. Unlike most assaults in ASL, which seem to happen good weather (EC Mild, no wind at start…), this one is in the middle of a raging snowstorm. There is ground snow (like in FB4) and heavy falling snow, which causes a +1 Hindrance for every six hexes of range (fractions round down…). The Hungarians have almost as many troops as the Russians, but the Russian troops are better quality, and are supported by a couple of FTs. In an unusual twist, both sides have a DC. Another interesting twist is that the Russians can win by taking building E30 by the end of turn 3; otherwise, they win by taking it by the end of their turn 7 if the Hungarians have not managed to exit more than 6 EVP.
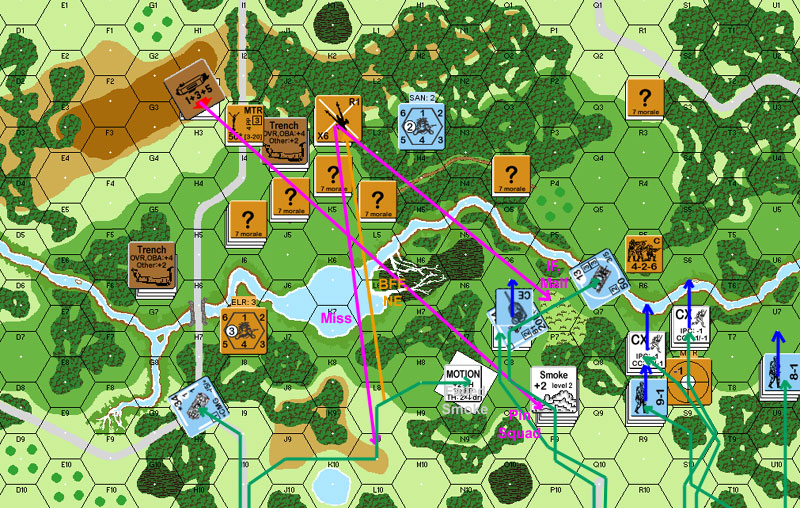
 I set up my defense, and managed to be ready just before Patch arrived, who was early. With how we were doing things, the Soviets come in along the J hexrow; Patch basically had the heavy part of his force in the south (by our reckoning), with a strong north flank. I had set up with three ‘zones’ in mind, with the middle being nicely direct, but with a relative lack of cover. I had set up my dummies around there to discourage that route, and get him to go for one of the flanks, which would be a longer distance. Being hit on both flanks didn’t go so well, especially when the north side immediately collapsed on a couple of bad die rolls.
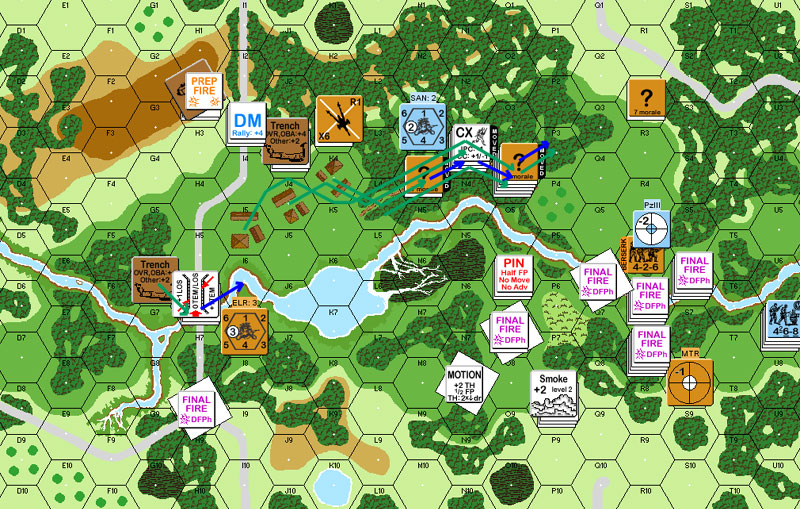
It was generally hard for either of us to get far, with plenty of stone buildings and a raging snowstorm making for few viable shots. Patch hurried in to try for the turn 3 victory, but couldn’t pull it off, though he did get into the victory building. I had come up with the (fairly obvious) idea of my one HIP unit being a squad with DC in the building, in my case in N30h1, ready to drop it on unsuspecting defenders.
The second half of the game was pretty fast. A lot of my troops died in place, or got trapped in various buildings with no hope for rescue. I actually ended up running the DC squad down to the ground level of N31, to try to root out the 9-1 with the DC, but pinned right before they could attempt it, and then they broke on the next turn. Which is a lot of how the rest of the game went for me. Lots of not quite being able to do what I wanted. We ended it around turn 5, when I lost all hope of getting sufficient EVP.
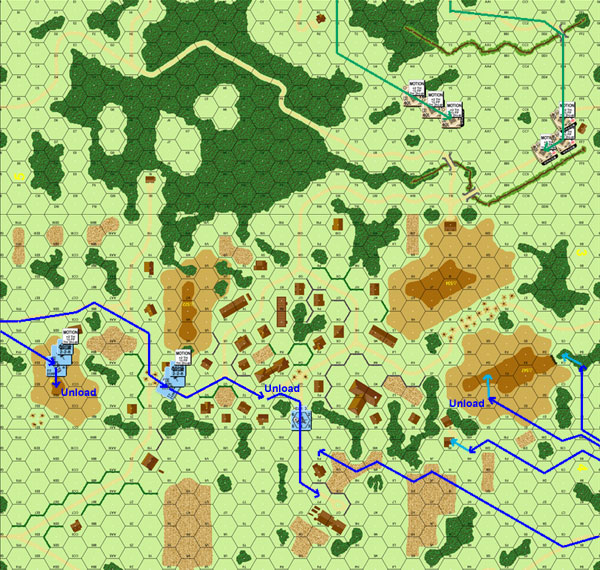
After lunch (yes, it was that short!), we switched sides, and tried it again. Patch’s defense was a lot like mine, but with some important defects ironed out. I tried a variation of his entry, with both FTs in the ‘south’. The beginning was a mix, with me getting a little too free with running in the open, even with the snowstorm, but one squad got into L34 and quickly breaking his end-of-the-line defender next door.
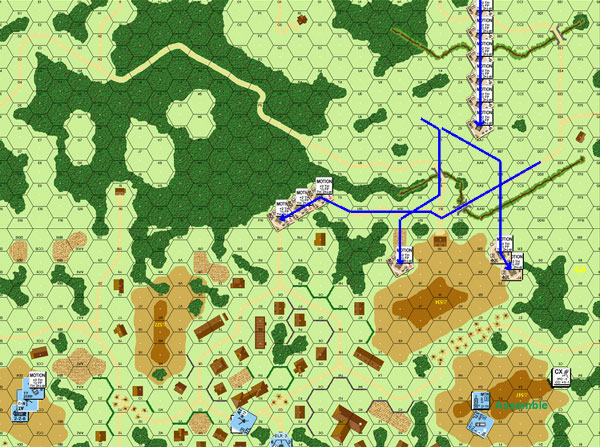
After that, things went downhill, especially as I had trouble rallying anyone. One unit did go berserk, and spent the rest of the game futilely trying to pound his way into the fortified building location. I got another ‘2’ on the same RPh, getting me a Fanatic 628 and Hero. Better yet, that squad had one of the FTs. However, 9ML was not enough to allow him to get back into range, and both he and the other FT-squad broke (again). Patch held out past turn 3 with no problems, and then exited all the EVP he needed on turn 4. I had just not been able to keep him busy.
Mid-way through this was when we finally realized the error of our set-up, and we discussed it for a while before continuing, as we just didn’t have time to re-start. In many ways, the version we did looks more interesting than the actual version from a terrain perspective. Though the longer run for the Hungarian exit does change things quite a bit. Most notably, the way the drifts align in ‘our version’ lend themselves to some very interesting situations, that just don’t seem to be there in the corrected version.
At any rate, we’re planning on poking at the ‘right’ version via email while continuing our current Vassal game. It’s a short enough scenario that it shouldn’t take too long. I’ll be reporting on that at some point.