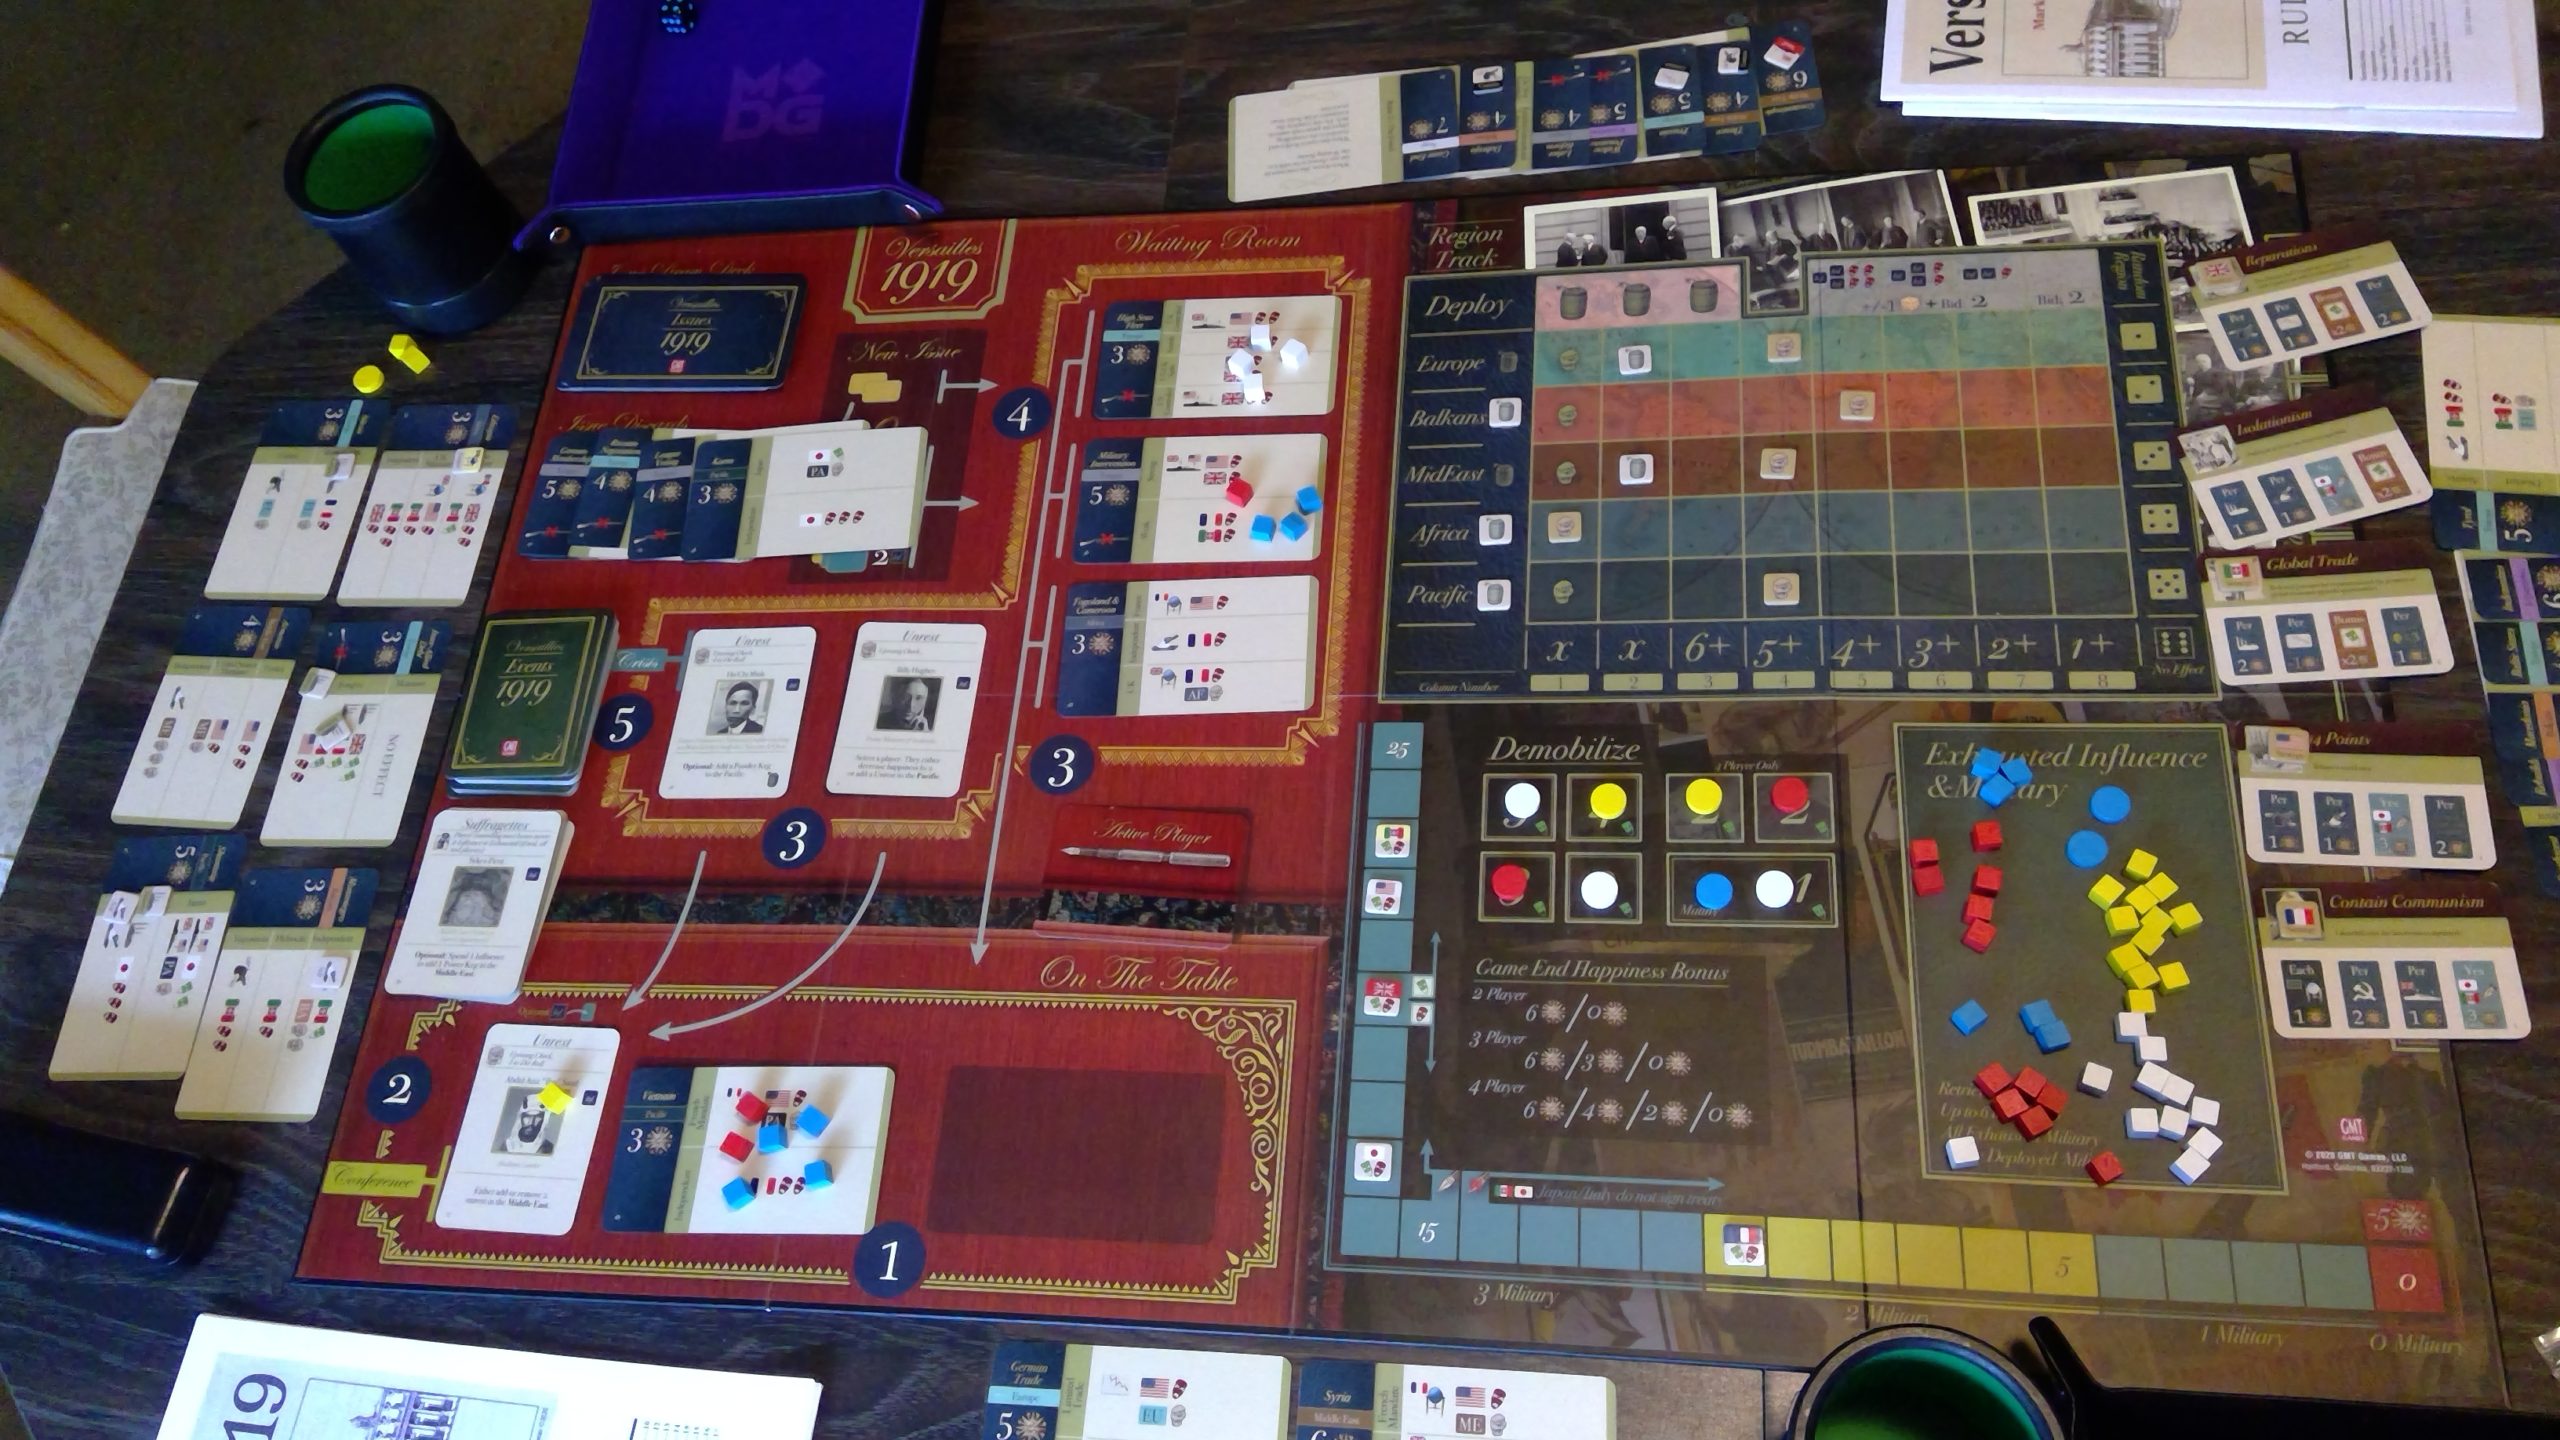
Back on the 3rd, Mark and Jason came over to join me and Dave for a four-player FtF game day. The primary activity for the day was the group’s second game of Versailles, 1919 (Jason’s third, and Mark and I’s fourth). Random draws of cubes gave Mark Britain, me France, Dave the US, and Jason Italy.
Dave struggled with converting influence into settled issues all game, and ended the game with only three. They were all high-value, which helped, but his score was certainly limping along. Mark and Jason did fairly well at first before bogging down a bit, and was starting to get somewhere with getting more issues settled to me as the first uprising happened. By the end of the game, I had actually accumulated the biggest collection of issues, though I was aware that my strategy wasn’t going anywhere. Mark also did well on issues, and dumped a lot of influence on Game End, and rushed it through, with the 7 VPs there beating out my card total.
Dave had the first pick of strategies, taking 14 Points, which got him 13 VPs combined with 18 in issues (mostly self-determination and Japan and Italy signing the treaty), and second-place happiness (22), Jason had the second pick for Global Trade for 14 VPs (including 6 for doubled top happiness, and 10 for industrial expansion, but lost three for reparations), I picked third for Contain Communism for 10 VPs (mostly from Japan and Italy again, hardly any opportunities for communist containment came up), and Mark picked Reparations for 9 VPs (even 2s across the board, except 3 for reparations), and got 2 for third-place happiness. Isolationism was left unpicked.
There was a rush to demobilize early on, and the US had completely demobilized by the end of the game. I only demobilized once, as part of an event, so my happiness was well below the others. We also fairly flew through the deck, with only a few pulls from the discards, so even for the ‘short’ game, this was fairly short, and we finished before lunch. The spread was a little closer this time, with Mark getting 47 VPs, Jason 42, me 40, and Dave 35. Last time I noted that generally, who got Game End would determine the winner (Dave was out of reach of it) and this time… this was true again. If Dave had taken Game End, he’d tie with Jason in first at 42… and still come in second, since Italy’s happiness was higher.
After lunch, we spent some time figuring out “what next”, and ended up going to Settlers of Catan. Random tiles and numbers put an 8 and 6 next to each other, and since I got first pick put a settlement there. Even better, it was near the 2:1 wheat port (and the 8 was wheat), which I built to as soon as I could. Dave locked up the other 6 on the other side of the island, while Mark and Jason were a little more central, though Jason settled next to the other 8, which produced bricks.
At the start, a number of 6s were rolled, but no 8s, so my scheme of producing lots of wheat to turn into whatever I needed didn’t work out. Dave managed to build out a third settlement, taking the third slot around the lumber-producing 6. This turned into a mistake, as that was obviously too dangerous and the robber was magnetically attracted to that tile and choked off Dave’s economy. The rest of us got going and left Dave behind, and the robber just didn’t move at all for a long time during that critical phase of the game. I think I produced my third settlement a little after everyone else, and then the luck turned around and my economy exploded. I produced a couple of cities (I just couldn’t get the resources for towns), and I sprinted to a victory. At the end I built a bunch of road sections to take Longest Road from Dave, and then revealed a Chapel for a 10th VP.
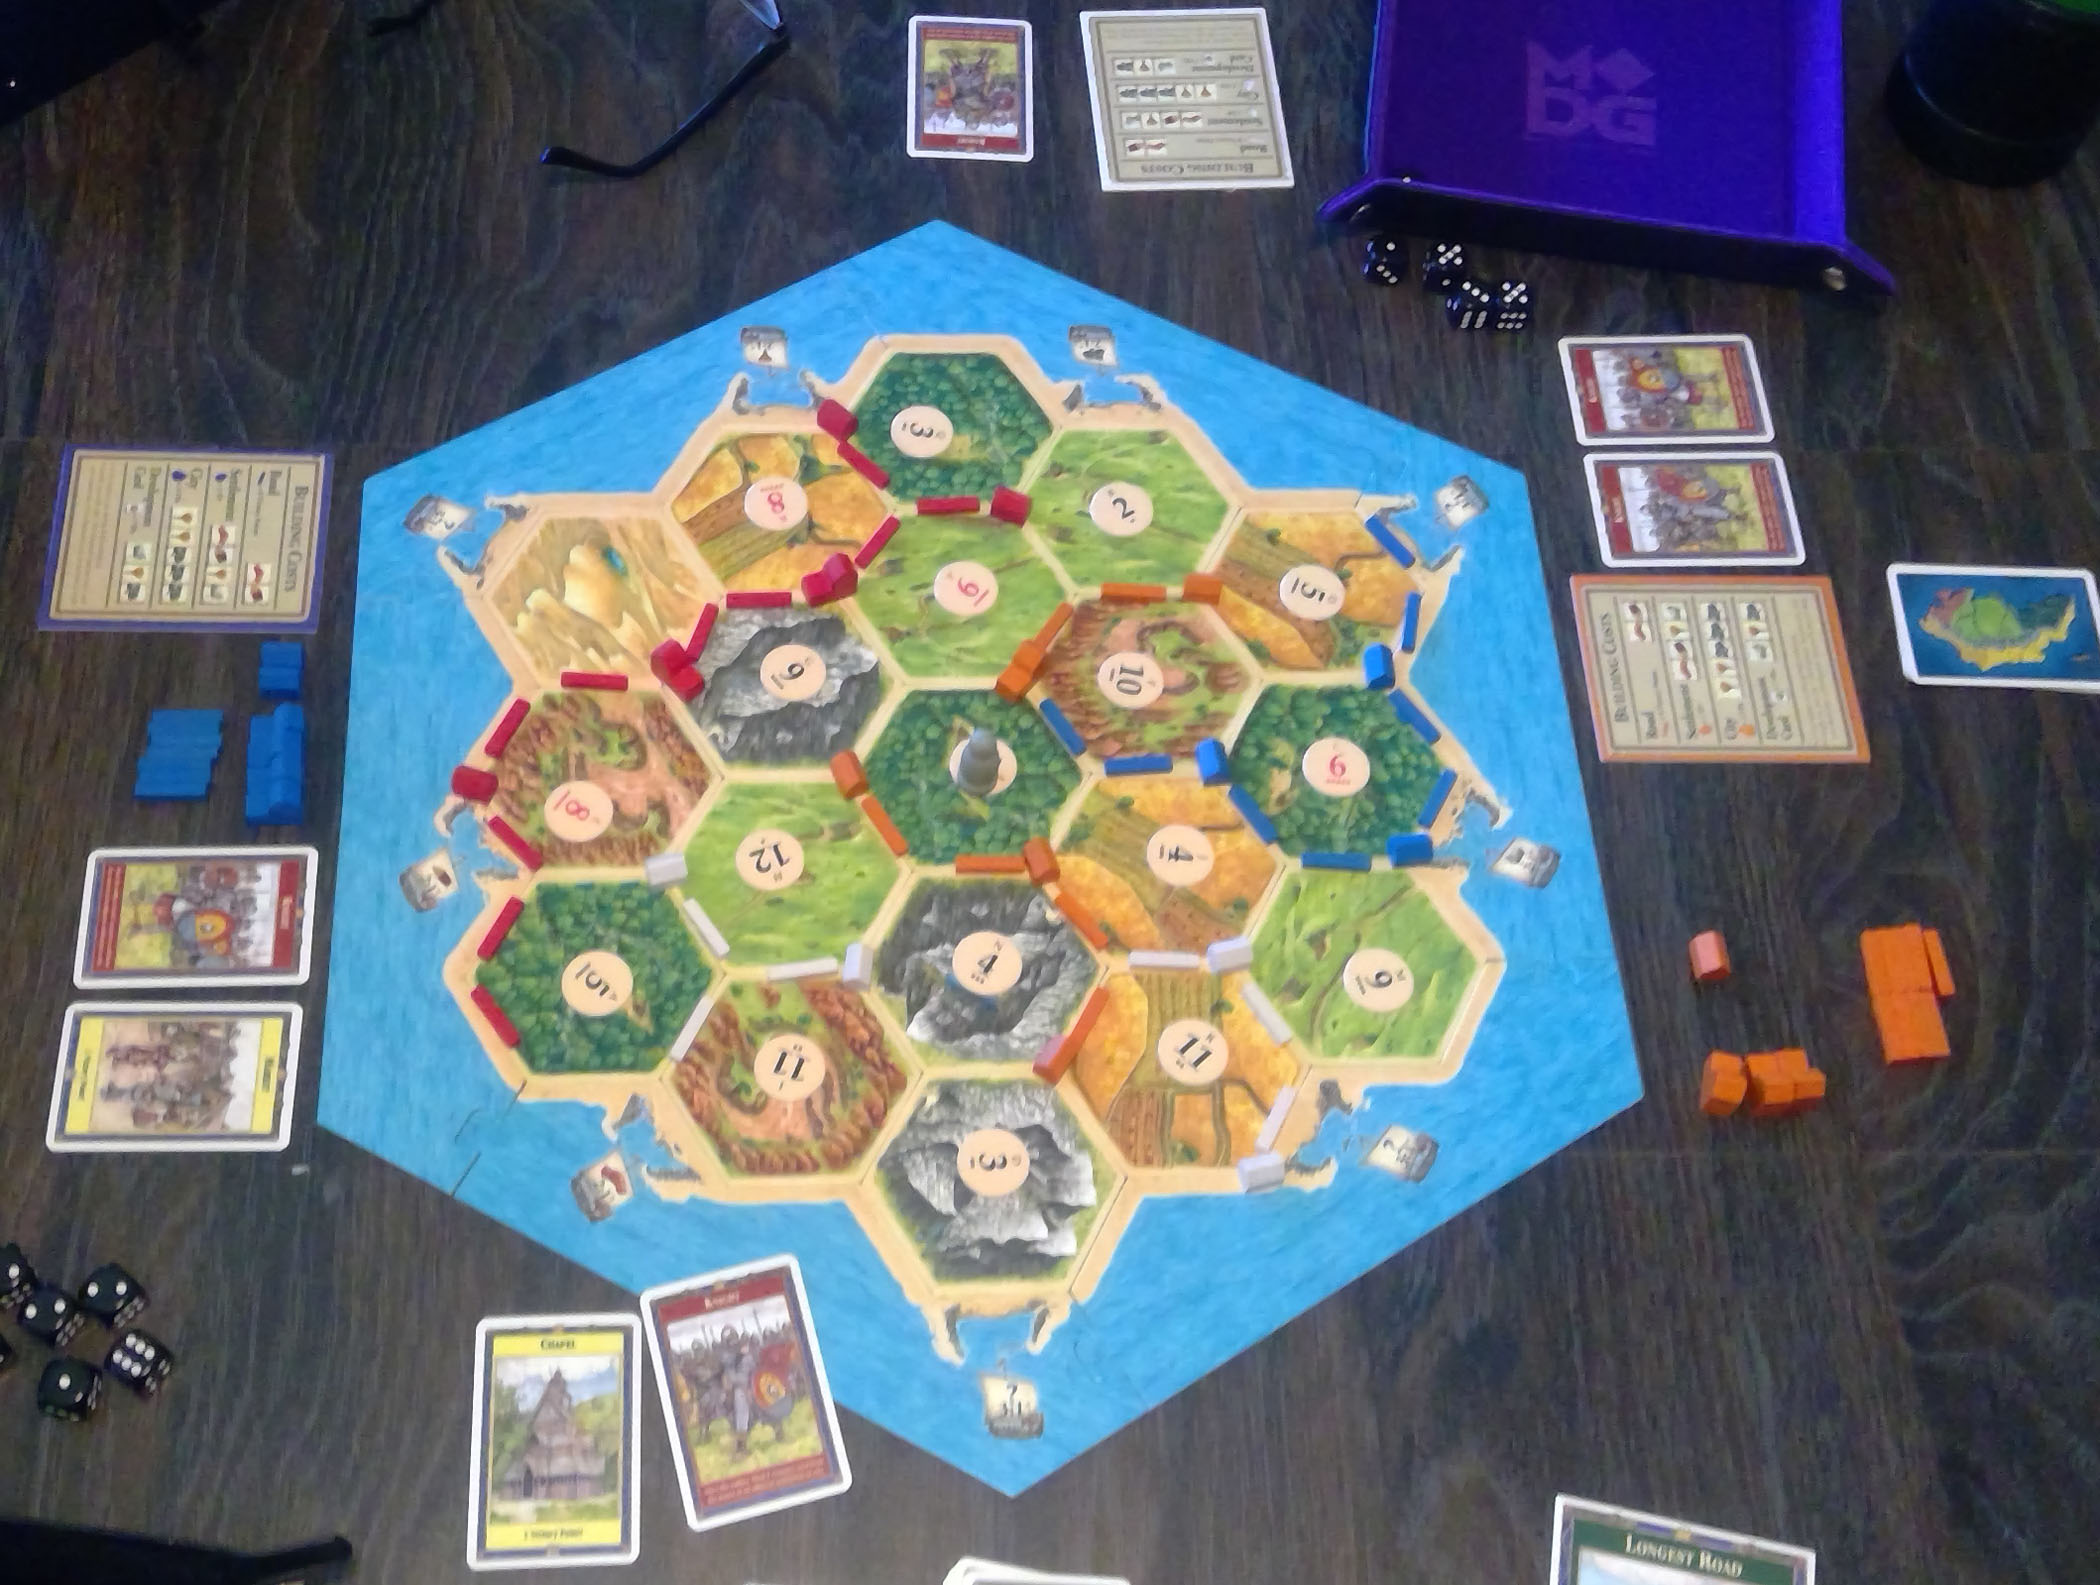
Red = me, 10VP; Orange = Mark, 6 VP; White = Jason, 4 VP; Dave = Blue, 3VP.
After that, we tried one of the various small games Dave has and hadn’t tried yet. Samurai Jack is a semi-cooperative game based on the Cartoon Network series. Like a lot of games of its ilk, the rules are both well-written, and a mess. Reading through the rules, they kept answering questions just as we were asking them, but finding things later was nearly impossible.
The biggest trouble was that Jack’s sanity meter stayed stubbornly at the bottom the entire time. This is good, but it was obvious that a big tension in the game should be fighting its rise towards insanity. After the game, Dave finally found that it should rise by one whenever he is in a location without any of the players (okay, this we knew), but that this is judged when Jack moves, instead of during the main character resolution phase when everything else is judged. So we were aiming for where he was, instead of trying to be ahead and have him join us.
The rest of it operated fairly well. The building and tearing down of the journey path for each round makes things a lot more fiddly than they should be, while the mechanical reasons are sound, it needs work. Building up resources to fight a couple of enemies and then Aku is the primary scoring mechanism, with everyone trying to get the most honor with limited choices to get the high score. I managed the top score in the second round, and nothing in the other two, though I had a bunch of spare resources for 21 honor. I think Mark was the only one to score for fighting the first enemy, and won at 28, while Jason was at 27. Dave only had 18, but I don’t remember if he scored in the first two rounds (I know he did in the last), and didn’t have much in leftover resources like me and Jason did.
Like other cooperative games, I find it good (especially with at least some problems figured out), but not great. I think there’s too little going on for the amount of fiddliness that it has, though it is nicely quick. I also note that Jack is too much of a non-entity in the game (actually having to fight the sanity meter back down would help). The concept of playing as his friends and allies is good, but he doesn’t do anything other than randomly move down the track. There’s some language around him helping in the fight against the bad guy at the end of each round, but I’m not aware of anything actually happening.