After our short (very short!) foray back to Valor of the Guards, Patch and I decided to switch back to the western front, and try J137 “No Mercy in Burcy” from Journal 9, which I had just gotten, most of a year after it came out. We were both surprised to see that ROAR had it in favor of the Brits so far, since they have to protect a fair amount of ground, and the Germans have a lot of tools with which to do the job. I got the attacking Germans, while Patch figured out a defense for the Germans.
It’s August ’44, and the Brits are defending near Burcy in hedgerow country (about three-quarters of board 55 here) with ten squads, five Shermans, and a mix of LMGs and airborne MTRs, and 80mm OBA. The Germans get nine squads of 838 assault engineers, some MGs, and two flamethrowers, which enter between hexrows G and M on the south side, while another three squads with three halftracks enter anywhere on the south edge on turn 4 of a 5.5 turn scenario. The Germans need to either exit 24 VP off the north edge road hexes, or by controlling two of the three stone buildings on the board.
Patch sent me a view of the actual area, looking down my presumed route of attack, that he looked up in Google Earth:
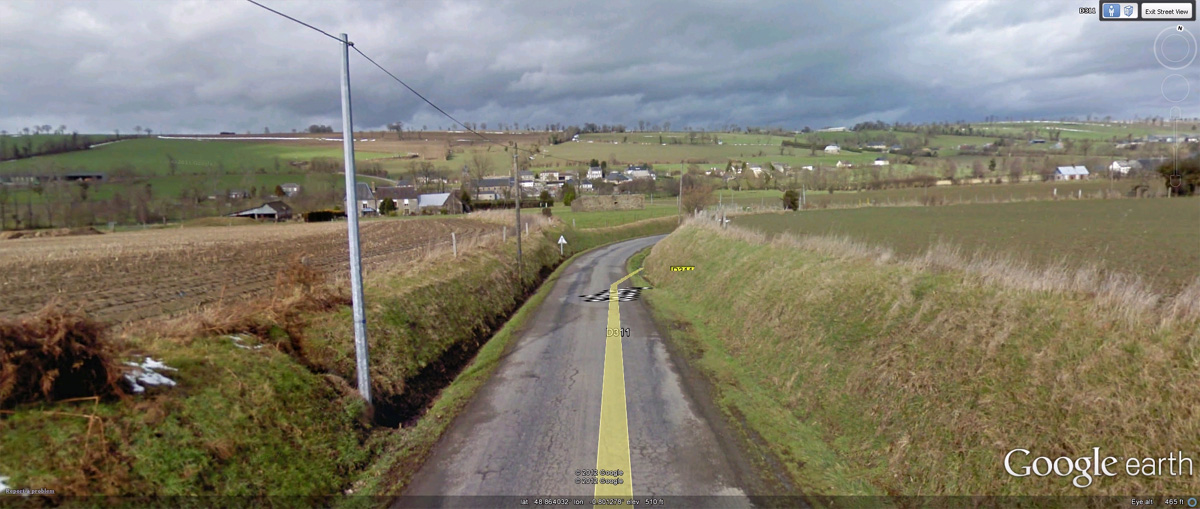
The British set up area is defined by a diagonal down the board that runs right behind one of the major roads on the board and through a gully. One of the stone buildings is off by itself in P8, while another is in H5 with a steeple location (Level 1, but can only take a HS), and the third is outside the main set up area in J3, but is also allowed for the Brits to set up in, and is fortified. Thanks to that diagonal, the west end of the board has a very thin area for the British defense, and Patch set up heavily in that area. I decided to go east, use the FTs to take J3 early, and try to get across/around the gully to either take H5 or work around Patch for the exit.
One of the attractions of the scenario is that it was our first chance to try out the new hedgerow boards that came in Action Pack 5. I haven’t done enough with hedgerows, and nothing else recently, so I had an initial surprise with just how hard it could be to get anywhere…. I also didn’t quite think through my entry correctly, as I started with a HS down the I1 road (well, in the orchards on either side), and Patch fired on it to leave residual for later.
I probably should have been a bit more daring with my first turn entry, but all those tan ‘?’ across the way had me a bit jittery, and staying at the very edge behind the bocage allowed me to keep some of my own concealment. He broke one squad and pinned a HS during movement, and killed a HS during DFPh. His last shot was at the pinned HS, which generated a Hero.
Situation, German Turn 1.
↓ Read the rest of this entry…