Mark came over today for some long-neglected FtF gaming. After the negotiation process, I went with a game of Stonewall in the Valley. I’ve been meaning to give the GCACW series another try, and wanted something that we shouldn’t have any problems finishing in a day.
I was a little unsure of table space beforehand, but found (to my surprise) I could fit the two maps of the first scenario together on the kitchen table with no problems. So we started with scenario 1, which covers mid-March 1862 (I had thought we might need to do the 1-map scenario 2 instead). The available forces are very lopsided, but the Union needs a high VP total to win, with taking both the objectives (Winchester and Strassburg) and wiping out the Confederate forces only worth a marginal victory. The Union can get more VPs by sending units out of the game (to McClellan) in the first six turns (or slightly fewer points for sending them on turns 7-12). We only got around to looking it up after the fact, but Stonewall presumably lost this scenario, fleeing into the southern reaches of the map early on, and being repulsed at the Battle of Kernstown on the last day of the scenario, after most of the troops had been sent to Alexandria (and then Fort Monroe).
I took the Union side, and decided to press towards Winchester along a couple parallel routes, threatening to surround the city if Mark waited, or catch exhausted Rebels in a counterattack if they tried to pick off an advancing brigade.
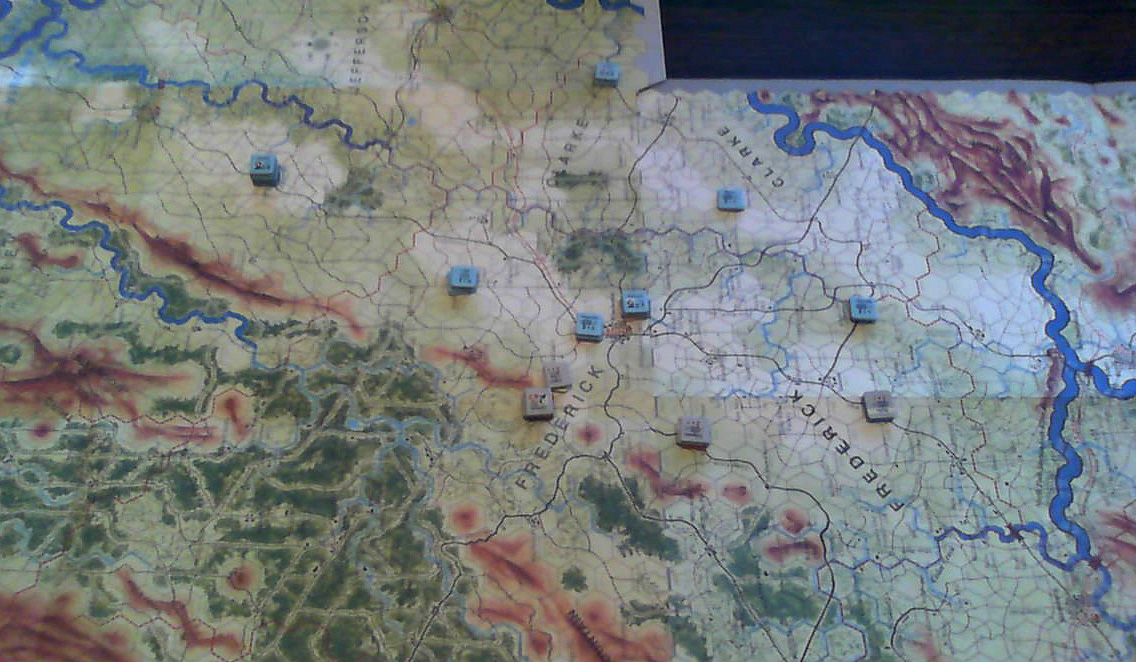
Shields’ 3rd Division began in Charlestown and had almost no impact on the game, with an average speed of ~2.2 per activation (I was activating the division as a unit, so the minimum roll was a ‘2’…), Finally reaching Winchester on the 5th turn, where I sent two brigades east for the points, and the final one garrisoned the city.
Meanwhile, Mark tried to get one of my brigades early in the second turn. This was a big mistake as it turned out, but we figured that out by going through the combat procedure. Jackson is a better commander than anyone the Union has, but the artillery modifiers are quite generous to a defender in the open, and he ended up disorganized and fatigued to no real effect. I moved in with the next nearest brigade, and with good odds and a flanking bonus started the destruction of the Confederate army.

The third turn saw a couple remnants flee towards Strassburg while I finished off one brigade and tried to keep from blowing the entire army. The fourth turn was mostly rest for both sides as we recovered from exhaustion, disorganization, and (for Mark) demoralization. On turn five, I caught up to the survivors as Strassburg and finished him off to effectively end the game. I was able to send enough out of theater at that point to get a Substantive Victory.
GCACW has always been a system I’ve wanted to like, but I was unimpressed with what I saw in Stonewall’s Last Battle. I figured at the time that the scenario wasn’t really showing the system’s strengths, but still… I just wasn’t seeing it. This time, however, it worked. Both of us enjoyed the scenario, and we want to work through the rest in SIV. We got a good handle on combat, and can see how a well-paced long-term plan needs to work.