Patch and I headed back to Budapest after our second desert adventure, reaching the end of January 1945 with FB7 “The Terror of the Castle”. Having been the defense the last two games, I took the attacking Soviets, and while the ROAR/Archive record is a little thin, it is showing a pro-Russian tilt, so I gave Patch the Hungarian balance (an at-start Hero).
Even for Festung Budapest, this is an unusual scenario. The Hungarians are defending against a Russian assault that will take them to the base of Castle Hill and have three different setup zones (four squads + MMG & HMG in the Postal Palace, two squads in the victory buildings, and six squads in most of the rest of the available map). The Russians have twelve squads (three of which are 628 assault engineers) a MMG, two FTs and two T-34/85s, entering from offboard. But, up to six squads (three each, in two buildings) can set up on-board, within the Hungarian setup area. The scenario is nine turns long, with control of the Z12/BB11 building Locations evaluated every three turns to grant one VP. Best two out of three wins.
A large part of the strangeness is the fact that the side that claims a VP goes last for the next three turns, meaning that the turn order will flip somewhere along the way (probably turn 7, as the Russians start out going first, and are unlikely to get the first VP). Finally, both sides get to purchase reinforcements (which appears in several FB scenarios, but this is the first we’ve gotten to that does it), with the Hungarians getting theirs on turn 4 and the Russians getting theirs on turn 7. Oh, and on turn 7 the Hungarians get a flamethrower in the possession of any unit they wish. The Hungarians are up to Ammo Shortage level 3, and as ever, there is ground snow.
Looking at some on-line discussions of the scenario revealed that one of the Russian set-up buildings, CC15, was essential for the Russians to use to suppress likely Hungarian defenses. Naturally, the pre-game rubble checks knocked down eight of the thirteen hexes of this block, including the entire useful SE end (mostly thanks to falling rubble taking out further hexes). I didn’t quite like the direct, close, route to the victory buildings, with a large number of Hungarian ‘?’ lined up along the Bela-Kiraly ut, and ended up entering my forces on the north end, with the MMG, a FT and best leader in the CC15 block, ready to advance into the intact Y14 area, and the FT and DC in the Postal Palace, out of immediate LOS and ADJACENCY to the Hungarian defenders in the upper floors.
Despite my best efforts, Patch could see most of my movement, and I lost a Dummy stack in W17. A pot-shot pinned a squad in R14 as they tried to reinforce the Postal Palace. My main stack entered along the Vermezo ut in Armored Assault, but HMG fire from the Postal Palace broke both the 458 and 628, even after the 8-1 passed. Further fire also broke the leader who was going to guide the backup troops through the high MF cost rubble, but the squads were okay. The HMG got several ROF shots, pinning the 8-1 and CRing the 458 on its last shot. The 8-1 self-broke to stay with his men, while my 8-0 was wounded trying to find safety in R6.
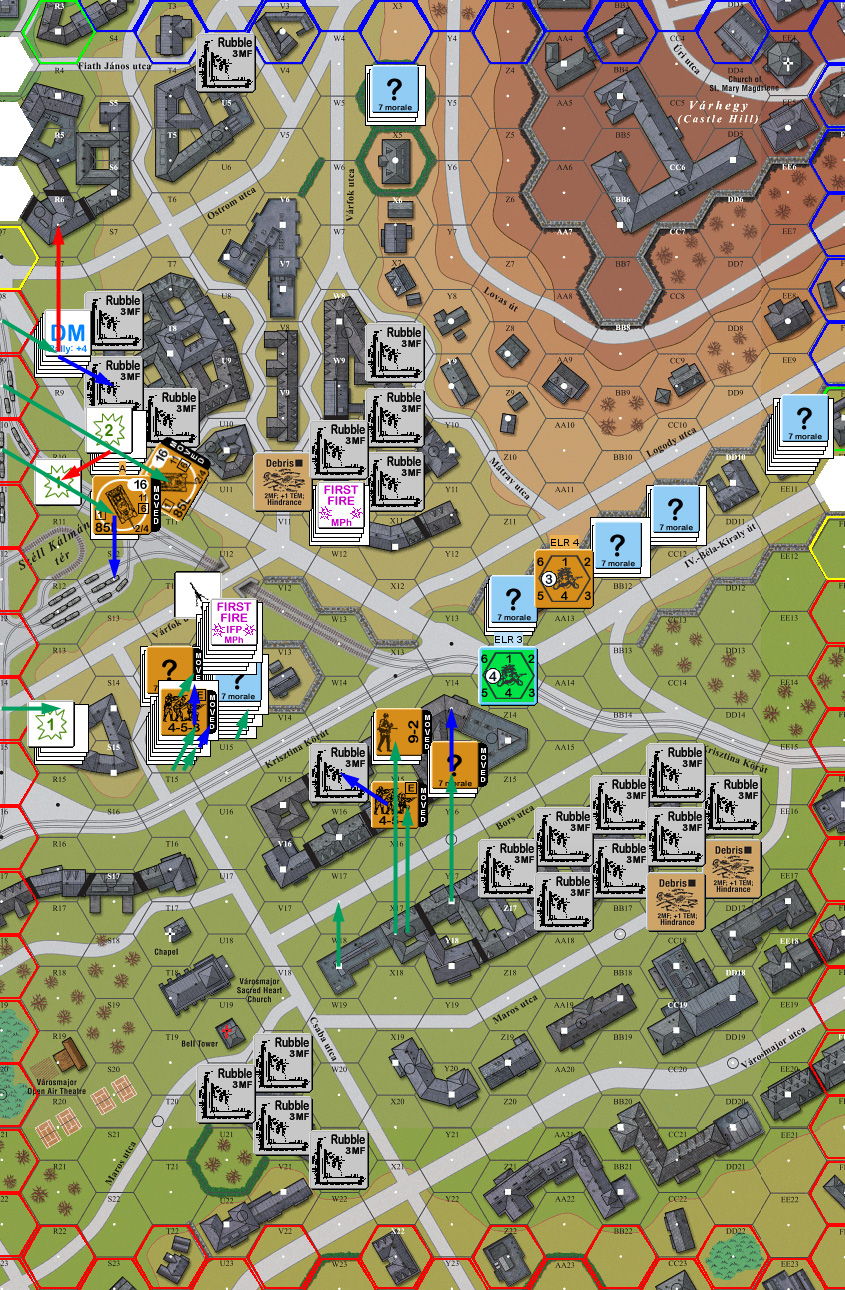
Situation, Russian Turn 1. Colored hexes are off-board entry areas (red=Russian, blue=Hungarian; yellow and green only have one legal entry hex). North is to the left.)
↓ Read the rest of this entry…
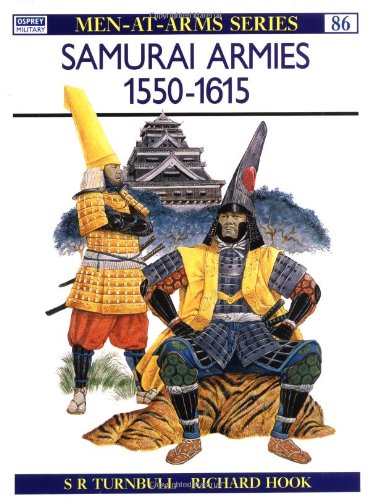 Osprey’s Men-At-Arms book Samurai Armies is a pretty good introduction to the warring states period of Japan. The series is more focused on men and equipment, and that is what you get here, though the three-page summary of the period is not bad.