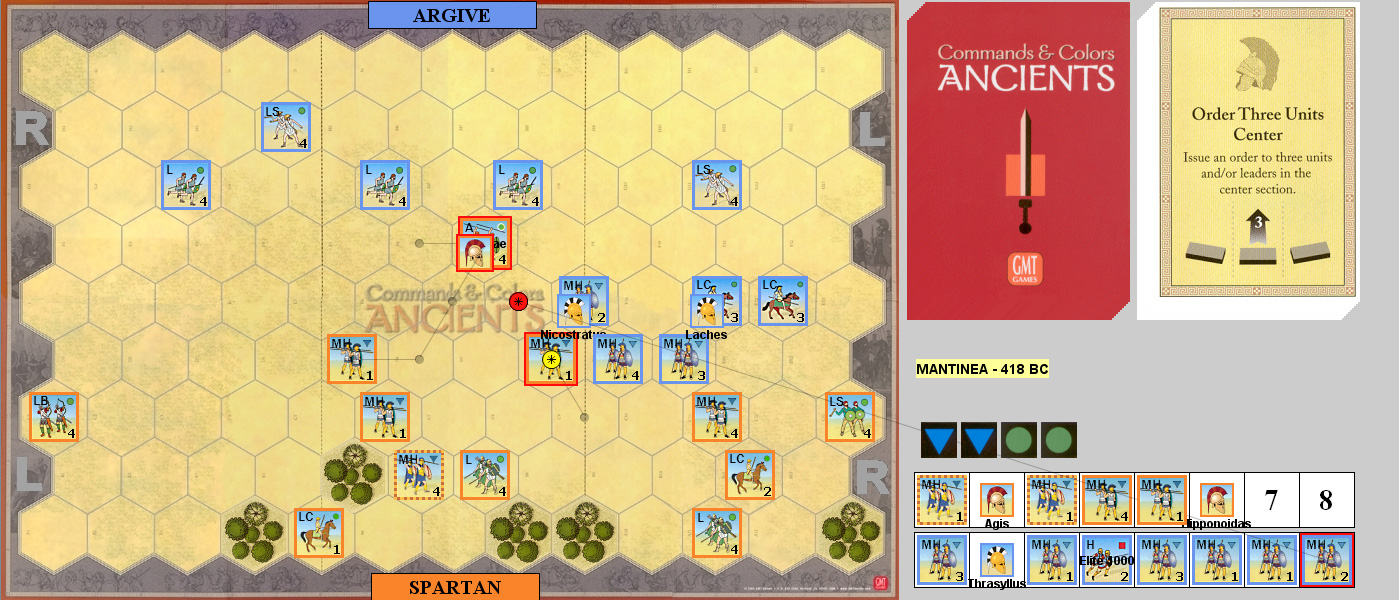
Patch and I had another between-bigger-games round of C&C:A Tuesday night. This time was the first Battle of Mantinea from Expansion #6. It’s a large battle with a large number of units and going to 8 banners, and both sides have a special unit. The Spartans have a typically special Aux (always gets hits on helmets and can ignore a banner; can also move two and battle), and the Argives have a heavy unit with five blocks. Both sides also have three leaders, of which one is not attached to a unit at the beginning.
I had the Argives first, and I started edging forward while Patch burned a couple of Order Heavies (the Argive special is the only heavy unit in the scenario). I initially made contact on my right flank, and took light losses while driving off a couple units. Patch came back with Order Four, and managed to wipe out my leader-lead MH in one attack. I didn’t have any great places for him to go, and took a chance by placing him behind the surviving adjacent unit. However, the next attack did two hits and drove him back two hexes—beyond my leader. He then used momentum to get at and kill my leader.
I used a just-drawn Line Command to bring up the intact portions of the army, and on terrible rolls, did five blocks in four attacks, while I lost a grand total of ten blocks (two units down to one each, and two left on the five-block special). Patch then used Clash of Shields to finish off three units for no damage (nothing survived to battle back!).
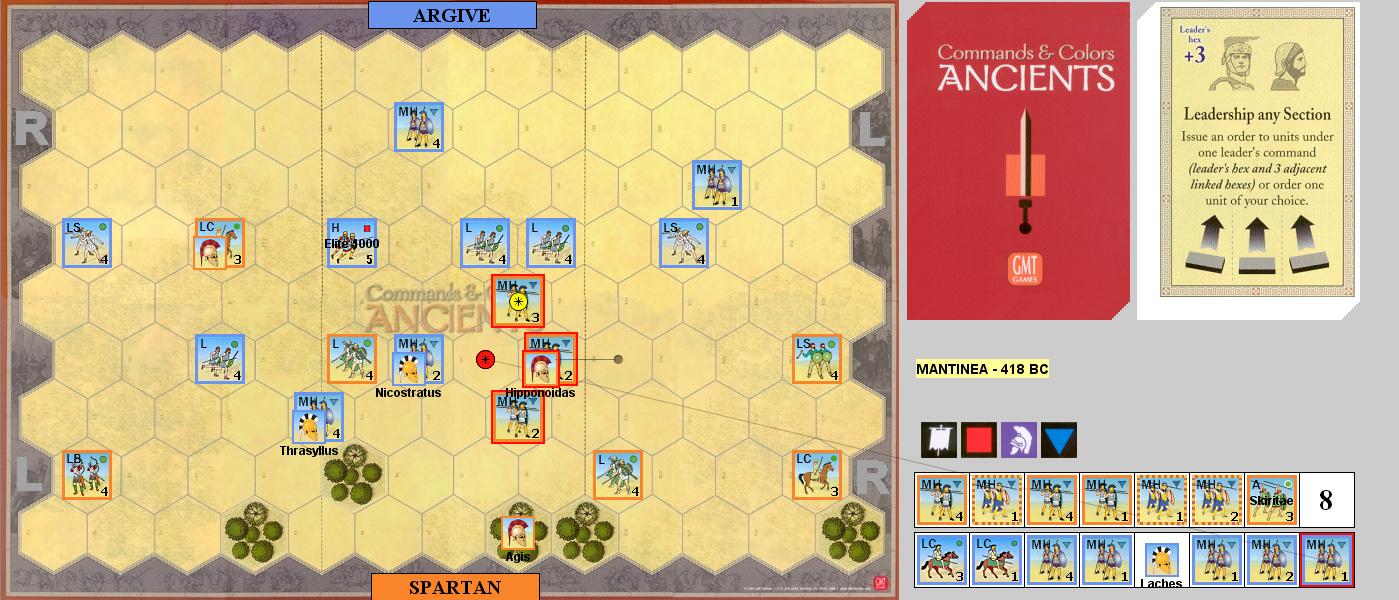
The only good news was that his center leader was isolated and was attached to a one-block unit, which I finished off, killing the leader. I also weakened a 5-block Spartan MH, and only took a banner on the battle back. Patch used Leadership to move on his left, pursuing my shattered right, taking two hits in the process of finishing off the only medium I had left there. I used Inspired Left Leadership to bring my intact units up on my left, finishing of the Spartan MH, and getting a regular MH on a very lucky four-hit attack.
We reformed a bit, and Patch brought his left flank into wrap around the end of my line, eliminating a weakened unit, but failing to get a full-strength one in two attacks, who did three blocks in return. Not having much else, I moved my remaining intact units into his, and took out another MH, killing the leader with it, and weakening another for two blocks damage. Patch Ordered Three Center to catch the end of my line again, and eliminated it. 6-8
We spent a couple turns on minor cleanup the second time, when Patch sent his light cav into contact early. I eliminated one outright, and weakened the other at a cost of two blocks. I used Line Command to move the entire right side up, flowing around the remaining LC. I managed to eliminate it, and used Momentum to have an orderly line.
Patch moved his flanks up, and I Ordered Two Left to bring part of the detached left side into contact with him and my main line. I lost one unit on an unlucky battle back, but I did three damage to a unit first. Patch used Mounted Charge to bring the bulk of his line up (once again, Patch gets all the cavalry cards in hoplite scenarios…). This did fourteen blocks damage, wiping out a leader-led Spartan MH and a regular MH, and broke up half my line. However, a lucky battle back wiped out one of his leader-led MH as well.
I reassembled part of my line, and tried to get his remaining leader in the area, but only did one damage and took four in return. Patch used Order Mounted to press in the center, and get his orphaned leader back in play, knocking out two more units, and sending my center leader fleeing again, while taking two blocks in return. I pressed with my line, and three damage in two attacks, losing another unit in the process, while also reducing a separated full-strength MH to one block and forcing it to retreat.
Patch’s center was now full of much reduced units, but he couldn’t find a way to pull out, and used Coordinated Attack to little effect. I used Out Flanked for a series of attacks on weak units, managing to eliminate one of the center ones with its leader, my Aux was killed on a battle back, but my LC eliminated both MHs nearby. Patch then went with Move-Fire-Move, which reformed the spare lights effectively, but only did one block to a healthy unit. I used Leadership to move in and destroy a one-block unit in the center. 8-7.
Afterword:
This is one of the bigger slugging matches I’ve seen in a while. Lots of medium units, well formed with little terrain means that it’s hard to maneuver enough to do much with the light units that are also present in numbers. The one heavy unit also feels lackluster despite the extra die and block, since it can’t participate in the mounted cards with the MHs. Considering they seem to be extra disciplined hoplites, I’m surprised they weren’t ruled as a 5-block Heavy Hoplite.
The dice definitely turned the first game in Patch’s favor, but I came back stronger than I thought I might. I’m still surprised at Patch’s moving into contact with his LC early; I would have stayed a hex back for archery and dared him to move up or keep suffering arrows.

 Federation & Empire is about the big 18-year General War centerpiece of the Star Fleet Universe timeline. Fighter Operations, as a descendant of the first expansion to it, mostly deals with some enhancements to the main system (with salvage and a few other things), as well as enhancing the number of options available for carriers, which are a major focus in F&E.

/pic2649204.jpg)