Rindis.com

All my hobbies, all the time
  • Home
  • My Blog
  • Games
  • History

Categories

  • Books (504)
  • Comics (10)
  • Gaming (918)
    • Boardgaming (674)
      • ASL (155)
      • CC:Ancients (83)
      • F&E (78)
        • BvR – The Wind (26)
        • Four Vassal War (9)
        • Konya wa Hurricane (17)
        • Second Wind (5)
      • SFB (78)
    • Computer games (162)
      • MMO (77)
    • Design and Effect (6)
    • RPGs (66)
      • D&D (25)
        • O2 Blade of Vengeance (3)
      • GURPS (32)
  • History (10)
  • Life (82)
    • Conventions (9)
  • News (29)
  • Technology (6)
  • Video (50)
    • Anime (48)
  • Writing (1)

Patreon

Support Rindis.com on Patreon!
Become a patron at Patreon!

Other blogs:

RSS Inside GMT

RSS Playing at the World

  • Playing at the World 2E V2 Arrives May 5, 2025

RSS Dyson’s Dodecahedron

  • Red Knife Hole July 13, 2026

RSS Quest for Fun!

  • The Expense Post May 24, 2026

RSS Bruce Heard and New Stories

  • Pain, Exhaustion, and Morale in D&D BECMI June 7, 2026

RSS Chicago Wargamer

  • The 2 Half-Squads - Episode 310: Cruising Through Crucible of Steel January 27, 2023

RSS CRRPG Addict

  • Al-Qadim: Over, Sideways, and Under July 13, 2026
SF&F blogs:

RSS Fantasy Cafe

  • The Leaning Pile of Books July 5, 2026

RSS Lynn’s Book Blog

  • Can’t Wait Wednesday: The Thrice Bound Fool (Blacktongue #2) by Christopher Buehlman July 15, 2026
ASL blogs:

RSS Sitrep

  • Cardinal ASL Sins March 18, 2026

RSS Hong Kong Wargamer

  • FT114 Yellow Extract After Action Report (AAR) Advanced Squad Leader scenario April 16, 2025

RSS Hex and Violence

  • This still exists? March 25, 2025

RSS Grumble Jones

  • Grumble Jones July Scenario GJ162 You Will Engage the Enemy July 1, 2026

RSS Desperation Morale

  • How to Learn ASL March 16, 2025

RSS Banzai!!

  • October North Texas Gameday October 21, 2019

RSS A Room Without a LOS

  • [Crossing the Moro CG] T=0902 -- Rough start July 18, 2015
GURPS blogs:

RSS Dungeon Fantastic

  • Felltower - Monsters Fleeing between Sessions vs. PCs replenishing June 28, 2026

RSS Gaming Ballistic

  • B-Scale at the Table July 13, 2026

RSS Ravens N’ Pennies

RSS Let’s GURPS

  • Review: GURPS Realm Management March 29, 2021

RSS No School Grognard

  • It came from the GURPS forums: Low-Tech armor and fire damage January 29, 2018

RSS The Collaborative Gamer

  • Thoughts on a Town Adventures System January 18, 2022

RSS Don’t Forget Your Boots

  • GURPS Supers Newport Academy #7: “Invitation to the future.. of the 1970’s” July 5, 2026

RSS Orbs and Balrogs

  • Bretwalda - Daggers of Oxenaforda pt.4 - Fallen King May 27, 2017

35 Blazin’ Chariots

by Rindis on December 7, 2013 at 2:10 pm
Posted In: ASL

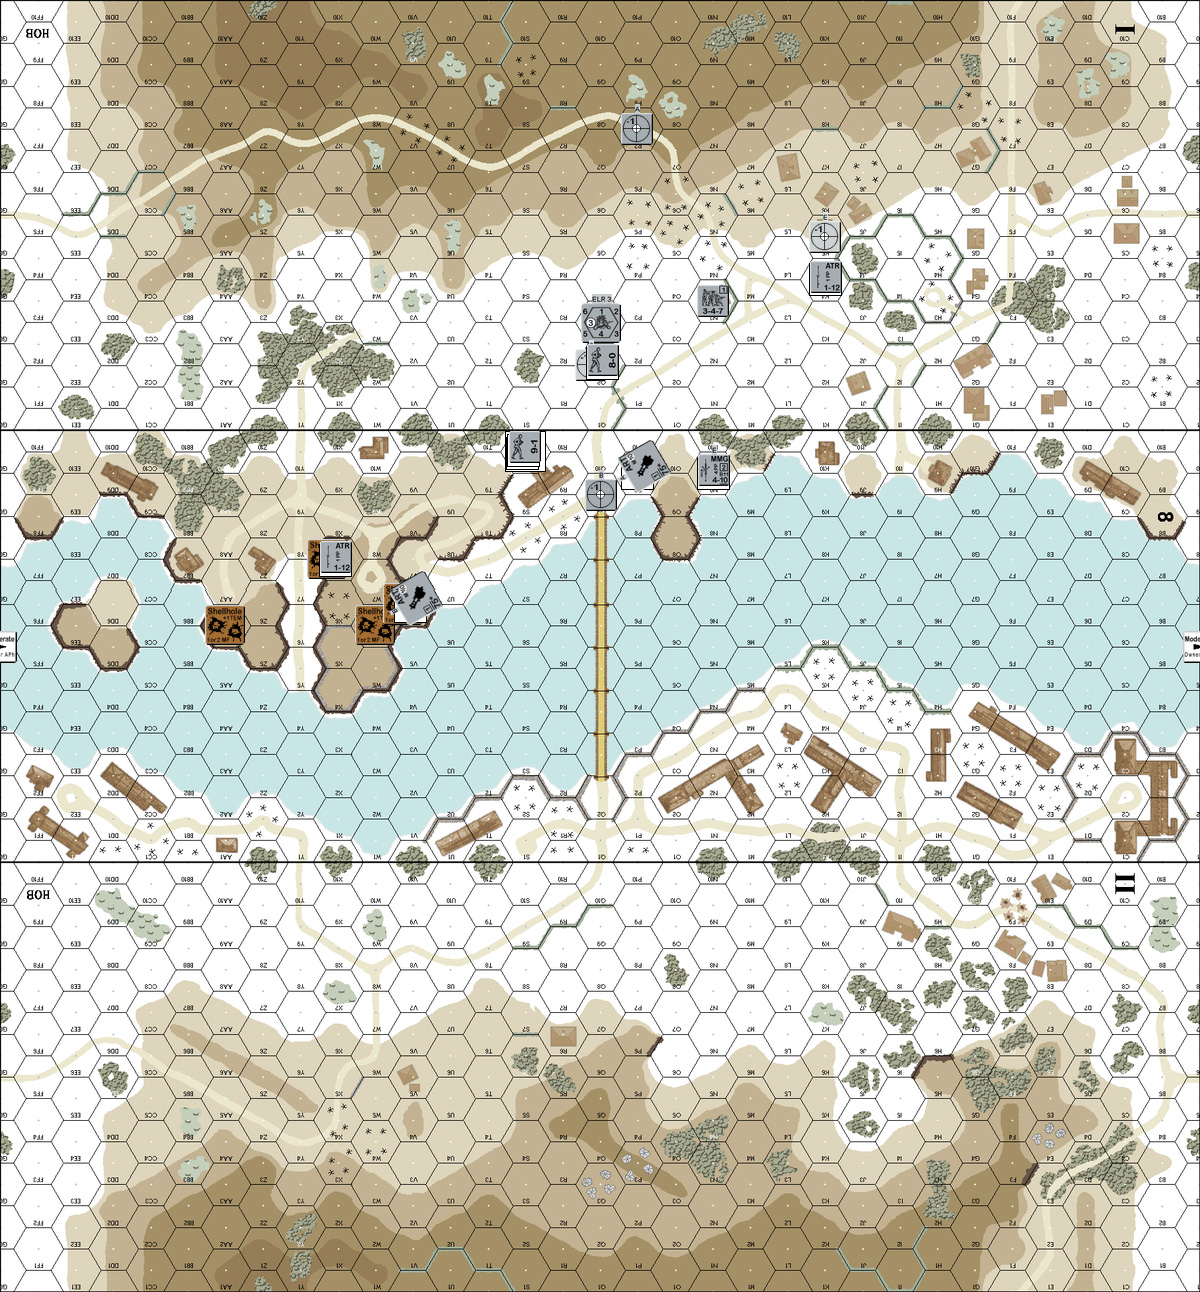
My last Advanced Squad Leader game with Patch finished up very quickly. So quickly, in fact, that I’m not going to bother with the normal detailed maps. There’s not a lot to show anyway. Imagine a featureless 33×30 hex plain, with occasional patches of rough terrain that double movement costs.

Yes, we went to the desert this time. I got West of Alamein way back when, and have always meant to try DTO, but with the number of rules goofs I’ve had with regular ASL, I didn’t want to add Chapter F to my problems. But, this time, we played “Blazin’ Chariots” an all vehicle affair on three desert boards with no overlays. It makes a decent introductory scenario. Now, if only I’d thought things through.

It’s the start of Operation Crusader, and the Brits are attacking with twelve Stuart Is, while the Germans set up with a pair of Panzer IIs, a pair of early Panzer IVs, and five Panzer IIIs, two of which are slightly heavier Pz III Hs (same armor as the Pz IVs). While the Brits enter, and the Germans set up on the board, this is done in secret from each other, and both sides have to spread out their forces.

Patch set up the Germans in a line with about three hexes between each tank, and the various types spread through the line. I put the minimum on the flanks, and half in the center, and mostly put them near the north area where the third set of Stuarts was, so I really had one big mass on the north, and the final three alone in the south.

While I didn’t do any research into the scenario, Patch produced a nice TH/TK aid that figured in all the gun size/length mods. It’s late ’41, so the American-made Stuarts use the Red TH#s, which along with small 37mm gun gives them poorer TH #s even after the ‘LL’ is figured in. Oh, and did I mention that the Brits are attacking to a sun blindness penalty? From somewhere I got the idea that Stuarts had ROF ‘3’ instead of ‘1’ and took quite a while to realize my mistake (I could have sworn I saw a boxed ‘3’…). So the Stuart’s only advantages are needing a lower DVP total to win, numbers (12 to 9), and mobility.

So I parked in a big line abreast and tried shooting it out.

This was also our first game with the new VASL 6.0 module, so we spent some time playing with the new features before getting down to the business of shooting each other. Initial ranges varied from 18 to 20 hexes, where even the more accurate Germans had some trouble getting hits. Just in the initial DFPh, Patch got three hits, one of which burned a Stuart, one bounced off, and one was a Possible Shock (I passed the TC). One tank also got a Critical Hit, rolled another ‘2’ to burn the target, and then rolled a ’12’ to malfunction the gun on the ROF shot. The CMGs also got a couple results on my CE crews, but I passed the resulting MC and PTC. With a +4 moved, and +2 Sun Blindness, my only goal was to not malfunction a gun while getting acquisition.

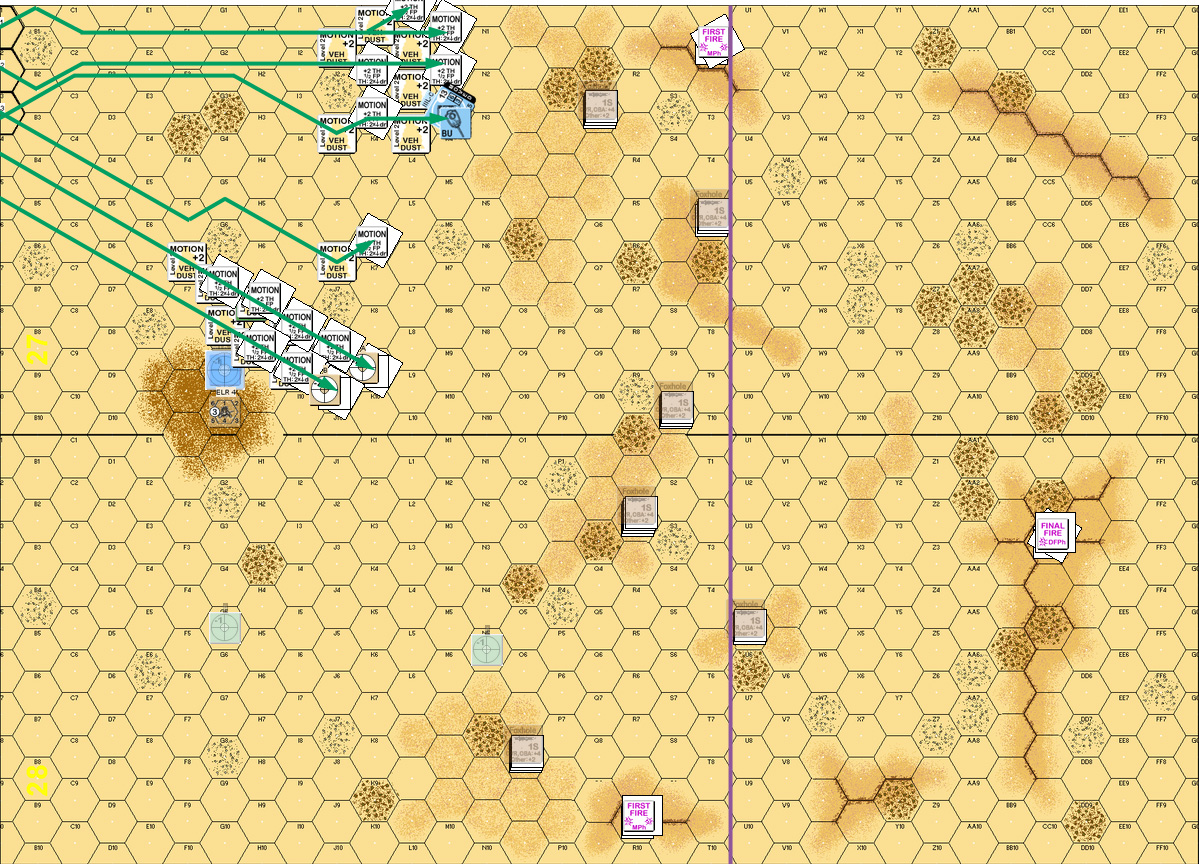
35 1B
After the first turn.

Patch’s luck refused to be bad as he immediately repaired his gun on his turn. For prep, he just blazed away, the CMGs causing a couple checks against the CE crews (both passed), and the guns causing five possible shocks (all but one passed), immobilizing one Stuart, and burning another. I got three hits, two of which bounced off, and the other shocked his III H with the 8-1 armor leader (Patch naturally put his armor leaders in the two better PzIIIs).

My Stuart recovered from Shock immediately, while Patch’s flipped over to the UK side. With everyone in position, and acquisition counters out, I decided to keep blazing away (I was still under the delusion that I had better ROF, and was counting on that) with the south force, and the northernmost surviving tank, while moving the remaining five north and around so they could engage without suffering sun blindness. I only managed a single hit, which glanced off.

And then things got confusing for a bit in the logs. Patch picked off the lead tank as it moved, and just about everyone else ended up moving through the hex he died in. The problem was that the log malfunctioned, and halted the counters in that hex, so Patch at first though I had tried to park about four tanks in one hex. When all was said and done, Patch had killed two of the Stuarts in motion, and leaving me with a very abbreviated line of three tanks to the north, one of which he stunned in DFPh. He also burned two of the tanks that remained in the south, and immobilized the remaining one, breaking the crew as it bailed out.

The UK PzIII recovered for Patch’s turn, but couldn’t do more than Immobilize two of the four remaining active Stuarts with three of his. The remaining six tanks went into motion to get a better position on the remnants of my force. I tried firing on one as it started, but missed, and didn’t do any better in DFPh.

In my turn, with only one tank kill to go for the win, I figured firing was better than getting shot as I started. I finally had the low ROF of the Stuarts pointed out as I tried to claim it on a illegal shot. It should say something that this was only my second shot of the game with a ‘2’ or ‘3’ colored dr (Patch had missed one previous bad ROF shot, and I had had about two legal ones…). I finally got a kill on a Pz III G to keep it from being a shutout, got multiple hits on a Pz II, only for both shots to bounce off (both ’11’s). In desperation, I finally went for an IF shot with my last tank, and got a CH to burn a Pz IV.

And that was the end of the fun as Patch killed a Stuart on his second shot to get the needed 56 DVP.

Afterword:
Well, about a turn in, I had a much better idea of what I should have been doing. I think the grouping the tanks together as I did was generally fine, but I should have stayed in motion the first turn, and looked for positions to stop where at the least I didn’t have Sun Blindness, and the Germans might have had to deal with it. Of course, the Stuarts aren’t that much faster than the German tanks, and I’m not sure where that would end.

└ Tags: ASL, DTO, gaming, West of Alamein
 Comment 

Two Rounds of Sepeia

by Rindis on December 3, 2013 at 10:03 pm
Posted In: CC:Ancients

My latest ASL defeat by Patch was just about finished up, so we decided to do another round of Commands & Colors: Ancients tonight. This time was the Battle of Sepeia, a very strange Expansion #6 battle between the Spartans and the Argives. There’s a forest (sacred grove) behind the Argive lines, and every other Argive unit that enters it causes both sides to get a banner. In addition, the city of Argos is in one corner, with three Light units and a leader that cannot move from the walls (actually the women and children of the city led by a female poet). The Spartans have a decided advantage with a bigger, heavier army and an extra card.

I had the Argives the first time, and Patch started with a Move-Fire-Move to get his Auxilia and Slingers into motion. First contact was on the Spartan left as it pushed forward, and after some light losses and retreats, I got lucky with a four-hit roll to knock out a an Aux. Patch moved up the center, and nearly every Hoplite on the board came into contact. I ended up with two units in the sacred grove, which I didn’t mind, as I was ahead, and wanted to shorten the game while that was still true. Patch weakened my entire Hoplite line and killed a leader, at the cost of another 4-hit roll that knocked out more Allied Hoplites, and another that nearly wiped out a Spartan Hoplite.

I Ordered Mediums to keep the battle in the center going, finished of the weak Spartan Hoplite, and forced the other two to retreat. Patch came back with a Mounted Charge to put everything in contact again, knocked out two weakened Hoplites, but couldn’t get the remaining leader-led one who weakened two of his leader-led Hoplites. I used Inspired Center Leadership to order the remnants of my MH (two one-block and one full unit) to mop him up. 6-4

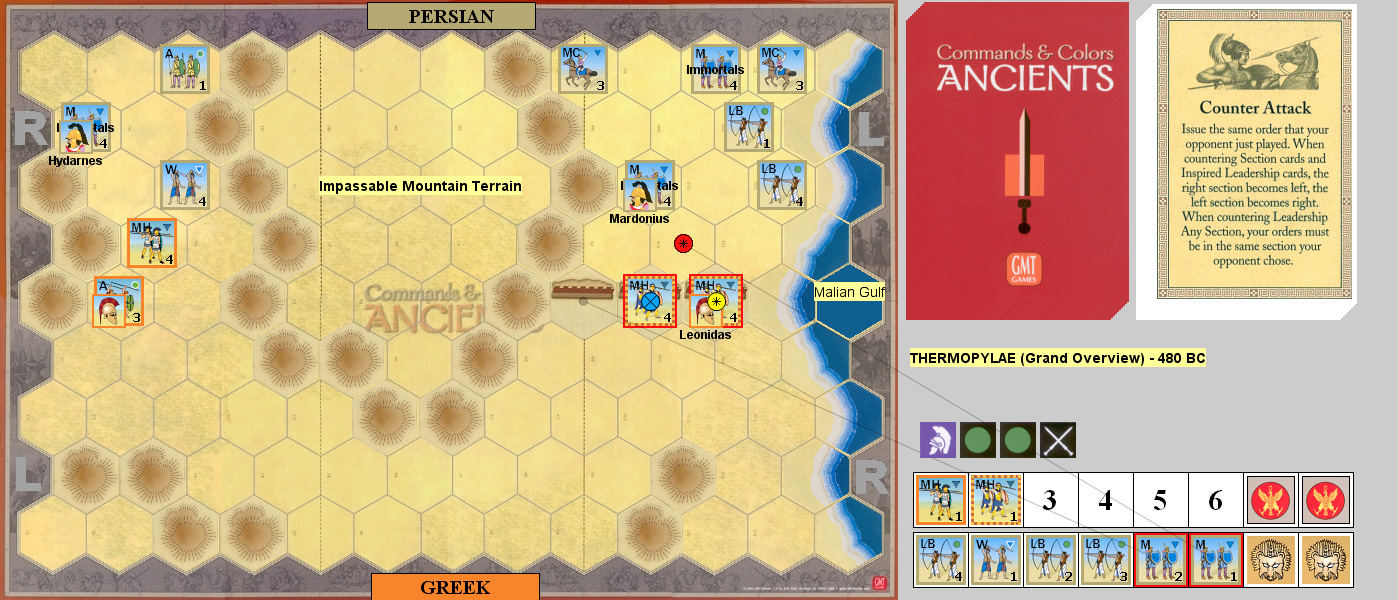
Sepeia 1

The second time around, I started with Move-Fire-Move to get the wings in motion. Patch voluntarily moved his left flank into the sacred grove to keep them away from my Aux. He kept pulling back, while I struggled to move up and not let the line fall to pieces in the process. I ended up playing an Inspired Left, Leadership any Section (on the center), and Inspired Right to move everything up to or near contact in turn. He had one MH out in front, and I got it on the second turn, and momentum advanced to the main line. That nearly cost me the unit on a 4-hit Battle Back (Spartan Hoplites…), but I got the unit on the next attack, and forced his leader back into the depths of the sacred grove or face a 2-die momentum attack alone (not that bad but I don’t think either of us thought of the 2-die limit on forests at that moment). Instead the momentum attack hit the next unit in line, causing two hits and a retreat. Then my Aux got a 3-hit attack on his weakened Aux….

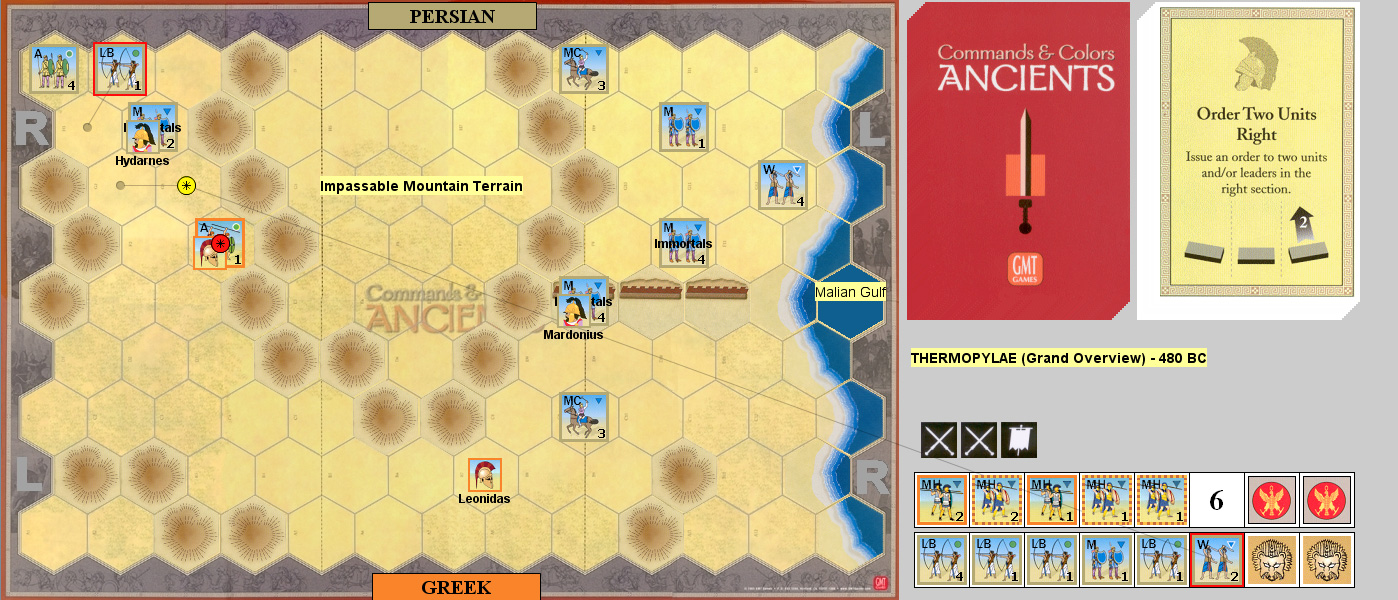
Desperate, Patch played Mounted Charge (again! why can’t I get that?), and got his own weakened unit knocked out on the first attack, but finished off the weak Spartan Hoplites and killed the leader after that. He followed up with Order Medium to knock out another weakened Spartan Hoplite, an Allied Hoplite, and momentum attacked to wipe out a three-block Aux to win. 5-6

Sepeia 2

Both games took about 45-minutes, instead of the usual hour, so after all that we went back and finished off the ASL game.

└ Tags: C&C Ancients, gaming
 Comment 

A Whole New World

by Rindis on December 2, 2013 at 2:00 pm
Posted In: Computer games

This is the sixth in a series of reviews of Paradox’s empire management games. See the earlier reviews here:
Europa Universalis II: A Tale of Two Europas
Hearts of Iron: Europa of Iron
Victoria: Nineteenth Century Essay
Crusader Kings: A Dynastic Adventure
Hearts of Iron II: Return Engagement

Paradox Interactive returned to their original empire management series at the beginning of 2007, with the release of Europa Universalis III for PC and Mac. It was a completely re-done game, with plenty of new features, but the scope was reduced back to about three centuries (1453 to 1789). Fairly quickly, two planned expansions were released: Napoleon’s Ambition in late 2007 (which extended the timeframe to 1822) and In Nomine in 2008, which moved the starting date to 1399.

Paradox then released a combined edition called EU III Complete in late 2008, little realizing that fan insistence would later prompt the release of two more expansions. This version covers 423 years, which is the largest scope of any Paradox game yet (no, wait, Crusader Kings II with The Old Gods expansion would be longer). I’ve only played Complete, so this review will purely be about it.

Clausewitz

At the time Hearts of Iron came out in 2001, it was obvious that the game had much the same feel as the preceding two Europa Universalis games, but it was mentioned by Paradox that almost no code had carried over, and they weren’t really the same ‘engine’. I haven’t seen anything about the later games, but I can only assume that as time went on, they got better at doing code that could be re-used in each later game.

In the mid-2000s, they began work on an actual game engine that would be written from the ground up to be expandable and to support all further games they did. This project was named Clausewitz, and has formed the basis of every new game from Paradox since 2007.

The centerpiece of all of Paradox’s games is the map, and the Clausewitz engine featured an all new 3D-rendered map. While it would later become fairly spectacular, it was less than stellar on its first outing. The oddest part is that the provincial borders managed to feel very arbitrary, since they consist of a bunch of straight lines (there is actually a grid pattern that the borders are defined by) that occasionally have odd, meaningless detours, and don’t match any easily discernible boundaries (for instance, none of them follow the courses of rivers visible on the map).

The map is easily zoomable with the mouse scroll-wheel, and while it can zoom in to the point where you are only looking at a couple of provinces, you can’t even see all of Europe at the furthest zoom out. At the closest levels, small trees become visible, while at the further levels even the province names become invisible. Color-coded map modes are still the preferred way to easily display information, and this is improved over the previous games with a striping effect for things like showing that someone has captured a province. Also, there are now color-coded tool tips in many places that let you know what effects are bad (red numbers) and which are good (green).

The general structure of the engine is that every game first brings up a launcher window, from which new updates can be detected and downloaded. Typically, there are no intro movies when the game starts, and as the game loads, instead of a single loading image with a progress bar, a number of paintings go by before bringing up the main menu.

One of the most impressive features of the new game, shared by most of the other games on the Clausewitz engine, is the ability to start at any point in the period the game covers. There are still specific scenarios, but these are just ‘bookmarks’ to particular dates; you can change the date and the year, and watch history unfold in the country selection map.

Simulation vs Recreation

In my review of EU II, I mentioned that much of the game, and especially the events, were built around a sense of ‘acting out’ history. This general idea was followed in most of the rest of their games, but came to an end here.

These events helped generate the feeling of actual historical context, and helped with a ‘living world’ experience… when they worked right. The random bits of history that happen because of events and people outside the scope of the game still happen. However, it was too easy for things to go off the rails, and for these events to never happen, or worse, happen when they were entirely inappropriate to what was actually going on in the game.

In EU III, most of these events were taken out of the game entirely. Also, the old system of getting certain monarchs and leaders on a fixed schedule was scrapped, with new monarchs becoming a random event with random abilities. This removed a certain level of historical interest, but made the game more internally consistent.

Decisions, Decisions

Possibly the biggest new feature in EU III was decisions, which only grew in importance from the initial release to In Nomine. Generally, any nation will see a large list of options available to them, that will offer bonuses and penalties. To be able to take any particular decision, you need to achieve certain prerequisites, and all of this is spelled out clearly in tool-tips for each one.

Decisions exist in three different forms, in three different places in the game. National decisions have their own tab/window in the main interface (shared with missions, below), and can affect most everything in the game. Religious decisions are similarly national in scope, and are listed in the religion tab, while provincial decisions naturally exist in the provincial UI (though there is an alert and ledger page that tells you when there are provincial decisions available).

Many decisions are trade-offs, increased stability for decreased revenue and the like, but others are more straightforward, rewards for achieving certain preconditions. They are a good extra system of ‘customizing’ a country to specific needs, that does not require any continuing input by the player.

Finally, there are a number of nations familiar to us in the twenty-first century that had not fully formed in the fifteenth. Traditionally, EU had events that could form Russia, or turn the Iberian kingdoms into Spain, and that was carried through in EU III. But in In Nomine, these events were turned into decisions. As events, they went off randomly after the (not-visible) requirements had been met. As decisions, they are visible to any country that can qualify for them. These events were turned from a random occurance into something that could be planned for, and implemented at the player’s choosing, instead of waiting for it.

Government

While you technically play as a country in a Europa Universalis game, the government itself was not much of a concept in the original, with lists of historical rulers with abilities judged on historical performance who reign during their historical times being about the limit of definition in the original, and the addition of eight policy sliders in EU II allowed some player personalization.

EU III introduced governmental forms, and the random changeover of rulers. Monarchies and despotisms generally have rulers who serve for life, and the age at which the monarch dies is random, as are the abilities of his heir. Republics have an event every few years that elects a new ruler with a choice between candidates which emphasize each of the primary ruler characteristics.

Initially, there were thirteen different forms of government, these could affect policy changes, how often rulers change, and a few specific bonuses. In Nomine increased the main set to fourteen, and added some special groupings that only interact with the main set through decisions.

Three ‘tribal’ government types which represent the last vestiges of pre-Medieval culture in the world of EU have some policy restrictions, and increased costs to develop technologically. This last is on top of the fact that countries with this government type already belong to a culture that has slower technological advancement. On the other end, a late-game country can undergo a revolution to become a Revolutionary Republic, which gets plenty of powerful events to help out, while also forcing wars with much of Europe.

The policy sliders mentioned above from EU II have stayed the same, but most of the time, you can only adjust them at an even slower rate than the once-per-decade of EU II, as only the most flexible governments can manage that rate. And several governments have restrictions on the slider settings. You aren’t prevented from going past the limits, but revolt risk starts rising sharply if they do.

Another feature added ‘people’ to the government with three advisor slots. Advisors have a lifespan just like rulers, and there is a general pool of available advisors, but when a new one appears, he is only available to one country for a year, and then he will join the general pool, if he has not already been hired. There is a large number of different types of advisors, and each one has an effect on a different part of the government (taxes, technology research, stability, missionary conversions, colonization…). They also have ratings from one to six, and the higher the rating, the higher the hiring cost and monthly salary, but the stronger the effect.

Ideas

The big addition to countries didn’t involve people, but did involve personalization. As government technology increases, idea slots are opened. Ideas are considered fundamental policy decisions, that generally give a bonus to one of the multitude of national statistics.

The number of ideas that a country can have goes up throughout the game, as governmental technology slowly unlocks more slots, up to a maximum of twelve. At the same time, the number of available ideas grows, as they are unlocked by advancing the relevant technology. There are forty ideas in the game, spread across five fields of naval, land, exploration, state, and culture.

Military

Combat still has the same sequence as the original games: alternating fire and shock phases, and each military tech level slightly adjusts the effectiveness of troops in those phases, with fire being useless at the beginning of the game, and slowly overtaking shock effectiveness as the decades roll by.

A lot of other things did change. Troops are no longer just lumped into pools of each type that are attritioned away and replaced with fresh men, but are hired in discrete 1000-man units like every game from Hearts of Iron on. These units are more expensive, but reinforcements are sent to them every month if they are understrength at a rate that depends on the unit’s current situation and the military budget.

Each unit also has a type with its own modifiers for damage and morale in shock and fire combat, with better types becoming available as the game goes on. Each cultural or technological group has its own formations available, so for example, Western cavalry is the best in the early game (late medieval), and late game (Napoleonic), but substandard for much of the rest of the game. The actual performance of a unit is dependent on its type as well as the overall modifier from your current tech level.

The large structural change to combat was the introduction of combat width, but while it was graphically represented, it was never clear nor well explained. In general, the idea is to limit the utility of super-stacks. The width is the maximum frontage (units) an army can put on the line. The two forces line up, and attack their counterparts (only) on the other side until destroyed or forced out of line. Cavalry units (with higher mobility) generally go on the flanks, and if unopposed, are allowed to attack a unit on the other side in the flank, causing it to take more damage than if engaged by just its counterpart. There is a second line behind the main line of each side, and artillery will line up there and and its firepower to the unit in front of it as it attacks its counterpart. A larger army should beat a smaller army, as it will have more units to cycle through the line until the smaller army breaks, but smaller army with superior units and/or leadership only has to take on force of about its own size, and can defeat the parts that can get at it in turn.

Sieges work much the same way as the original games, but instead of mountains and other rough terrain giving a bonus to the defense that makes it harder for the siege to get going, it adds to the defensiveness rating. This rating (which can get national modifiers), causes the amount of time between each siege check to go up, lengthening the entire process that way.

Finally, in the earlier games leaders had also followed a set schedule with statistics based on history. EU III acts a bit more like Victoria, and introduces the concept of Army (and Naval) Tradition, which can be gained through fighting battles, exploration, and a few other activities, but then declines over time. Leaders can then be recruited as desired/needed, and their level of ability depend on the current military tradition.

Rebellions

Like in the original games, one of the major internal pressures on a countries are armed rebellions that can spring up depending on a number of factors. This turns into a monthly chance of a rebellion starting in a particular province, which then must be put down.

And that’s about where it ended originally. When a rebellion happens in EU III, the rebels have a type, which defines their goals, should they not be stopped. The most common types are patriots and nationalists, who either want to join a nearby country, or found a new one, as determined by culture types. But there are peasants who want lower taxes and liberties, zealots who want to change the official religion of the state, and a few other variations.

A final rebel type are pretenders. They have a leader that they want to see on the throne instead of the current ruler, and tribal governments tend get a lot of them (in a succession crisis) every time the ruler changes.

Colonization

As with everything else, EU III both maintains much the same colonization system as the earlier games, and brings new features to it. A very important new feature is that uncolonized provinces have no resource at all. Previously, every province’s trade resource was fixed; now, it is only decided when a colony grows to size 3, and it is randomly chosen from a list of resources appropriate to the region.

The trade post system was dropped, leaving only regular colonies in the game, which operated much the same. In Nomine reworked things a bit. The idea of colonial range was added; the distance from the home country that new colonies could be founded, to keep European powers from grabbing all of Asia too early.

Being able to colonize at all was made dependent on a few national ideas, especially Quest for the New World, which allows exploration, and Colonial Ventures grants a colonist each year (state religion can also generate colonists). In addition to sending out explorers, just owning a province adjacent to terra incognita will eventually reveal the adjacent areas, so countries like Russia can expand across Asia without needing to take the idea.

Conclusion

Europa Universalis III is a sequel game that does not entirely replace the former entry to the series. The shift in philosophy causes a few things to be lost, but in all, this is a much improved game. The graphics are lackluster, and lose some artistic charm, but EU II wasn’t that great looking, and graphics are not at all the point of the game.

Releasing a game with two expansions already planed for within the next year raised some ire and accusations of paying for beta-testing. To a certain extent, this is true. But, I have found that some of the best games are those that go through an intense period of revision with guidance from a large audience. EU III got that in it’s first year, and I think the wide audience feedback allowed In Nomine to be an expansion that really made the game much better than it already was.

└ Tags: Europa Universalis, gaming, Paradox, review
8 Comments

Death of a Thousand Scouts

by Rindis on November 28, 2013 at 7:54 am
Posted In: Boardgaming

Had another get together, and game of Space Empires 4X this last Saturday. Mark paid for pizza to be delivered so lunch would be short, and we got through twelve economic turns this time.

There was a little debate on rules this time. I was wanting to start including the advanced rules, starting with the merchant pipelines, but that got voted down. We did use the fleet markers from the expansion, jump gates, and the ‘heavy terrain’ optional rule.

Jason got off to the best start, with three worlds to colonize right next to his own. Everyone but Mark quickly lost a scout to the black hole in their respective home areas. Mark eventually lost more scouts to black holes than anyone else (I was the only one to get a good roll and escape the discovery of a black hole during the game), but never found the one that was part of his home exploration chits. Instead, the last hex in his home area (obviously the black hole) stayed unexplored all game.

Initial conflicts were sparked by the appearance of pairs of ’10 mineral’ markers stretching across the deep space areas of adjacent powers. Mark went after the pair between us, and pressed on into my territory when I seemed to be moving up to them myself. Not actually having a navy yet, I lost what little I had, and did no damage in return. In the meantime, Jason attacked Dave with a much bigger navy than anyone expected (two CAs plus DDs), and wiped out three colony worlds. This broke off the war between me and Mark, aided by the discovery of a jump gate between us that led to the border of Jason’s area.

There wasn’t really any effective fighting for the rest of the day. Everyone but Jason tended to have poor die-luck most of the time, and Jason’s navy seemed to be usually one step ahead. Mark was trying to go the direct route towards Jason, and having trouble actually exploring the area. My economy was large, thanks to settling four planets in the zone between me and Dave (who was way too busy to contest it), but it took a long time to get my technology where I wanted, though I finally had a good BC-heavy navy at the end of the day.

Overall, things went a bit different than before. Mark had bought Tactics 2, and Jason and I had Tactics 1, while that technology has been ignored in the past. Jason and I had Move 2, which is a bit slower development there than we’ve seen before. Jason still had the numerically largest navy, with a mix of 5xBCs and 4xDDs, with a 2xCAs (probably older) and a current income of 55. I had slightly better shipyard capacity (by two), and 10xBC (all +2/+2), and an income of 80. Mark’s income was 55, with 2xBC, 3xCA, and Dave was at 65 with 9xCA, 1xBC.

I knew I had developed my economy better, but I seemed to have a lot of problems leveraging it, since until the very end, both my navy and technology seemed to be well behind. (Of course, I ended up with far less mineral income since everyone else tended to get the ’10 mineral’ markers that came up. Some of this might have been losses in scouts. We had wondered what purpose the exploration cruiser rule had, since by the time you could build one, there would be nothing left to do. With heavy terrain in effect, it suddenly makes much more sense. With ‘danger’ and ‘lost in space’ markers getting replaced, deep space exploration suddenly got a lot tougher (aided by lots of blown rolls when finding a black hole), with some hexes claiming four scouts before being explored. At the end of the day, there was still ~6 hexes untouched, and exploration technology would have probably paid for itself in terms of not losing scouts.

└ Tags: gaming, Space Empires
 Comment 

Not a System

by Rindis on November 27, 2013 at 9:34 am
Posted In: D&D

A year after putting out Waterdeep and the North, TSR published one of the most unusual boxed sets in RPG history. Usually a boxed set is a variety of material, including a couple of books, and maybe a couple large maps; but in this case, it contained one thin booklet and twelve poster-size mapsheets. Technically, the booklet could help out with running a game in any city, but this was less than entirely accurate, and the real reason for the box were the twelve mapsheets, and all of these were about one city in particular; Waterdeep.

The booklet itself is 32 pages long, and has some notes about the what the rest of the contents of the box were all about, and then reiterates the basics of the city of Waterdeep from FR1, including the history and laws of the city, though this includes a timeline not present in the original. There is a reiteration of the building key as well (needed, since the included maps mark the same buildings), as well as a ‘guide to services’, which lists them by type and map/grid location, so that this time there is an easy way to answer sudden questions such as ‘where are the nearest stables?’, from the party.

After that, there is finally something that could be used with any city; ‘street scenes’. These are large random tables (d100) of things and people going by on city streets that can be used to help set the stage (flavor, witnesses, etc.) at any point in an adventure in Waterdeep. These tables are keyed to the different wards of Waterdeep, but it wouldn’t be too hard to adapt to another city. There is then a short discussion of using recurrent encounters to help drive a sense of continuity in city life, with a page of suggestions, and the book finishes up with four pages of random tables for the potential results of picking a random NPC’s pockets.

Ten of the twelve mapsheets in the box go together to form a huge 67″x108″ map of Waterdeep (arranged in a 5×2 pattern; Waterdeep is quite rectangular). It’s quite impressive—if you have the space for it. (I don’t currently.) This isn’t the best that it could be, as the buildings are color-coded by what ward they’re in (handy, but a bit heavy-handed), and each keyed building is cut out of the image, leaving a white area with the number.

Waterdeep isn’t actually as wide as two mapsheets put together, and that’s where some of the more useful parts of the product come in. Along the outer edge of each sheet are a number of floor plans of potentially important buildings. These aren’t anything truly inspired, but they are potentially handy, and probably the most useful part of the entire product with about thirty different floorplans (most with multiple levels) in a 5 feet to the square scale.

The eleventh sheet is an isometric map of Castle Waterdeep. This includes a plan view and a close-up of the castle itself, showing the long switchback ramp up to the main gate. It’s not entirely bad, but the design is a very poor looking collection of narrow round towers with no thickness to the walls (probably not enough to support the structure, much less keep out rude neighbors), lines of windows along the top galleries, and not an arrow slit, machicolation, or other sensible defensive siege feature to be seen. TSR’s chronic lack of understanding of siege engineering is on full display here.

The final sheet isn’t really a map. It’s an illustration. A view of the city as seen from the top of the fortifications of the harbor. Since the southern part of the plateau the city is on slopes down to the sea, you get a very good view of the southern parts of the city, the ridge/mountain that Castle Waterdeep is on, the castle itself, and part of the city walls, though the actual South Gate runs off the right side of the view.

Assuming that TSR was able to just blow up their existing map of Waterdeep without much re-work, this box set was probably fairly easy to produce. However, value is lower than even that fairly simple job. If you want to run a game centered (or entirely) in Waterdeep, this can give good value, as the extra color will help, and the easier to read, blown up map will help. However, it is in no way essential to that, and if you aren’t heavily involved in Waterdeep, there’s extremely little of interest. Map junkies will still enjoy it however.

└ Tags: D&D, Forgotten Realms, gaming, review, rpg
 Comment 
  • Page 226 of 315
  • « First
  • «
  • 224
  • 225
  • 226
  • 227
  • 228
  • »
  • Last »

©2005-2026 Rindis.com | Powered by WordPress with ComicPress | Hosted on Rindis Hobby Den | Subscribe: RSS | Back to Top ↑