
Played Sekigahara last night with my dad. It’s not his first time, but it’s been a few years, so it was a pretty much a full re-introduction.
I took Ishida, and wasn’t confident at all for any battle for the first couple turns. Fortunately, my dad used fairly conservative play, and the first real battle didn’t happen until the end of turn 3. However, I moved against Miyazu castle and took it at the end of the first week, giving me a lead on castles I maintained during the entire game. The opening Maeda forces in Kanazawa ended up heading east and south to help the main army coming up from Edo to besiege Ueda castle, so managed to advance to two-block force to take Kanazawa (two three-mon Ukitas to get seven impact).
I was also slowly marshaling forces along the west end of the Nakasendo road, and moved one block out from Ueda, so Tokugawa would have to besiege it with two blocks and the disk inside, and that chewed up time, as the force wasn’t able to get more than one block at a time. Part of the consolidation of my dad’s forces was moving the Date forces down to Edo, so I took Shirakawa and Sendai, and advanced towards Edo. My four-block army couldn’t take the city, but anyone who guarded it wasn’t headed west, and anyone fighting Uesugi was going the wrong way. As it was, he did go to fight it, just as I had the cards I needed, and while I lost half the army (two blocks) in the biggest battle of the game, I was still victorious (daimyo + 2×3-mon + special, all Uesugi = 16 impact).
The rest of the army got wiped out after that, but I’d been slowly mustering extra (non-Uesugi) blocks to Aizu that were all cavalry, and a starting (“random”) cavalry was up in Takeda. Before that last block could join the rest (failed my bid to go first), the three at Aizu were brought to battle, and I had a bunch of special cards to use. I won handily (3xcav, all different clans = 15 impact), but one of my dad’s blocks survived to retreat and block the road south.
Meanwhile, I had pressed south, and taken Kuwana and Anotsu before finally taking out the starting army in Kiyosu (in the week-three battle mentioned before). From there, I took Okazaki and reconcentrated on the Nakasendo. After Ueda fell, the Tokugawa army headed west, and the situation turned into a ‘sitzkrieg’ with two large armies staring at each other at Gifu and Kiso. I had control of all of the Tokugawa mustering locations other than Edo for a short period. Sendai was retaken during the fighting in the west, and then I moved out to take Takeda from Kanazawa. That worked, but then he mustered there before my army got back. For some reason this had slipped my mind, and I even had a turn in which to get back, if I’d thought to force march. As it was, I gave him a final turn-choice between retaking Takeda and taking Aizu, and my dad went for the more valuable castle, but couldn’t quite wipe out my army.
The final score was 17 to 10; I had 6 castles and 5 resources to my dad’s 3 castles and 4 resources. I was in the dominant position all game, though I had to be cautious around the large armies that might suddenly have a hand that worked. I always had the castle bonus, and almost always had the resource bonus (we tied on week 2, and my dad had the advantage on week 5). I was paying a lot more attention to my card counts this time, and was spending to an odd number pretty much every time, which is not something I managed to do before. Also, both of us did a lot of force-marching, which I’ve only seen once or twice in all my games before.
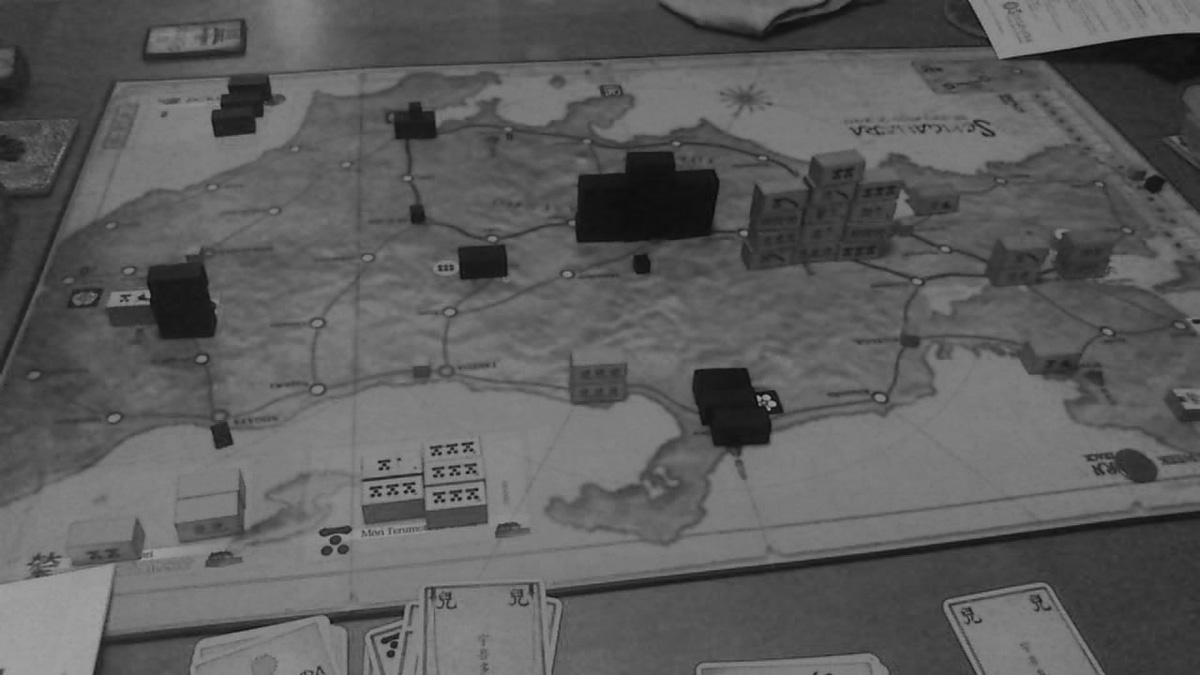
Situation at the end of the game. Trust me, the color from my camera is bad….


