
A Hundred Yards to Hatten
After way too long, I finally had some FtF gaming on Thursday. Jason came over for another session of The Last Hundred Yards. Jason was generally sticking with the early materials, and we did replay a scenario I’ve played before. But first, we went with Mission #5 “Counterattack at Hatten”, which caught my eye as I’ve been going through Hatten in Flames with Patch.
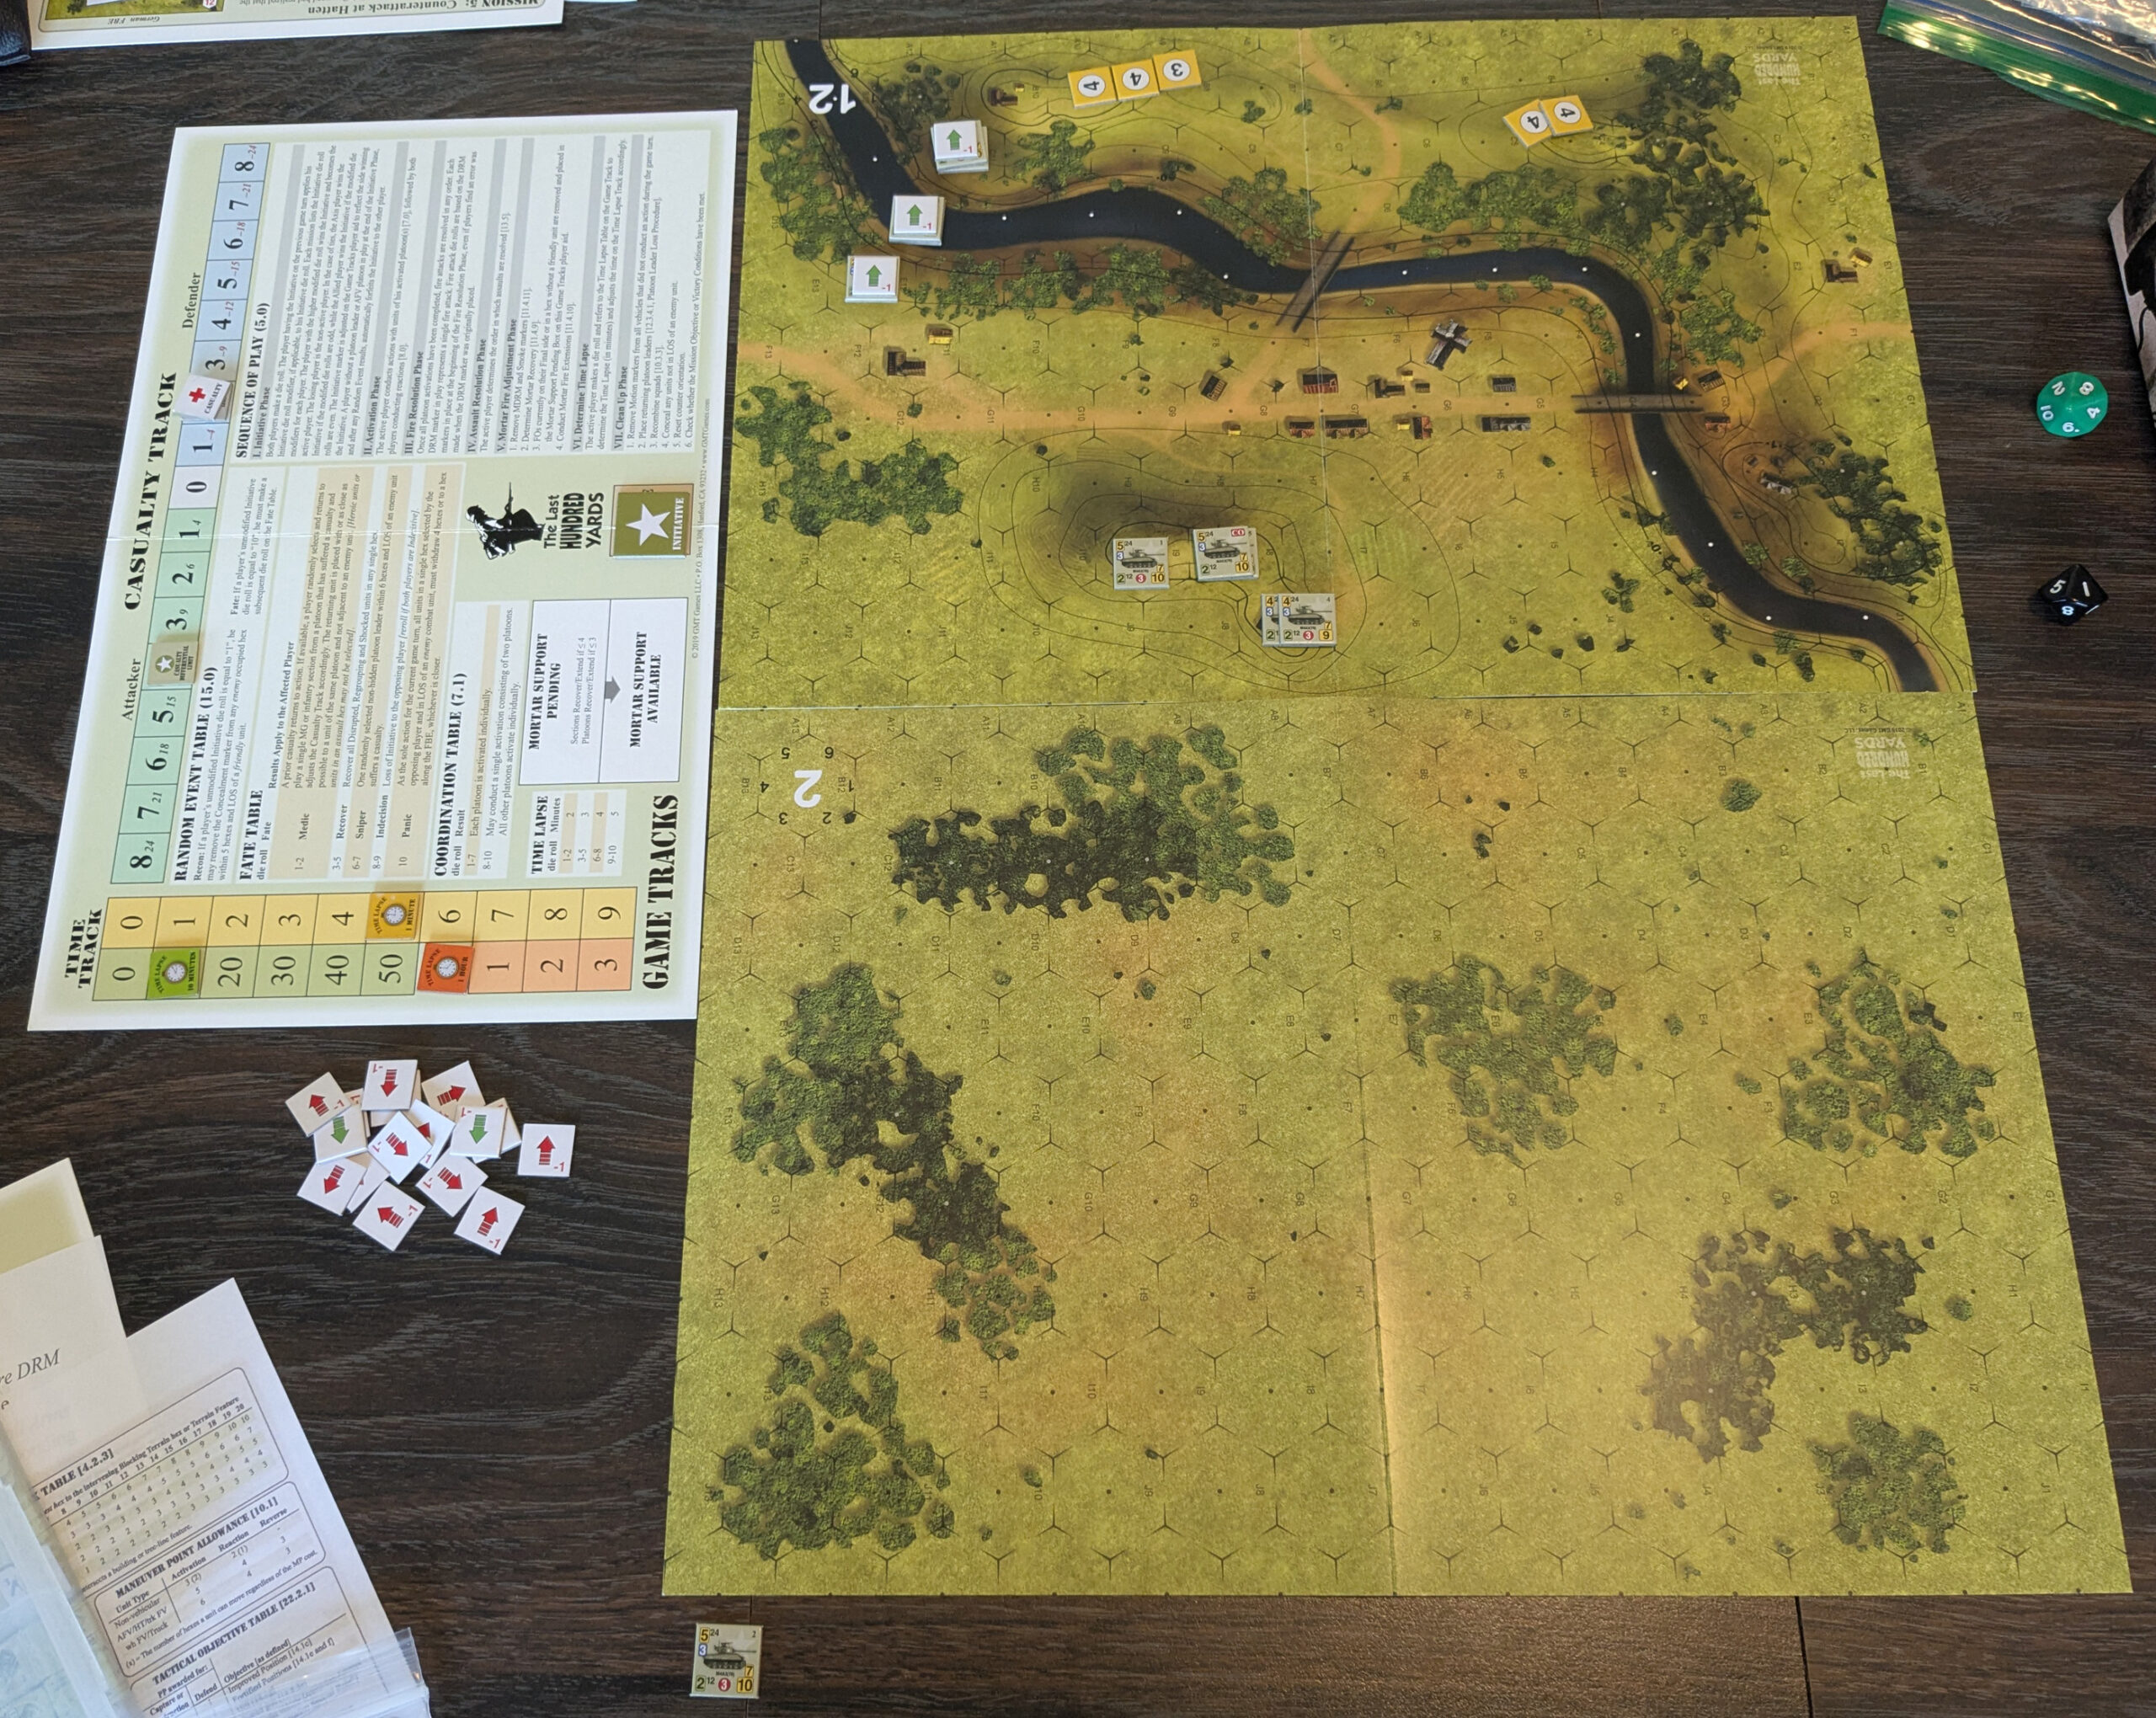
I can’t say it resembles the more detailed look at all, being an all-armor battle with the board 12 village presumably standing in for Hatten itself. That said, it’s an interesting scenario, as the Americans have twice as many tanks as the Germans, some of which are M4A3(76), and are trying to clear out the German armor, which starts hidden on the north side of the river (…there is a river about a kilometer north of there, this is a bit close). It could be interesting to see some of the HF scenarios translated over.
I had the Americans, and swept through open board 2, before sending the 76s up the board 12 hill, while the 75s ended up going west and looking to cross the ford that Jason hadn’t originally noticed (distracted by the two bridges). He revealed to start dueling with my forces, and tried to stand and fight, which ended very poorly for the Germans, as I could just mass fire and take care of targets one or two at a time.
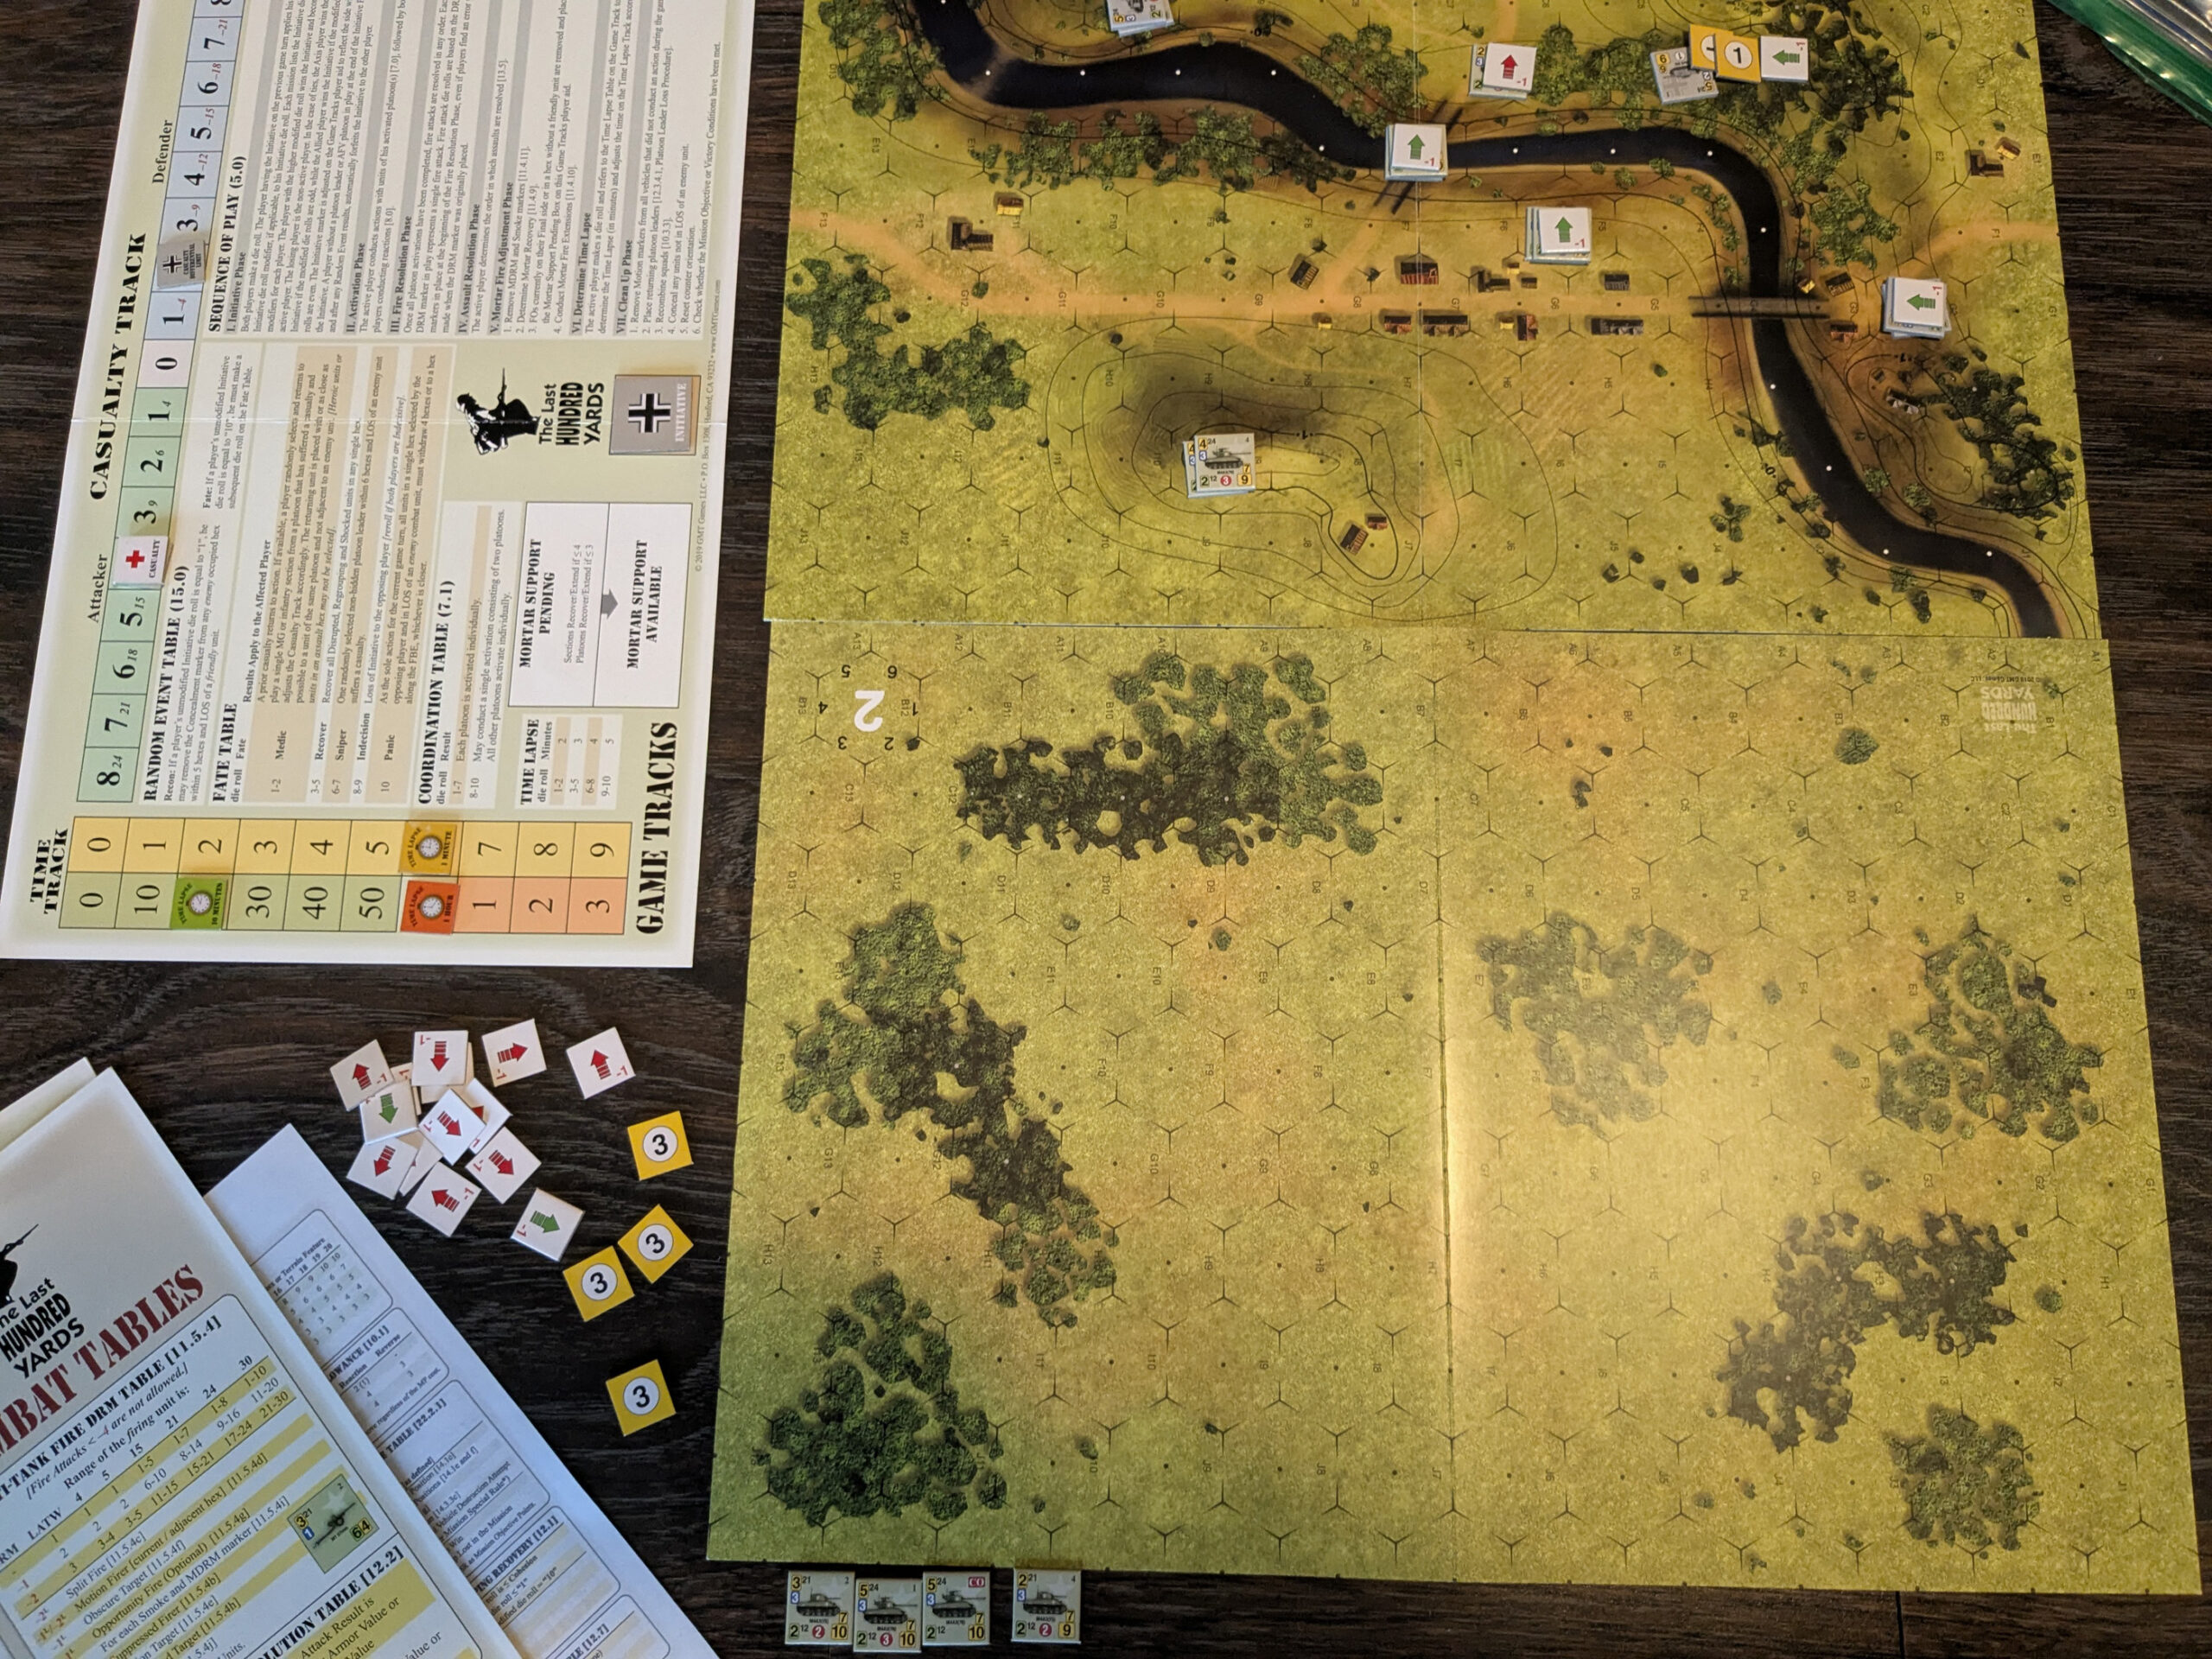
Jason decided he wanted another go at that, and set up a different defense, and practiced much better fire discipline, generally taking potshots and immediately pulling out of line of sight. I went with the same basic plan, but the 75s initially headed towards the eastern bridge, and forced Jason to pull back further in there before switching to the middle bridge. Unfortunately, Jason had good dice, and I lost three tanks immediately despite him taking ‘shoot and scoot’ penalties and occasional “hull down” penalties. (It is worth noting this doesn’t work nearly so well in ASL since this would all be unacquired shots in the 7-12 bracket—not that bad—which would then get a return volley from the rest of the platoon as it started and reversed out of LOS—that’s actually a bit unreasonable. If you applied Case J2 for 1 MP in LOS (due to being HIP before the shot), that’d probably be appropriate, but that’s not how the rules are written.) I was still trying to force him out into the open where I could properly smother him in fire, when he managed more kills, and pushed me over my casualty limit.
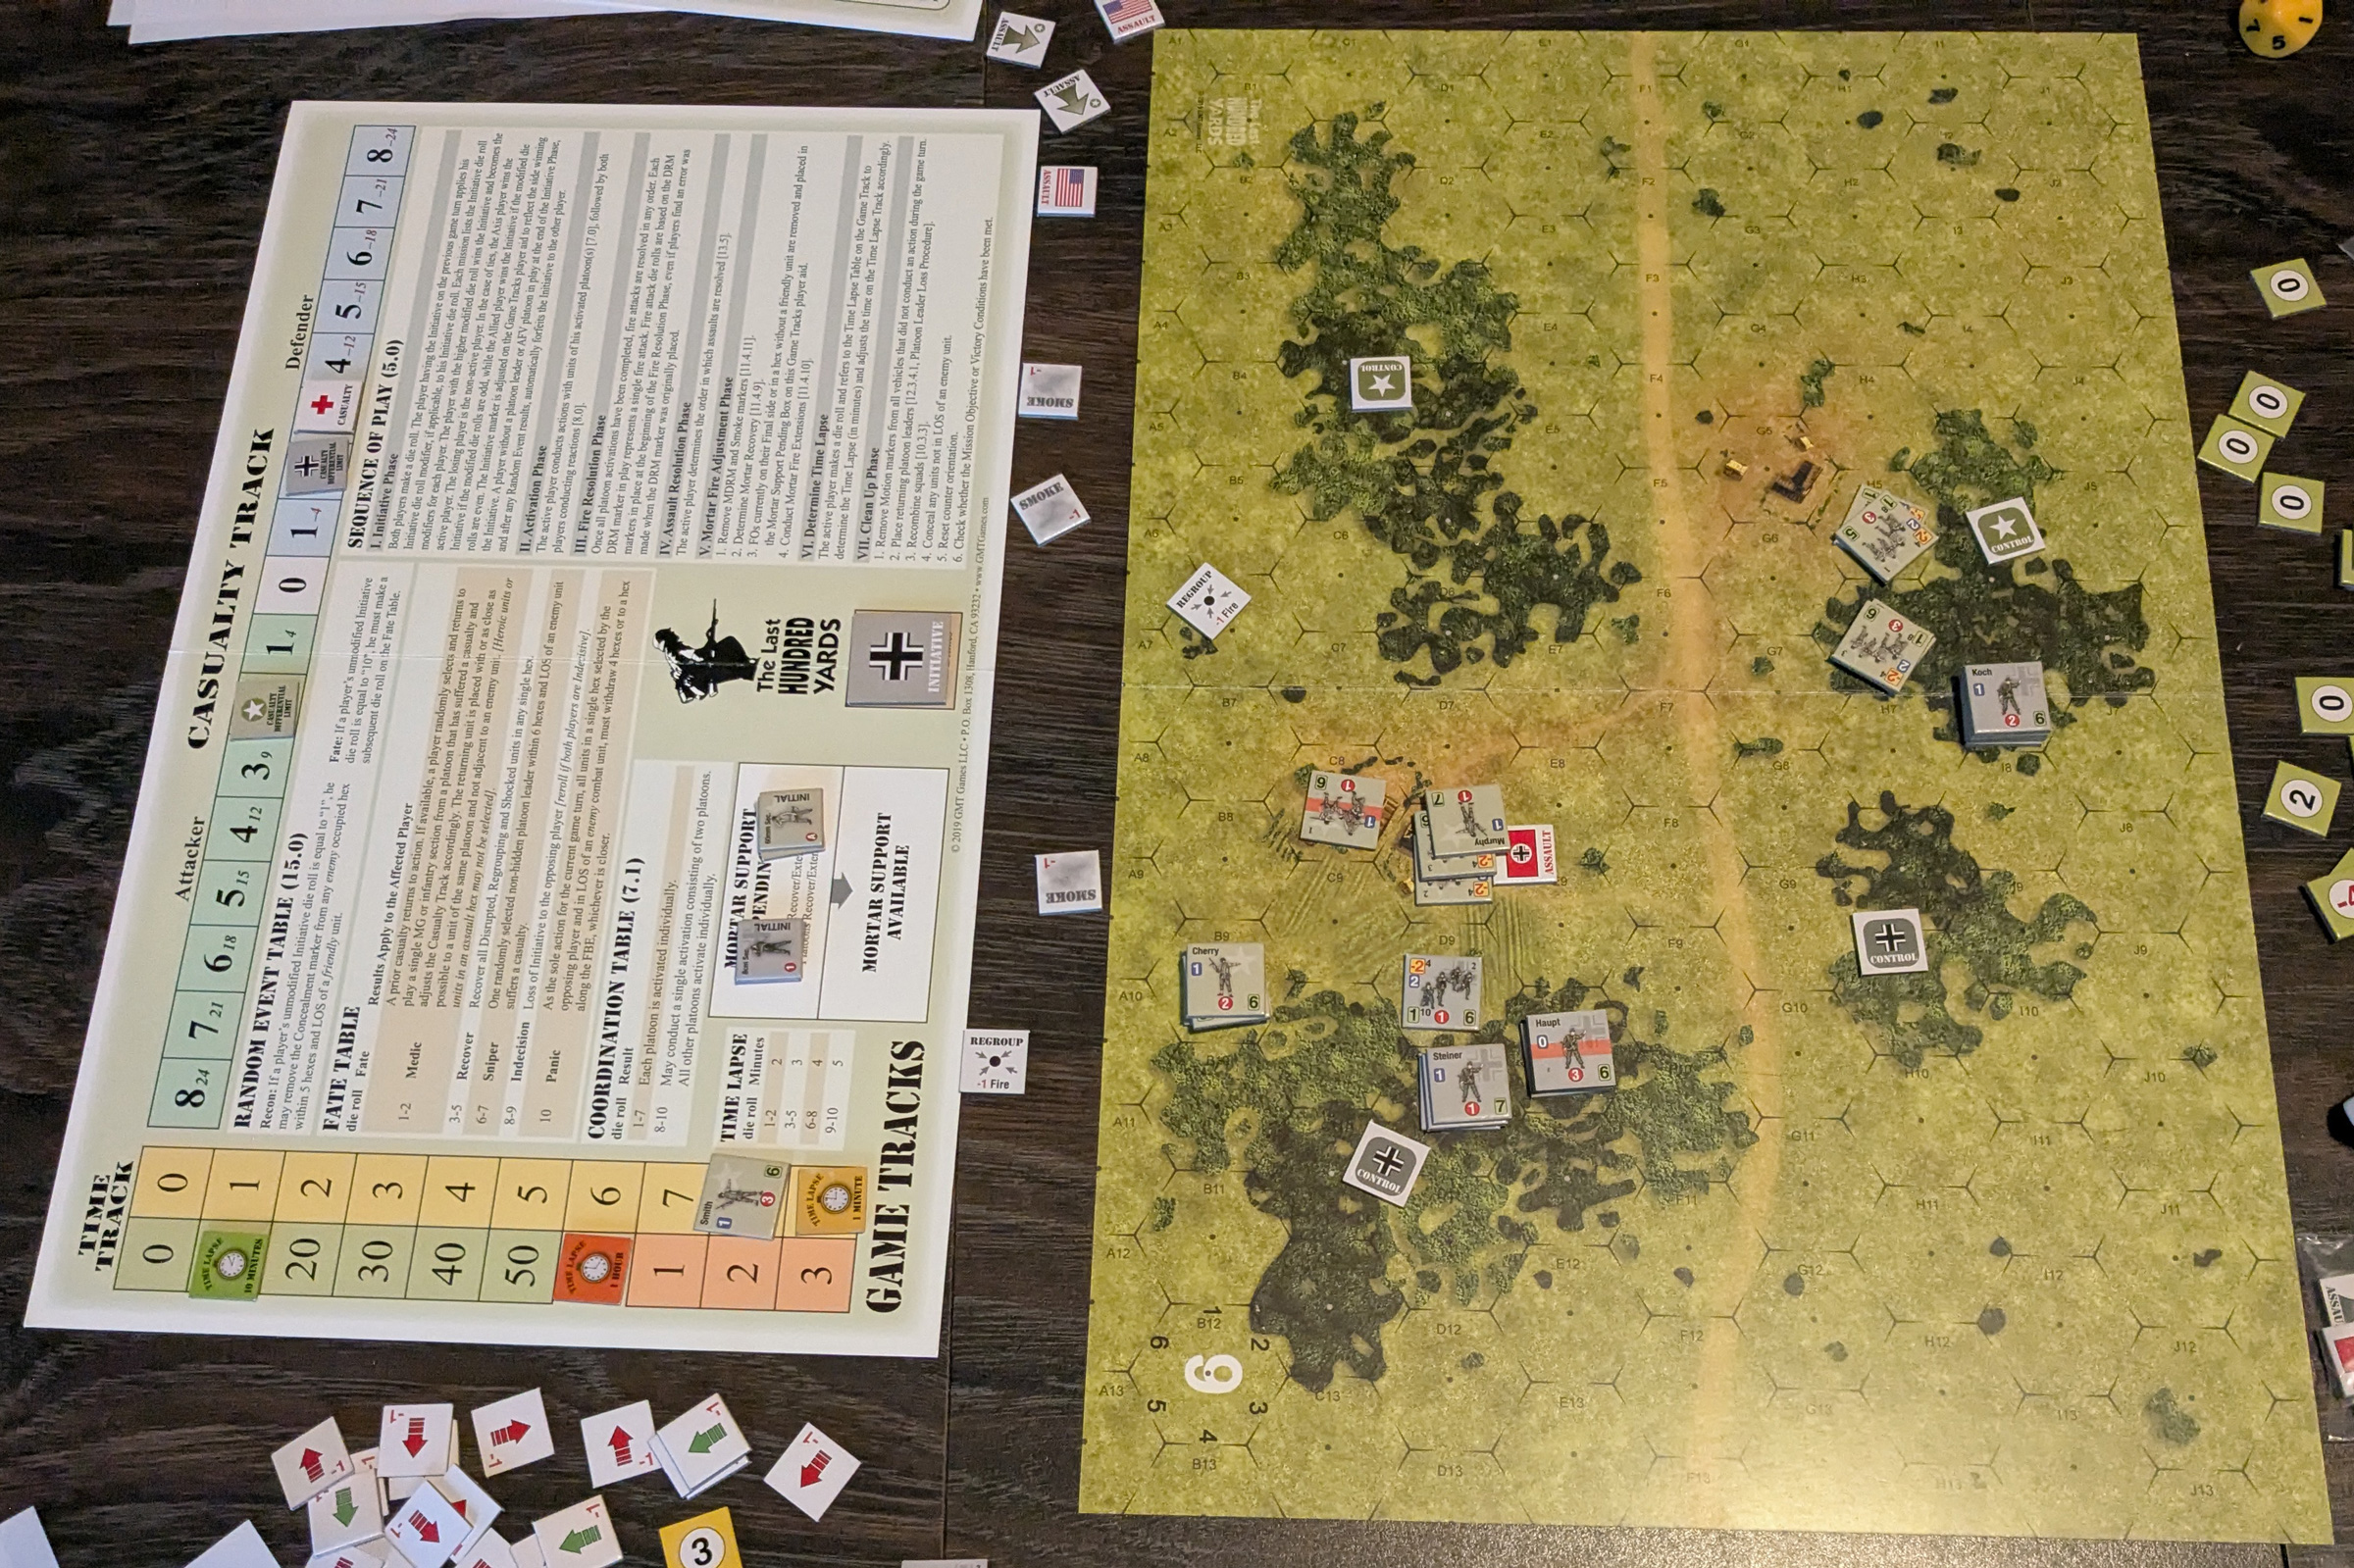
After that, we went to Mission #4 “Chance Encounter”, which is a nice even meeting engagement. Jason got initial initiative, and I picked the Germans, hoping to get a chance at the 80mm mortar support (though that 20% chance makes it quite unlikely). As it happened, the scenario didn’t go long enough for it to come up, as you can only start checking on that after ten minutes of game time.
We both moved up, and Jason managed to get into the central pair of buildings right before I could get there. I assaulted through the other one to get to him, and a mediocre roll sent me retreating back out again. My big mistake was sticking it out and only retreating to the other buildings instead of pulling back to the woods mass to regroup. Jason got initiative, recovered from the assault, and counter-attacked, causing losses and forcing me out.
This started a collapse there that eventually pushed me over the casualty limit. There were a good number of fate rolls during the game, one of which shot Jason’s third platoon leader, and I would have assaulted them if I could get initiative again, and hopefully cause real problems there.
We broke up for the day after that. There was still a decent amount of time, but didn’t have anything in mind, and a real danger that the next scenario could go too long. Still, we got three enjoyable scenarios in, and I re-familiarized with the system.
Discussion ¬