
Landing at Salerno
I got Salerno ’43 for Christmas, and I got to try it out that Friday when Jason came over. It’s a nicely compact game, with a smaller board than normal for GMT, and a single sheet of oversized counters. This was Jason’s first time with a “ZOC-bond” game, but I’ve previously played Ardennes and Normandy.
We did the short 8-turn scenario, and managed to finish it in good time, though the ending parts certainly suffered from a relative lack of action.
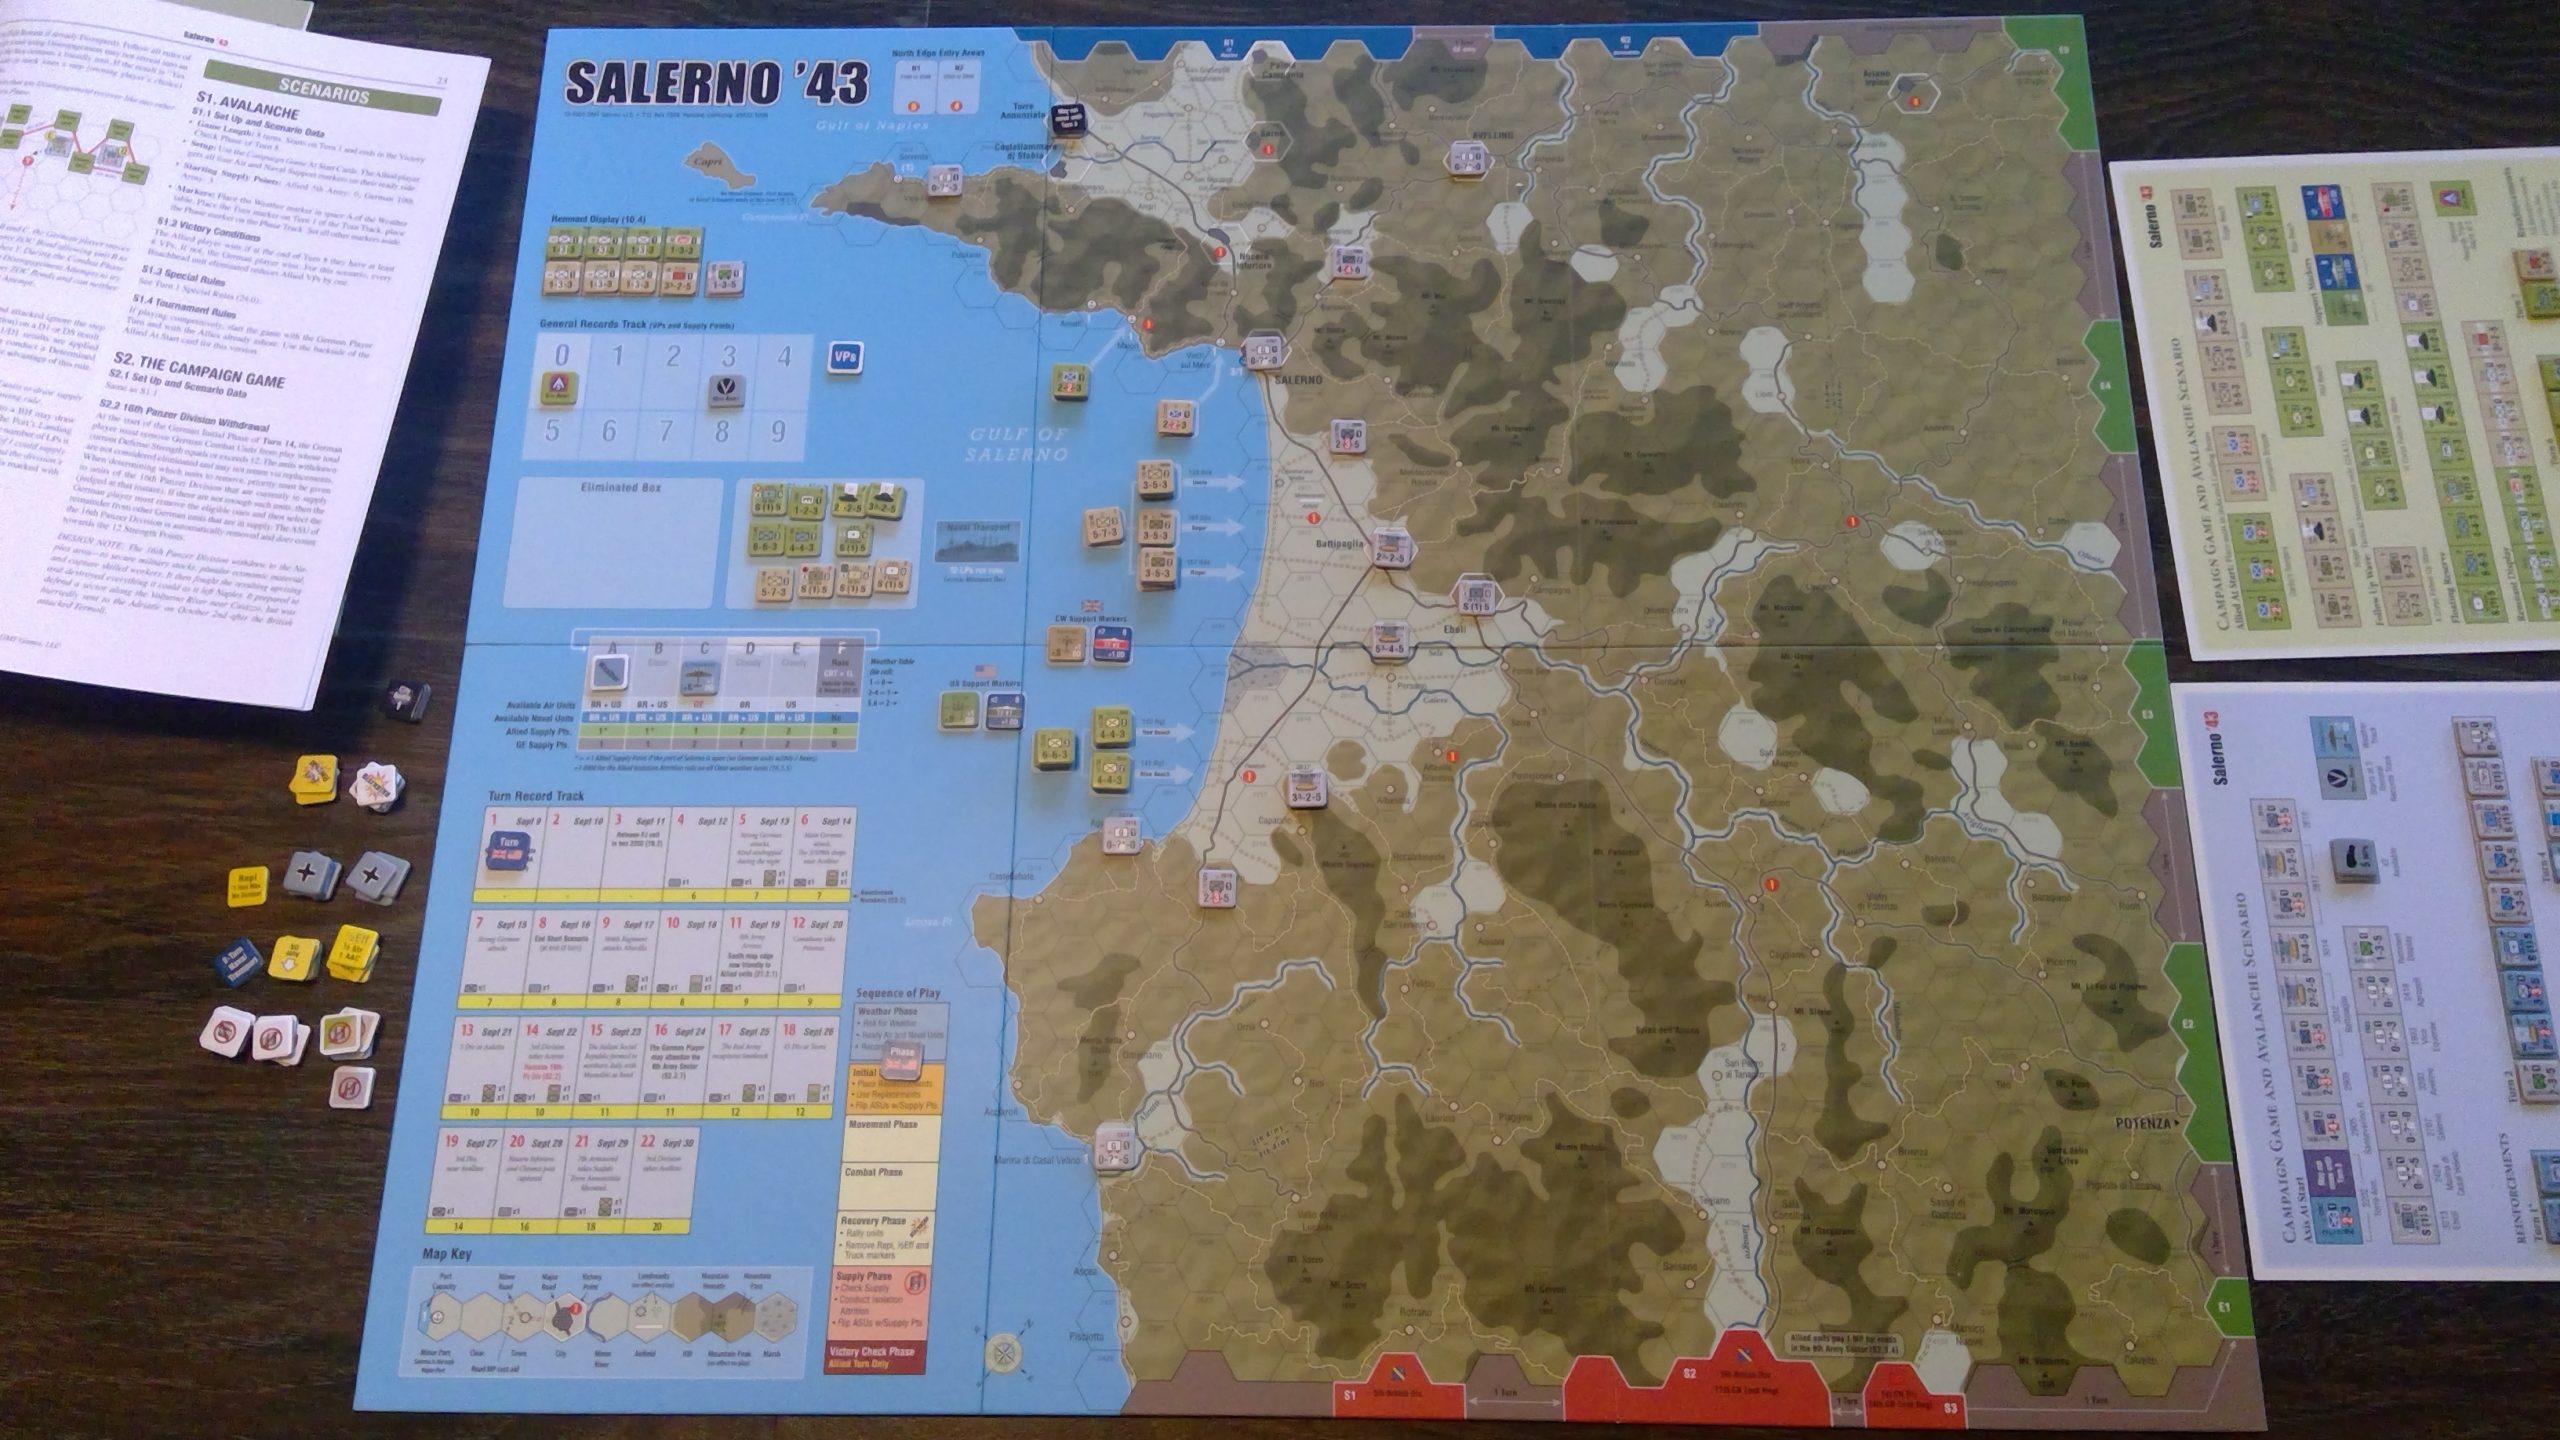
I’m afraid some glare took out the ‘in play’ shots I took. This is the opening setup.
Jason took the Axis, and I came ashore in pretty good order. (I’ll note that there’s little enough variation in Salerno’s landing tables that I think just sticking with the “tournament” results may do well to prevent a certain amount of boredom.)
Jason is not afraid to go in where more cautious people (me) would fear to tread, and had some good counterattacks on the beachhead. The Allies spend a couple of turns getting everything ashore, but then reinforcements dry up for a few turns, while more German units keep arriving. I kind of wonder if the flat transportation allowance is meant to allow the Allies to try shifting units in a hurry from one part of the perimeter to another. That still means heading back to a beach/port for the transit however, so it would be hard to pull off with the Allies having a notable lack of units after the first few turns.
I tried keeping pressure up around Salerno itself and driving north, but it came to nearly nothing. My first attempt was turned back by realizing how bad the supply situation to the west is, and we bottled each other up in the various passes, though I usually held the road to Avellino, and threatened it for a little while before the German line stiffened.
The south saw little action during the middle game, though I eventually started outflanking the Germans and pushed them back, and had managed to get across the Calore river in the hills. This presumably would have allowed me to press eastward towards Auletta, but this didn’t happen until the end of the scenario.
The middle see-sawed a bit at first, but mounting Allied pressure saw the Germans out of the bulk of the clear terrain, and I used the rivers to help hold the line as German units came up from the south. I then got held up at Eboli, and attempts to turn the north flank there got stymied as German reinforcements reached the area. The late-game crossing of the Calore threatened the southern flank of the position, and that, too, might have gone, short of counterattacks, but he just as likely would have anchored a line on the Sele.
Afterword
I missed getting a victory by one point, which I’m sure is fairly common for this scenario (either way). I see there’s a VP in Agropoli on the coast that I probably could have gotten if I’d seen it. There was an immobile garrison there that I didn’t bother to clean out because I was busy elsewhere. Jason had bad luck with the garrisons all day; I think they all came up ‘0’ for him.
The weather cycles from clear to stormy and then back again in a fairly consistent fashion instead of being purely random each turn. Seeing something like that ported back to Normandy ’44 would be interesting as there’s obviously some tension in that design for getting the ‘right’ number of storm turns.
I will certainly have to try this at least a couple more times as well as the campaign game. It doesn’t feel quite as replayable as the larger ZOC-bond games I’ve tried (mostly because of how tight the VP budget is), but that limitation could easily be an illusion. It is certainly a very good size for an afternoon’s FtF game.
Discussion ¬