
Last Stand at Tara
Jason came over last Sunday for a FtF game, where he finally got to try out the GCACW series. I decided to try the final scenario in Atlanta Is Ours, “Last Stand at Tara”, as it’s three days, and features a moderate number of units. After being used to All Green Alike, it was an adjustment to see almost entirely divisions running about instead of brigades and regiments. As set up, the action is a little more confined than I might have hoped for, but it is a fairly good situation.
Jason decided to take the Confederates, as they have a smaller force, which led him to have the first initiative. He contemplated an attack on the Union forces right outside Jonesboro, but I pointed out that the odds were… nearly even, if everything goes right with the chancy process of an an assault, and with more Union units strung out behind, it could (pardon the expression) go south pretty fast.
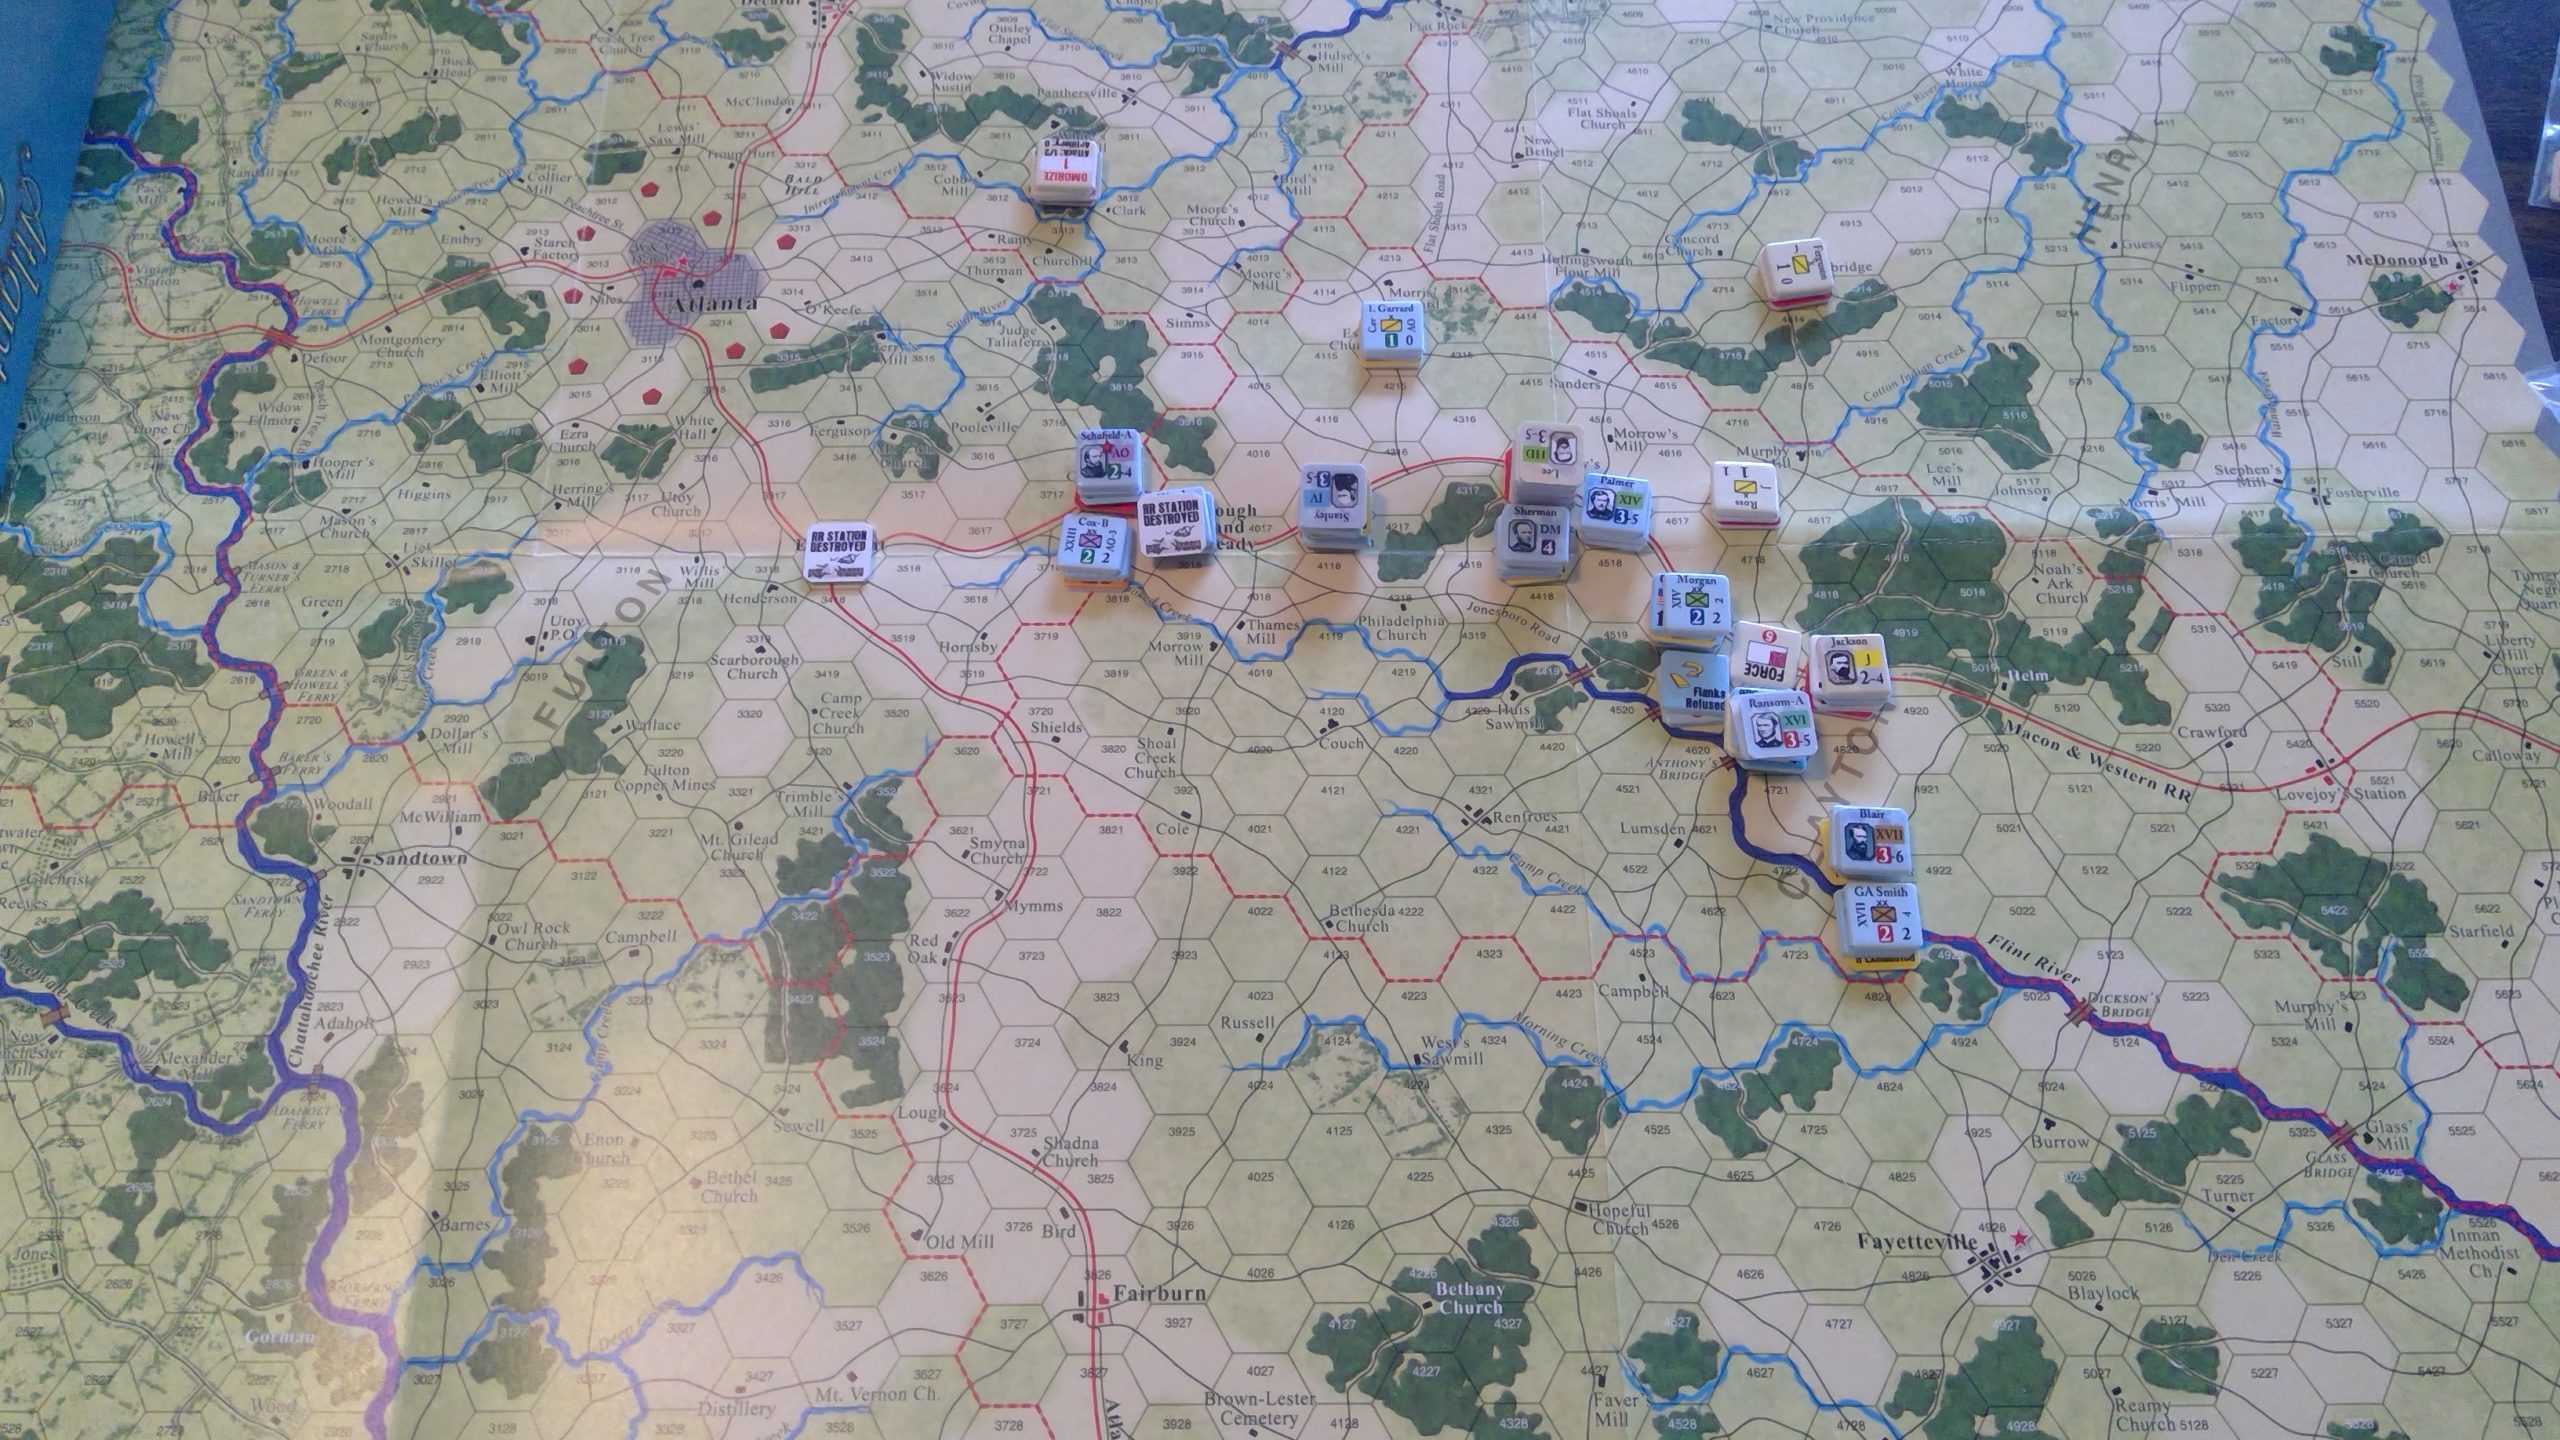
However, that put Jason into a fairly passive strategy of entrenching nearly everything he could, though after moving Ferguson to cover Rough and Ready station, with Hood’s corps covering Quick Station. This was also a new experience for me, since I haven’t played any other 1864 scenarios, where entrenching is available as an action (what is the general consensus on the optional 1863 rule?). My first maneuvers were against the northern end of the string of rail stations that the Union is trying to destroy.
The 4th Corps went to Quick Station and the lone division of Hood Corps back out, though the fight pretty well ended them for the day. The 22nd took the end of the line, destroying East Point and Rough and Ready. The 14th moved between the two Confederate corps, but didn’t get to the point of a real fight, while the 16th headed across Harris Bridge on it’s way to the southernmost stations (this was a mistake; I’m not used to station burning either, and figured you could destroy a damaged station—i.e., spend an extra activation on it—instead of needing 5+ manpower in a single unit to destroy one).
The second day saw the 16th Corps arrive at Lovejoy’s Station (which at least was worth plenty of VPs even without destroying it), and real fighting developed between Hood’s Corps and the 4th, and 14th that saw me push him out of the area, but wear everyone out. Meanwhile, Jason counterattacked out of Jonesboro to push the 16th Corps back across the Flint. As I recall, he had two failed assaults (6), and then one that only got one division, but he rolled very well in the actual combat.
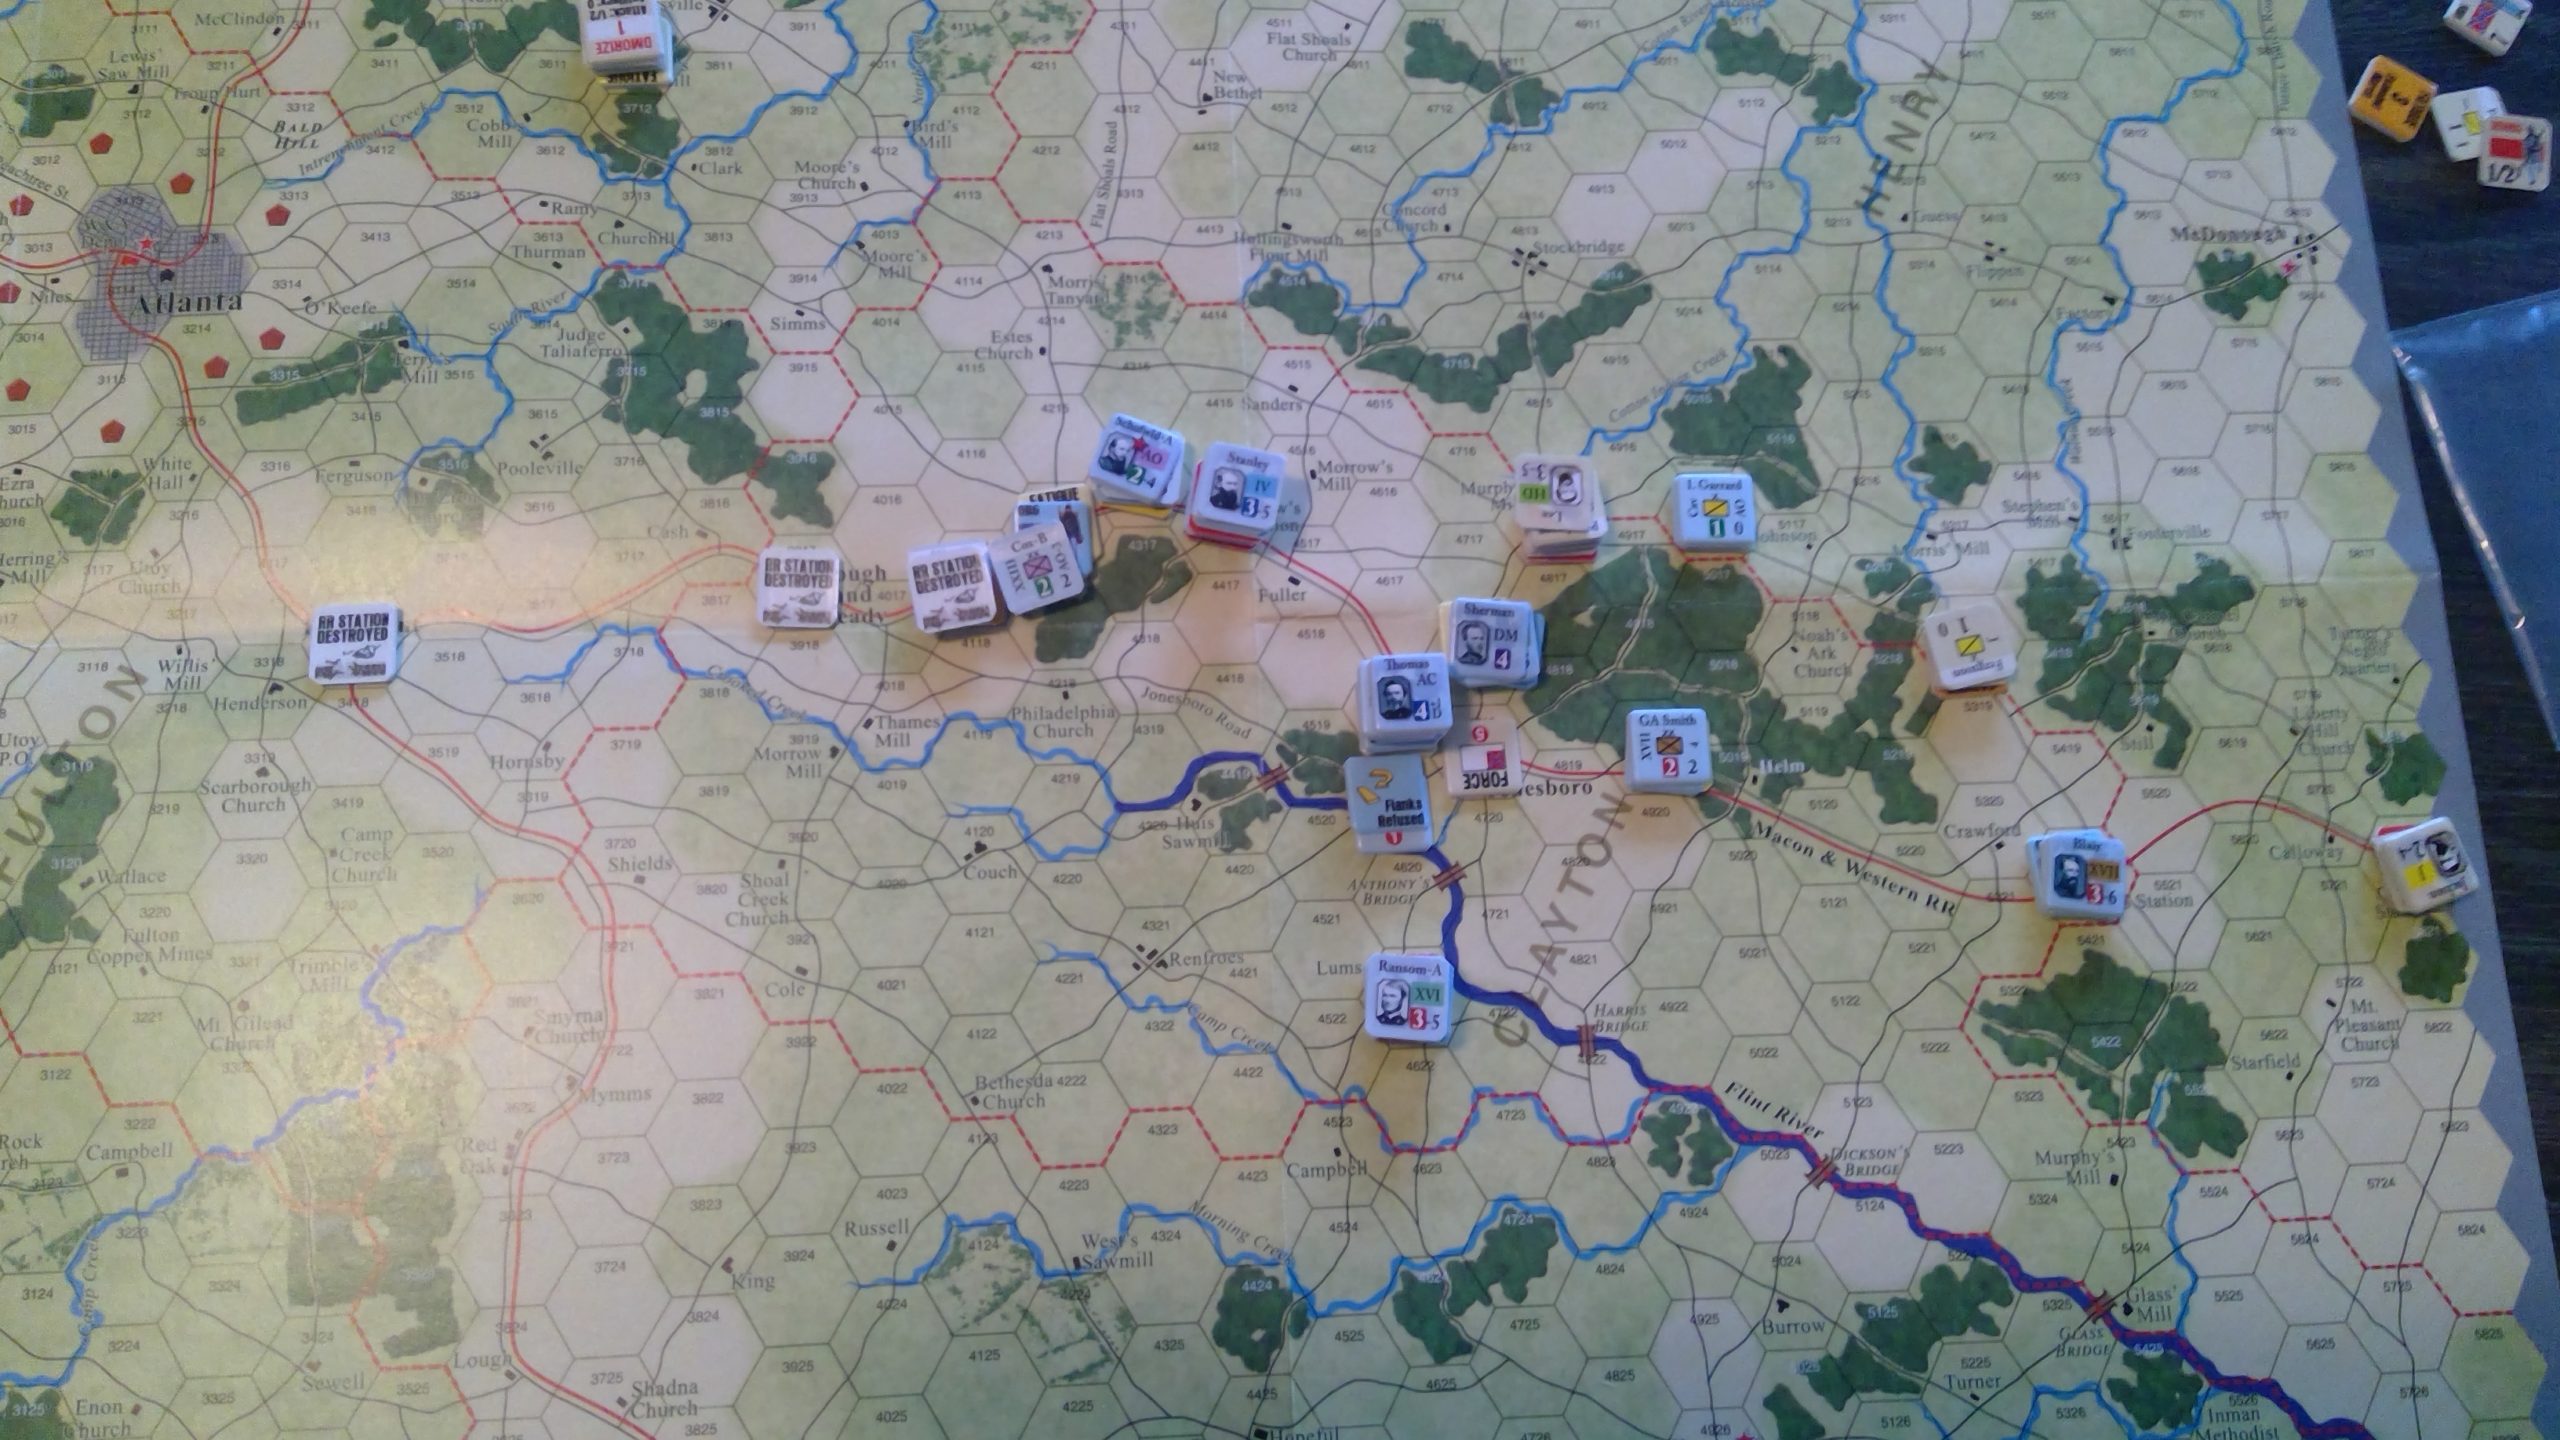
Things were getting late as we did the third and final day, so it was a bit abbreviated. Jason tried to push the 17th Corps out of Lovejoy’s, but used up much of his time marching there, losing stragglers on the way. He made a try anyway, but didn’t roll nearly as well as he needed to after that. I declined (again) to attack Jonesboro, with a bunch of well-fortified Confederates coming up to 75(!) combat value in forts, though it had been considered a couple of times during the last couple days.
Afterword
So, I did destroy four stations, and the three Confederate divisions in Jonesboro had no LOC south with all the Union units putting ZOCs around it. That plus Lovejoy’s station, 6 Confederate manpower losses and 8 Union manpower losses added up to 38 VPs, which put me in “substantive” victory territory.
I’d say the Confederates are going to have to get inventive and maneuver more, but perhaps staying in Jonesboro until a strong division can entrench to try to hold it alone is not a bad idea. Just where they maneuver to is still a big question, as there’s lots of Federal troops out there. However, trying to catch up to one of the smaller corps (16th, 17th, or 22nd) and declaring ‘Hood’s Attack‘ could get places. It’s certainly not going to be easy, though holding one of the primary locations and having most of the units intact with LOC to the south can probably hold the Union to a marginal victory.
At any rate, Jason is definitely impressed with how the system depicts the ACW at the operational maneuver level with some fairly unusual mechanics. I’m thinking that the Stonewall in the Valley scenarios are probably a better introduction to the system with their lower density.
Discussion ¬