16 No Better Spot To Die
Patch had already played the rest of the scenarios in Beyond Valor, so I decided to continue my tour of the early core modules with Paratrooper. Patch has already played all of them, but I’ve only played two of the eight. I picked scenario 16, “No Better Spot to Die”, and we started in April 2012.
ROAR has it at about 3:2 in favor of the Germans, so I took them (my track record is abysmal…) with the American balance. It’s June 7, ’44, and and I’m trying to get into La Fiere on the way to Ste. Mere-Eglise. The Americans have 6 paratrooper squads, a AT Gun, and some support weapons to hold me off for nine turns. I have 13 squads, and four French Renault tanks, the usual bevy of MGs, and a couple 50mm MTRs with which to get into board 24 (with no valley) and take four building hexes (three without the balance).
The two sides set up with nine hexes between them; I’m sure a modern scenario would say only half of board 3 is in play, as there’s no point to most of the area, but the scenario setup says to use the full board.
Patch seemed slightly surprised when I declared a Op Fire on both my MMGs and then went straight to movement on the first turn, but I wanted to get into better range and not have a couple of woods blocking LOS. When Patch realized that the initial fire fight was going to be in my normal range, and his long range, he started regretting his set up.
With a lot of movement options out there, and using the board-edge woods and grain for cover, Patch didn’t fire until my last infantry move, where he went for a leader-led stack with a 4 -2 shot, but only broke the leader on a 2MC.
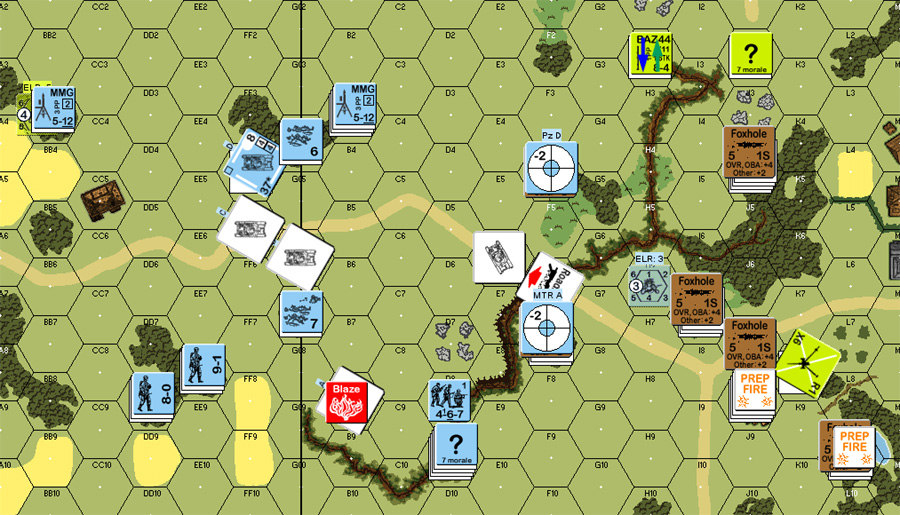
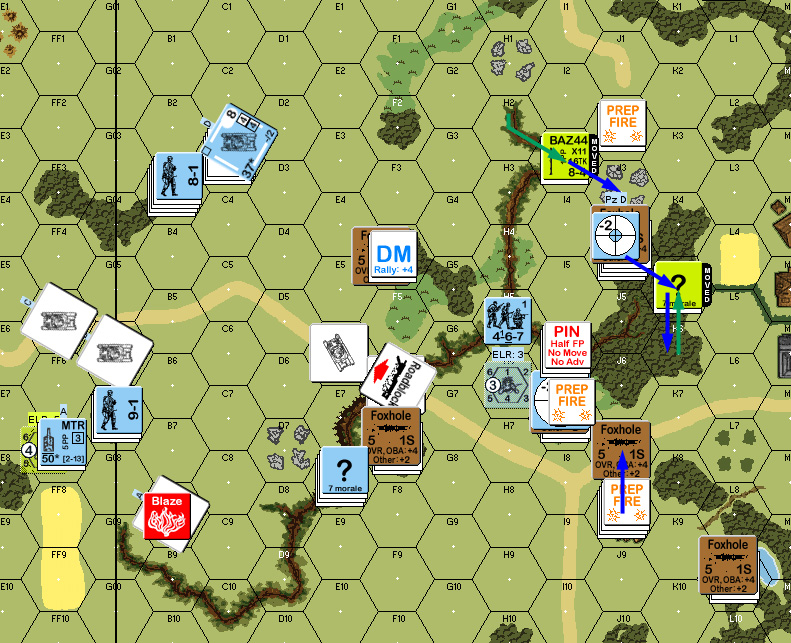
The general plan was to concentrate on the south side, and get a few units into the gully, where they could advance up to the defenses out of sight while the rest of my forces softened them up for the gully force. This developed a problem when Patch revealed the AT Gun in K8 and opened up on the lead tank. Thankfully, he lost rate and and ‘?’ on his first shot, but he still hit and immobilized it with an ’11’ TK. My AF didn’t do much, but did reveal F1 to be a Dummy (apparently, I really was headed into the teeth of his defense…).
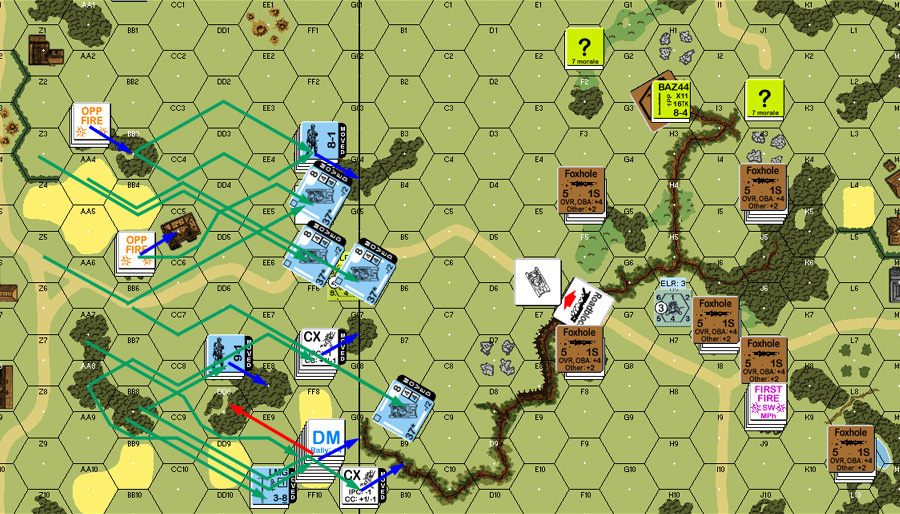
Situation, German Turn 1. The wreck in E6 is actually from the previous day’s fighting.
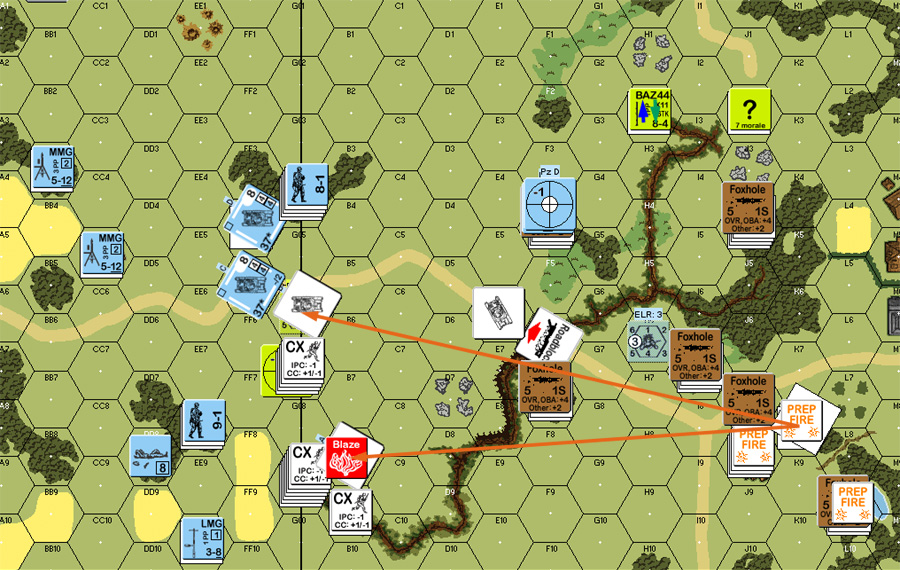
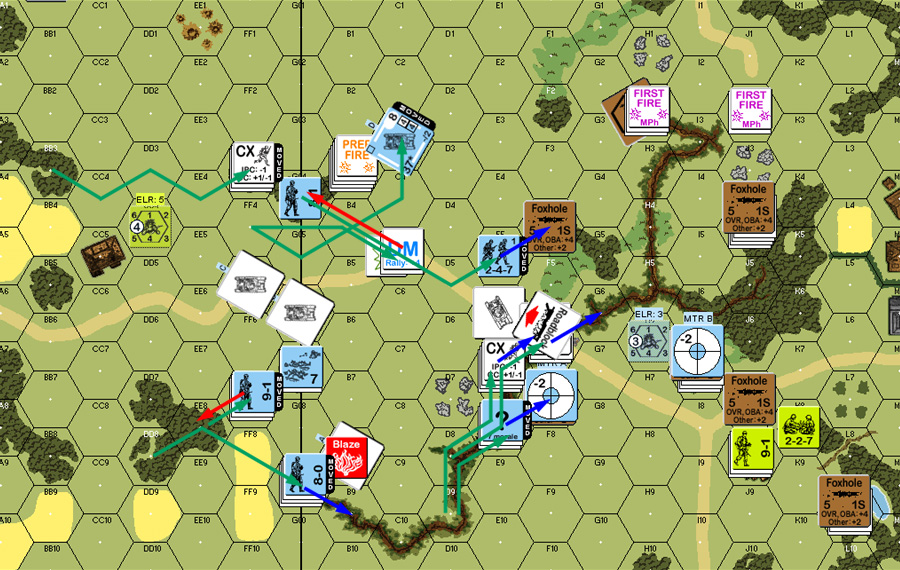
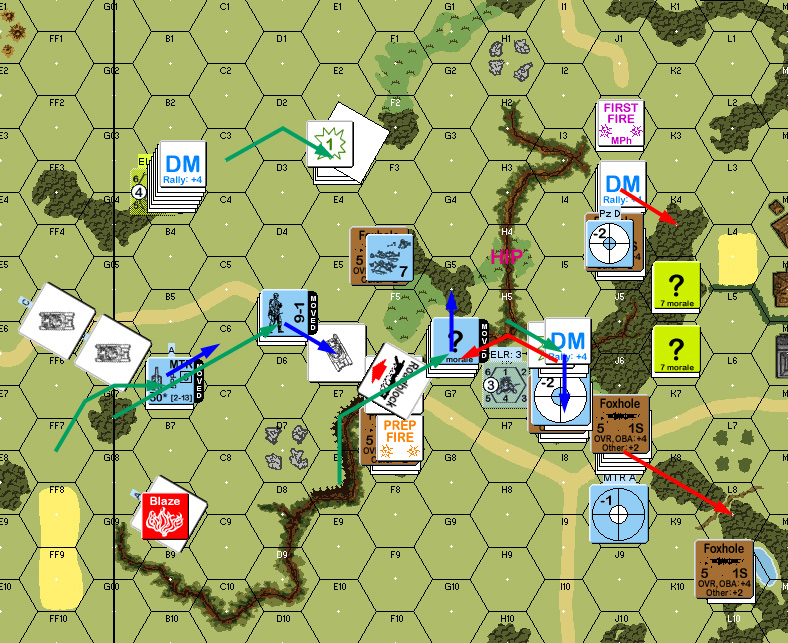
Patch opened with a critical hit on my tank to burn it, and then turned his attention to the second one in A6, killing it with a hull hit. The rest of it was boring. The squad in H2 skulked in the gully and advanced back into Crest status. I tried shelling F4 and F7, but couldn’t get a hit.
My leader who broke last turn, refused to rally despite being out from DM. I also missed an attempt to deploy the MTR squad in A4. I continued shelling his forward positions, and got a decent rate tear on one MTR that did nothing (rolling two duds on hits did not help…). I finally got a PTC on F5 to reveal it was Dummies. I’d had some suspicions, but didn’t think he’d spend three ‘?’ and a foxhole on one position. Unfortunately, this also activated Patch’s Sniper, who pinned my MMG squad in BB3, which I’d really wanted to move forward.
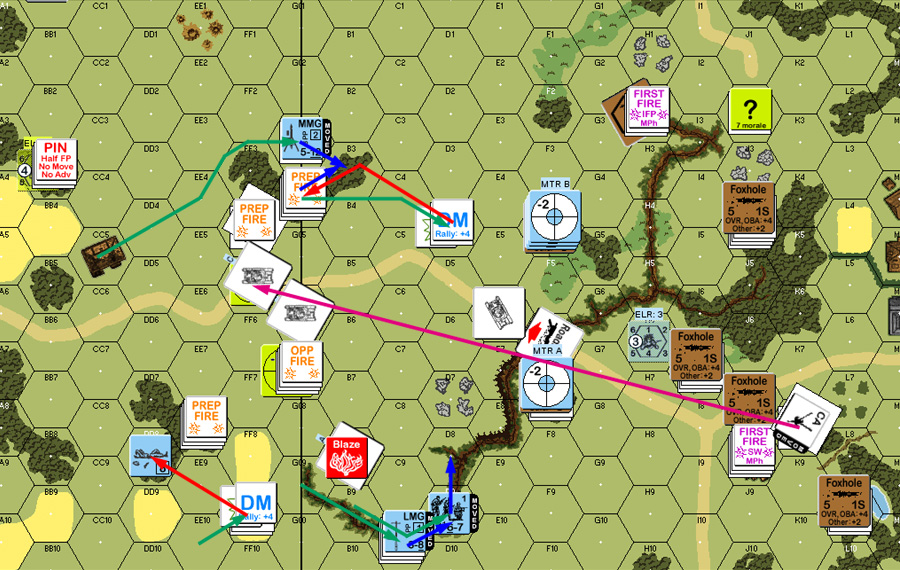
Other than the four squads out of sight in the gully, my advance didn’t get anywhere. Anything Patch fired at broke, and the AT Gun continued its bid for the MVP award by hitting and killing my third tank when it started and keeping ROF. In DFPh, his MTR scored a CH for a 1KIA against A7. While it killed the squad with the LMG, it at least didn’t destroy it.
And then the AT Gun malfunctioned on a ranging shot at A4. Further good news was that his short range meant he couldn’t Interdict my routs through open terrain.
The dice continued to show they hated me with a ’12’ to rally the squad in A4. At least the leader in DD8 finally rallied. He was supposed to be in the gully with the assault force, and if anything ever broke them, I was going to be in big trouble. The dice then turned around and gave Patch problems, as his first shot malfunctioned his MTR.
Again, he didn’t do much during his turn, the foxholes not being good for skulking out of. After repeated poundings, I finally got a PTC against F7, and revealed that position to be Dummies as well.
I got two of my three brokies back for my turn, only missing the self-rally in A7. Patch meanwhile managed to eliminate his AT Gun. Poor luck continued as I malfunctioned the forward MMG during Prep. I was surprised during movement when Patch revealed J2 as a squad. With his central, and slightly back, position I had thought it was his second leader playing backstop for that flank.
The general plan was to move up a couple units to the empty foxhole in F4, and behind the cover of the roadblock, also, one squad from the gully would occupy the empty foxhole in F7. Meanwhile, I moved up one MTR and one MMG.
Or I tried to. Patch broke the MTR squad in DFPh, and his Sniper activated to pin the MMG squad back where it had no LOS. Also, the squad headed for the roadblock broke to residual FP. I did get another squad and the 8-0 leader into the gully. Patch managed to malfunction one of his MMGs on his final shot of the turn.
It was a good thing Patch was malfunctioning most of his weapons, because I was down to one tank and one MTR for actual support. The second MTR was abandoned in open ground, and one MMG was malfunctioned, while the other was stuck with no shots for the second time thanks to getting pinned by Patch’s Sniper. I can only be thankful that the Sniper never broke the squad. On the other hand, I had now seen just about everything, short of I7, which I figured had a HS+BAZ, and a HIP squad+BAZ, which I had no idea where it might turn up, and the gully force was slowly approaching its objective.
For rally, I got a squad back in A4, and out of three malfunctioned weapons, neither of us got any result. Patch’s Prep broke the HS that had made it to F4, to my annoyance. The turn was slightly more exciting that previous ones as the Crew dashed across the road to shift towards the exit of the gully, as they no longer had a Gun to man.
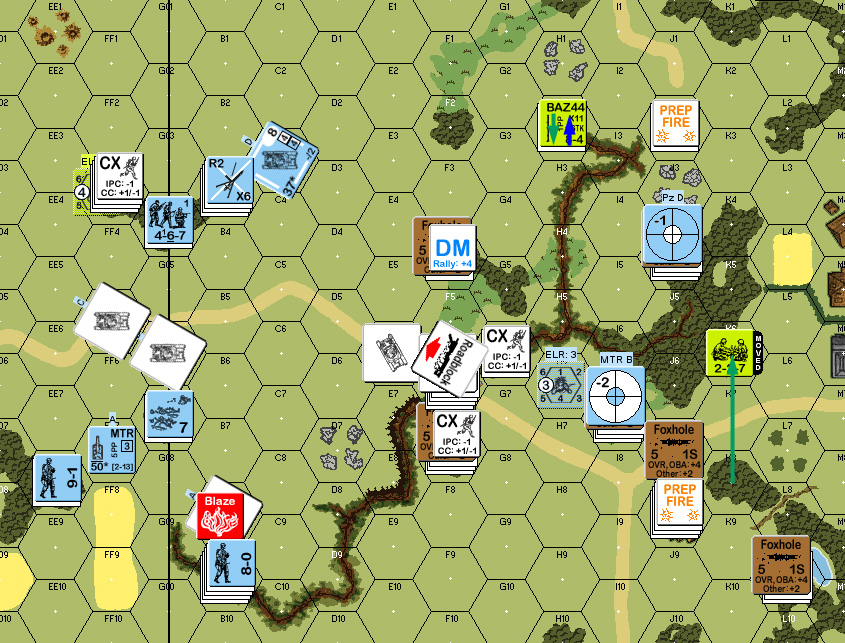
My rally went relatively well, as I got the squad in EE8 back, and repaired my MMG while Patch couldn’t get anything back in service. My main assault pressed into H5, where a pair of problems were discovered: I had forgotten that the woods/gully of I6 was going to cost 4 MF (couldn’t make it), and H2 (crest status) can see INTO H5. I realized that as I moved in. Thankfully, Patch didn’t catch it until his AFPh. He still managed to break one squad, and pin a second, leaving only one GO for the turn. (Patch was not happy to find out I’d gotten three squads in there.) The one squad left did advance into I6.
The rest of the attack continued going forward in slow motion: I got the rear MMG forward, with a second squad into C3, where they could possible Armored Assault on the next turn. EE8 crawled forward, with the squad recovering the MTR, and the leader headed for the broken squad in A7. This stack attracted fire in Patch’s DFPh, and while I passed the NMC, I activated his Sniper, who went to that hex and pinned the squad. He also managed to kill the broken HS still stuck in F4. Worse, the squad that broke in H5 had to rout to the same place.
Patch still couldn’t get his weapons back for his rally, but I got the squad in A7. Most of his line opened up, and thankfully rolled high, doing no more than pinning I6 and putting F4 back under DM. He actually started shifting the defense, with the squad in H2 abandoning their post and heading to J3, while the MMG squad shifted north to be on the road through the tree line, and closer to the gully. Finally, the 8-0 pulled out of J4 towards a backup location.
My fire also mostly rolled high (there really were a lot of ’11’s from both of us this game), though I did manage a PTC and MC which pinned the HS in I7.
I missed my 1st MMC rally attempt to keep my RPh down to recovering the LMG in A7. However, Patch eliminated his malfunctioned MTR. I had a good PFPh, with the MTR in B3 hitting I7 three times, getting a PTC (passed), and the MMG in B3 nailing J3 for a 1MC (failed), and my LMG nest in F7 getting a 1MC on J7 to break his leader, and pin the MMG squad. The cost of this was several Sniper checks, one of which went hot and broke the MTR squad.
The gully force continued pressing forward, and piled a second squad into I6, which Patch broke with defensive fire. The remnants of my southern forces moved up, with the leader and LMG squad heading for the roadblock, and I finally used Armored Assault in the north, as I’d been planning to since early in the game. With the BAZ squad broken, I was tempted to push forward as far as I could, but decided to park myself at five hex range to keep him at long range fire instead.
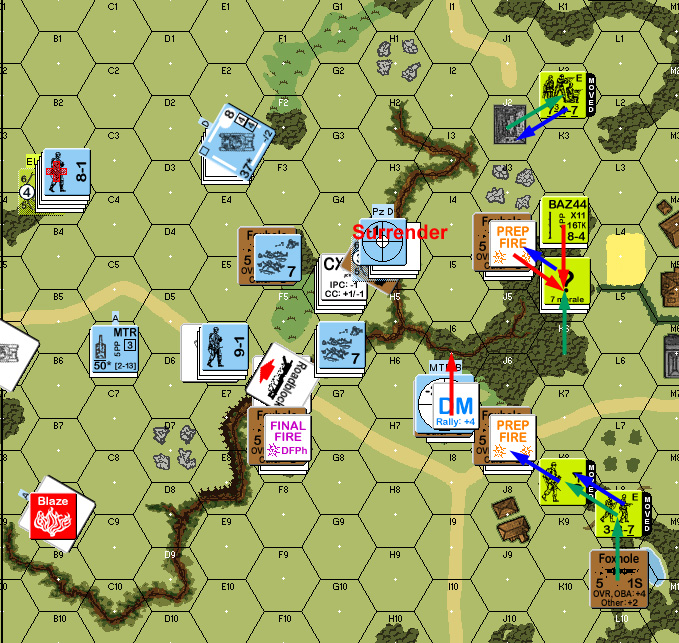
During DFPh, Patch revealed his HIP squad+BAZ in J4, right where my remaining tank had been advancing towards! Thankfully, the BAZ shot missed, and he couldn’t get more than a PTC, which both squads passed. This was quite a shock, since not only did it put my remaining tank in danger, but I had been adjacent to the unit, and had nearly sent someone into that hex a couple times. During my AFPh fire, Patch’s Sniper went off again, and wounded the 8-1 in B3.
I finally got a squad into CC with I7. Thanks to having to CX to get in, Patch had something of an advantage, despite the 4:3 odds. However, we both rolled low, with Patch CRing my squad, while I eliminated his HS and the BAZ.
Patch rolled a ’12’ for the self-rally of K4, turning him into a HS, though he did rally the 9-1. I also rolled a ’12’ to CR the broken MTR squad. Patch’s BAZ shot at E3 missed by one by virtue of small target size and not rolling any closer to him. Also, he predictably broke the HS in I7 with a point blank Prep shot.
He skulked with J2, and was surprised when I fired all the way from F7 at him. Sadly, it Cowered for no effect. I naturally gave H4 everything I had, and got a 1MC that Patch blew with a ’12’ to CR and disrupt the (remaining) HS. I then broke J4, seriously compromising the northern line. Patch then moved his (concealed) crew into the foxhole, and moved his 9-1 back into position in J7. I’d been holding myself back, hoping that my gully advance could get in and turn his defenses, and now I was being handed an opportunity.
The problem was that it wasn’t necessarily the opportunity I wanted. My advance was centered around pushing through the gully, and he could still do a lot of damage there. I decided that this would be yet another turn of mostly hammering away at his line in my normal range, and his long range. I wanted to move the center up, and now that his BAZ were all off-line, I wanted to move the north side up a bit, with the last tank leading the way.
I got all three of my rallies on my turn (leaving only the HS in I6 broken), while Patch couldn’t manage either of his units under DM. Most of my Prep didn’t do anything, but my MMG in E3 managed five shots to first pin, then break J2.
My main plan for movement was to charge the crew in J4 with my two available squads. The squad in the gully moved up, and then advanced into J5, putting his brokies in K5 under DM again. The crew broke my first squad, and missed on its first shot at the second, scoring a 1MC on FPF which eliminated the HS I had captured, but failed to phase the squad.
I had been imagining sending the tank racing around the north end of the board, cutting off the rout of the broken squad… and then I took a look at it. Oh, right. 8 MP. And it can’t even enter crags. I eventually maneuvered for an end run that would complete the next turn, as going through the gully would take even longer (mostly because I’d be wasting 3 MP in there this turn and then spending 5 out of 8 to get out next time).
I entered CC in J4 which went very well, with the Germans getting Ambush, and killing the crew before they could even roll.
Patch’s turn was somewhat abbreviated. He failed to get either squad back in K5, thanks to the DM, and then started pulling out for a final desperate defense of the town. First he moved the crew off to the north, and F7 lay down a FL right over the foxhole that his MMG nest was about to abandon, but otherwise let him go. I had three units that could fire on that foxhole, and I wanted that last MMG out of the way.
The squad and 9-1 came out, and the 9-1 pinned from the FL. Then the squad opened up and wounded the leader and killed the squad.
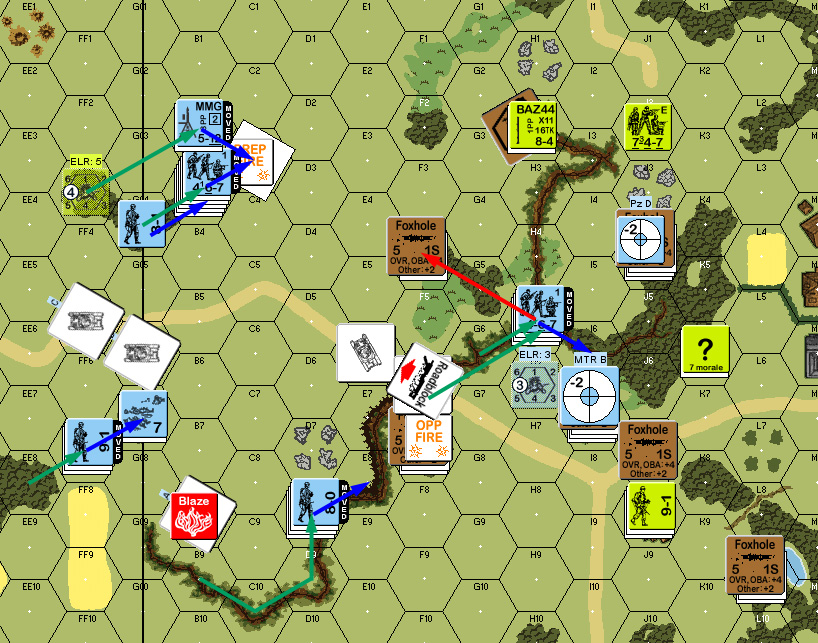
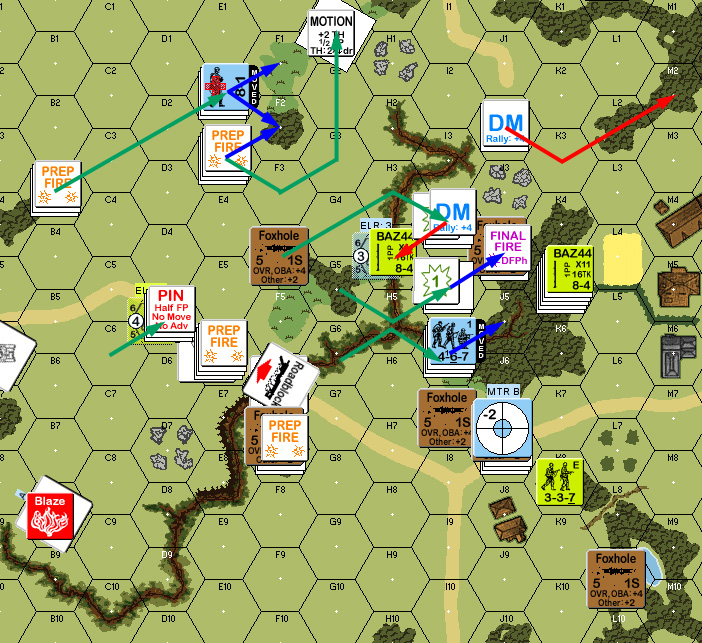
Patch conceded at that point. I don’t blame him, he was down to a leader and HS unbroken, and I had three turns left to go. It’s possible he might have gotten me below half strength for the end of a RPh, and forced me to ask for a truce before I got four building hexes, but even that was really unlikely.
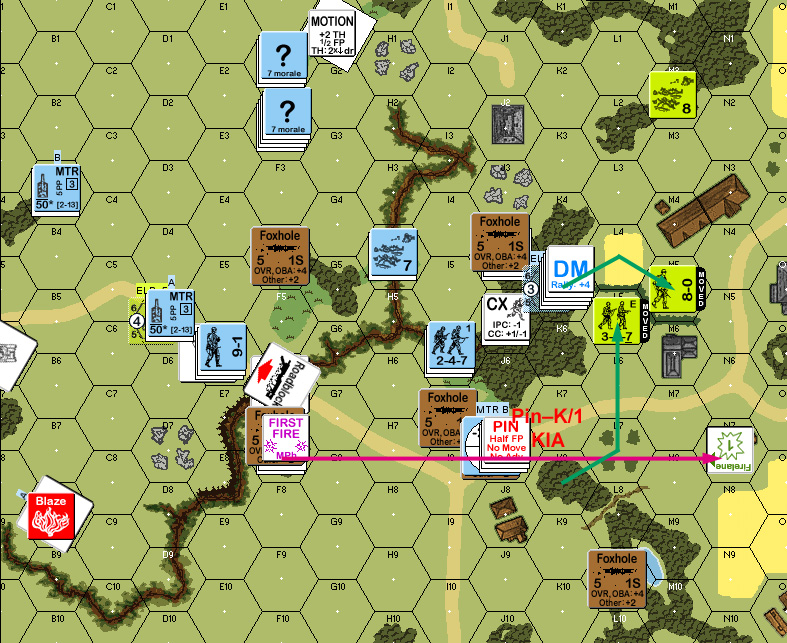
End of Game, American Turn 6 MPh.
Postscript:
This broke a three-year, 18 game losing streak. Until that point, I’d been winning maybe every fifth or sixth game, so this was really rough on me.
But this time, it came together. I set plans, and they (eventually) worked. I was worried when I lost three out of four tanks in two fire phases, but the one that was left was in a good position, and did decent work. The main plan was with the infantry anyway, so it didn’t rattle me much, for a change. I really had to hold myself back for a couple turns and slug it out, waiting for an opportunity.
From my perspective the scenario was interesting and tense. I’m not so sure about the American side. Certainly, the defense Patch went with was very static, which is somewhat unusual. It certainly had me fooled at first, but I think there’s got to be a better way.

Discussion ¬