
Dorylaeum
Jason came over Sunday last week for a long-delayed FtF game. We had decided to go back to Men of Iron, with Jason wanting to get into the Infidel set. After a bit of indecision, we went with the first scenario, Dorylaeum, from early in the First Crusade, where a crusader vanguard gets attacked. Reinforcements eventually start showing up from the main body, but to begin with there’s two wings of knights, with a bunch of footmen crammed into a camp against a very large wing of medium cavalry (30 units!) and some supporting wings.
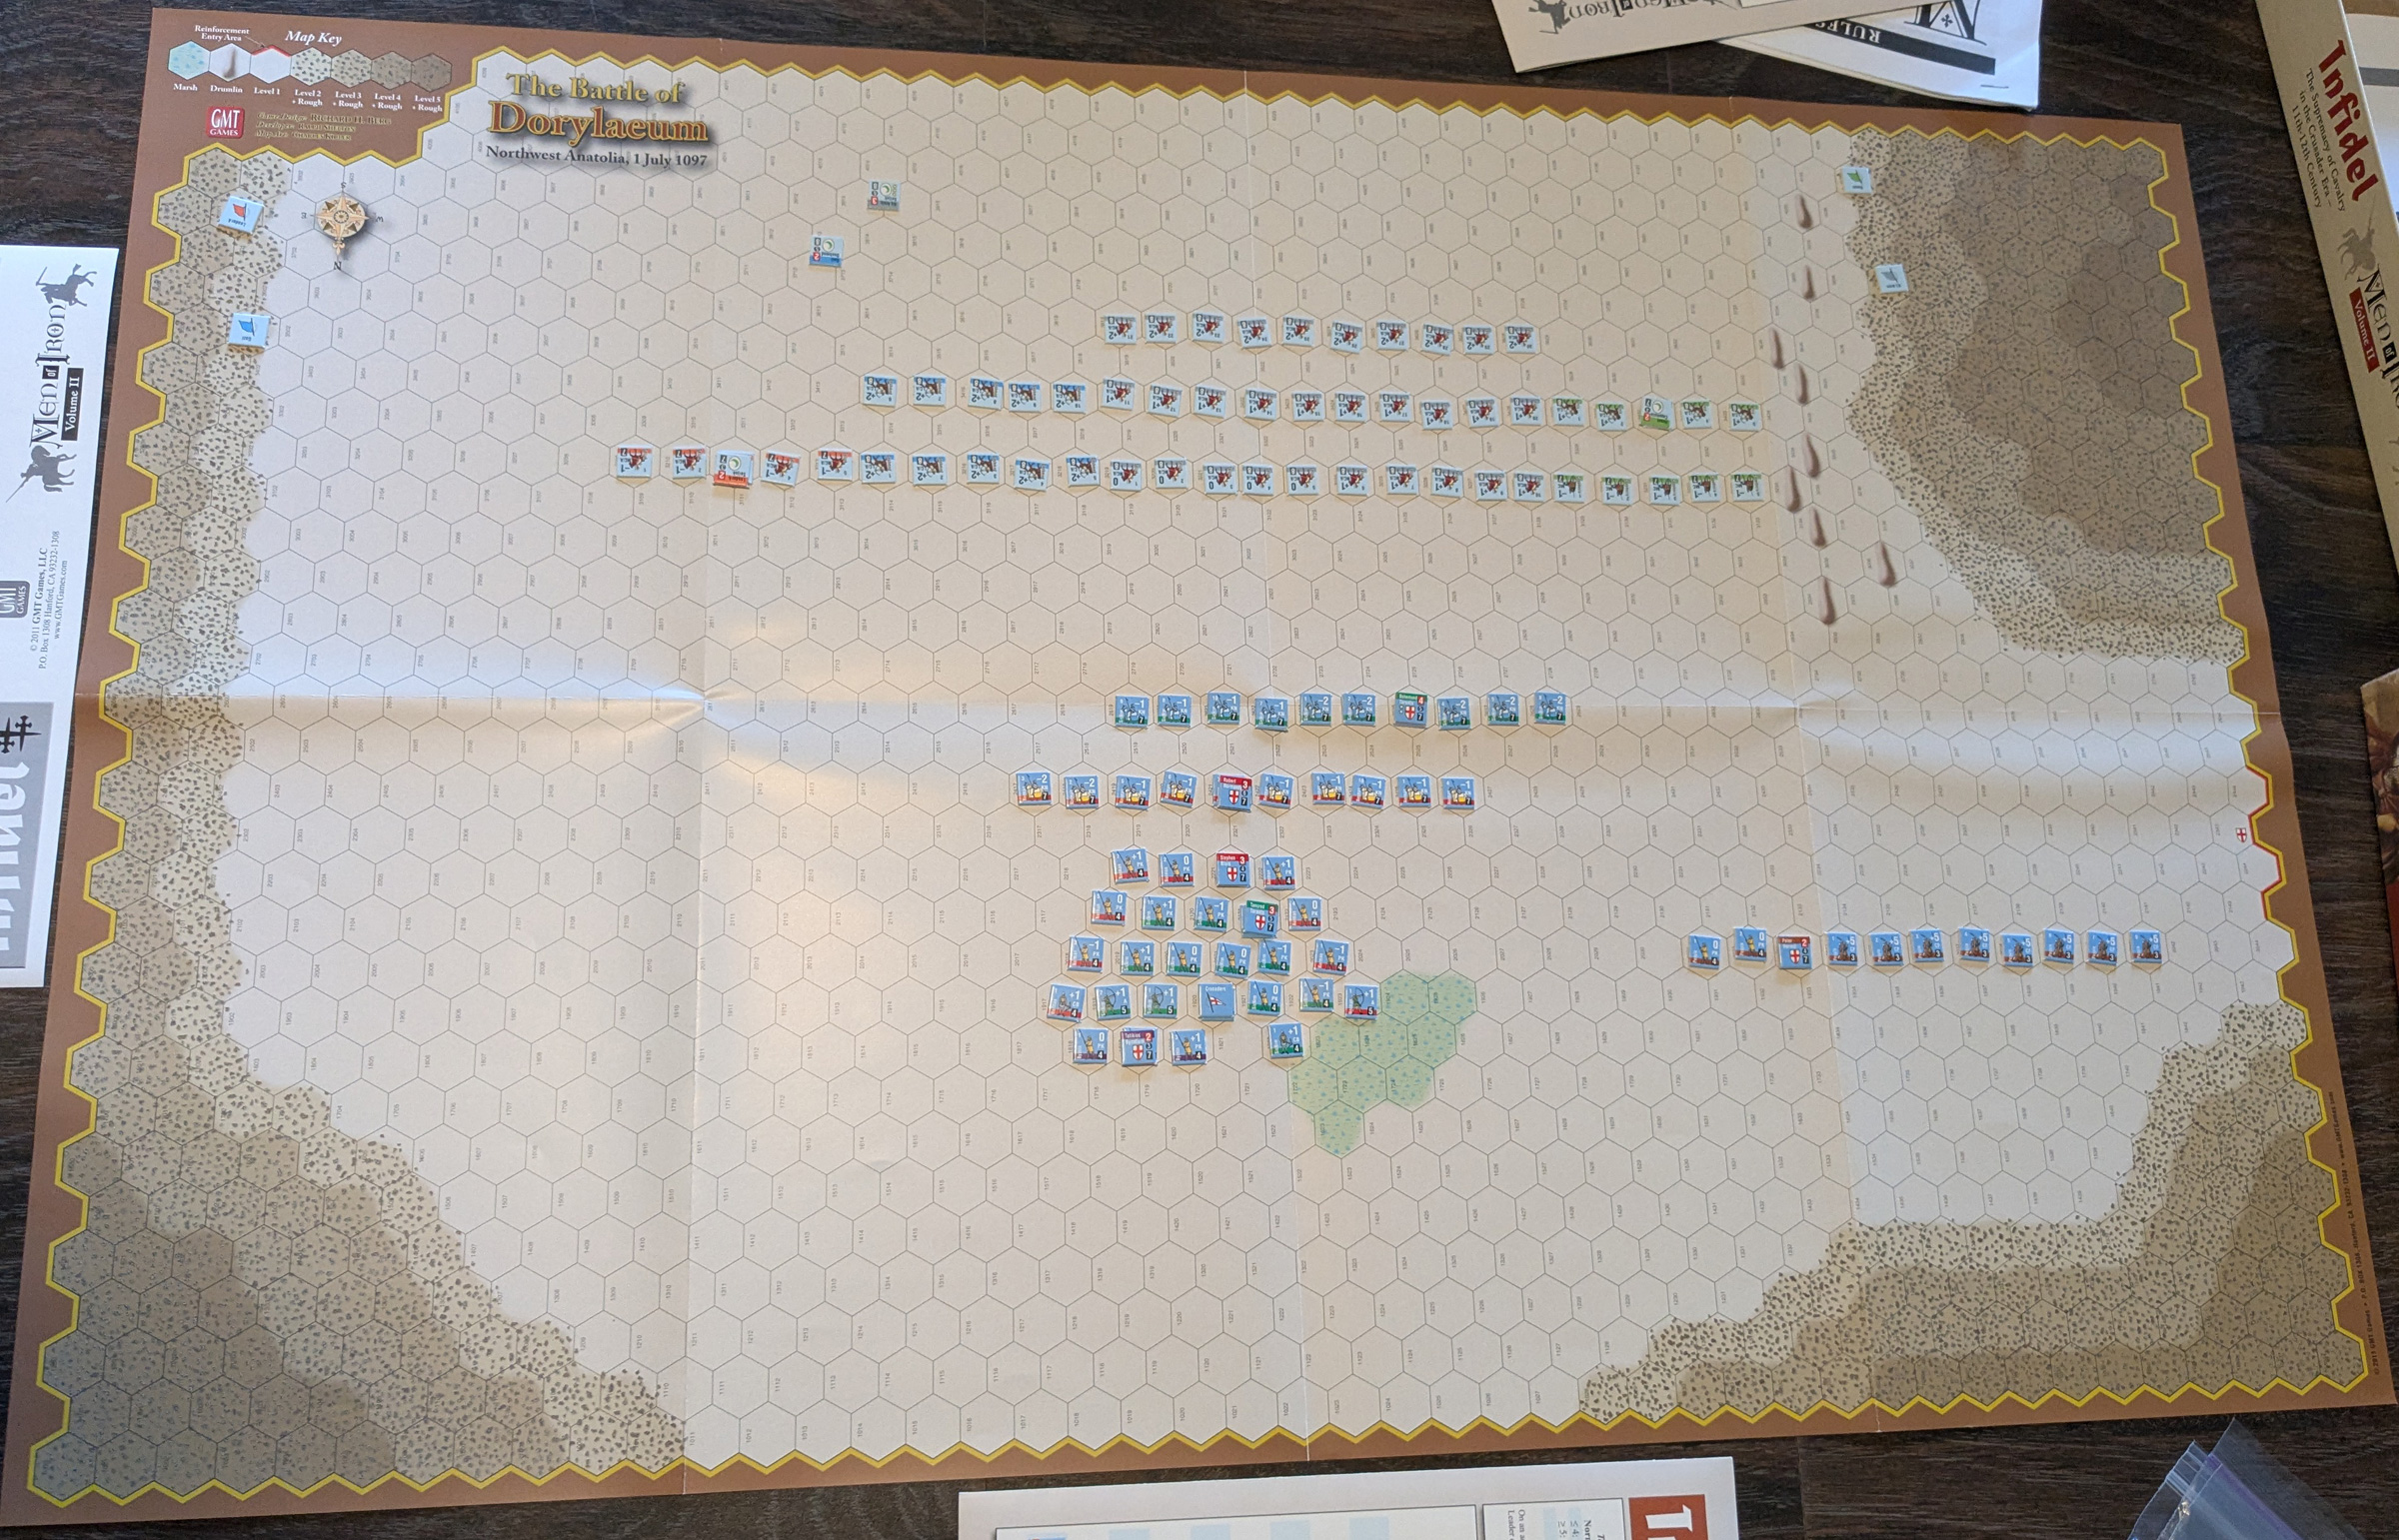
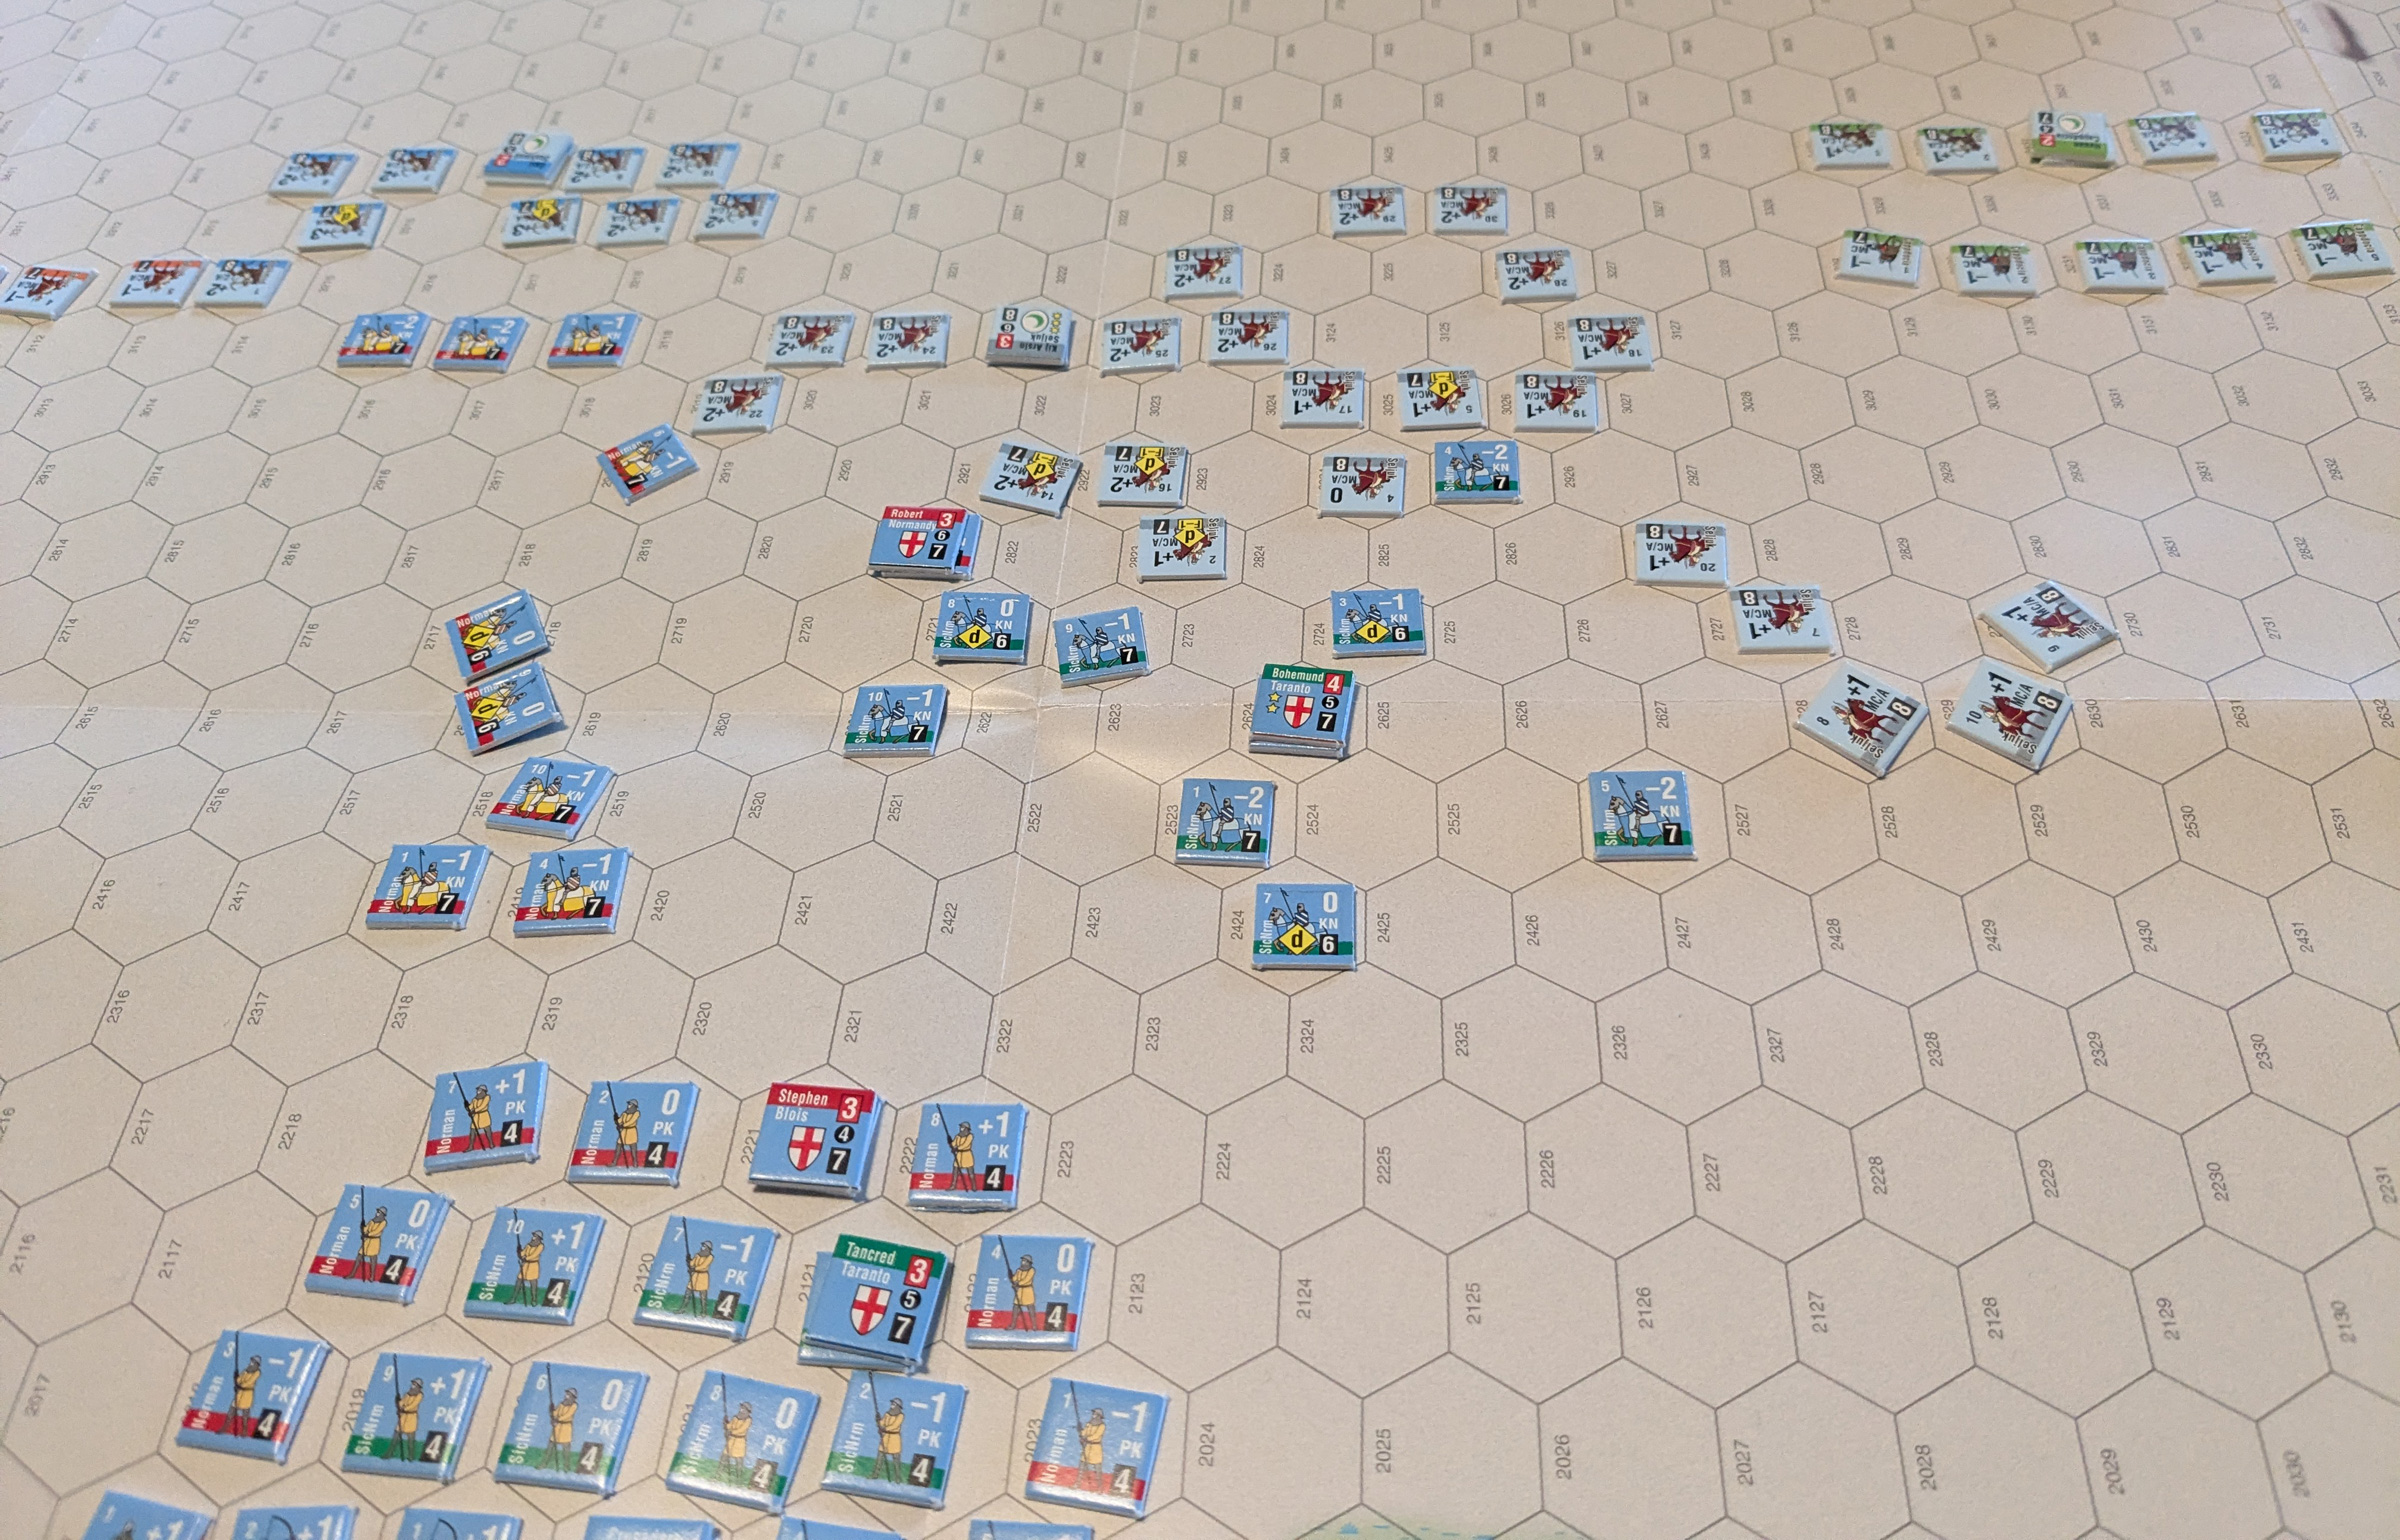
Jason took the Seljuks, who went first with Arslan’s three lines of cavalry, who pretty much eliminated the front Crusader line of Robert of Normandy’s knights (only one retired), forcing retreats and disorders all over the place. Thankfully, he failed continuation and Bohemund of Taranto’s knights galloped to the left and fell on the Seljuk flank, forcing back part of Gazi’s horse archers, and eliminating about three units. Two of the knights got disordered in the process, and Bohemund ended up dangerously out in front from repeated attacks. I got continuation to start redressing Robert’s forces, but there was still much to do as initiative passed back to Jason.
Flight points started piling up for Jason as he took losses. The knights do well against… well, almost anything else. But certainly as long as I could avoid getting disordered, charges and counter-charges are very powerful, and the main problem for me was just the number of units that were all getting to go at once, and get on the flanks and rear where I couldn’t countercharge.
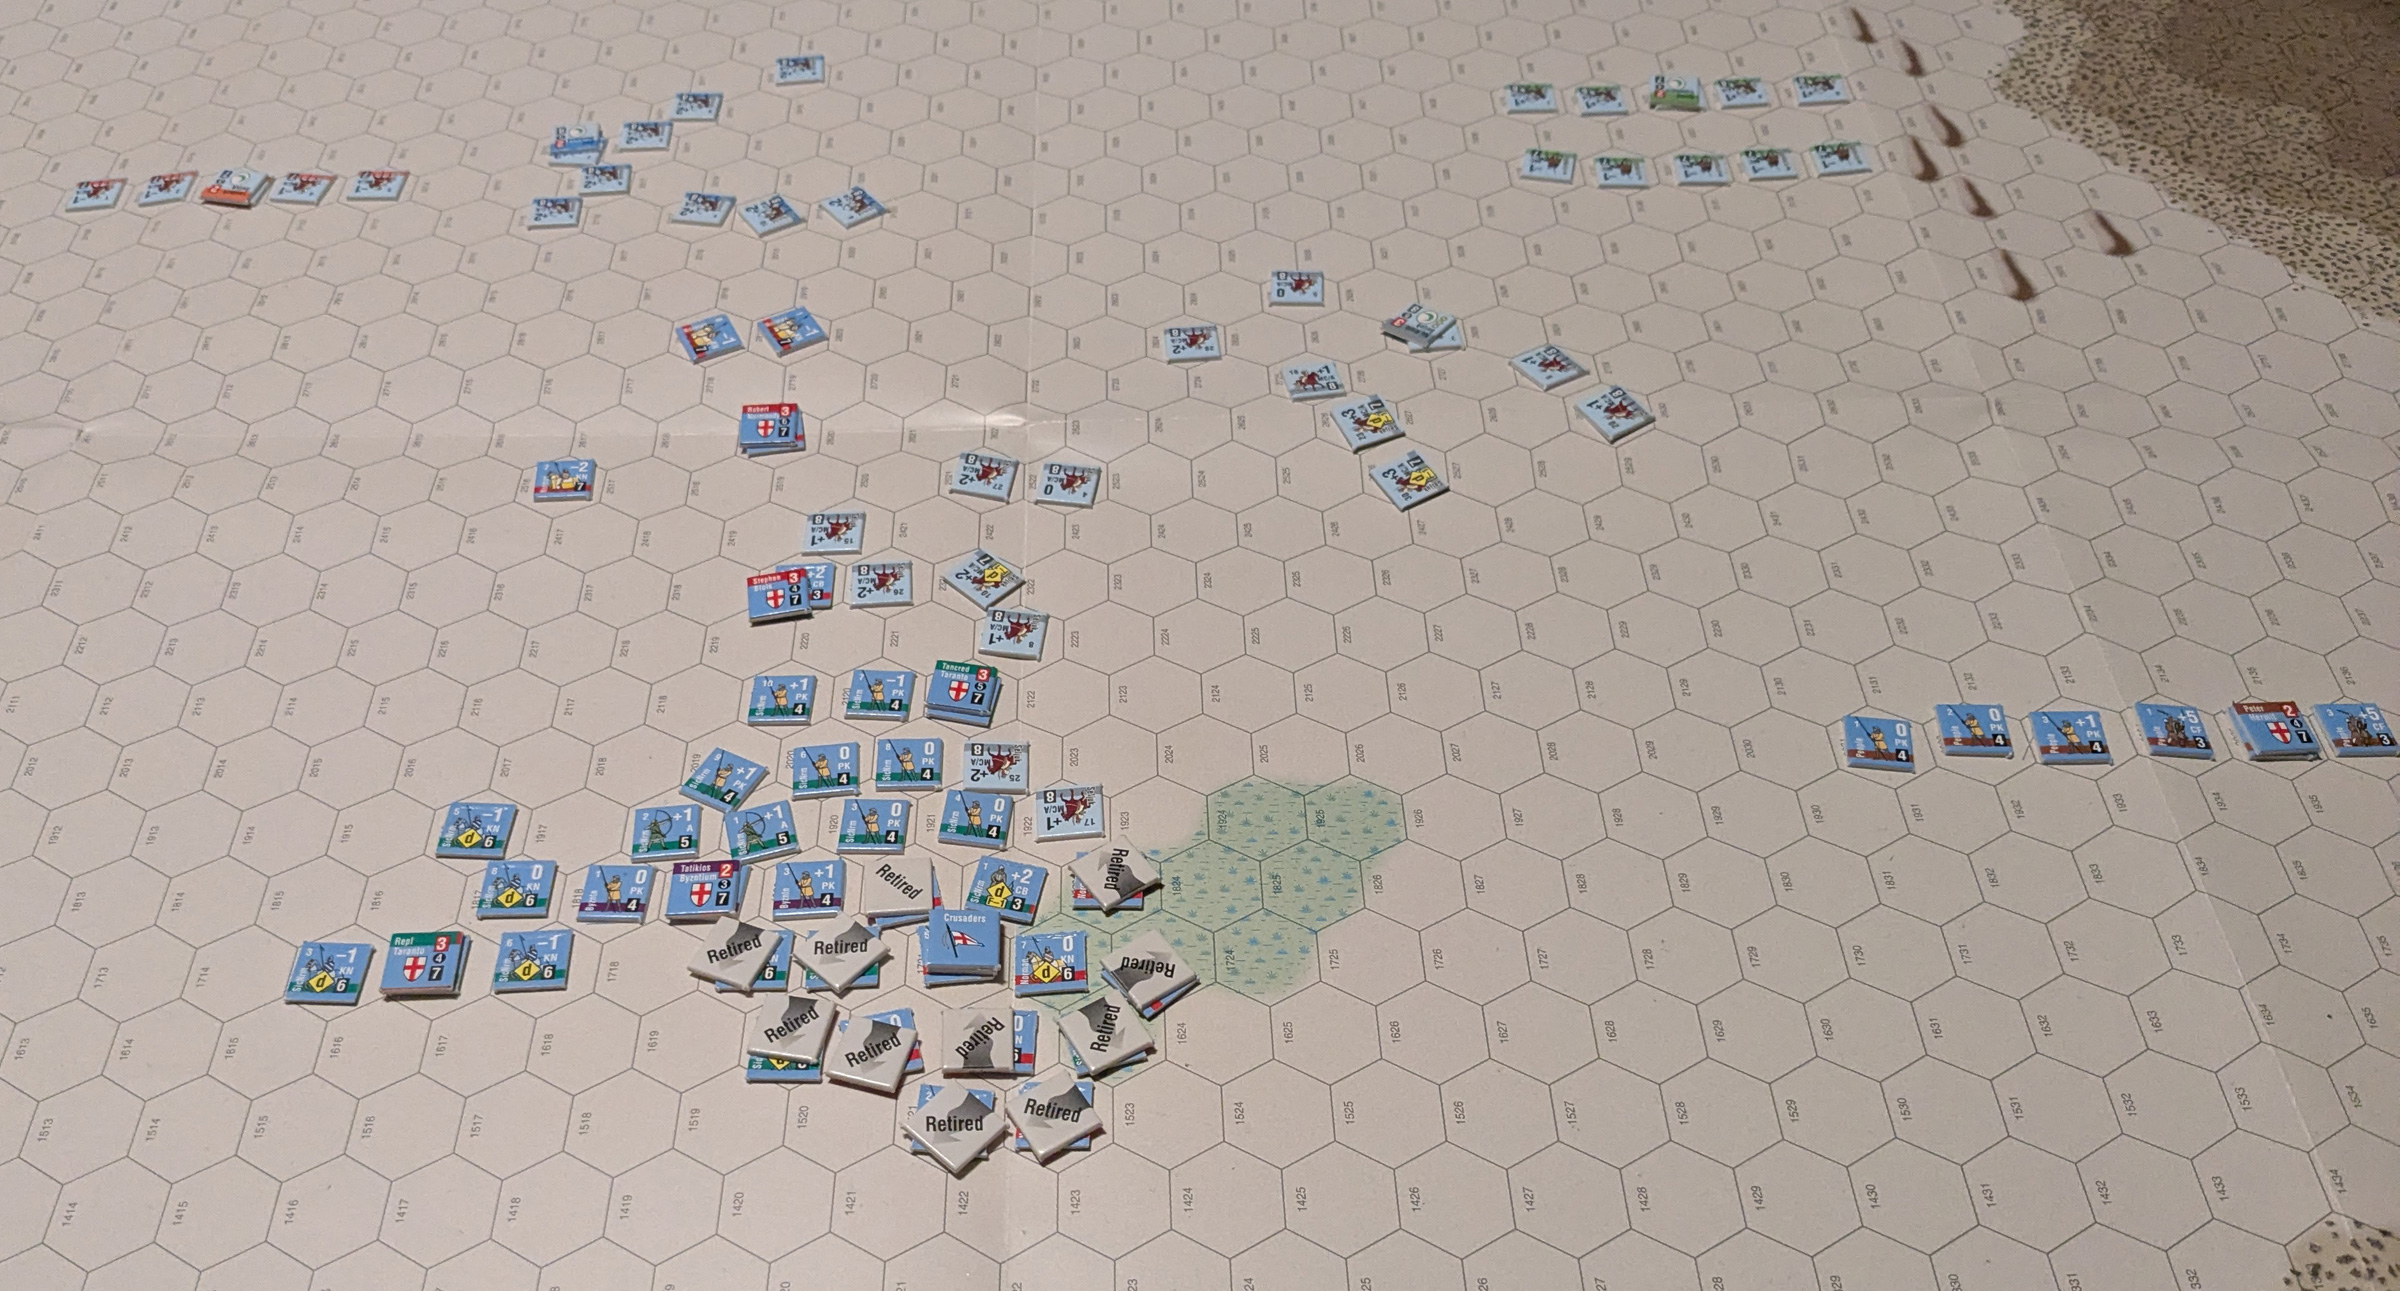
The real problem for me was the area near the banner filled up, and I was having trouble clearing it, since it requires rallying, and then a separate activation to move, and I felt I needed to move the banner before that even. To help out, I moved forward the Norman foot under Stephen of Blois. Being largely pikes, they were useful as long as the Seljuks were agreeably in front, but I should have refused my flanks more. (That probably wouldn’t have been enough, but it could have helped.) In short order the infantry was getting cut up, and my flight points started catching up to Jason’s.

Afterword
We had to call it around there, with both of our flight points in the 20s or so. I was higher, but the limits are 45 to 75, so at this rate I should get a win. I had gotten above him in flight points (part of this was losing a leader), but it was looking likely we’d stay close the entire way, and the lower limit for the Seljuks would force Crusader win.
I’d only just recently made the reinforcement roll, so I could start bringing in more groups of knights. And I was going to need them. Jason had pressed on to the camp, and was starting to hit the Sicilian Norman foot under Tancred, as well as some of the retired troops. Sorting that out before a collapse might have turned into a problem, but there was still a few of Bohemond’s knights around to hit them from the rear, if I could get them going.
It’s a good scenario, though the low ability scores on the Seljuk wing commanders mean that the action is going to be concentrated on the main force (Jason got something like two continues all day). It shows off both what the knights can do, and how much trouble they can get themselves into with a numerically superior foe.
Discussion ¬