
Falkirk of Iron
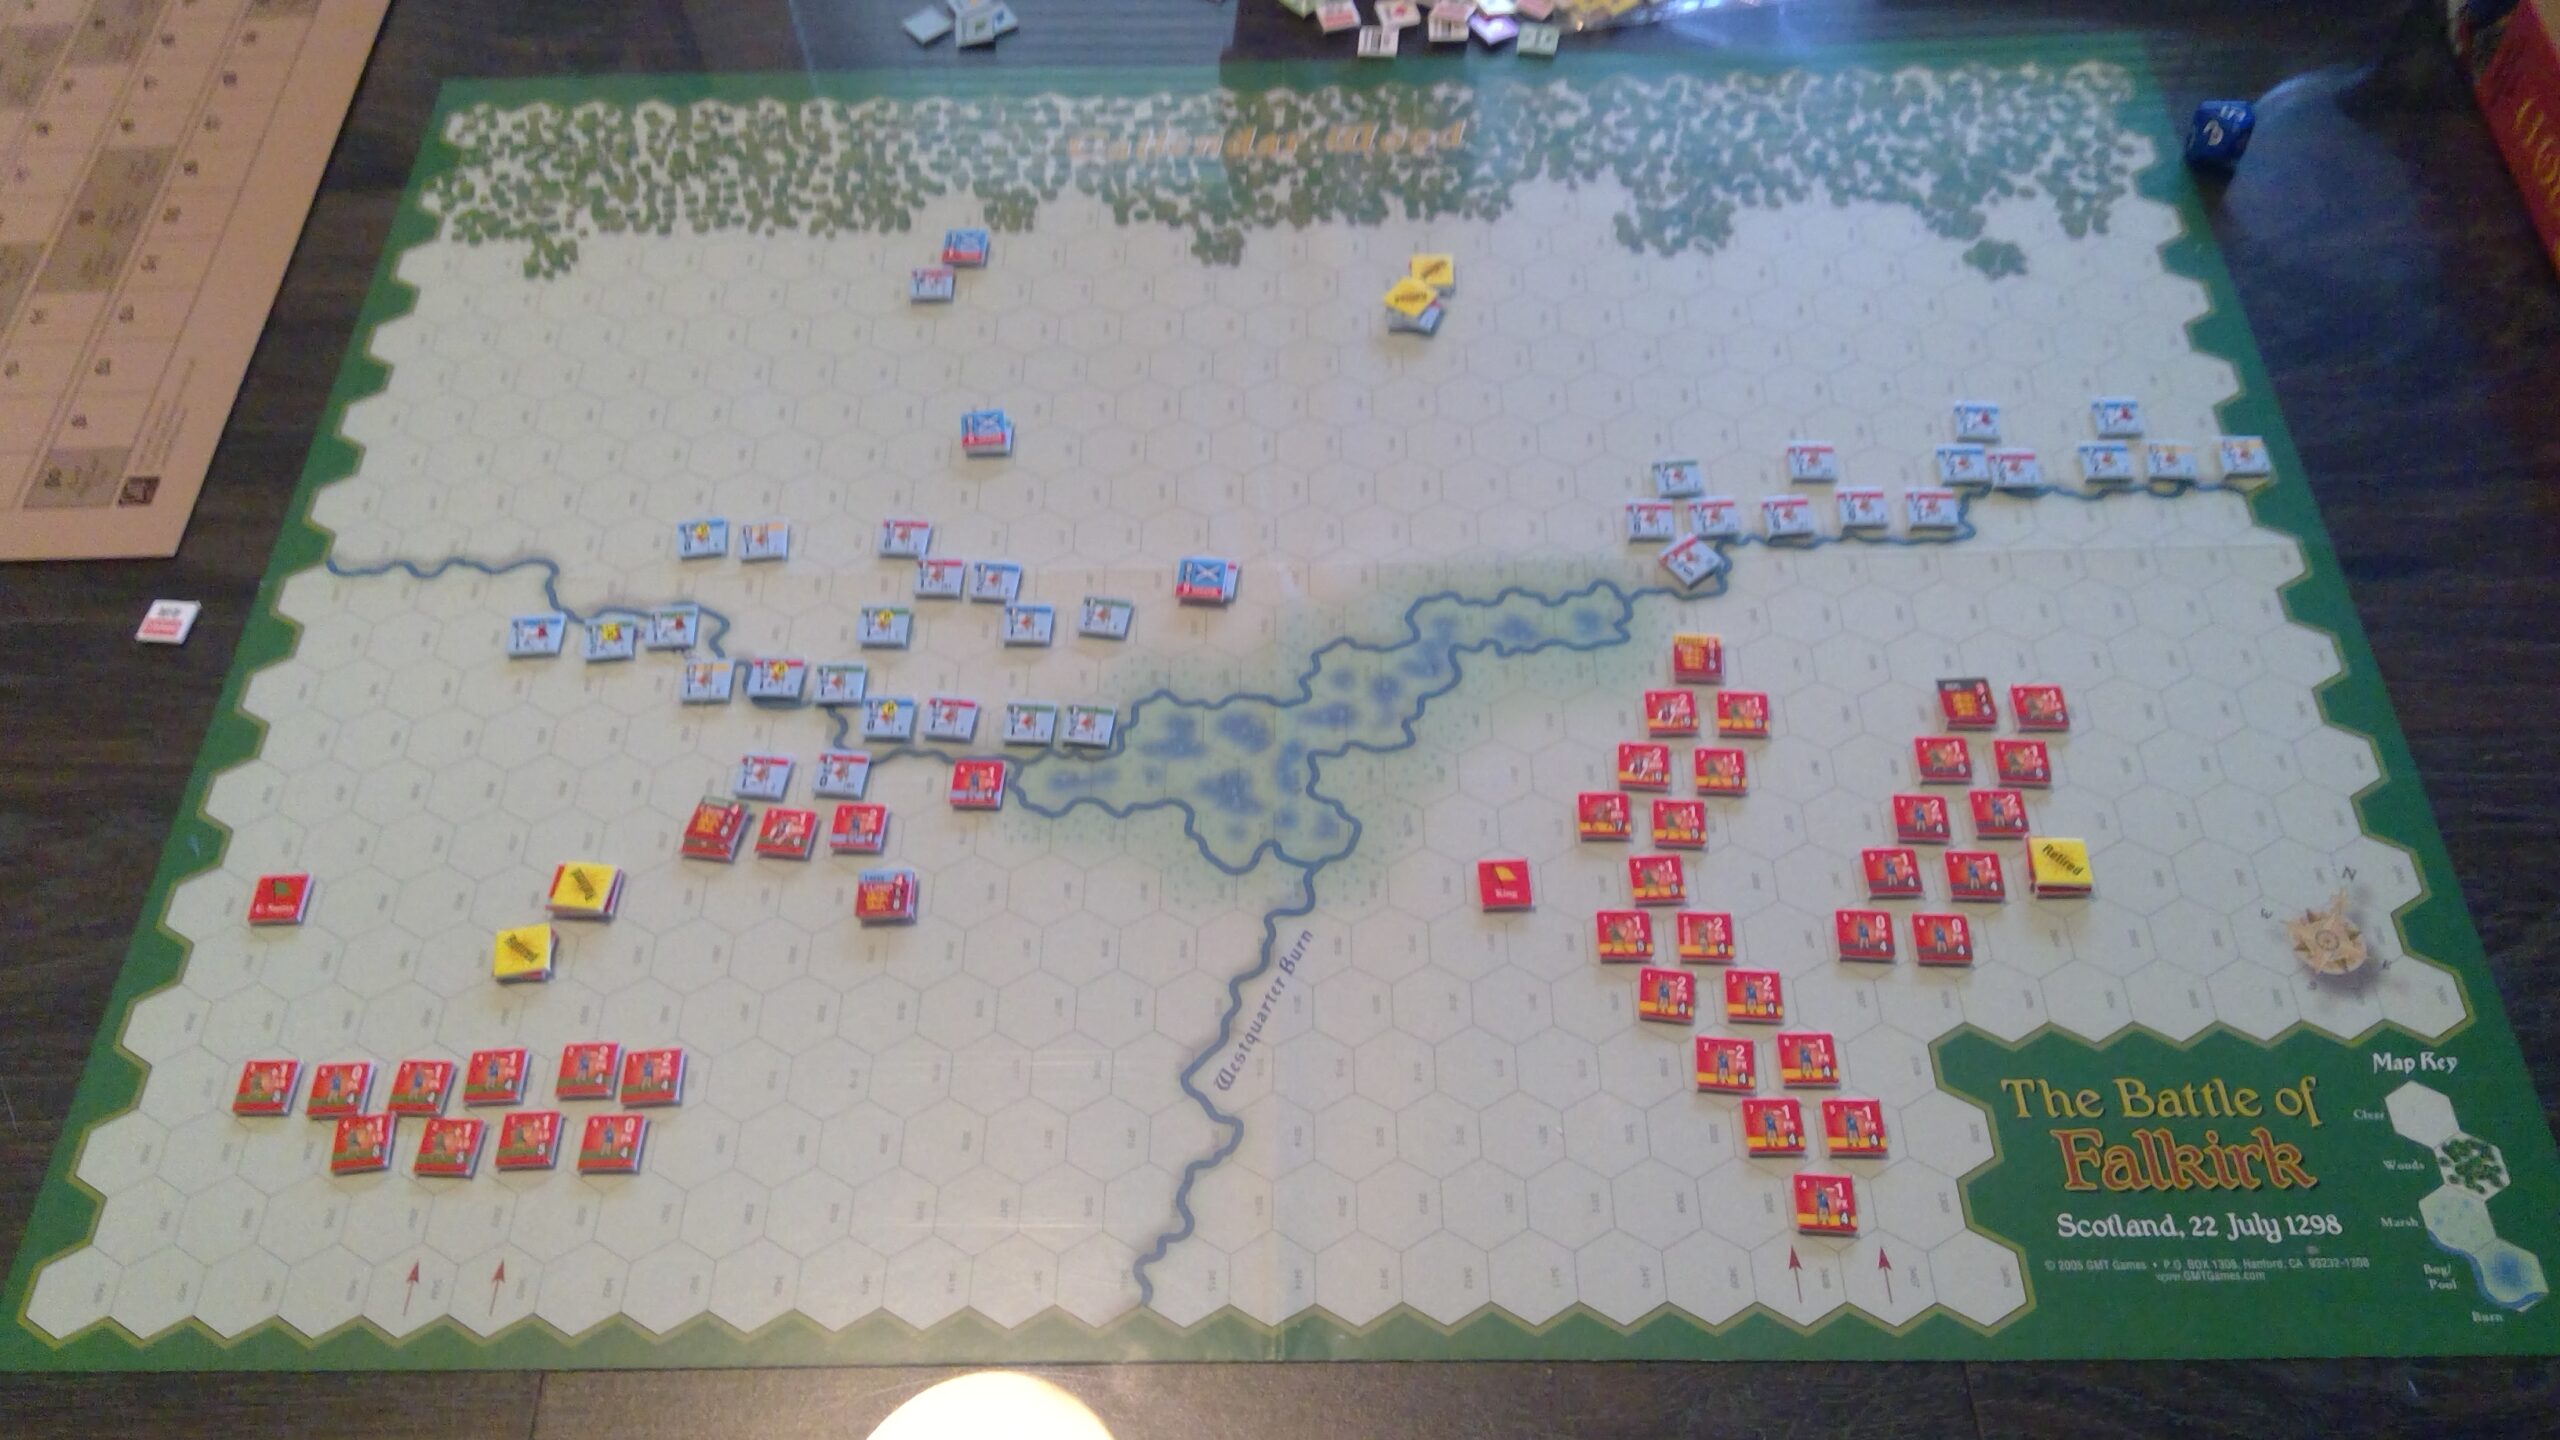
Jason came over on Sunday for a FtF game. He introduced me to the Men of Iron system. Since I had a slightly shorter day than originally planned (went out to see a charity showing of Princess Mononoke that evening), we went with the Battle of Falkirk, with the non-historical options for the Scots (free setup, actual ability to activate, etc).
Jason took the Scots and lined everybody up in two lines, but while a shield wall/schiltron could be useful like that, he never went into it, preferring to keep tactical flexibility, which he used to the utmost. I led off with getting Durham’s Battle on the map while the mounted men-at-arms already near the front crossed the Burn and hit the flank of the first line. That went well, but naturally, they got overwhelmed by numbers with one retiring and the other eliminated.
As that was winding down, I sent in Lincoln to cross the Burn before the Scots could anchor their line on it while the foot came up. This turned into the major part of the fight that took the rest of the day. Naturally, Scottish numbers began to tell, even as good chunks of the line became disordered and needed reforming. My goal was to start my free activations with Lincoln to address my own problems, and then continue with Edward I to get his troops on board and put pressure back on the Scottish left. I blew a lot of continuation rolls, with the last of Edward I’s troops only getting on map after much had already been decided (in a negative fashion) on my left.
I did eventually get the second activation of Edward I, and then got a banner activation for Lincoln and got Surrey’s battle on board. This let me counter-attack and briefly advance again, but it didn’t last long, and I couldn’t get another activation of Surrey to bring him up to the rest of the line, and soon Lincoln was in trouble again.
That’s about as far as things got before we had to pack up. There was a lot of action, and I got to see a lot of useful examples of cavalry in good and bad situations, as well as extended infantry fights.
Afterword
I can definitely see the relationship between this and GBoH. While I like chit-pull mechanics in general, I thought it didn’t quite do what it seemed meant to in GBoH, and the continuation rules here work much better. I’d like to see an experiment with something more akin to BCS’s Second Activation rule instead. The Continued Attack rule sort of gets into this, and does a nice job with the local momentum of breaking through a line. Overall, it seems to show a bit more polish than the original GBoH, and the differences (in my limited experience with both systems) seem positive. I’d prefer a system where low or high is always better instead of the split we get here though.
We both had plenty of good and bad die luck in battle, but my dice tended to be pretty cold for continuations, while Jason had one round with about four activations (getting to really low numbers towards the end). With the (understandably) slightly friendly command rules that let him stay in charge of a flank that kept threatening to break up under pressure. This unity of command, compared to the English army is the root of a lot of my trouble.
Another trouble is I probably should have ordered the other battles more and then fixed up Lincoln if I got the continuation, but I figured if I got it half the time, they’d still come up in plenty of time, and Lincoln would last longer if I shifted the most endangered units. Now, if I’d just been anywhere near those odds….
Discussion ¬