
The Third Hundred Yards
Jason came over on Sunday for some FtF gaming, and he brought over Last Hundred Yards again. He’d recently been in something of a rules argument that got him fairly heated, so this was a surprise, but he wanted to get back to the system with his better understanding of intent.
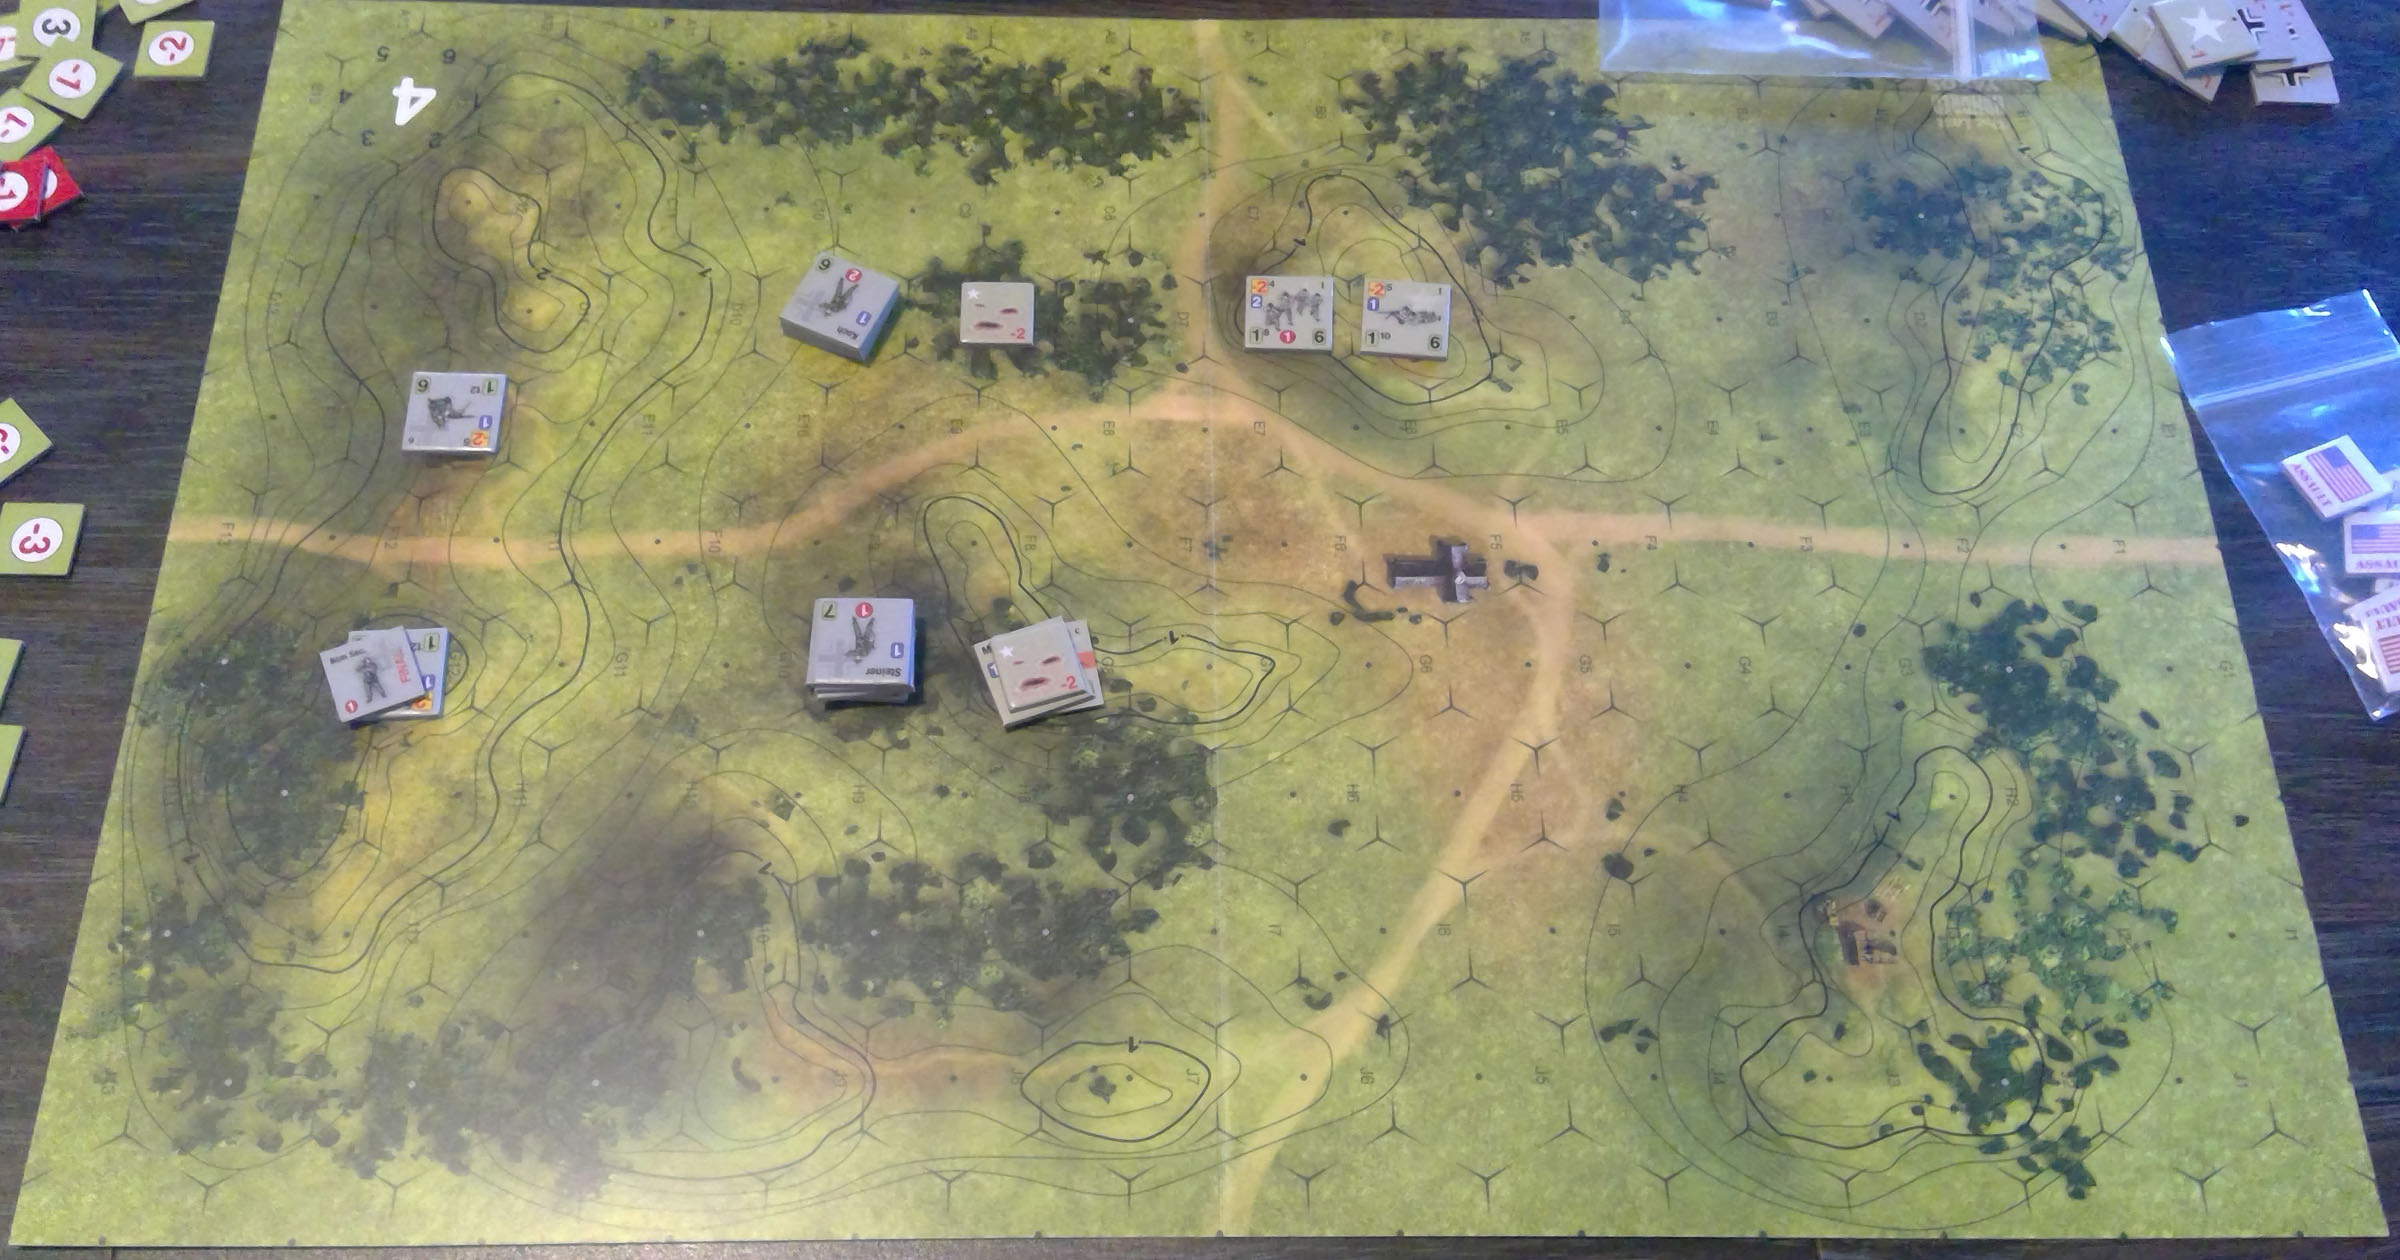
We started with the third scenario, “At Least It’s Quiet Here”, with me as the defending Americans. Even with the relatively small space, it is hard to think up a coherent defense with only four units (a platoon plus MG team). I set the MG up on the hill overlooking the church that was the victory goal. My major position was on the forward hill (G8/G9), and it was supported by the third squad in the D8 woods.
Jason came on in the center, and quickly started thinking he’d have done better to do an edge run (both sides have possibilities). But, lots of fire at low odds on both sides did nothing, and I was looking nervously at pulling back while the clock slowly wound down.
And I failed. Jason got up to G10, and I was planning on pulling out the squad, but hesitated, and decided to take the best shot the game had offered so far. And failed to do anything. Jason then got initiative and assaulted the hex, reducing the squad as it retreated out. Then the German mortar section hit my primary position, and I went over the very tight casualty limit and lost right there.
It was a good re-introduction to the system, but I knew the mistake I was making when I fired. In ASL, it would have been a 8 -2 shot that would be hard to pass up, but truly only not as big of a gamble because you almost never have a mere three squads to work with.
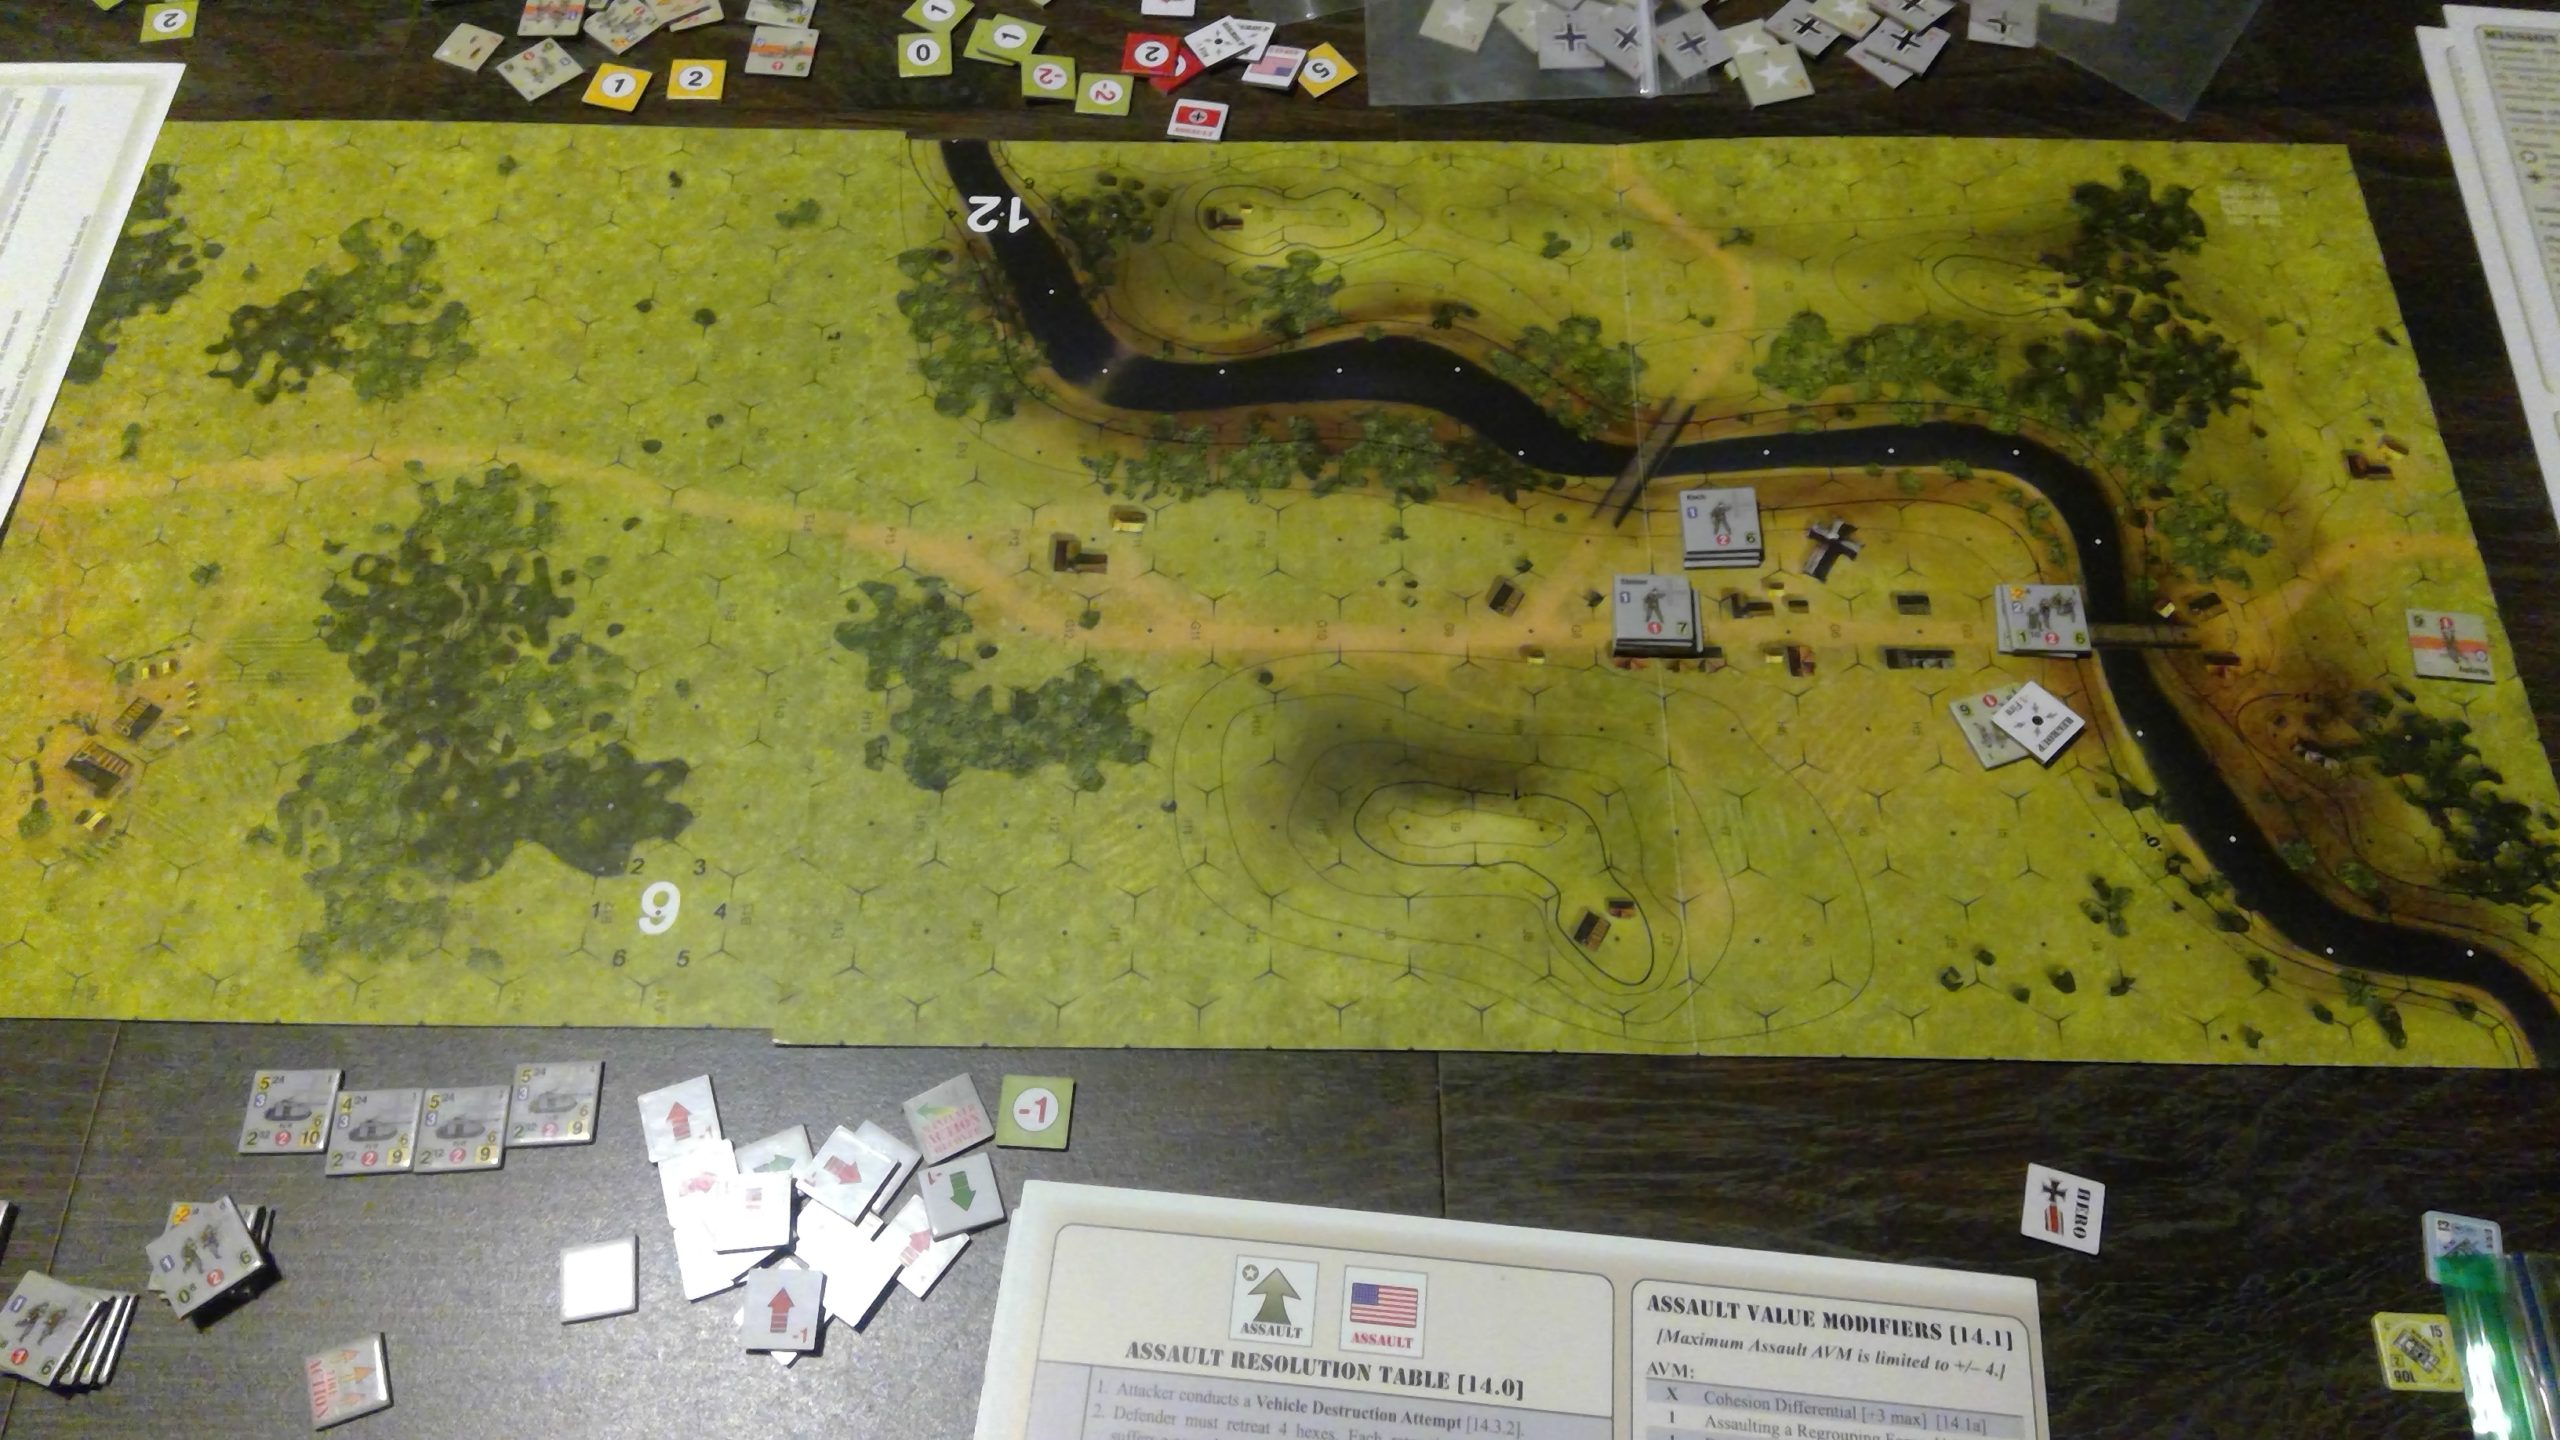
We broke for lunch, and then came back to scenario 7, “Black Cat Blues”, where I took the attacking Germans. I got two platoons and a Pz IV platoon vs a single platoon and M36, with a 57mm ATG thrown in. The goal is to clear a ford and two bridges of American troops, but they set up entirely hidden initial placement. Thankfully, the rules for revealing such is a lot friendlier than in ASL, so I could be sure there wasn’t anything in my immediate front.
I still got over-ambitious, and didn’t think there would be anything much in the back of the forwards woods cluster. There was a platoon in H11, which leapt on my unsupported Pz IVs, and destroyed one. And then knocked out another as good rolls (and me losing initiative) allowed him break up most of one of my platoons and kill a second tank.
But this overextended his forces and in turn, I recovered and forced his troops to leave, and restarted the advance. The ATG had turned up on the hill (I9), and in fact had shocked my first tank to assist in the kill, but when he tried to mount it up, I promptly destroyed it. As I advanced, the M36 came out of hiding and took up a position on the hill. Sadly, I was thinking in terms of a M18, and lost my third Pz IV to trying to duel something that actually had armor.
The survivor ducked behind the hill as I started working my way into the town. This area is a bit deceptive, as most of the riverbank in row F is empty, when you’re expecting to find buildings when its covered by counters. A couple of assaults got me into the middle of town, and drove off his defenders of the first bridge. I lost the last Pz IV in an assault, but my dice were really warming up, and a couple really good assault rolls got the M36 as well as breaking up his platoon with casualties and forcing him back to the final bridge. Another good assault role in G4 put him over his casualty limit at the 45-minute mark; and I would have forced him away from the bridge soon enough without that.
So, we had a great time, and that last scenario went far longer than expected as I turned things around and pulled out a win from an initially bad situation.
Overall, LHY continues to be a very interesting system. I’ve threatened to put him through an all-vehicle ASL scenario so he can see something at this level with a level of detail between Panzer and LHY. Right now though, I’m more likely to introduce him to GTS or Operation Dauntless.
Discussion ¬