
Two Rounds of Scirthaea
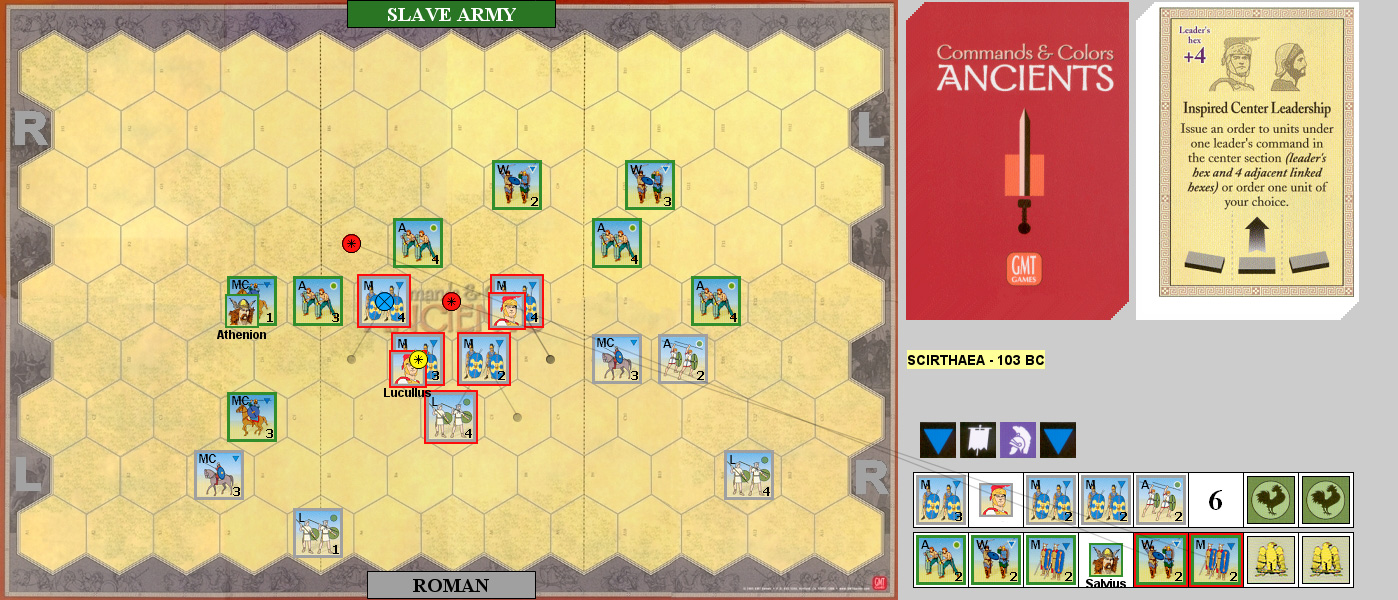
After finishing up Bertoldo the Brave, Patch and I went to our between-games round of Commands & Colors: Ancients. Up this time was the Battle of Scirthaea from Expansion #2. The Romans have a compact force with a lot of Mediums, while the slave revolt has a more strung-out line with a lot of Warrior units.
I had Salvius’ slave army first, and had a decent hand despite being down two cards (4 to 6). I Out Flanked to send the MC into flank of the Roman army, trading one block each with a Light. Patch used Line Command to move up, driving off the MC and doing another hit to the weak one. I used my own Line Command to get closer and come into contact on my left, driving off a Light. Patch Counter Attacked to destroy an Aux, while taking to blocks on one of his. Order Mediums let me destroy a Medium, and do two blocks to a Light, but two of my Warriors took hits and retreated.
With both of our lines now fractured, Patch played Order Mediums to pick on the center, picking off a Warrior, forcing another to retreat to the baseline after taking two hits, and destroying a Medium, killing Salvius. However, he lost two blocks each on three mediums and lost one of his leaders. I Ordered Three Center, bringing up the retreated Warrior to destroy two weakened Mediums, and then trading one hit each on our intact Mediums. Patch Ordered Two Center to do one block to a Medium, and I Ordered Three Right, destroying an Aux while taking one block, and forcing a one-block Light back to the baseline. Inspired Center Leadership got about half of Patch’s army moving, and finished off a Warrior and Medium. 5-6
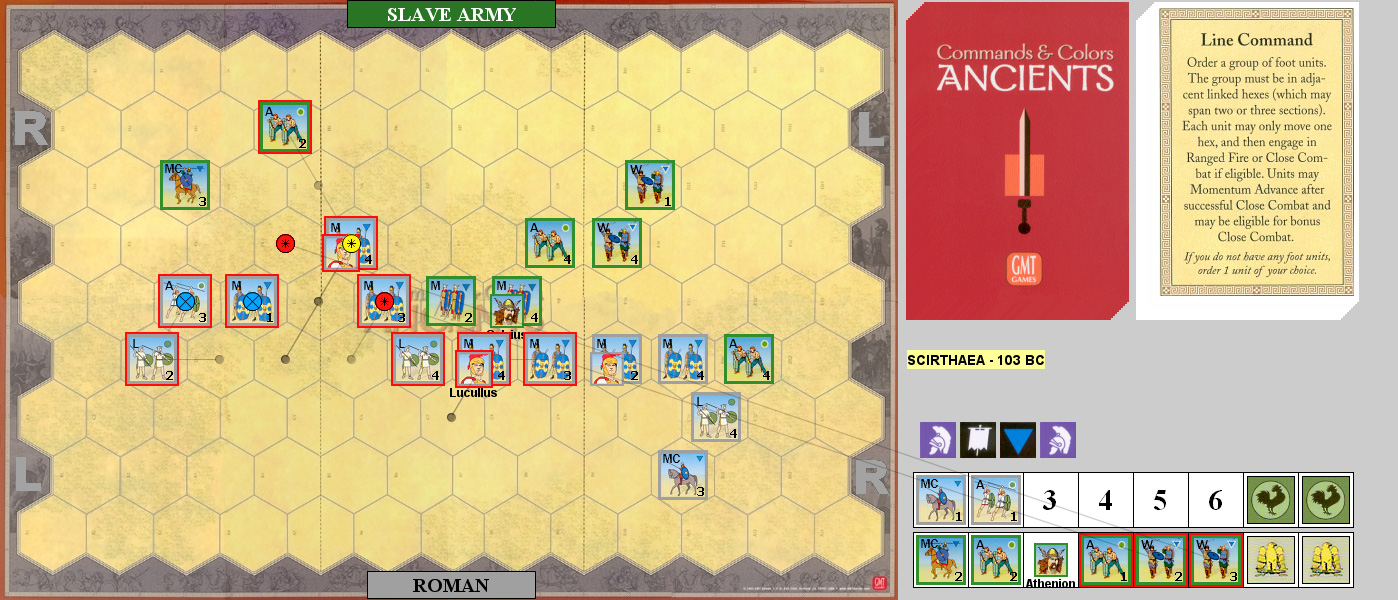
Patch started the second game with Order One (Heavies, and there aren’t any in this scenario) to trade two hits to a Light to one on his MC. I Ordered Three Left to get at his MC but merely lost my MC for my trouble. Patch advanced with Order Four Left, and I Coordinated Attack to take a hit on an Aux after again failing to affect his MC. He advanced some more with Order Two Left, and I issued a Line Command to force an Aux to retreat and finally knocked out his MC.
Patch Counter Attacked, coming into contact on both flanks, forcing back an Aux while doing three hits to another, but took two hits on each of a Warrior and Aux. I Counter Attacked in turn, finishing off the Aux, forcing the Warrior to retreat after another hit, but taking a hit on a Medium in turn, while on the other flank, I reduced an Aux to one block, killing Athenion, taking two blocks on a Medium in turn. Leadership Any Section let Patch get his center into action, finishing off a weak Aux, and doing a block each to four Mediums, but taking two blocks each on three units in turn. Losing the Aux broke my line, but Line Command still covered the majority of my units, closing the gap and finishing off two weak units. 6-2
Afterword
With only four cards, the performance of the slave army is going to depend a lot on what they draw. They’re also a bit more fragile with the reliance on Warriors, which can quickly see them at a dice disadvantage. However, the two-hex move into combat, and especially, momentum combat helps a lot here and helped me make the first game very close.
Both of these were surprisingly fast fights, with three leaders going down, two of them to two-die rolls when a unit merely took a loss. The biggest delay is that both armies set up fairly far back, so coming to grips would have been a lot slower without the multiple Line Commands.
Discussion ¬