
Jena Chase
Back on the 30th, Mark came over for some face-to-face gaming. The headline item was Atlantic Chase, which Mark had gotten just a little bit ago and wanted to try out. Considering the physical presentation of the game, I wanted to try it in person with the actual components, instead of on Vassal.
Mark had generally gone through the rules, but hadn’t really done anything more, and I was still working through them, so we really just spent the morning working through the first three tutorials, and working out the components and some slightly better storage (splitting up all the task force markers into smaller baggies).
It’s a really inventive game, that tries to abstract out the process of discovering what the enemy is doing, and then trying to do something about it. The primary conceit is that a task force is often represented as a line of markers showing its course through the Atlantic Ocean. This is part declaration of intent, part general intelligence on the part of the other side, and part quantum waveform. Time itself is partly abstracted away as the task force is simultaneously in all the positions of its current route.
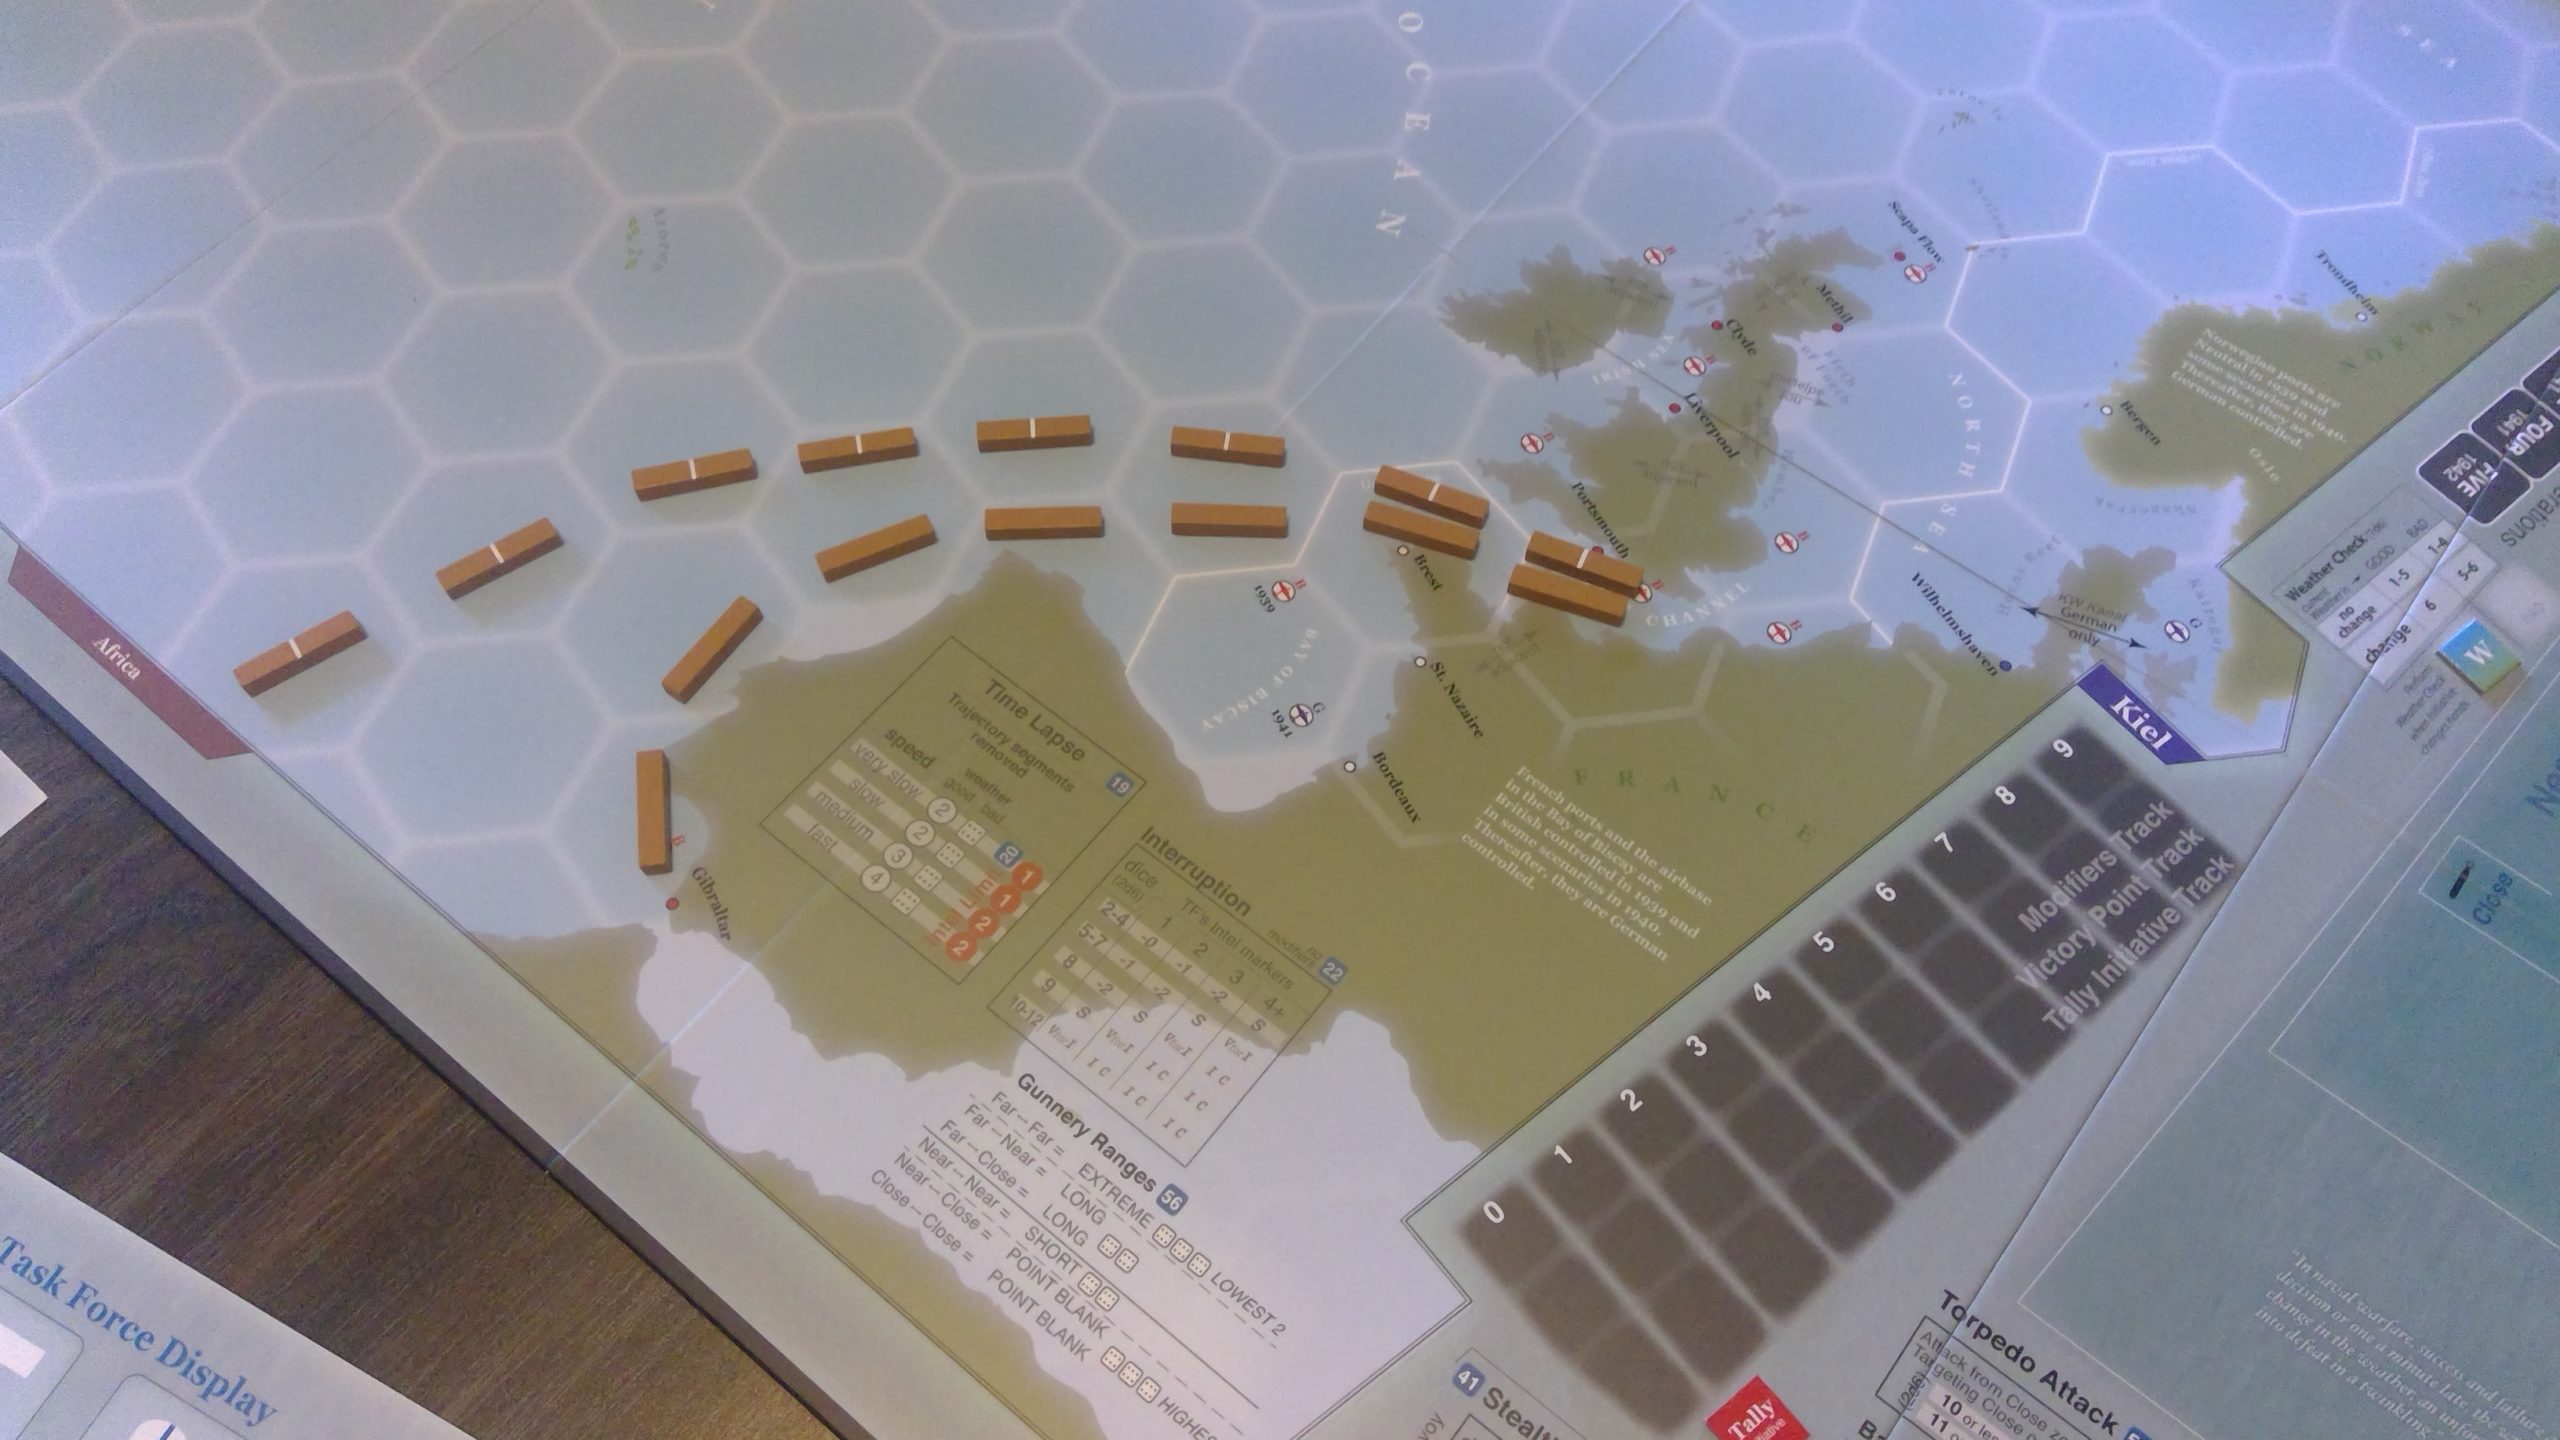
Opening setup for the first tutorial. That’s the courses for two task forces (in this case, one ship each).
However, passing near enemy watchers (air bases, other ships, etc) provides intel on your movements, and those parts are where your ships are vulnerable. One of the activities of the game (tied into your main actions, but not one of the main actions itself), is ‘time lapse’, where you get to fairly freely remove blocks from your course, representing the ships actually moving, and no longer being present, even potentially, in those areas. Sections that have intel attached are harder to remove, and acting to do so slows the process and gives the enemy more chances to do something. And if the enemy crosses paths with you, he can change from a path to being ‘on station’ (using a cylinder instead of one of the long blocks on the map), fixing his location in that place, and then force your task force to do the same thing.
The third tutorial is a very good introduction to all of that, with few German freighters trying to slip down the coast of Norway to home past a couple of British cruisers at the very beginning of the war (the cruisers operate by simple robot rules, leaving you to figure out how to get past them). The obvious route down the coast is something of a fool’s mate, and the tutorial book devotes a page to it. Most likely, just trying to slip past will end with the freighters having a an intel marker attached where the cruisers are, and the cruisers will perform a ‘signals’ action to locate them and force them to stop and surrender. The tutorial book then spends three pages on a cat-and-mouse effort going around England and through the Channel (picking up intel markers, but since the cruisers aren’t right there, it’s not as dangerous).
This is another GMT production with an amazing amount of paper in it, with four fairly meaty, and very extensively illustrated, books: the main rules, tutorials, solo scenarios, and two-player scenarios. The latter are split into minigames (just a battle between forces already in contact), and operational scenarios. I’m figuring one of next steps is to do a minigame to see combat in action, before diving into the full thing.
After lunch, we switched over to Napoleonic 20. I’ve played it once before with Mark, right before Covid caused a year without face-to-face gaming. It’s a very streamlined tactical battle system that moves fast. Mark just has Fading Glory, and a scenario that appeared in C3i, and I picked that, as a treatment of Jena sounded good.
However, as a magazine game, the counters are 1/2″ instead of the larger ones used in Fading Glory, and it was tough to read the unit designations since it was tiny script without sufficient contrast. That didn’t disrupt the game itself, but setup was a little tougher.
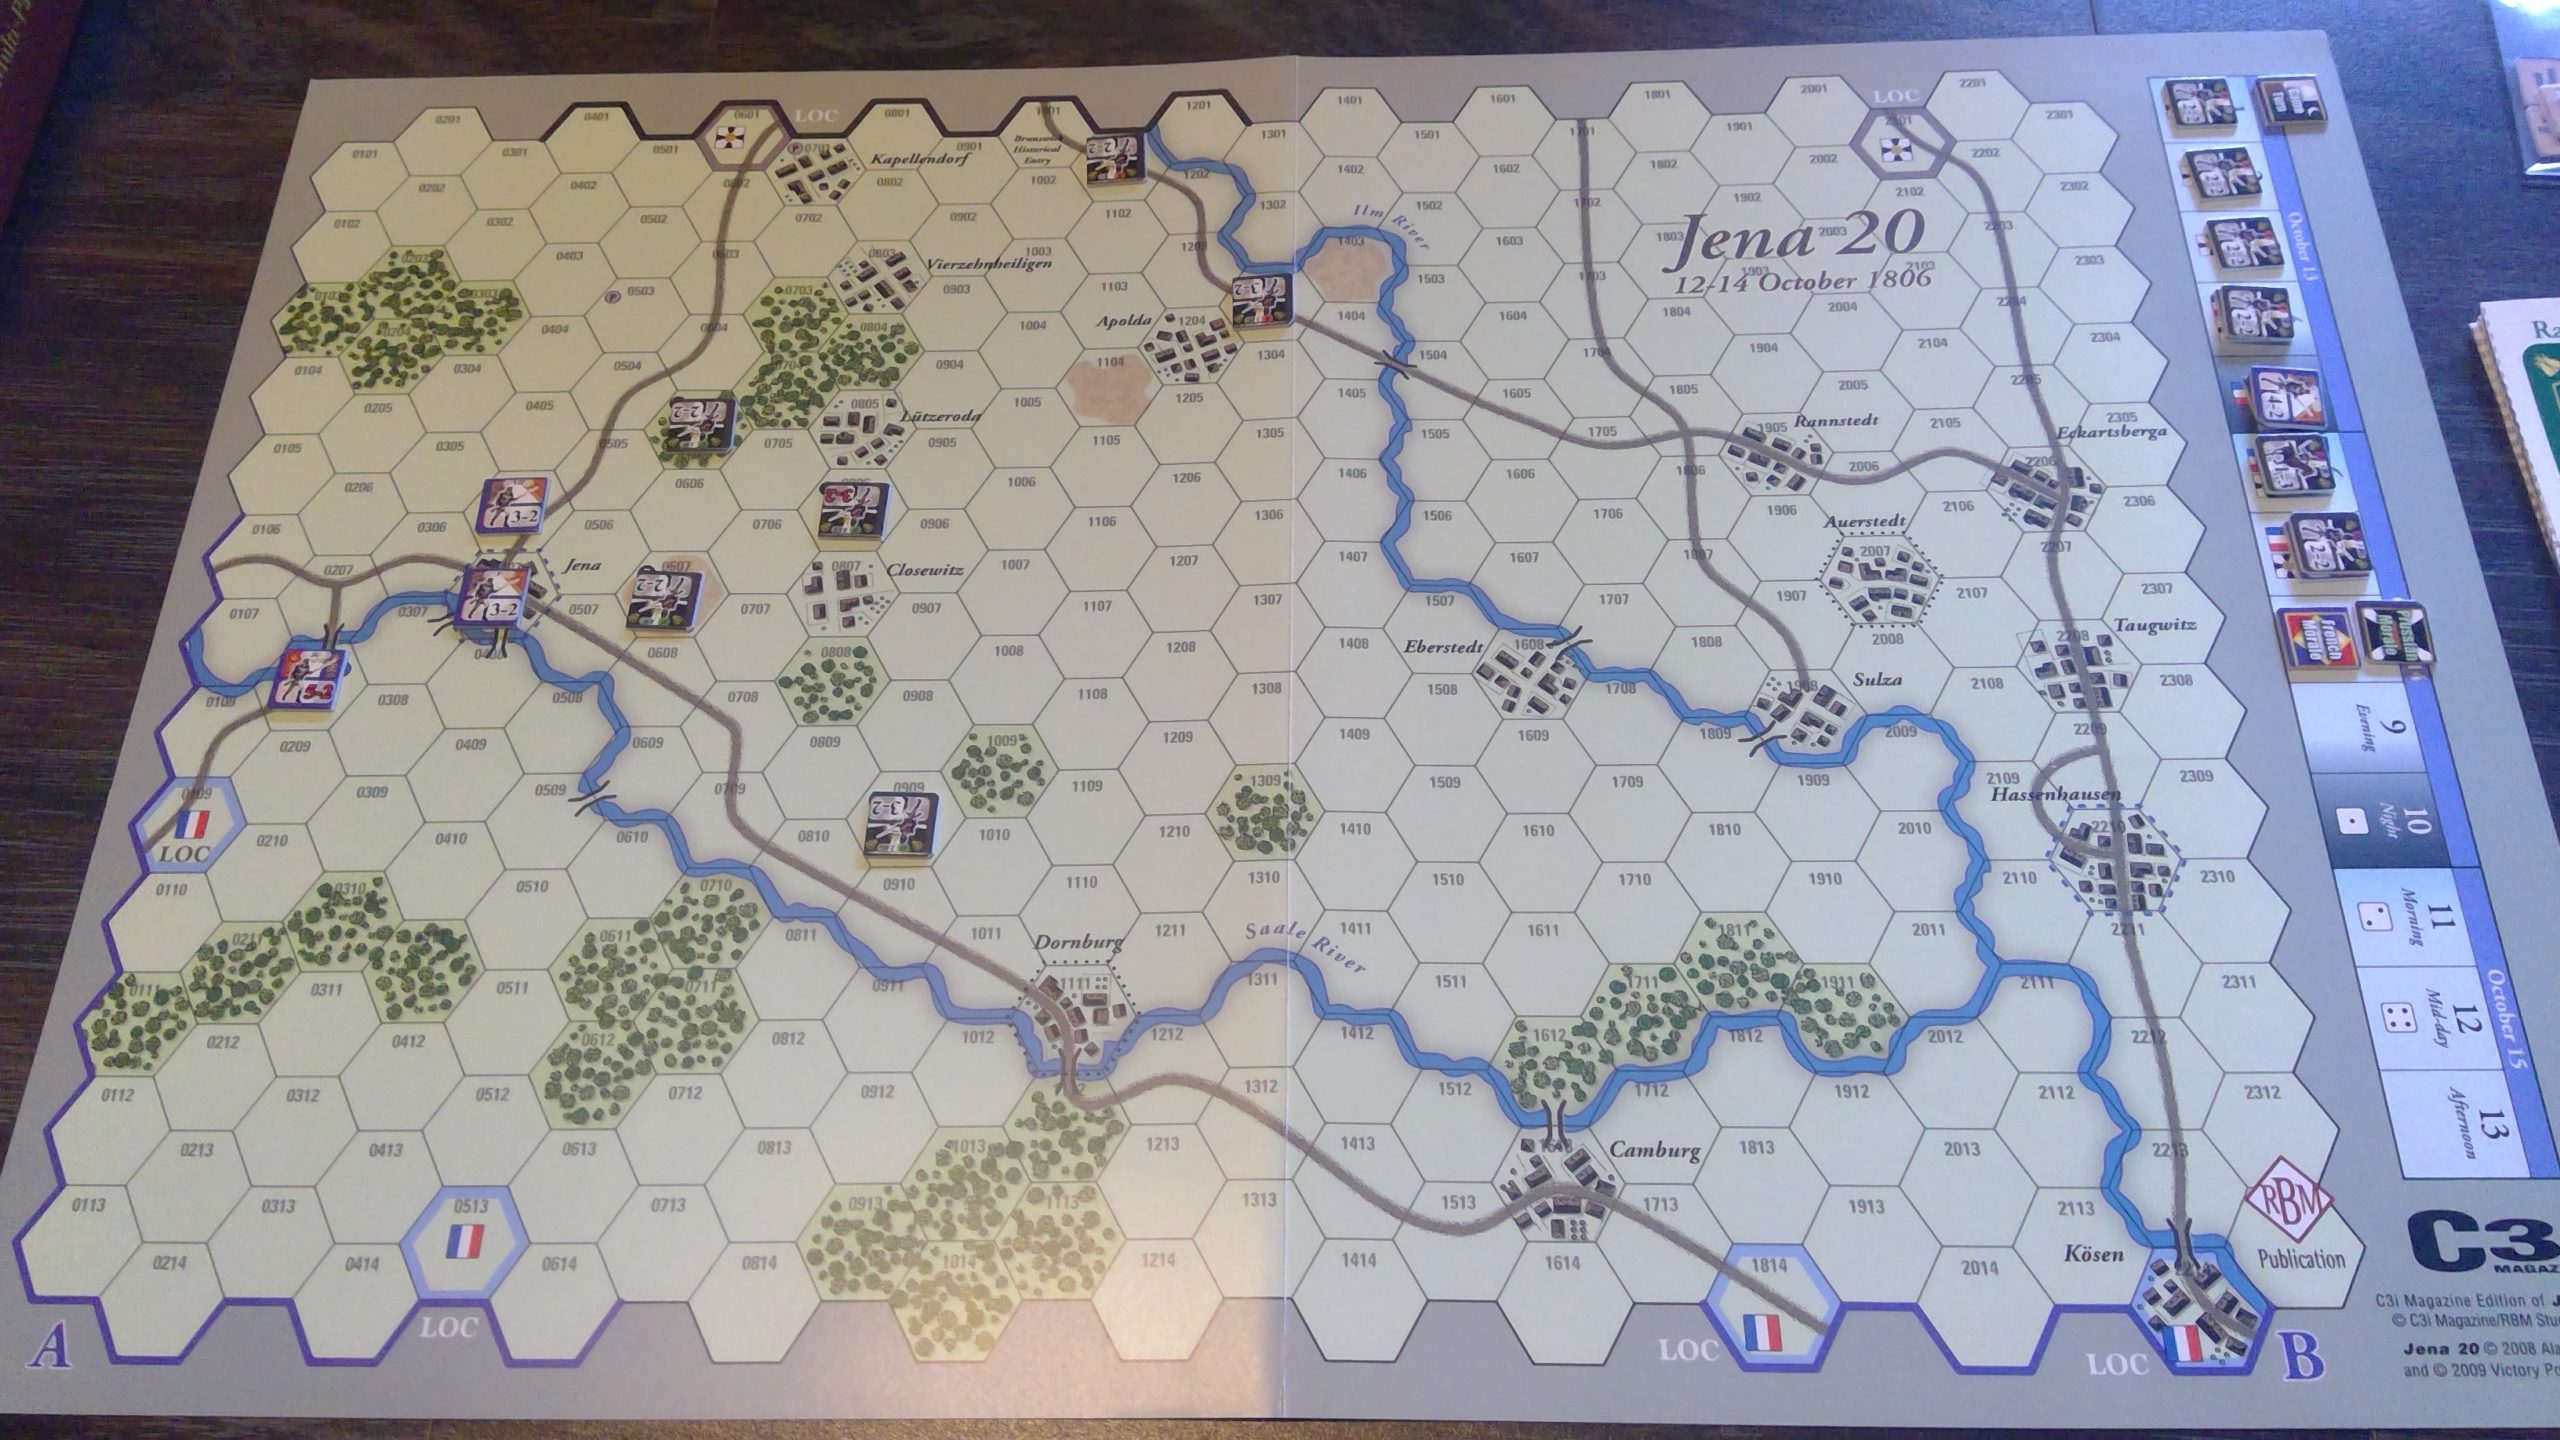
The game starts with the confrontation outside of Jena, while Prussian units start entering on the road to Auerstadt. The latter is one of the French goals, and as the Prussians I raced down the road to occupy it as night fell on the first day, causing a hit to French morale. (We stuck to the strictly historical reinforcement entry, which puts all the Prussians on that road as they enter).
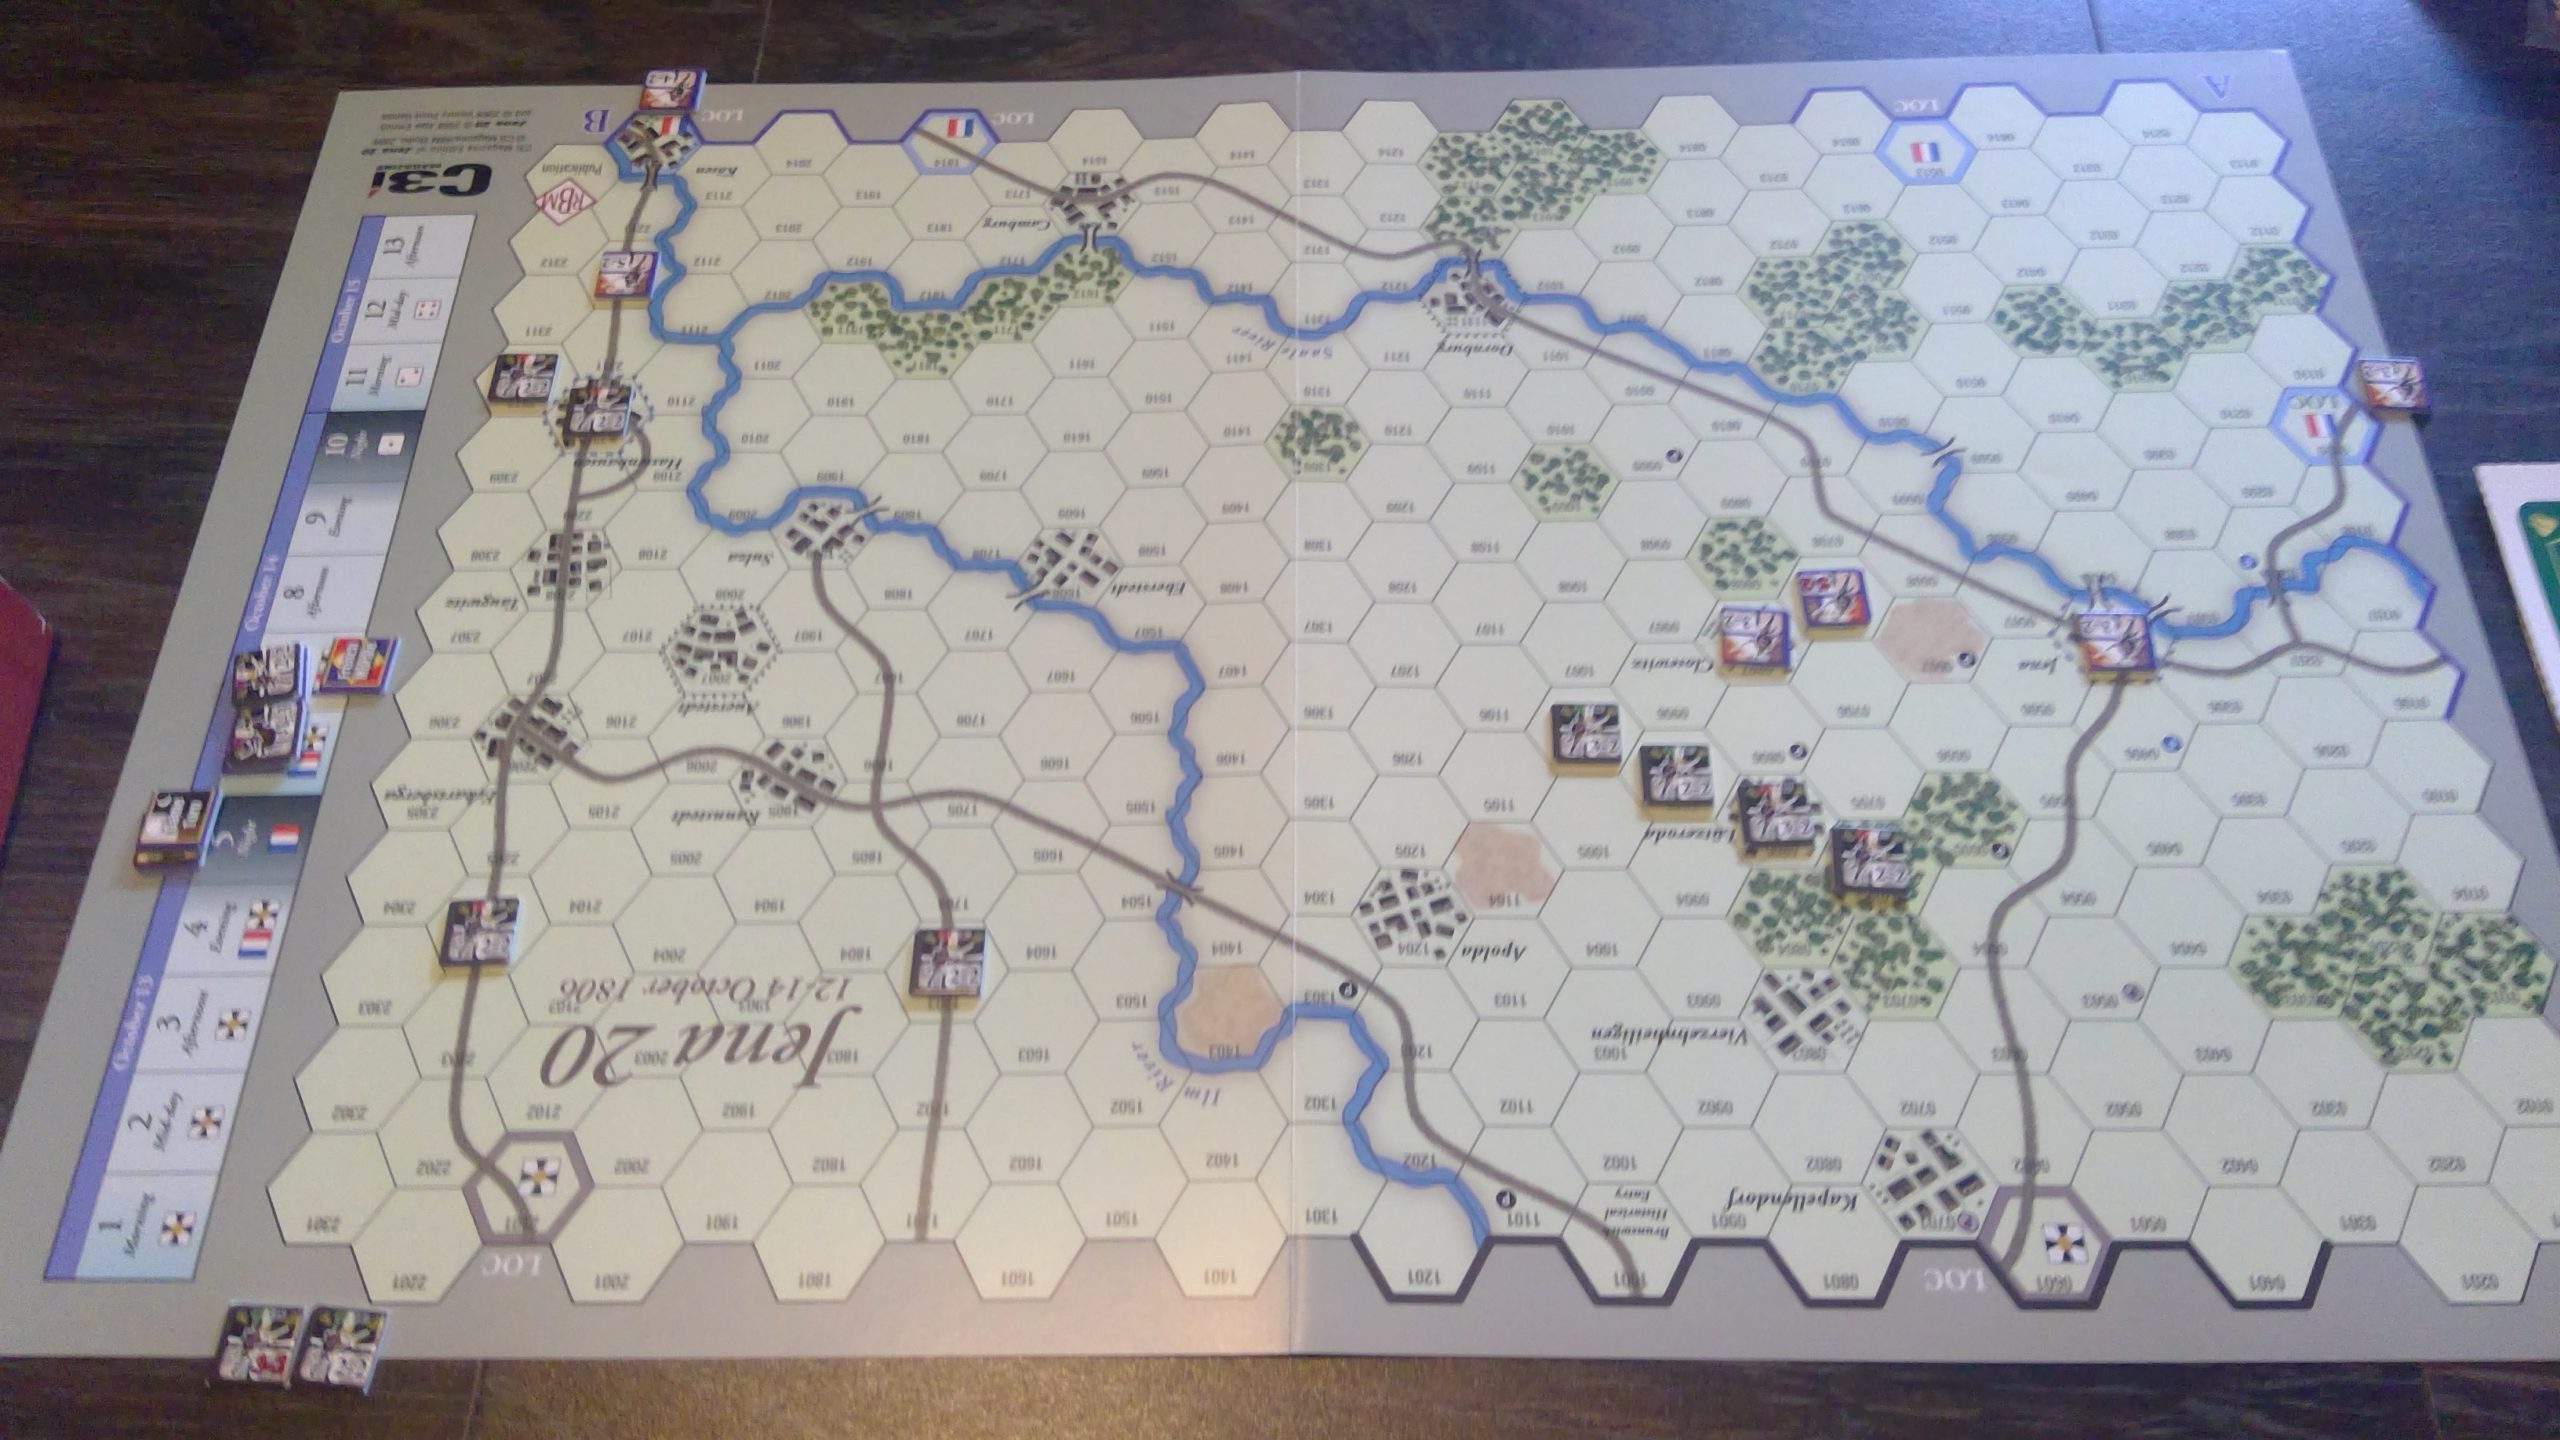
That was kind of the high-water mark for the Prussians. They had naturally taken a bit of a drubbing the first day near Jena, and a too-aggressive defense cost me a broken unit, but I firmed up the line again, and that area got relatively quiet the second day. However, French reinforcements near Auerstadt outclassed anything the Prussians had in the area, and at dawn the second day, my forward defense came apart. Also, the French resumed an advance on Kapellendorf, and one of the Prussian LOC hexes, and my defense came apart there for a French win near the end of the second day.
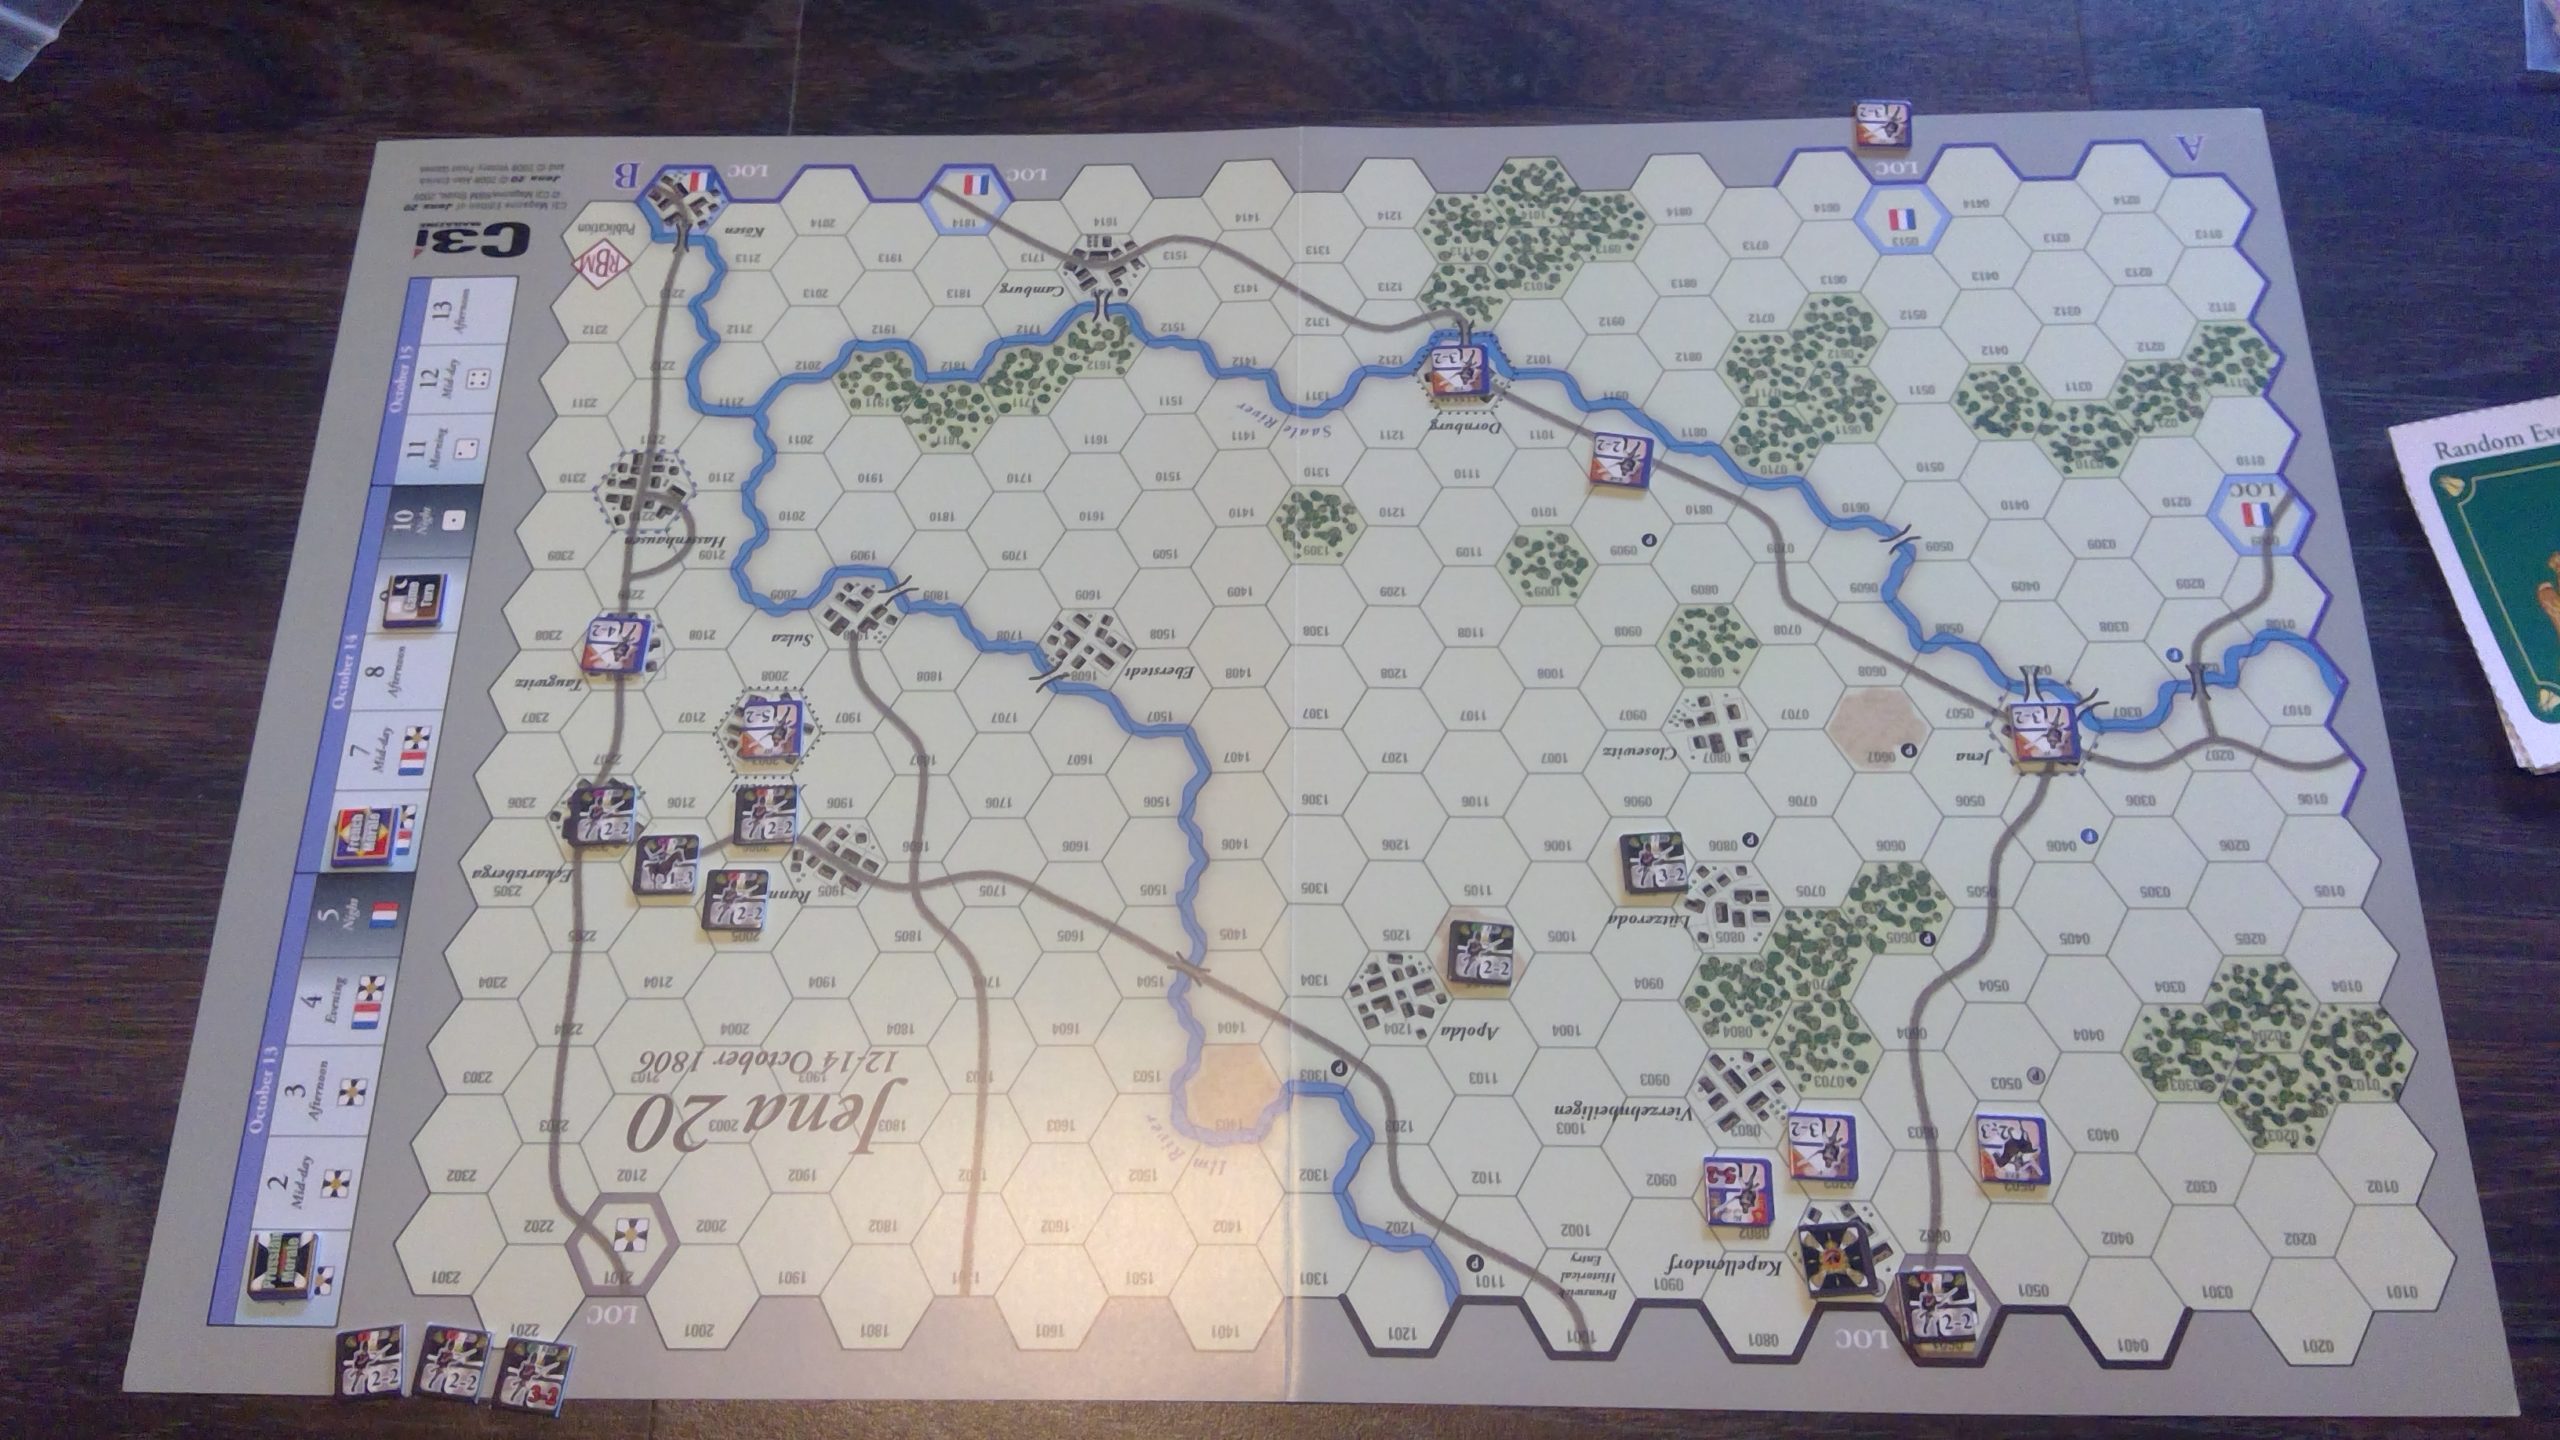
Given how the actual battles went for the Prussians, I can’t feel too bad about my performance, and certainly the game plays well enough. I think the Smolensk scenario was a bit better as I’m not really seeing what the Prussians can do here (I certainly did make some mistakes, and lost more units than I should have early on). Mark kept forgetting about his Imperial Guard and taking morale hits for putting them into combat, but the results were well worth it, as they helped break up any line I put together.
Discussion ¬