
Three Medieval Battles
Mark came over back on July 6th for one of our two-player days. It had been my ‘pick’, and I went for trying out my just-stickered copy of of Commands & Colors: Medieval. I’d gone through the rules, and had been following things on BGG, so I was aware of many of the changes from Ancients. However, a detailed review of the unit reference card with Mark revealed more there than I’d thought.
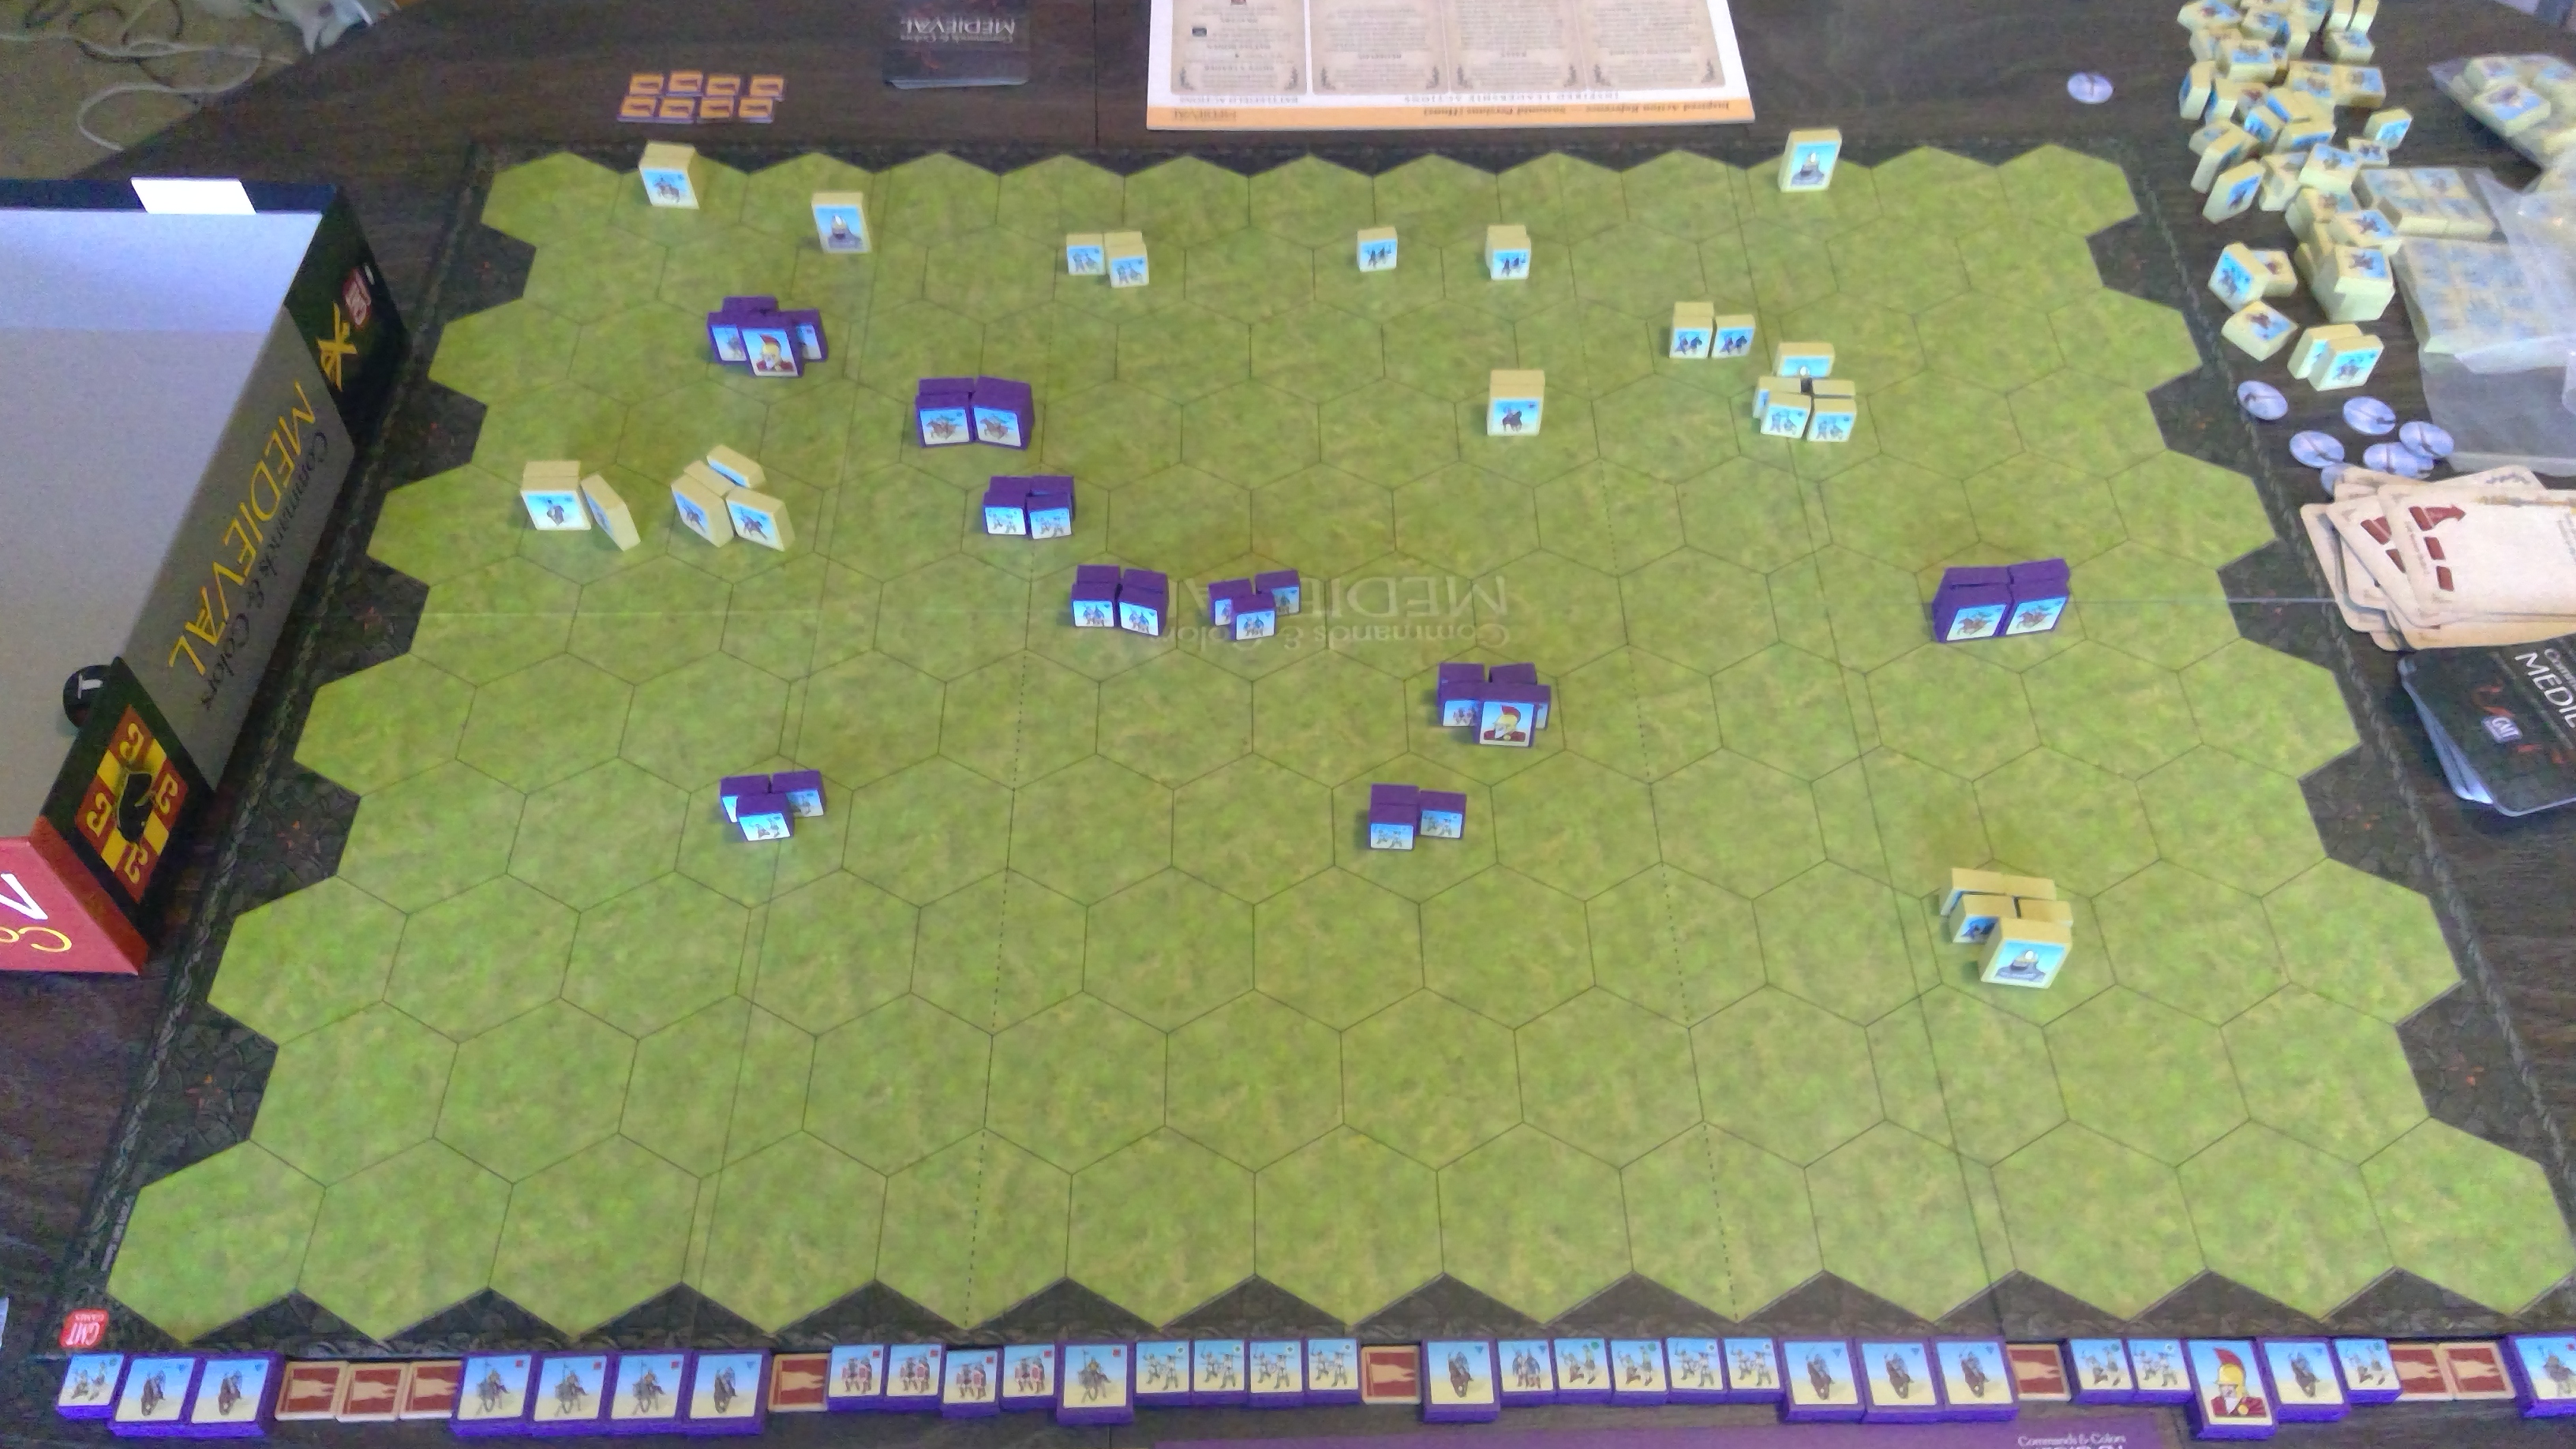
We started with the first scenario in the game: Utis River, a large scenario (9 banners!) with the Byzantines vs the Huns. I had the Byzantines, and got to a very strong start on my left, taking three banners for a cost of three blocks. However, the Huns struck back, and while it took a bit (and two more banners for me), he demolished my heavier units, broke up my center, and nearly eliminated my right. As I tried to get at the various weakened Hun units scattered in the back, the tension ratcheted up as the score climbed, until it was 8-8. I eventually managed to get a last unit on my left for the win.
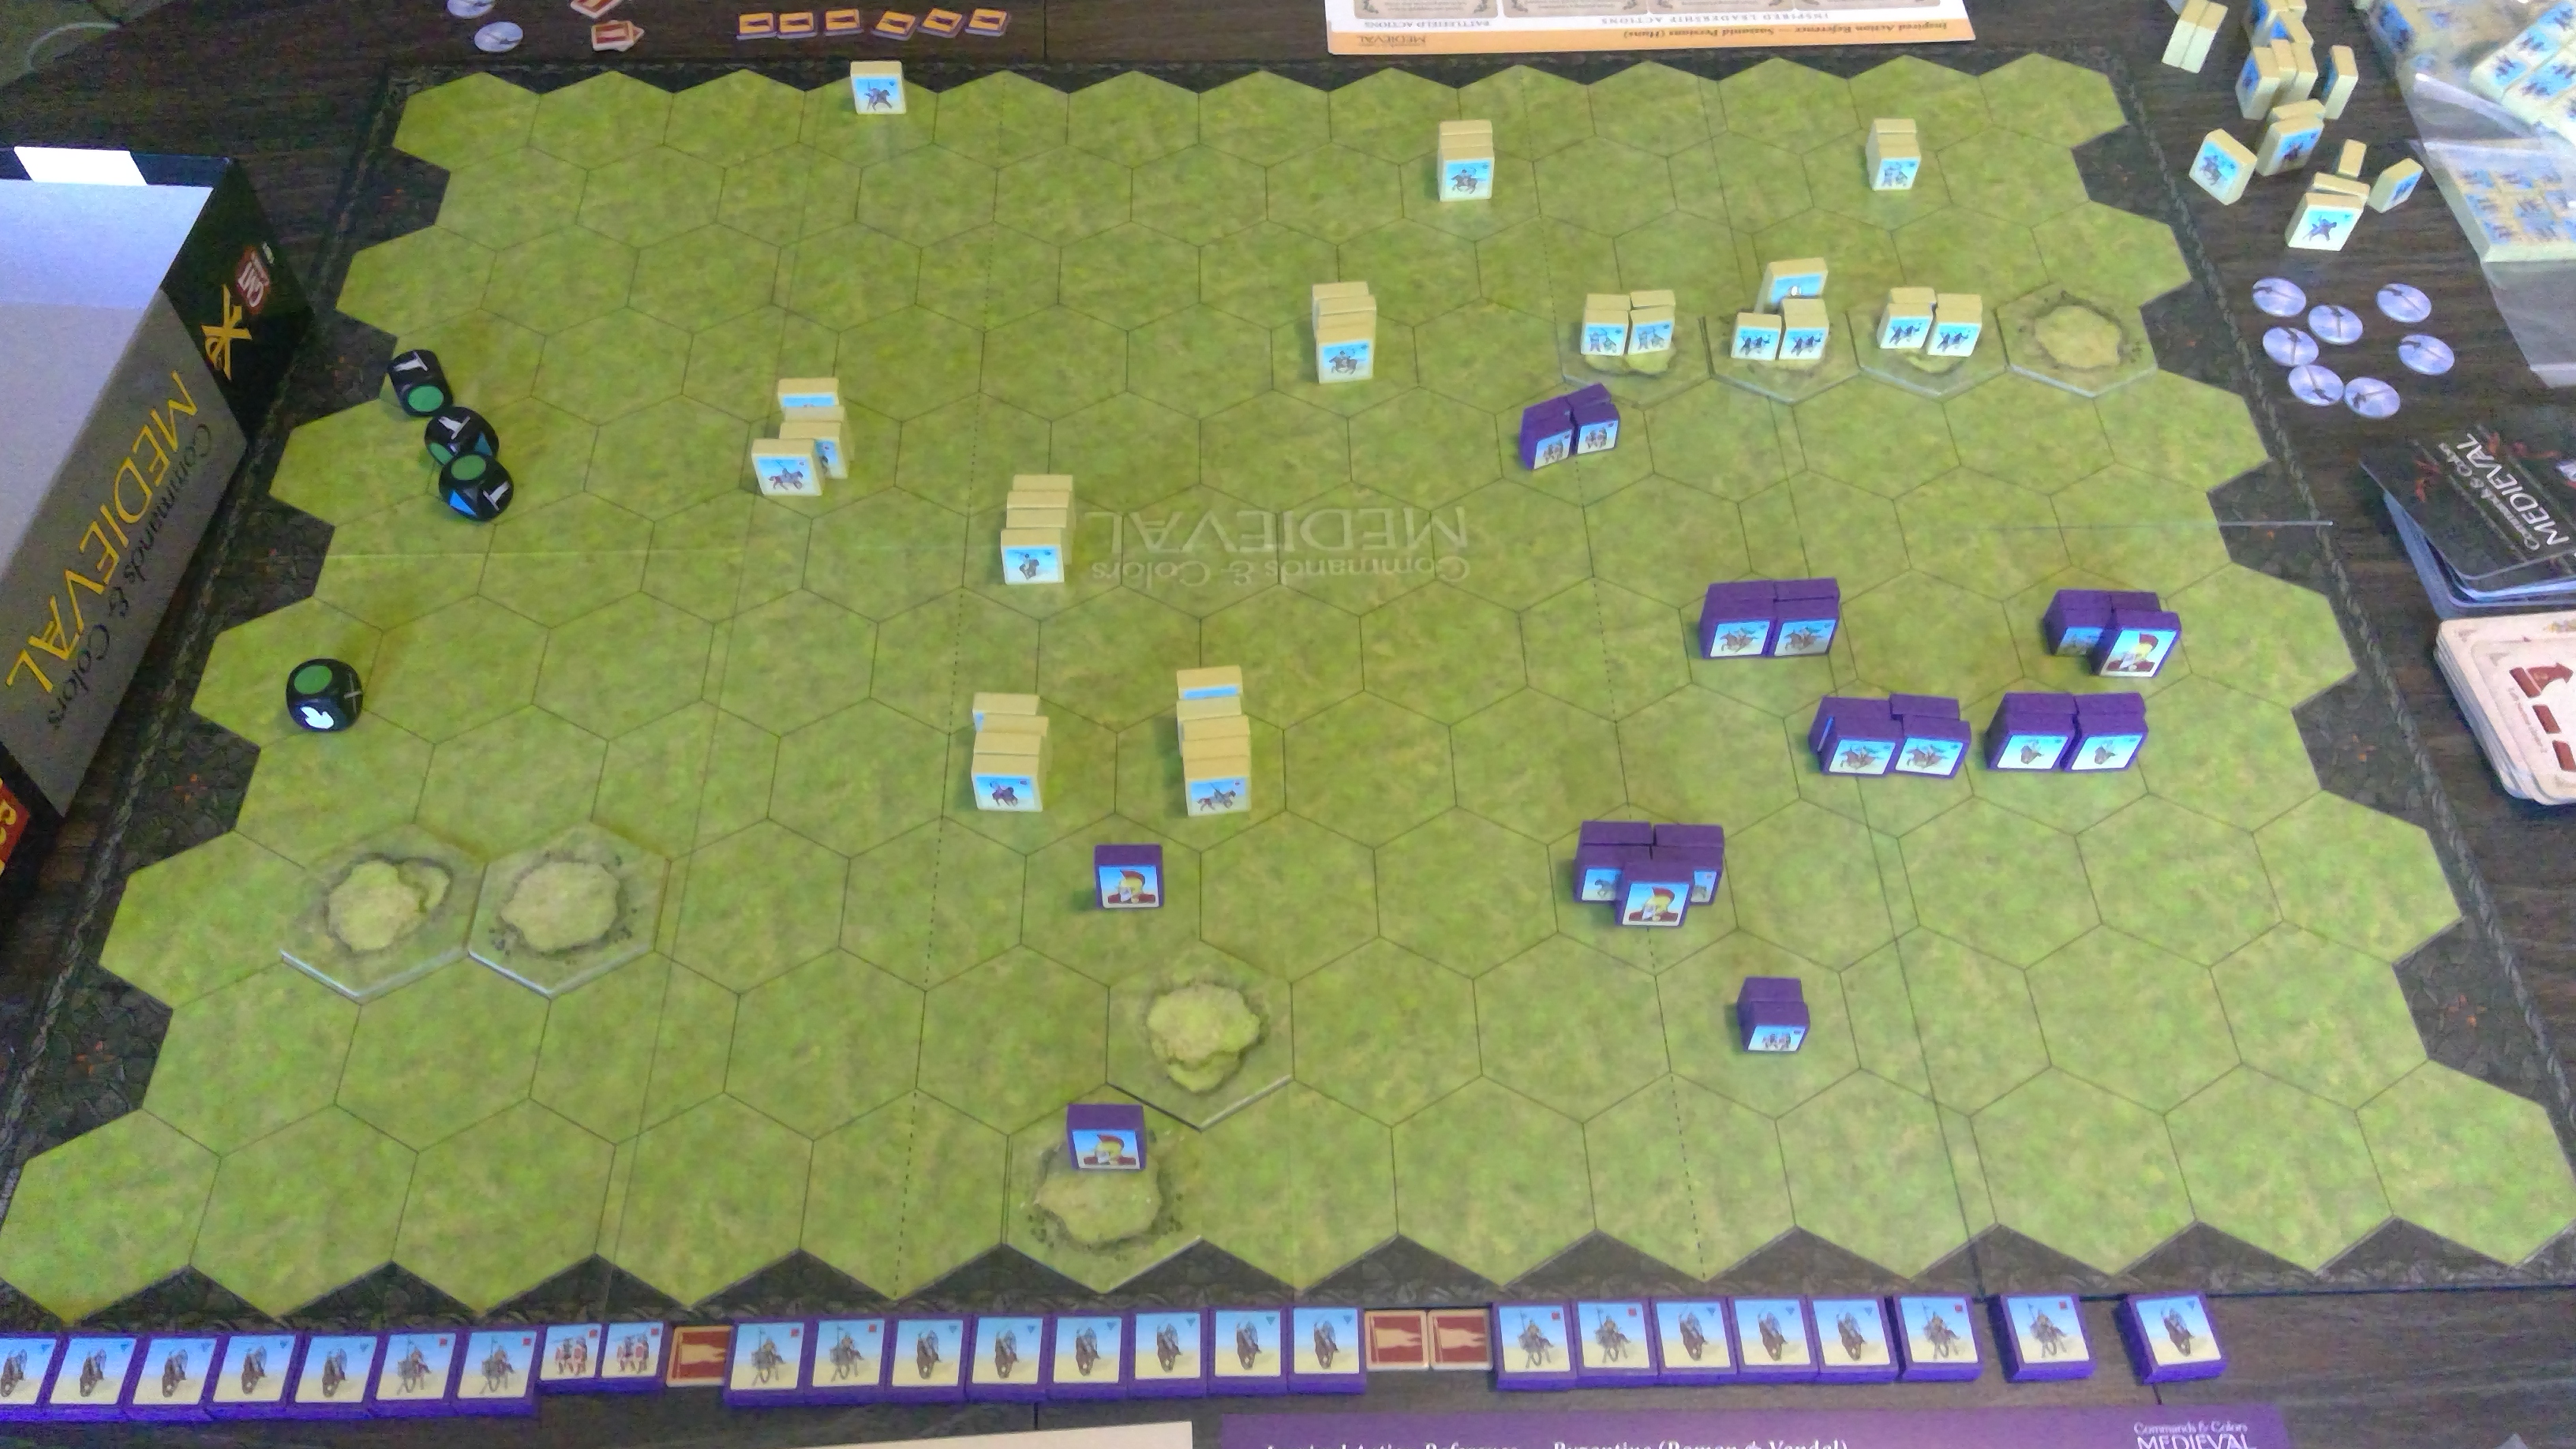
That had taken quite a while to go through, and certainly didn’t match the extremely fast playing time that I’d seen some report. This was a long, drag-out, bitter fight. After that, we switched to Thannuris and did a two-set of that. It’s an interesting battle, with a Sassanian line with infantry on some hills on their right, and the rest of their line being cavalry. The Byzantines have two compact wedges of MC and HC, with a mixed line on the right nearly back at the baseline. All cavalry is bow-equipped (which took us a bit to get used to), and the Sassanians have two Cataphracts, while the Byzantines have one on their right baseline.
I had the Byzantines again for the first fight, and went down pretty hard 3-6. My losses were the two cavalry wedges; I had a good early opportunity to engage with them at the start, and took it, but it completely backfired. The fighting ended up getting in range of the rest of the line, which is what largely let me get three banners at all, but I could not recover from that start at all.
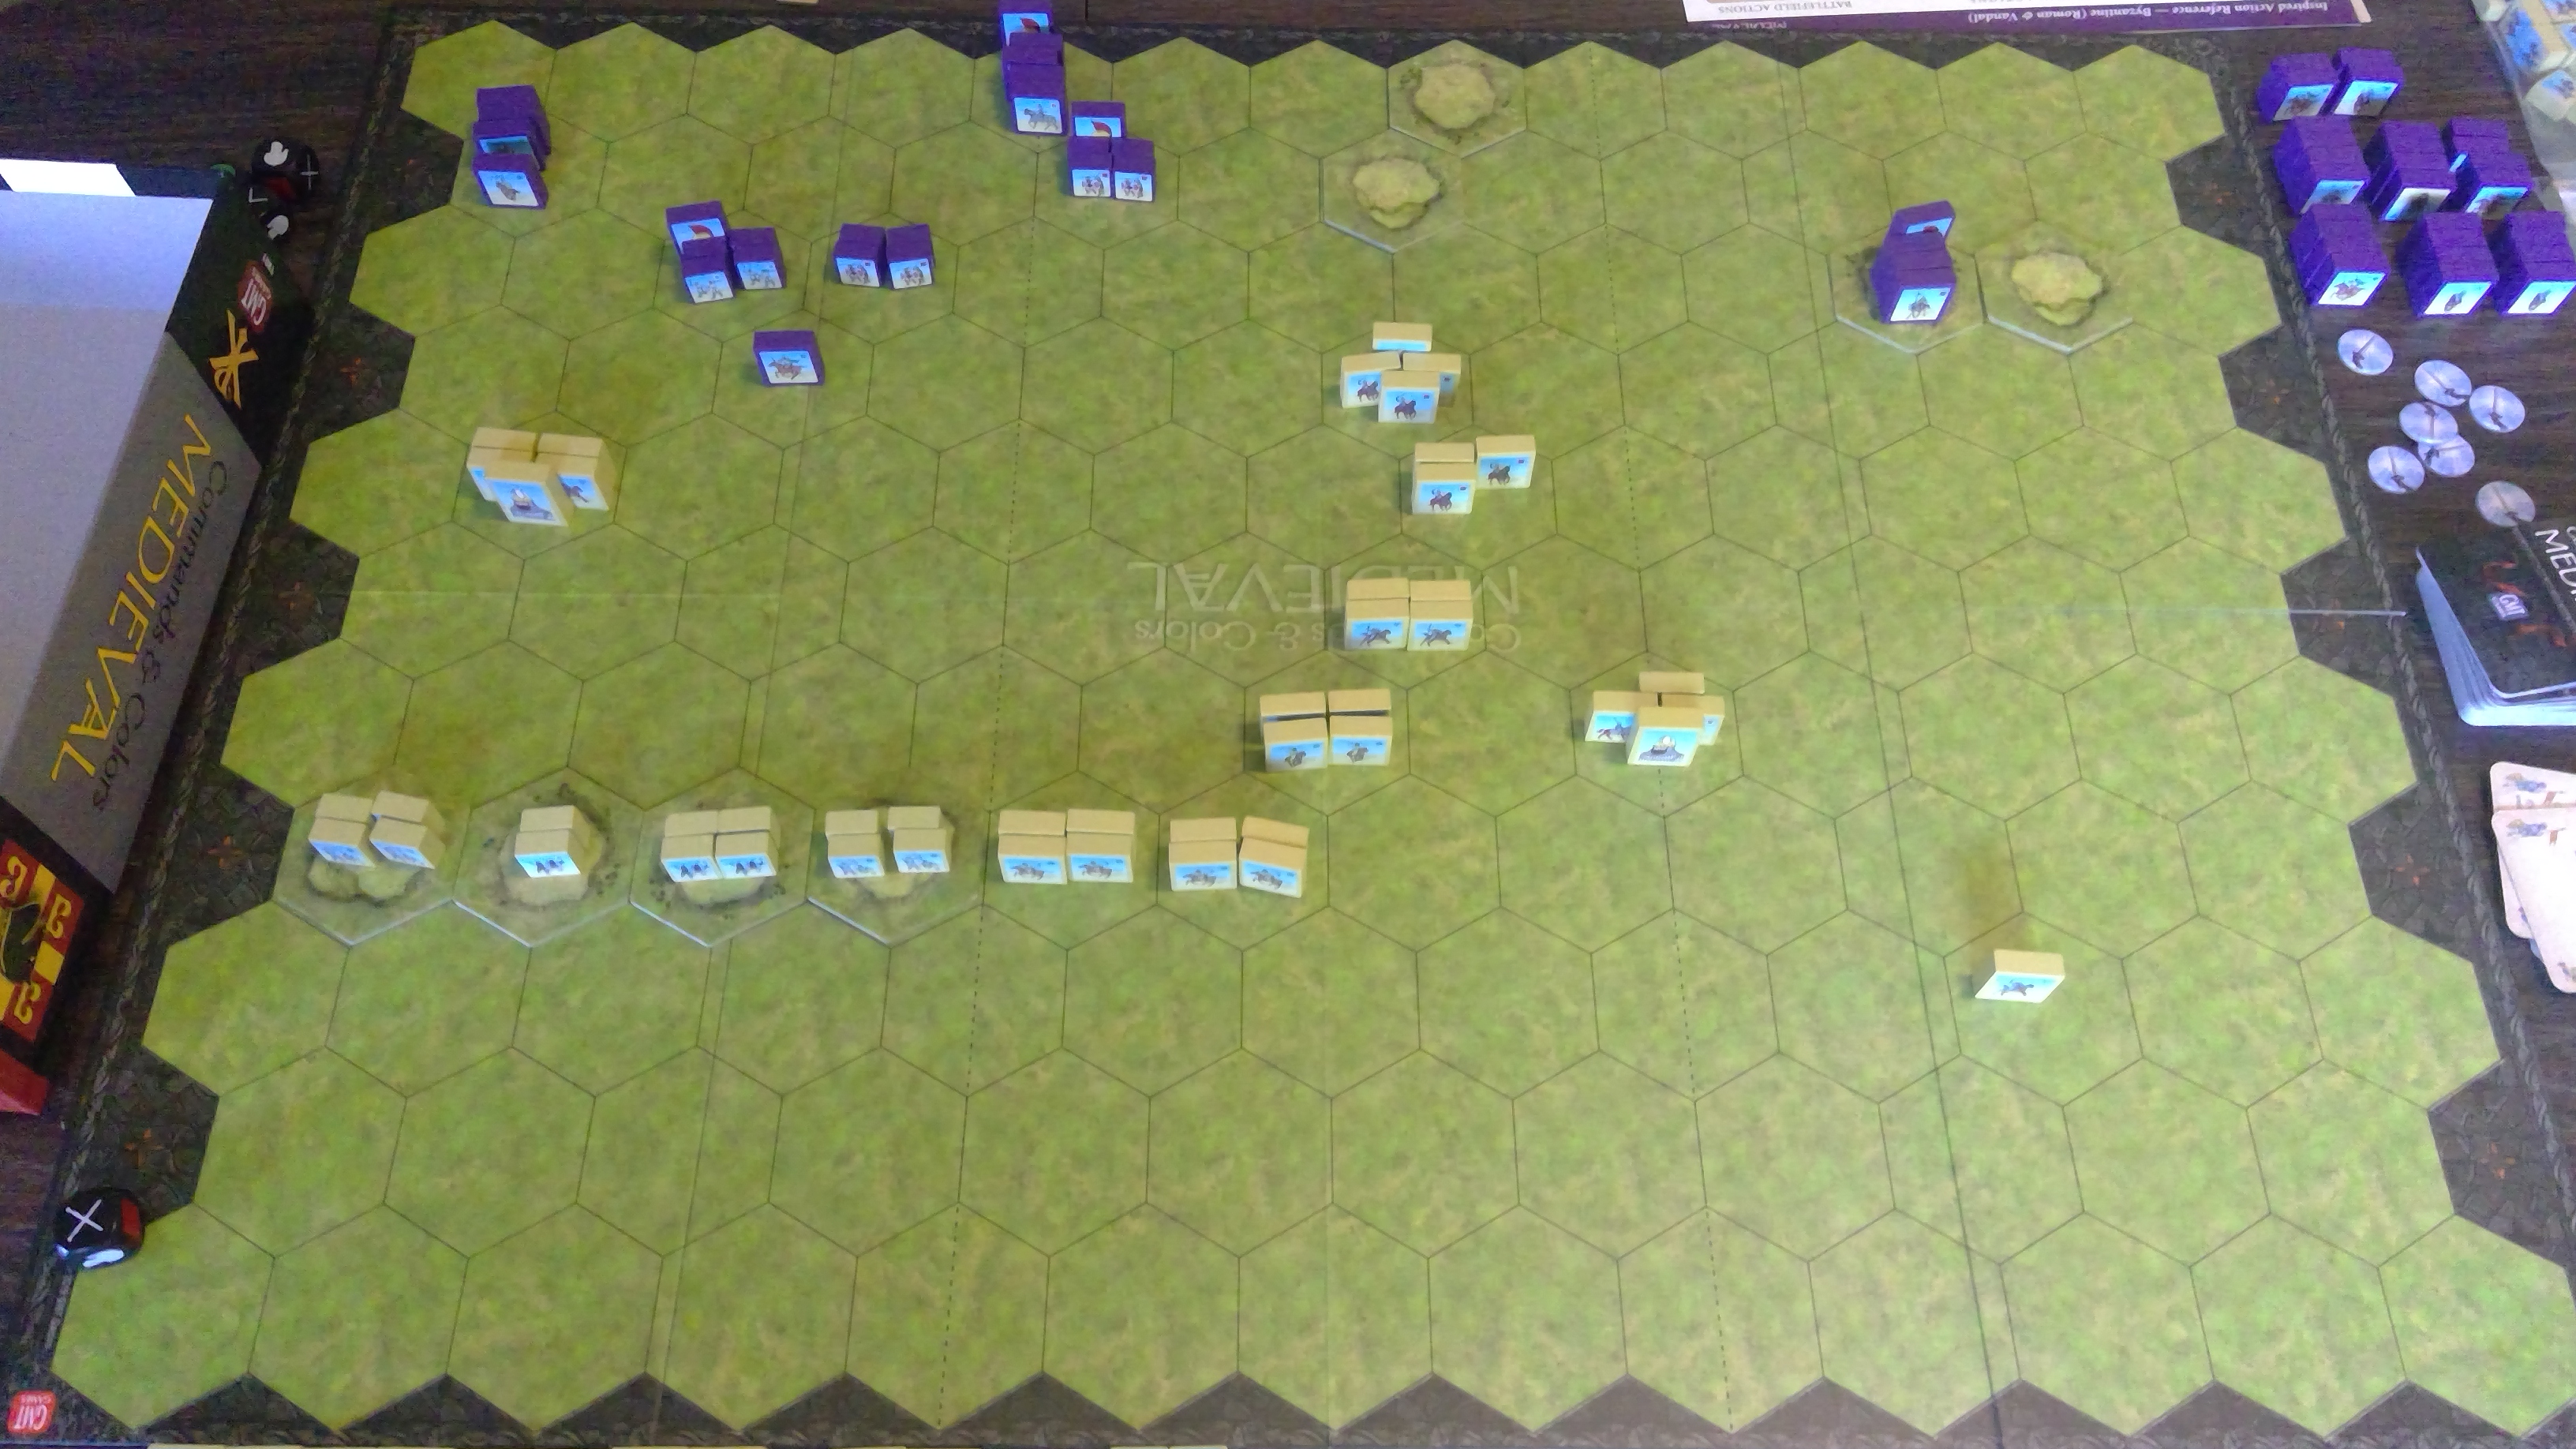
The second round went worse for the Byzantines (Mark; 6-1 I think). He tried a similar opening, and did a bit better, but still ended up losing his left and middle. He wasn’t able to get his Heavies into action like I did, and my units migrated left into my center as I broke down his center, and started looking for opportunities against the defensive line on my left.
I’m still getting a feel for the set. It is different than CC:A, but it’s still hard to say how different. Certainly, heavy infantry isn’t as scary as it was, and we could see how the smaller battles can resolve very quickly with lots of heavy cavalry moving around, and various ways of getting them an extra die, but it did not happen with us. Also most of our inspired actions went to the minor uses, as actually having a useful leadership card is a bit rare.
It is definitely another good entry in the system (the third one I’ve tried), and am looking forward to more time on the table for it.
Discussion ¬