
SL294 Operation Stabilize
Crossposted from the SFU blog on BGG
Just as Patch and I were gearing up for an SFB battle in Y159, I got Captain’s Log #42, which featured a scenario set in Y158. Mark and I found time to give it a try this last Monday, since we were both still off work for New Year’s. We had a lot of catching up and chatting to do, which was great, but did hold us to only getting four turns in.
One particular action early in the operation involved two Hydran frigates: the Brazen and the newly commissioned Catkiller. The Catkiller was one of the first of the new hellbore-equipped ships. The two frigates were returning after not having found anything worth attacking when they picked up a small Lyran convoy nearing a base station. The frigate commanders diverted to attempt to destroy the convoy before it could reach the station. The convoy’s escort, a Leopard destroyer, had been called away to another location during the earlier stages of the Hydran raids. Those Hydrans had been driven off before it arrived. It returned to its original mission just in time to attempt to protect the freighters from the Brazen and Catkiller long enough for the convoy to get under the umbrella of the base station’s weapons.
It’s yet another battle that features early use of the new hellbore torpedo, though it doesn’t headline the scenario the way it does for “Where Wisdom Fails” or “Catching Hell”. We had to review the hellbore/ESG interaction rules, since they just haven’t come up for our group before. The setup is on two maps, with the freighters about 50 hexes from the base station, and the DD actually a few hexes in front of them, while the Hydrans come on the board 26 hexes away from the freighters and slightly in advance of them. While the BS’s ph-4s can reach that far, they don’t do much (or possibly any) damage at that range, and lending EW only works out to 15 hexes, so it’s mostly an appropriate ‘end goal’ for much of the game. Victory is with a unique schedule of points that mostly revolve around destroying cargo boxes on the freighters.
Mark had the Hydrans went fast the first turn, 21, while the DD went 15 with one overloaded disruptor, and the freighters kept together at speed 10 (which is the best the F-S can do without turning off fire control completely). The initial pass weakened shields, and I did a few internals to the CU, knocking out a phaser and a little power, but no more than that.
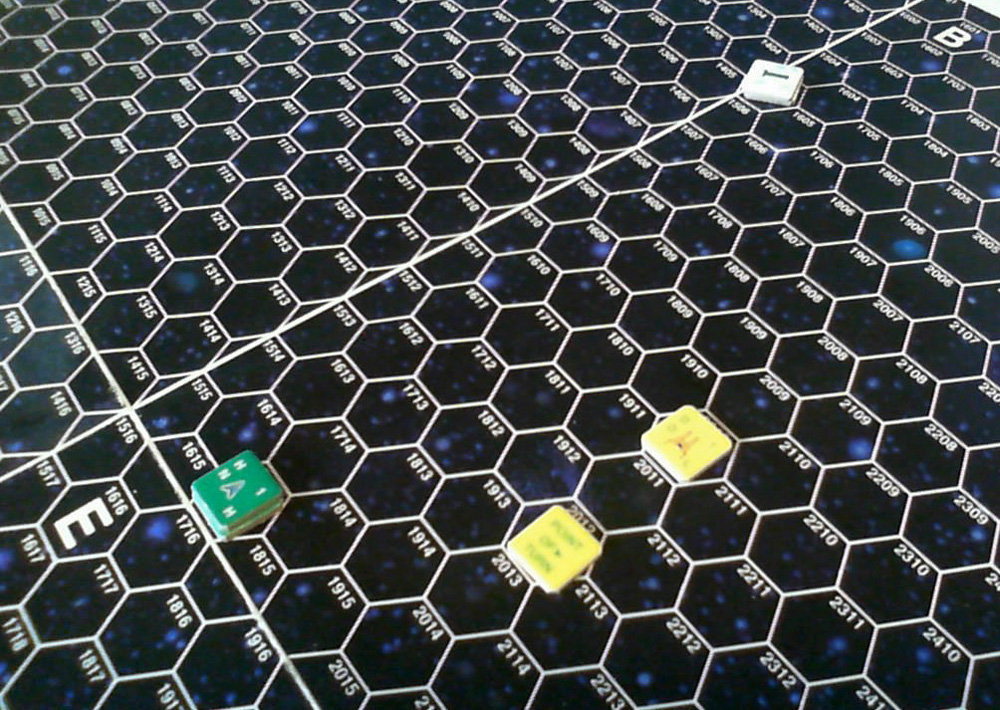
The main action after Turn 1.
The second turn featured some slowing down to charge everything up. I interposed the DD between the Hydrans and freighters, and was about to announce the ESG to force him to turn off (since the hellbore had fired last turn) when Mark did so anyway. In the maneuvering that followed, he got a few internals on the DD and took out a disruptor and the ESG, which gave him greater freedom to maneuver.
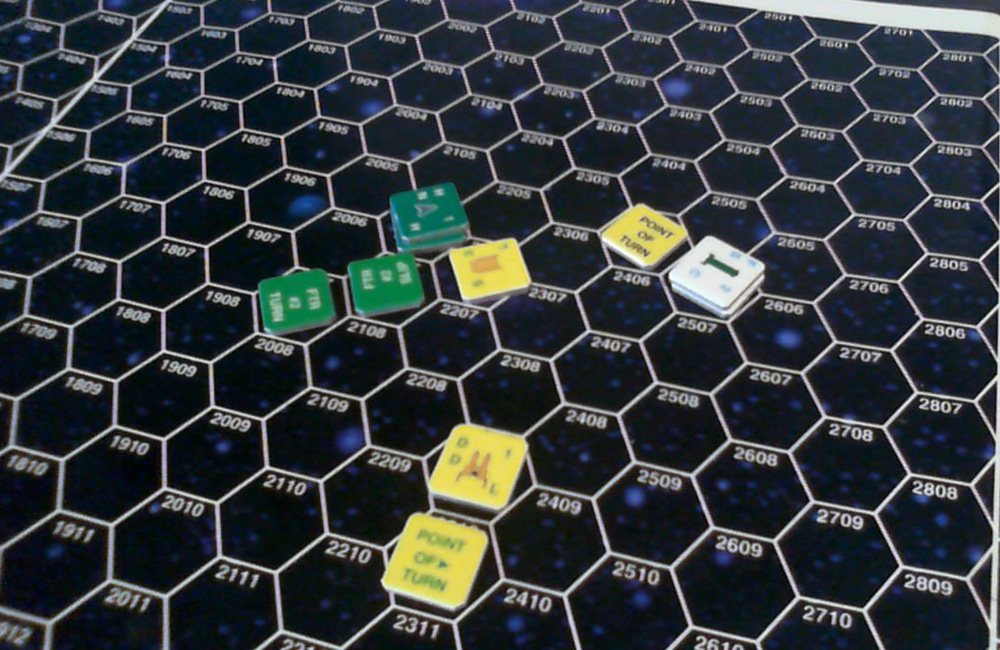
End of Turn 2.
Mark pounded the small freighter during turn 3, and completely depowered it. The main action over the next turn was grabbing the large freighter in a tractor and trying to haul it back away from the BS, since it was nearly to range 15, where it could loan ECM, and the ph-4s on the base would get even more dangerous. However, this was a slow process, as the F-L was larger, and still going at a good speed. Given a little time, he could depower it some more to help, but the DD would eventually come back to help. Meanwhile, the DD had tractored the F-S, and was hauling it closer to the base.
It’s hard to say just where the scenario was going at the point where we had to leave it. Certainly, if Mark managed to completely destroy the F-L, he’d have 93 points (including destroyed cargo on the F-S), but both of his ships had been damaged, for a final total of 83, and a Tactical Victory. However, since the DD was in generally good shape (though with two down shields), it would not be that easy. Quite likely, at least one of the frigates would be crippled, which would drop him down to 68 points and a Marginal Victory. If I drove him off with the F-L, say, half-destroyed, that’d be… (call it 28 cargo vs. two crippled frigates) -8 for a Tactical Defeat. I’d say we were headed for a draw or Marginal Victory for him.
It’s hard to properly protect the freighters, but Mark was rightly worried about the fact that they were getting closer to the BS (which is why he tractored the F-L). Sacrificing the DD will actually work if it can buy enough time to save the freighters. Mark got lucky that the ESG was hit early, before I had a chance to use it, but the HN had taken 14 internals, and the CU had taken 21, including the hellbore, and the Scanner was down to ‘5’. The DD had taken 11, but its shields were in better shape, and it was about to repair the second disruptor as a range-10 version. It’s easy to ignore the BS in the early game, but it should be taking some potshots with the ph-4s and the disruptor, while keeping self-generated ECCM up.
Discussion ¬