
Blocks of Napoleon
Mark came over Saturday for some quick FtF gaming, and finally introduced me to Commands & Colors: Napoleonics. I was aware of the big change from C&C:A, that combat dice are largely dependent on the number of blocks in the unit, but of course the little things got me, mostly in how the card deck is different. (I missed the ‘draw two and discard one’ bit of a Scout card the first time I played one, and the two different ‘move something in each section’ cards got me too.)
Hunting around for something that looked introductory, we ended up playing Zehdenick from the Prussian expansion. This turned out to be a highly unusual scenario, with only one unit of infantry in the entire thing. I had the Prussians the first time, and started with two Mounted Charge cards, so I sent in my Light Cavalry against his, and started a melee that claimed his Lights, while I only lost one unit.
Both sides have almost nothing on their respective right flanks, and that’s apparently where most of Mark’s cards were. He moved up the Heavy Cavalry on that flank just before I Attacked Left, moving up my Heavies on that flank, and my Light Infantry. The latter reached firing range of his Heavy, and wiped it out in one very lucky volley. That was the high point of my luck during the game, but Mark’s was poor throughout and the final score was 4-1.
We reset and traded sides, and Mark didn’t do a whole lot better, still managing to draw cards for his empty right flank. That said, it still went better for him, and if he’d managed to get more use out of his left flank, it could have gone much worse than the final 4-2 score when I smashed the center again.
After that, we traded to the Austrians, and played a game of Haslach-Jungingen with me as the French. This started well for me, with a strong initial showing on the left-center, occupying Bofinger. I was worried about the strong Austrian line there, but my cavalry forced a couple units into square (or Battalion Mass), and then I slid down a little so a combined arms battle with my Heavy Cavalry and Foot Artillery could finish off a unit.
While Mark managed to pick off a Line Infantry unit at my extreme left, things really went south on the right. I had initially figured I had a superior force over there, and hoped to gain a couple banners over there once the center stabilized, but Mark charged in and destroyed most of that flank, though I held on in the church. I finally pulled out a 6-5 win by managing to destroy the second infantry unit in square, which Mark had yet to rescue, though he had destroyed the Light Cavalry that had been part of the initial advance.
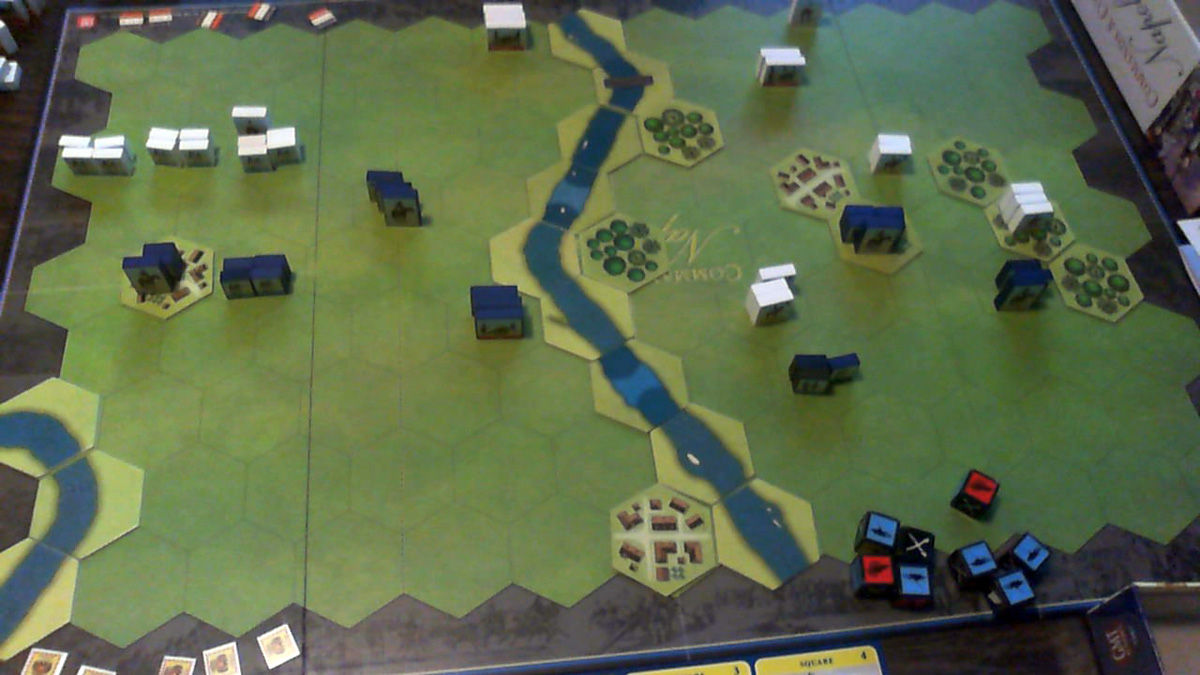
(A very confusing bit in this scenario is that you get a temporary banner for occupying more of the three town hexes near the middle of the board, without explaining that by ‘town hexes’ they also mean the church adjacent to one town…. I’ve only figured it out now by looking at the annotated map on the CC:N.net site.)
We spent a lot of time talking and catching up on things, so that’s all the gaming we really had time for, but it was a very good intro to the Napoleonic branch of the series, and was a great time as usual. The various Napoleonic wrinkles seem to work very well, so I hope I get a chance to play some more before I forget just what all those wrinkles are!
Discussion ¬