
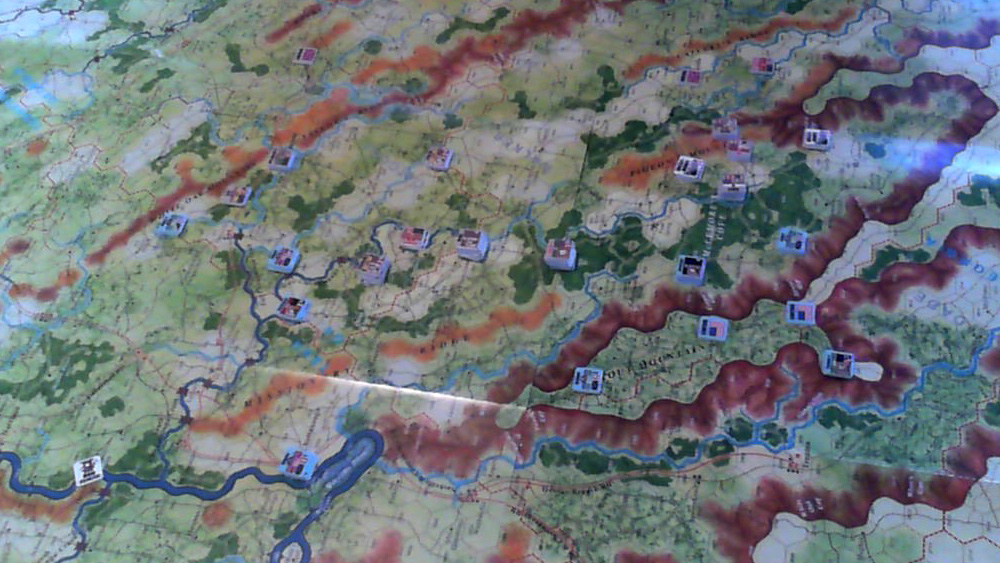
McLemore’s Cove
Mark missed gaming on Sunday, but has gotten better, and came over for some long-overdue 2-player gaming. Trying to decide what to do the night before, we gravitated to the GCACW series, and then to Mark’s just-punched copy of Battle Above the Clouds (which I also had on loan at that point). Looking it over this morning, I set up the first scenario, McLemore’s Cove, and after we reviewed the BAC rules (not skipping enough of the Tennessee River rules…) we went at it, with Mark taking the Confederates.
Most of the forces in this 4-turn scenario are inactive for the first turn, so once setup and the like was finished that didn’t take too long. Mark was also a bit cautious, and Negley’s division of the XIV Corps moved back on one of the victory areas after being threatened on two sides.
The second turn, of course, took a lot longer. I opened with a move south by the XXI Corps, near the north end of the lines. I stuck Palmer’s division too far out, and a couple of lost initiatives later saw the demoralized remnants routing away, having lost three strength points (one during the retreat). Not a good start. I re-aligned the rest of the corps, and things quieted down up there for a bit. I eventually came back to that flank, and moved Wilder’s mounted infantry against the Confederate cavalry units holding his right flank, and the path to a victory area. He won two quick battles, and knocked out both brigades, giving me a much better casualty count.
Down in McLemore Cove itself, I was worried because of the number of Confederates in the area, with only three divisions to hold them off, but an assault from the south failed to go in (a ‘6’ to halt the entire thing), and as Cleburne was just north, to flank the Union position, I sent a division down to flank him, and drove him back with losses. By this time, I finally got an insubordination check (well, it is just a 1/18 chance per activation), and was successful on Buckner’s Corps. (Insubordinate: no assaults, and all movement attacks have a -2 to the attacker’s die roll.) That halted the column coming from the north, and the turn ended with a fair number of exhausted units.
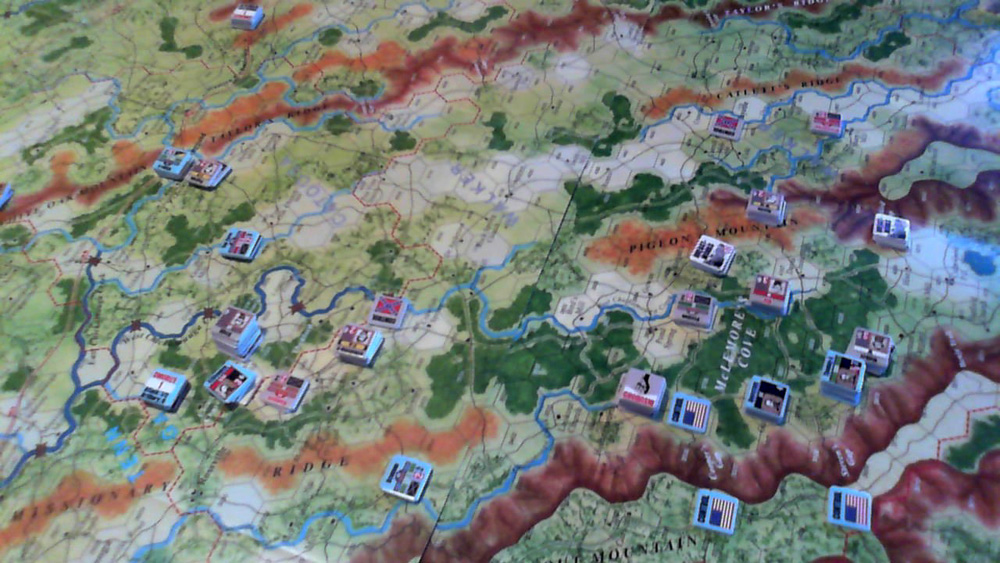
We had to put the game away just short of end of turn 3. The Confederates got up Lookout Mountain with the gap I had to open to get at Cleburne, but stopped short of Trenton before a good die roll got a reinforcing unit in there to block him. I got a division around the end of a stream to get at Cleburne’s Division, and sent him back with some minor losses again. I was contemplating going after some of the Confederate victory areas past Pigeon Mountain, but guessed it would take too long, though I might cause more losses crashing through the small regiments holding the ridge.
On the north end, more poor die rolls from the Confederate attacks brought things to a halt with more losses (poor demoralized Palmer from the first day took two fatigue to keep from being able to recover that night either, but at least it was no worse).
The Confederates had Thornton’s Mill for 10 VP, and Campbell for another 10, and while there was going to be some interesting fighting there on the fourth day, it was unlikely I’d retake them (since the VPs are awarded for holding either of two points, and I’d probably just have one of each set). Union losses stood at 5 strength points for 10 VP, and Confederate losses were at 9 for -27 VP. Total: 3 VP, a Union Substantial victory (by one point). I had yet to actually take Summerville, but I was likely to take it on the fourth turn, or cause more casualties in the process.
Discussion ¬