
HG4 Cohort and the Phalanx
Patch came over yesterday for the first FtF gaming I’ve had in months. Naturally, we played ASL. However, Patch wanted to finally give a product he’s had for ages a try: Heat of Battle’s High Ground. I remember reading about it ages ago, and thought that a pair of boards that can be put together for one big hill, while still being geomorphic on three sides was a neat idea. Going through the scenarios a bit, we figured the fourth one was one we could easily do in a day.
It’s November ’40 and the Greeks are in the middle of counterattacking the invading Italians and driving them back into Albania. The Italians start with six 3-4-7 squads, some MGs and ATRs, and two 75mm ART on board, near the board 8 river. The first turn, six elite 4-4-7 squads enter on the edge of board I (that’s a Roman numeral 1), and then the Greeks enter with sixteen squads (split between elite 4-5-8s and 1st Line 4-5-7s) and some MGs and ATRs. The Italians have eight turns to get 18 VP worth of troops across the river (where board II is waiting), with any CVP they pick up adding to the total. The at-start force is guarding the bridge, and cannot start across until one of the entering Italians either gets across the river, or sets foot on the bridge. Oh, and there’s ground snow, so getting off the hill will take some extra effort.
Looking at it a little, I started coming up with a defense for the Italians, and so took the defenders. Sadly, a few things took a bunch of time, and I didn’t come up with a plan for the entering Italians ahead of time. I mostly anchored my defense on the area around the bridge, and a built-up area near the foot of the hillside. I probably should have kept the entering Italians in a tight little bunch, but I let them get scattered as I looked for easy/covered routes down the hill.
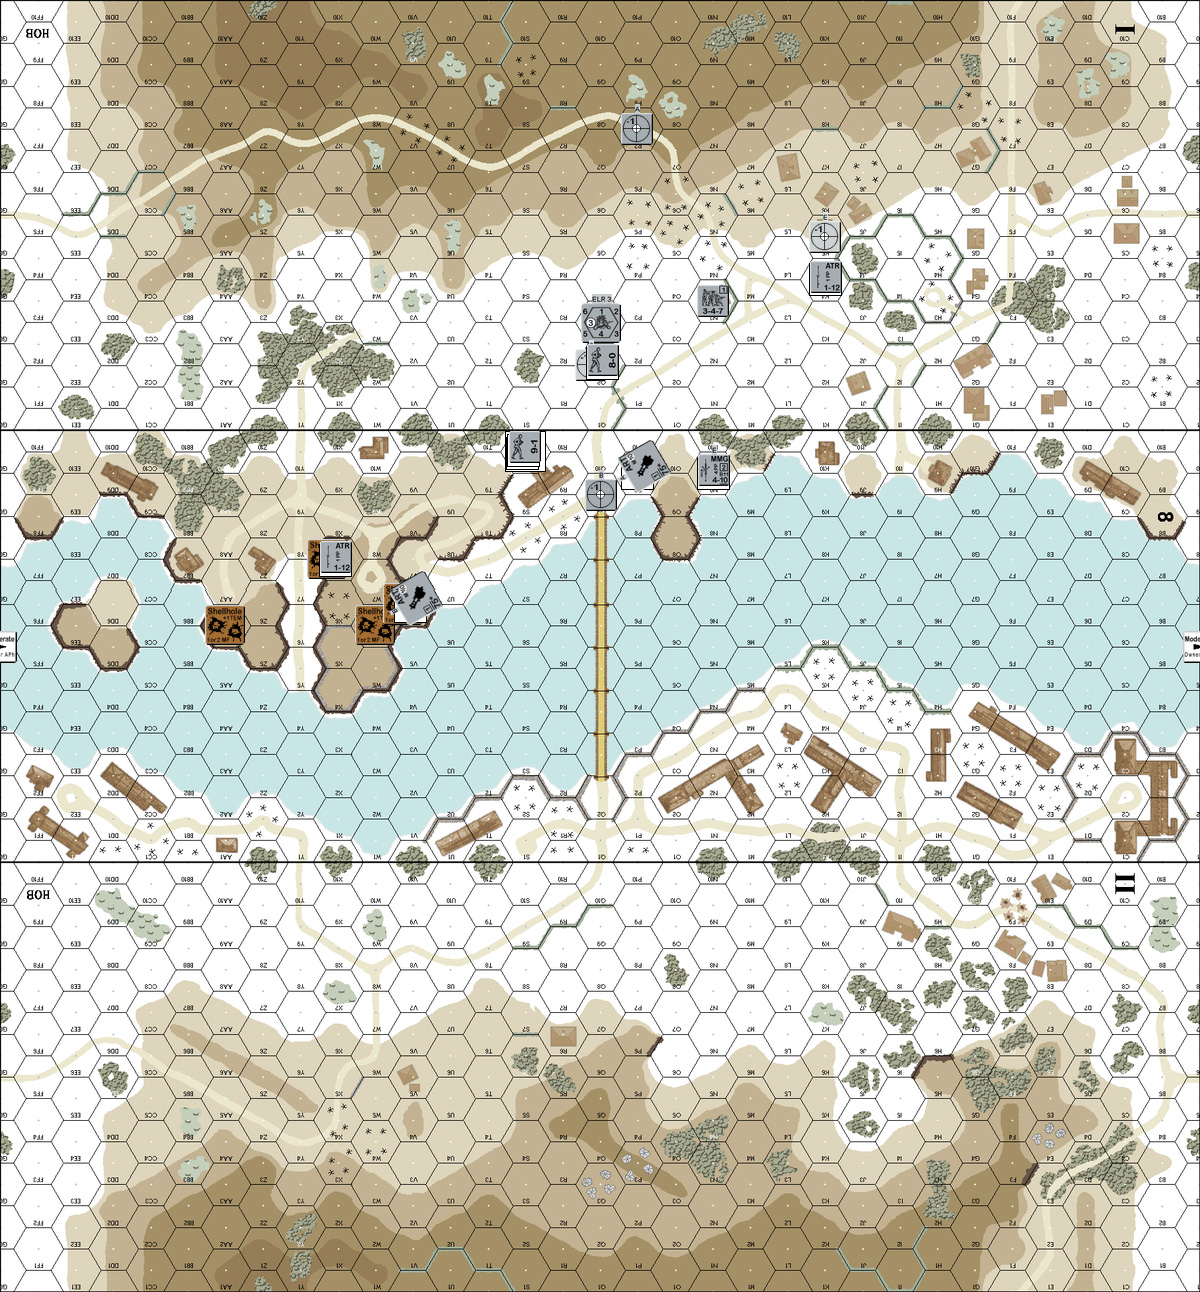
My initial setup, with boresighting. North is to the left.
With sixteen squads, Patch’s forces entered in a strung out line that took most of the long edge of the board. One of his MMGs occupied one of the level 4 peaks of the hill, where it stayed most of the game. One spare HS zipped down the extreme south end, where it caused me trouble all day (including two separate times where it allowed Patch to get Encirclement on some of my troops), and I could never spare the attention to get rid of it. Over the next few turns, Patch slowly pushed down the hill, while I tried to keep an orderly withdrawal that didn’t take too many chances—and failed.
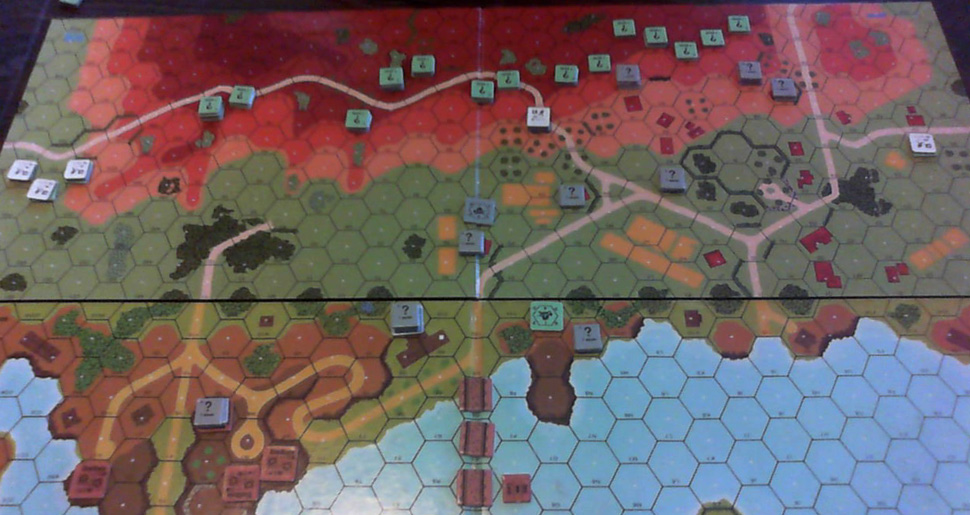
Around Italian Turn 2.
I started taking losses early, and breaking, while the only thing I could do to him were some pins. Thankfully, he had a lot more trouble with my main static defenses. He pinned my MMG squads a few times, and broke the 9-1 directing the central MMG early (only pinning the squad), but it took his Sniper to finally break the other MMG squad. Our MMGs dueled most of the time, and one of my ART tried to knock his main position off the hilltop, but apart from some early pins, couldn’t get anywhere.
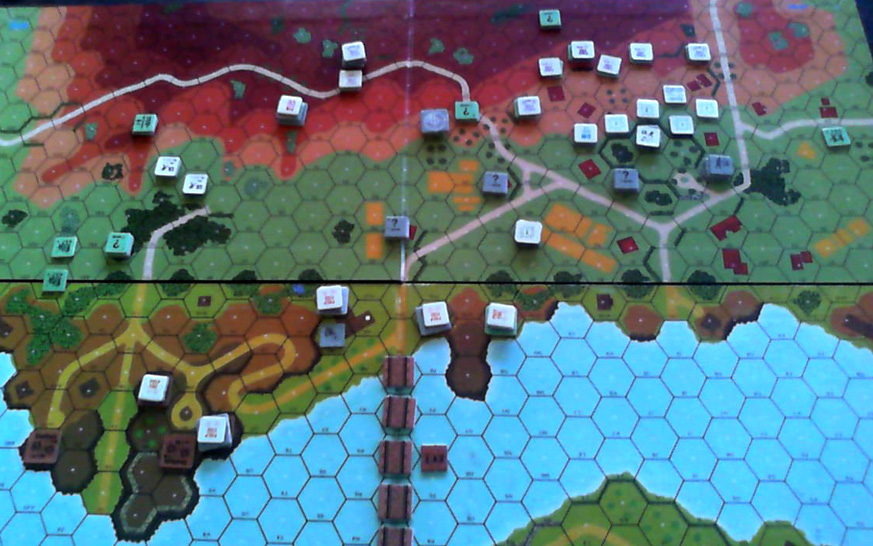
As he started coming through the built up area I finally started breaking his units, and got my only CVP of the day. However, everything came apart for me at the end of that, when just about everything on my left flank broke, and most of it ended up captured. The game turned into a steady tightening of the noose, with Patch slowly grinding my defenses away at the cost of some of his guys.
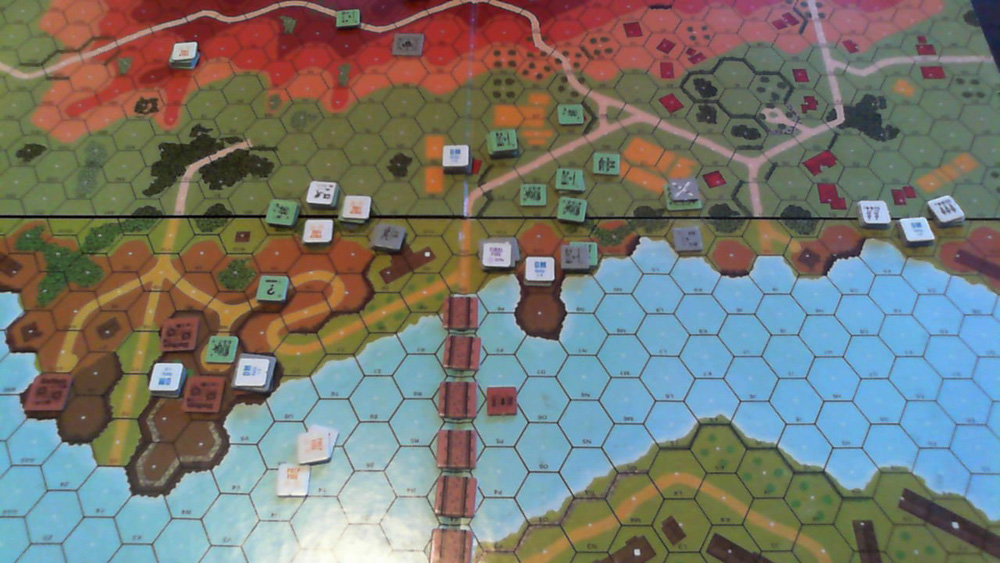
That would be fine, if the goal was for me to hold the bridge. But with what was wanted, I had gotten nowhere. All the entering Italians had broken/died long before I got them near the river, and so had never had a chance to try to evacuate to the other side. My luck had been nowhere near good enough to cause CVPs, so no help there. I eventually conceded about two turns before the end, with only my central MMG and 9-1 leader still operational.
The End.
Afterword:
My initial setup wasn’t too bad, though I think (and thought then) that it needed some work. It certainly took a pounding pretty well. Patch’s thought was that I should have just run the entire entering force at the bridge (or at least the river) at full speed, instead of trying to fall back and minimize casualties. Given how much of the total Italian force 18 VP represents, I was unwilling to take that kind of chance, but I agree that it was a far better option than what I ended up with.
With red TH#, a short barrel, and no smoke, I really should have concentrated the Guns on keeping Patch out of the large open central area, instead of trying to sweep his MMGs off the hill; they just aren’t suited for it. Patch generally had better luck (we both had SAN 3; he checked his about three times, and got it twice, I checked mine close to a dozen times and it went off about two to three times), but he did have one late fire phase that broke three different SW.
The High Ground concept is nice, though I agree with Patch that the hill could use some more terrain. Sadly, we found that the boards are a bit shorter (though just as wide) than the standard mounted boards, which makes hex alignment tricky, as they don’t match quite right.
Discussion ¬