2 Mila 18
In February 2012, Patch and I picked up our next ASL scenario. Neither of us had actually played “Mila 18”, from Beyond Valor before, so we decided to go for that.
Dealing with a 1943 uprising in the Warsaw Ghetto, it is a situation that hits a raw nerve with many people (for good reason), but the scenario itself is interesting. There are no support weapons of any kind. Each side is nearly even in numbers (10 SS squads to 11 Jewish partisan squads; three leaders each). The SS squads have double the firepower, but are fragile (ELR 1, and they go all the way from 658 to 447 upon ELR failure), and all the partisans have HIP. An additional twist is that German units leave their guns behind when eliminated (in the form of labor counters). The partisans can recover these and promote from 337 partisan squads to 447 Russian squads, and they can be promoted to 458s. These promoted squads retain their ELR of 5, and split into HS/Disrupt if they fail ELR instead of reverting to the weaker state.
Feeling a bit lazy for brain-busting setups, and as I pointed out to Patch, I’m usually the one who gets to sweat over them (like in the last night scenario we did), I took the SS, and Patch set up the Partisans.
The Germans win either by getting double the CVP of the partisans (with a minimum of 10), or by Mopping Up 27 of the 33 buildings in hexrows L to Y of board 20 in nine turns. That latter condition requires an average of 3 successful Mopping Up actions a turn, and there is no way to be in position for any until turn three, so it’s closer to four per turn. There’s only eleven units to mop up with (after before-game Deploying; more could be had by Deploying HSs during the game), and anyone who Mops Up is TI, and therefore not in position to Mop Up the following turn. All that makes for a very tight schedule, and it seemed to me the point of it is to keep the partisan player from just hiding in odd corners where he can’t be found, and the Germans can’t generate 10 CVP in time. So my mission was to go in, and round up the partisans more directly.
Thanks to the HIP and German entry from off-board, we had our fastest Game Turn 1 ever, with no Partisans showing.
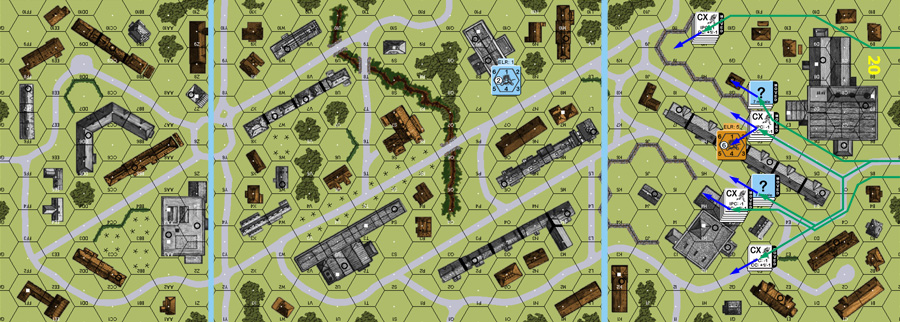
A quiet patrol, Turn 1. The partisans are somewhere between the light blue bars….
My question for turn 2 was, just how far back did he set up anyway? He could have set up somewhat back, and left me to wander forward wasting time trying to find him in the haze of my paranoia.
I got all of three hexes with my first unit before Patch revealed a squad and fired.
Thankfully, he missed. I sent out a squad to start working around his central position, and he revealed two squads and the -1 leader. They got a 1MC, which I thankfully passed. After not seeing anything more after a couple more moves, I decided to try rushing L6. It turns out there was another squad and a leader in h1 of the hex. Who also missed their first shot.
My second try drew more fire from them, which generated a K/1 which broke the remaining HS, who was forced to surrender in RtPh. Patch invoked NQ rather than worry about towing them around. A third squad made it after passing a 1MC.
I then got blinded by what I was seeing, and sent a pair of squads and my best leader forward. They were fairly well protected by walls, but I didn’t think about level one possibilities, and he nailed me from M4h1 with a 1MC. The leader made it, but one squad broke, and the other rolled a ’12’ for ELR failure to a 237 HS.
I didn’t think through the CC attempt in L6 very well either. I’m Lax and he’s Stealthy, so the Ambush was pretty much a foregone conclusion, with him withdrawing out of the 12:3 contest.
So, 0-3, but I’d seen over half his squads, and all his leaders….
Rally went well, with my broken squad recovering. Patch, not liking the amount of firepower on his doorstep withdrew, mostly out of my LOS. The best I could manage was a PTC, which he passed. In DFPh, I did a bit better with some good rolls against the M4 rowhouse, and I broke the 7-0 and one of the squads there on a 2MC. Sadly, there’s an SSR that allows the partisans to move from across the rowhouse bars at a cost of 3 MF, which he’d used in the first place, and he continued routing away.
My rally saw my HS come back, leaving me down only my permanent casualties. Movement went well, as I flooded into the L6 block, and had a massive force in M6. Meanwhile, I moved up in the north, and got ready to start pushing around the forces in building O8. Patch only had one good fire roll, which was a PTC in M6 which pinned a leader and a squad. That only left a squad and a half to advance into CC, and got rid of my negative modifier. Worse, my fire into the hex only activated his Sniper, who broke the squad in J4 again.
Naturally, he got an Ambush and withdrew from CC again.
Patch got unlucky for his rally, with his leader not rallying, and the squad not making the 1st MMC check, even though neither of them were under DM. I got the squad that the Sniper hit back though.
Once again, the partisans gave ground in front of the German firepower advantage. Patch actually used Sewer movement to get one squad across to P2, so I couldn’t just overrun that place and get the units that were refusing to rally there. The rest fell back more conventionally.
I wasn’t able to see any of his movement again, and couldn’t get any result (other than DMing P2h1) from my Final Fire either.
Nothing happened in my rally. I pushed forward again, trying to get at the three main groups in front of me. And that’s where everything came apart.
In rushing to get at him, I needed to go into open ground, and when he rolled three ‘3’s in a row, followed by a ‘2’, there wasn’t much left. Even worse, I stumbled into another squad of his. Thanks to the weekly on-line sessions I had completely forgotten where his northern force had originated (M9), and thought that O8 was safe (or at least had already had revealed units there), so the second three was on that reveal which wiped out a squad. The other two took out a HS and CRed a squad and broke it. The ‘2’ wiped out another squad and the 8-0.
One other surprise was getting a HS into M4h0 and finding no one home. I had that pegged as another likely spot for a squad, since he had started a group in h1 of that hex.
At this point I ended up conceding the game. Patch had 10 CVP, which would mean that I would need at least 20 CVP to win—if I took no more losses. So far, I could push him around with threats of high FP attacks, but I couldn’t make it stick with actual breaks, much less actual casualties. I would have liked to take it a little further, but it wasn’t worth spending a whole extra weekly on-line session on.
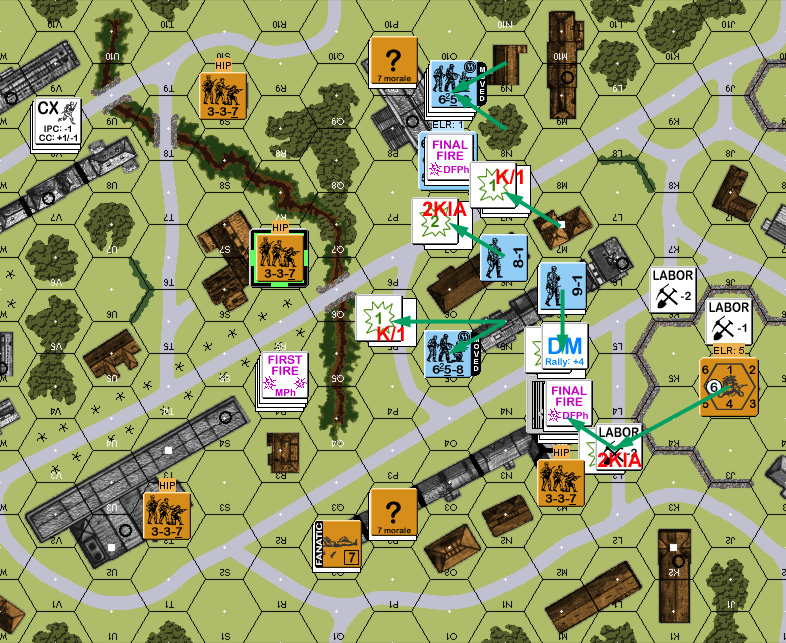
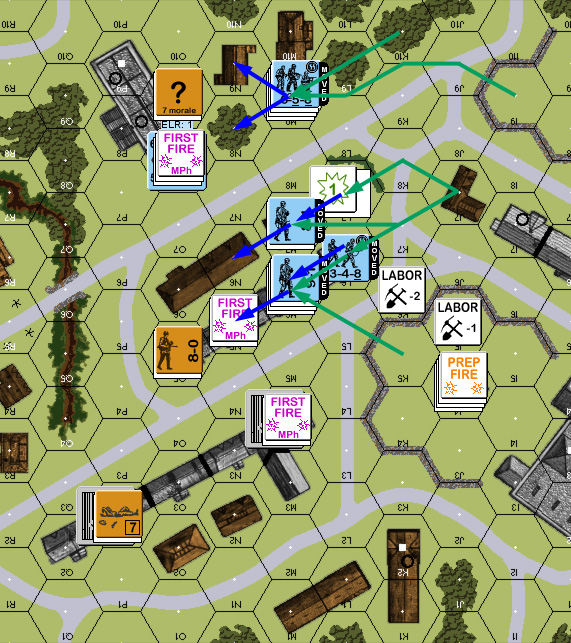
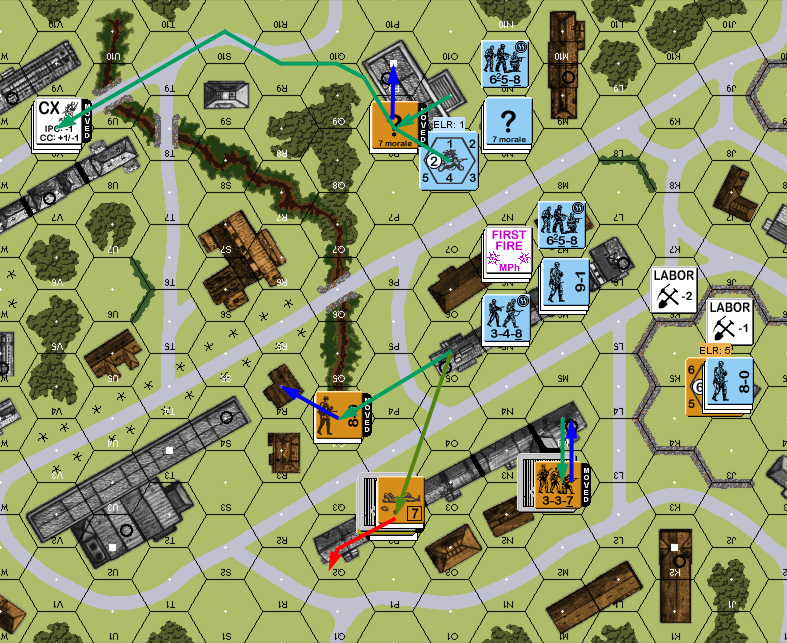
Situation, German Turn 4/game end. Unrevealed HIP units are shown and marked.
Patch thinks that the Mopping Up VC is a big part of what the Germans need to do here. However, with the resulting TIs slowing things down, I don’t see it being doable in the face of a competent partisan defense.

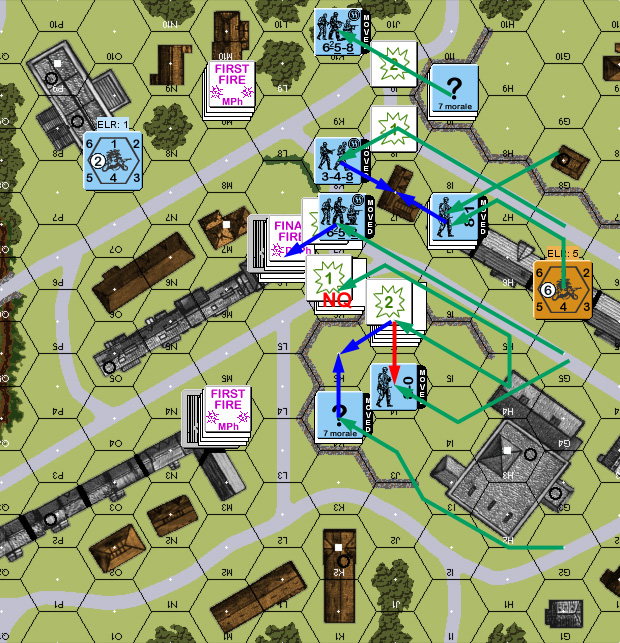
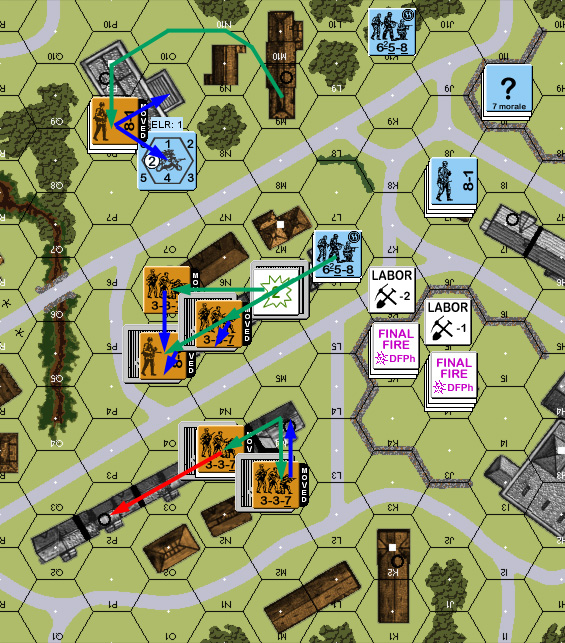
Discussion ¬