G5 Six Came Back
About the time we were playing “Merzenhausen Zoo”, I got Barbarossa: Crimea, and Patch and I tried it out in a FtF day. The Odessa scenario is quite long, and we continued it via Vassal for the next few months. After that, I offered Patch the choice of anything he wanted to play in ASL. He took the Germans in “Six Came Back”, an old scenario from the Avalon Hill General, and we got going in May of 2011.
It’s January ’44 in Italy, and a Ranger unit has gotten in trouble. The supporting attacks are stalled, and they’re all alone in front of a lot of Germans. The Germans set up 16 squads with 2 81mm MTRs w/crews, three unarmored AA halftracks (including a 7/1 with the quad 20mm/20 IFE), three StuGs and two Tiger Is, as well as 20 ‘?'(!) on board 12. The Americans get to set up 17 squads with some support weapons on a four hex strip of board 17 (south of board 12). South of that is board 16. The Germans need to score 25 CVP in nine turns, and ensure that they score twice as many CVP as the Americans. The Americans can also freely exit off the east half of board 16.
Just running for it, and not letting the Germans get to 25 CVP is certainly tempting, but that does mean crossing board 16, which is very open. Board 17 isn’t all that built up either, and over half the buildings are out of the initial setup area. There is some help in the fact that all unpaved roads are treated as having ditches, which act as shellholes who’s MP costs are associated with non-road movement. A final complication is that every American unit rolls a die and is broken and DM at the start of the game on a ‘6’.
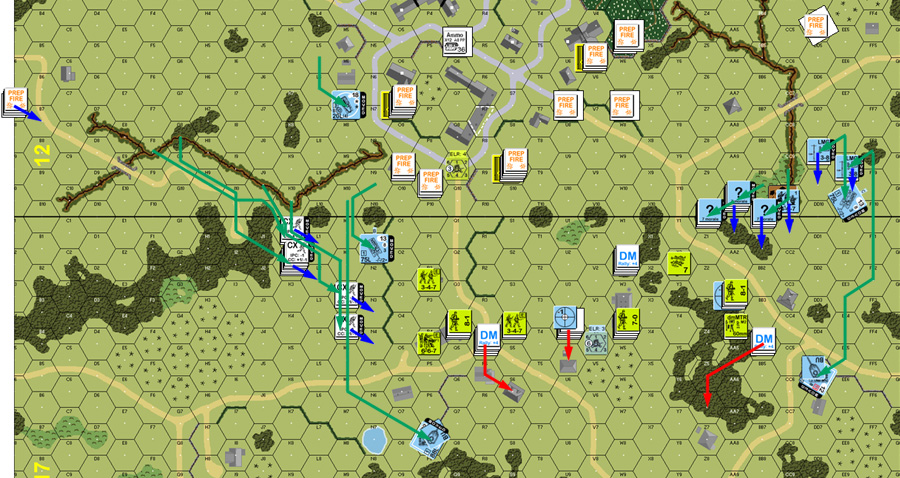
I set up with most everyone in the available buildings and woods from P through BB, with one stack in the ditch (and a building immediately behind them), and another (U4) in the open, that I hoped to get into cover before Patch could get him. The pre-game drs broke 3 1/2 squads on average die rolls, though it spoiled my plan to fire at his unarmored AA HT on the 12 column from W2. But the leaders were untouched. This gave me three rally attempts to open the game with, but naturally none of them worked.
Patch opened the game with a ’12’ to malf a MMG in his main fire base in 12S9h2, but otherwise had a decent Prep, breaking two squads, pinning another, and getting ELR and CR on a double-break in 17BB4. In movement, a lot charged forward, and Patch put one of his Tigers behind my flank. I had worried about it, but couldn’t find much to do about it, as the set up area restricted me to being far too close to prevent it.
My DF only managed to reveal and pin a HS. My 6FP shot on the star Vehicle line at his HT in 12W7 failed, but would have killed it if the second squad hadn’t broken on the pregame dr.

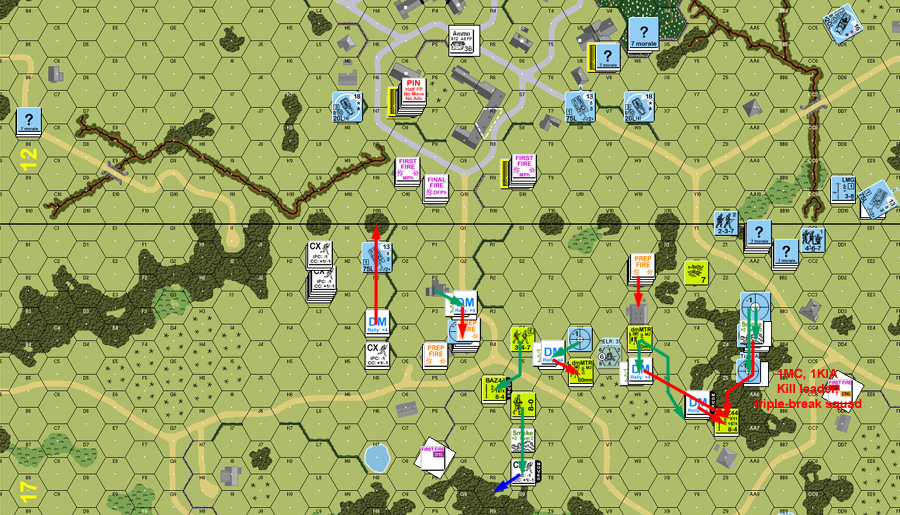
Situation, German Turn 1.
I got two squads back in my rally, which was a little less than I hoped for, but Patch lost his malfed MMG. I did get the second squad in W2 back, and made a second attempt to take out the AA HT across the way, only to roll a ’12’. I also preped most of my left flank, and broke a squad.
My attempts to start falling back ran into too much firepower. The worst was the attempt to confront the Tiger on the right flank. I moved my 8-1 and a squad into BAZ range, and the tank’s CMG broke the squad, and the MA hit on a +3 shot for a 1KIA that killed the leader and then eliminated the squad with an auto-break and failed LLMC (…which would be a mistake as the broken squad would have equal ML as the leader at the time the attack was made). During the rest of movement, Patch broke another 2 1/2 squads and the 7-0 leader.
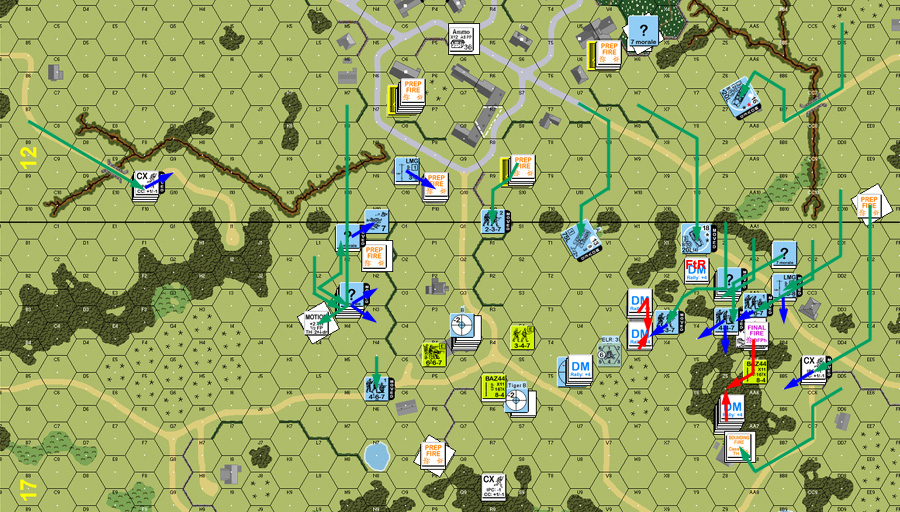
In DFPh, Patch’s spotted MTR got a small rate-tear against W2 that broke a squad and a broke and wounded the 9-1, as well as pinning the other squad there. He also pinned a squad in AA4, and CRed the broken squad there. In good news, he malfunctioned the CMG of the Tiger on the left flank.
Absolutely nothing happened in Patch’s rally other than the removal of DM. Patch lead off with Smoke rounds into AA4, giving a +4 Hindrance to the only unit I had left on the right flank. He followed that up with a CH from his spotted MTR to kill the squad and BAZ in W4.
Patch immediately moved to envelop the shattered right flank, putting everything under DM easily, and surrounding my brokies with little effort. With a +4 Hindrance to shoot out of, the one good squad in AA4 was unable to do anything, even at point blank range. In DFPh, I did manage to pin a squad over on the left flank, but that activated Patch’s Sniper and broke AA4, saving him the effort of firing on it, or engaging in CC. Patch revealed that the big stack in Z2 was just Dummies (mostly to ease board congestion), which left the HS in Y2 no one to surrender to, eliminating them for FtR.
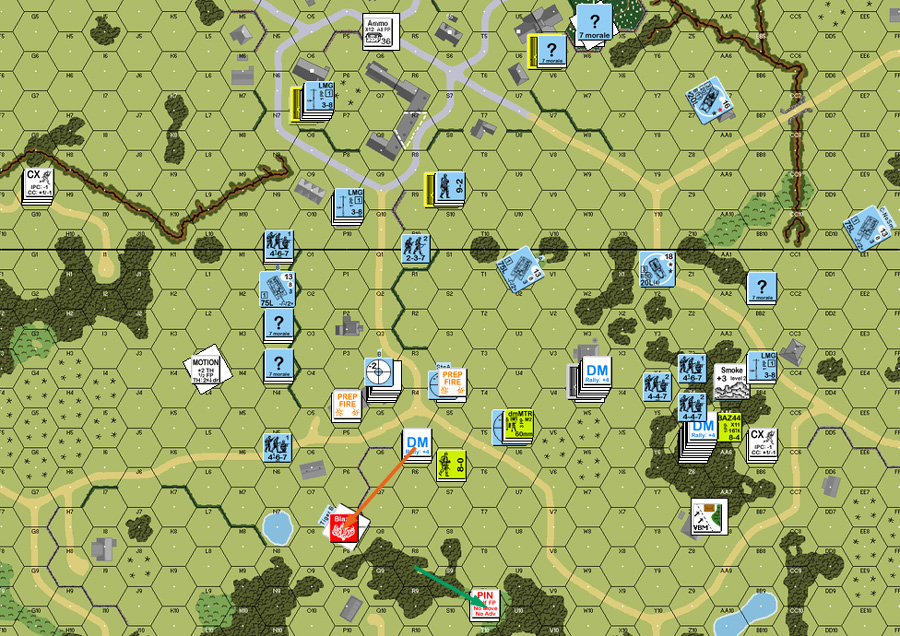
I got nothing back on four tries in my rally, though Patch did get his squad in 17N0 back. Not having many places to go, I prepped most of my surviving units, but Patch passed all the MCs I generated. However, desperate to do something about my backfield, the BAZ squad in 17R5 took a shot at the Tiger in P7, CRing and breaking on the backblast… and burning the Tiger on a CH!
The squad that I’d gotten into the southern woods with the hope of eventually getting into CC with the Tiger turned around to get closer to some of the action near Z7, but took a K/1 from an 11-hex MMG shot from 12S9. In DFPh, a 2MC on Q4 broke the leader and squad there, killed a broken HS, and pinned the remaining HS. His spotted MTR got another CH, on U5 to kill another squad and the MTR it was carrying. Then his squads over on the hedge line opened up and broke the squad in P4.
At that point, I had 3 HS, a full squad and a 8-0 leader left unbroken. Patch was at 14 CVP, was was set get to 25 very quickly. I was willing to go on if I thought I’d get a chance at killing another tank, but that wasn’t going to happen so we called at turn 2 of 9.
Neither Patch or I can figure out how this scenario is supposed to work. Technically, the Americans have a good edge in infantry (667s vs a mix of 467 and 447s), but their setup area is atrocious, and there’s lots of open ground for the German vehicles to maneuver and fire at long range. The Americans can’t win a stand-up fight, but they can’t maneuver with all the open ground and the inevitable German MGs in Level 2 locations.
With the Germans getting the first move, I set up so as to try and keep him from getting around my flanks, and I could fall back into the stone buildings that are out of the setup area, and from there try to disengage into the woods at the board 17/16 border. From there it’s a very open and vulnerable fight to the exit area. And Patch immediately cruised around my flanks anyway, mostly holding me in place while I got pounded.


I refuse to believe this is balanced until I see an American win. I don’t care what ROAR says.