
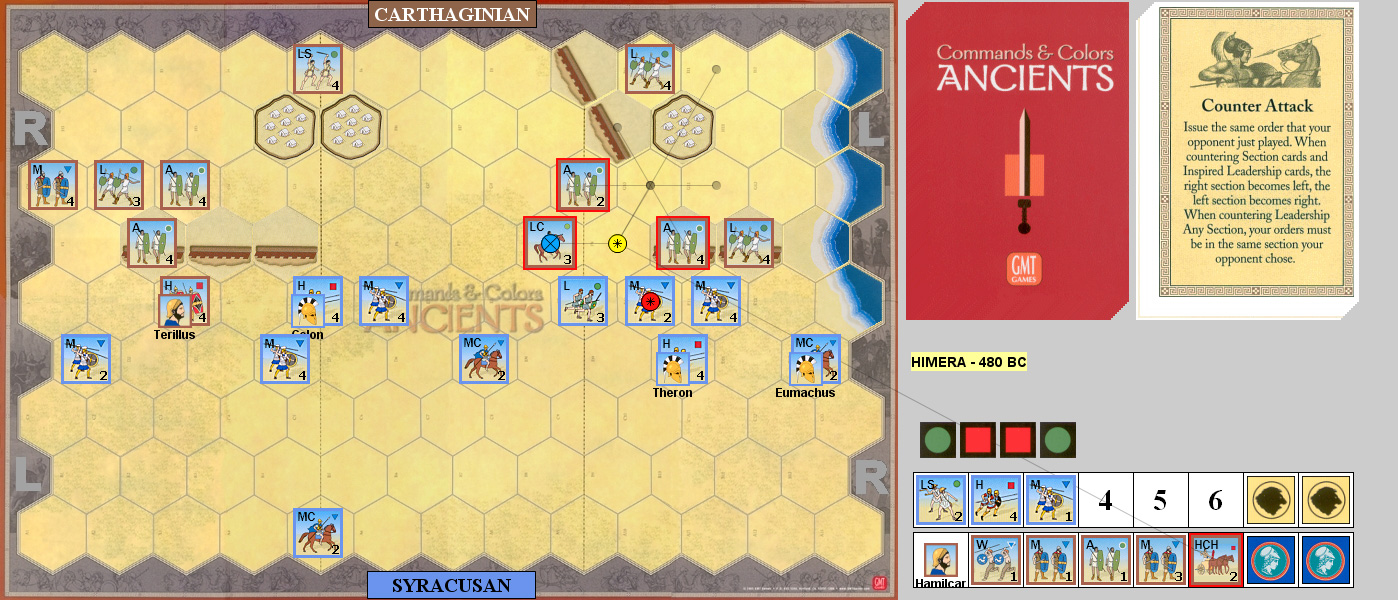
Two Rounds of Himera
Patch and I did our usual between rounds of ASL game of C&C:A tonight. This time was the Battle of Himera from Expansion 1. It’s a little unusual, with an Syracusan MC+leader (Eumachus) starting adjacent to the Carthaginian camp, and a Carthaginian leader (Hamilcar) by himself nearby. There’s some ramparts with poor flank protection, and while the Carthaginian army isn’t bad, it is lighter and disorganized.
I had the Carthaginians first, and Patch led off with Order Two Center, which he used to move one MC up, while Eumachus charged in and killed Hamilcar. I moved up the HCH, and Eumachus evaded back out of the camp. Patch followed up with a Line Command to bring his left flank into contact, and forced me off the ramparts over there.
I used a Line Command to bring that flank up, and followed with Order Medium to start an engagement, but ended up losing three blocks on each of two units in return for three on the Med they were attacking, plus one loss on a MC. Patch Ordered Three Left and finished off the two weakened units, while shuffling his out of the way. I then Double Timed to get my remaining leader (Terillus) + Hvy into contact. I took out a LS in return for two hits on an Aux, and Terilus wiped out the Syracusan leader-lead heavy (I had just been counting on the rampart to make an uneven exchange), and then momentum advanced and finished off the Med from last turn (sadly, his leader survived both times).
Patch came back in the center, took out the weakened Aux, and then wiped out a three-block Med on Momentum. I Ordered Light, and blew part of my turn on a mistake: seeing a leader and heavy on the wrong side of the ramparts, I thought it was Patch’s for a minute, instead of my own successful commander. I did get a couple blocks with archery and forced a Med and MC back.
Patch Ordered Four Right, and moved into contact, and I Counter Attacked (I had units over there, but no cards). But my heavy chariots failed to kill a two-block Med, and they got him on the battle back. 3-6
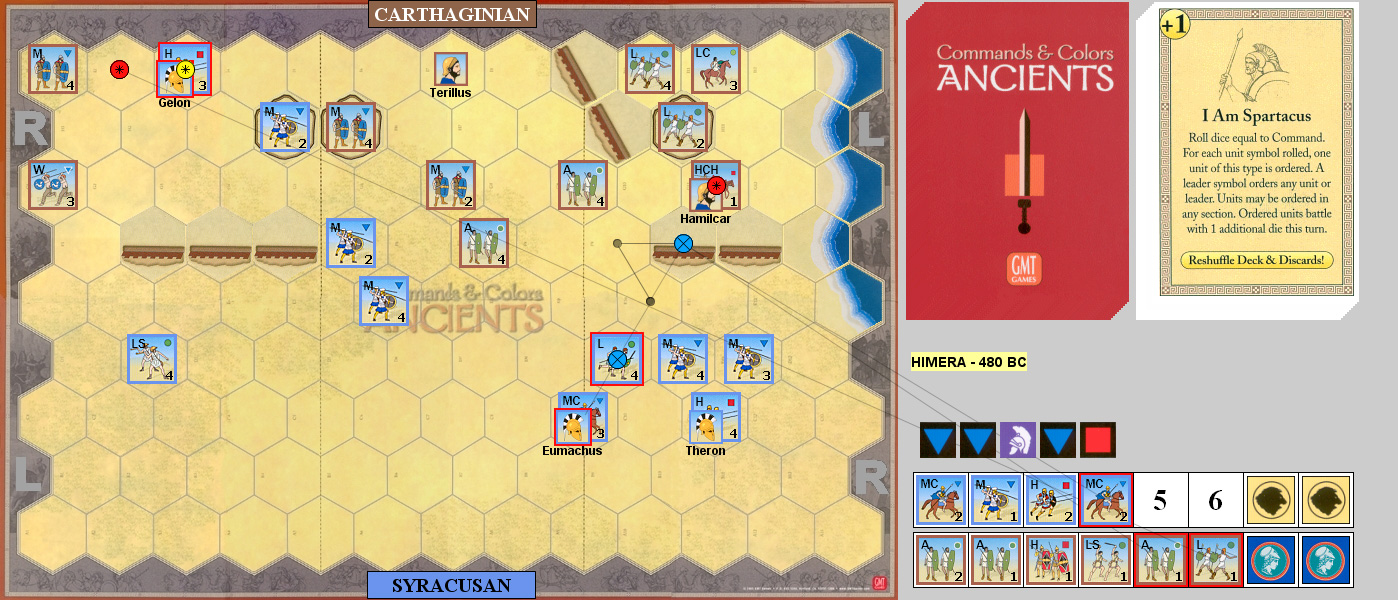
For the second game, I Ordered Three Center, and went after Hamilcar. Sadly, I could not get a leader hit, and he evaded to the HCH. I played two Coordinated Attacks in a row, and took as many blocks as I inflicted, losing Eumachus’ MC in the process. Patch played Inspired Center Leadership to move most of the main Carthaginian force up, and I played Line Command to move up the left flank, now that I had it better deployed. I drove him back from the ramparts, but still didn’t give much better than I got.
Patch finished off my flank Med before I could play a second Line Command and finally knocked out a unit, while also forcing a Med next to Terillus to retreat after killing two blocks. Patch used Move-Fire-Move to reshuffle both flanks, but couldn’t get any hits. I used Leadership Any Section (my only leader card) to press forward, and got Terillus’ heavies down to to blocks and reduced two other units to one block each in exchange for three blocks.
Patch countered with Clash of Shields, which was good for six units. He knocked out a three-block heavy with a pair of attacks (one hit on seven dice followed by five on six!), but only after they had taken Terillus’ unit to one block. He took a block off another heavy, but lost an Aux, and had a Light reduced to a block.
I pressed forward with Order Three Left, and finished off his heavy, though Terillus escaped, and finished off a LS. Out of cards that did me any good, I played I Am Spartacus next, and got a heavy, light and a wildcard (used on a Eumachus’ MC). I managed to finish off a Aux on the right, but lost the MC when I tried to take out the MCH on momentum, but finished off a weakened light on the left flank. 6-4
Afterword:
It’s actually an interesting scenario, with how different the two armies are. If the Carthaginians had a decent line at the start, Syracuse would have a rough time of it. The ramparts make certain areas important, but since their flanks are in the air, they aren’t that helpful.
Discussion ¬