
291 Bridge Over the River Queen
Patch came over this last Saturday so we could celebrate getting our own leader counters in Twilight of the Reich. It’ll be a bit before the boards show up in VASL, so FtF was the answer. Only the first two scenarios use 8+1 commissars, and the second one is shorter (and has a simpler overlay setup), so we went with that.
There’s a lot to get used to, and we hadn’t really studied the scenario beforehand, so we got off to a slow start. It would have been nice to play in VASL, since all orchards are shellholes, and the river is a valley, and we had to remind ourselves of that all day. That said, the full-board length river wraps around the vertical board 19a, so overlay setup is fairly easy. However, the setup areas were a bit confusing to keep track of; I should have set out perimeter markers.
Patch took the Germans and set up first. Both sides get the same number of TotR equipment purchases, but the split between two forces makes it rougher for the Russians. Moreover, they have fairly limited setup areas. Three hex-columns SE of the valley, and the far corners north of it. Patch had a heavier setup to the east of the rail bridge, so my northern force was concentrated on the west. The Russians also place a couple of blazes before any setup, and I have to admit to having very little idea what to do with them.
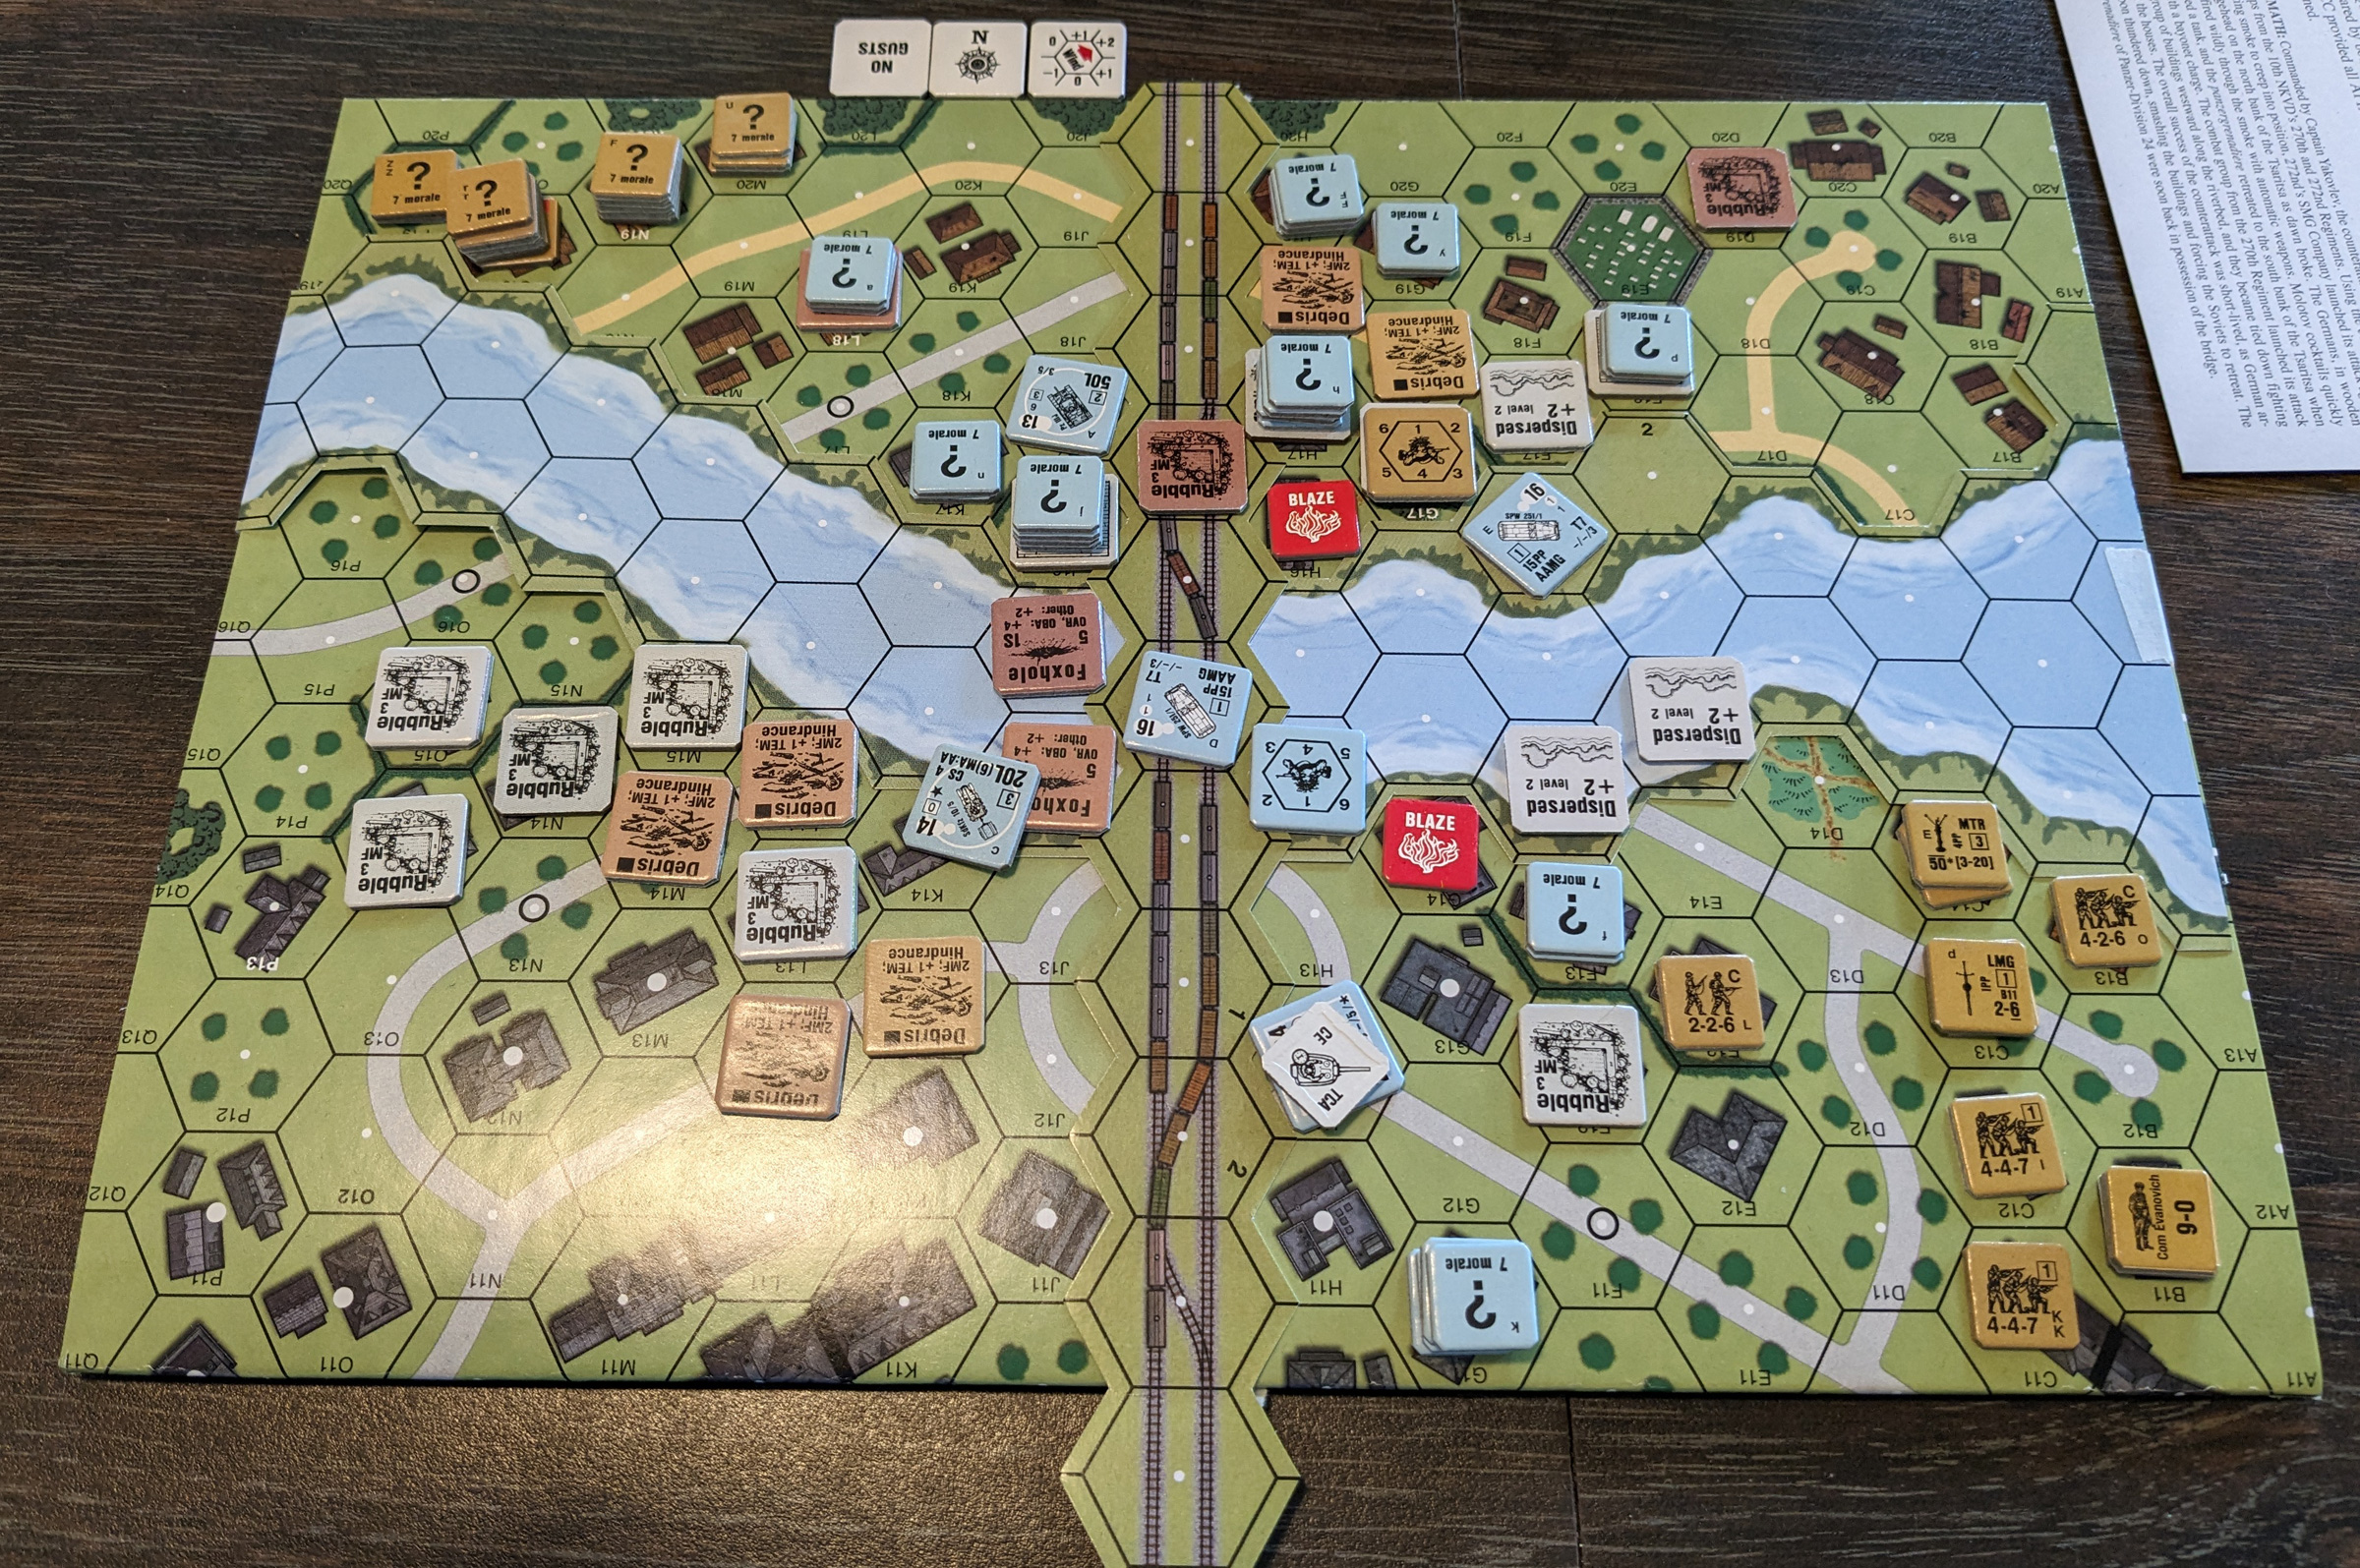
You know it’s going to be a wild day when the first FF attack is ‘2’, but one die is out of the box, demanding a re-roll… and it’s ‘2’ anyway. I lost squads on both sides of the valley, and was thinking I should have bought SAN down to 2…. As it was, my sniper did go off to STUN a halftrack, and then a conscript squad went berserk to charge same HT. Other than that, I did get a 628+LMG into E12, and a couple of intact squads across the street in the north, causing Patch to self-break to evacuate.
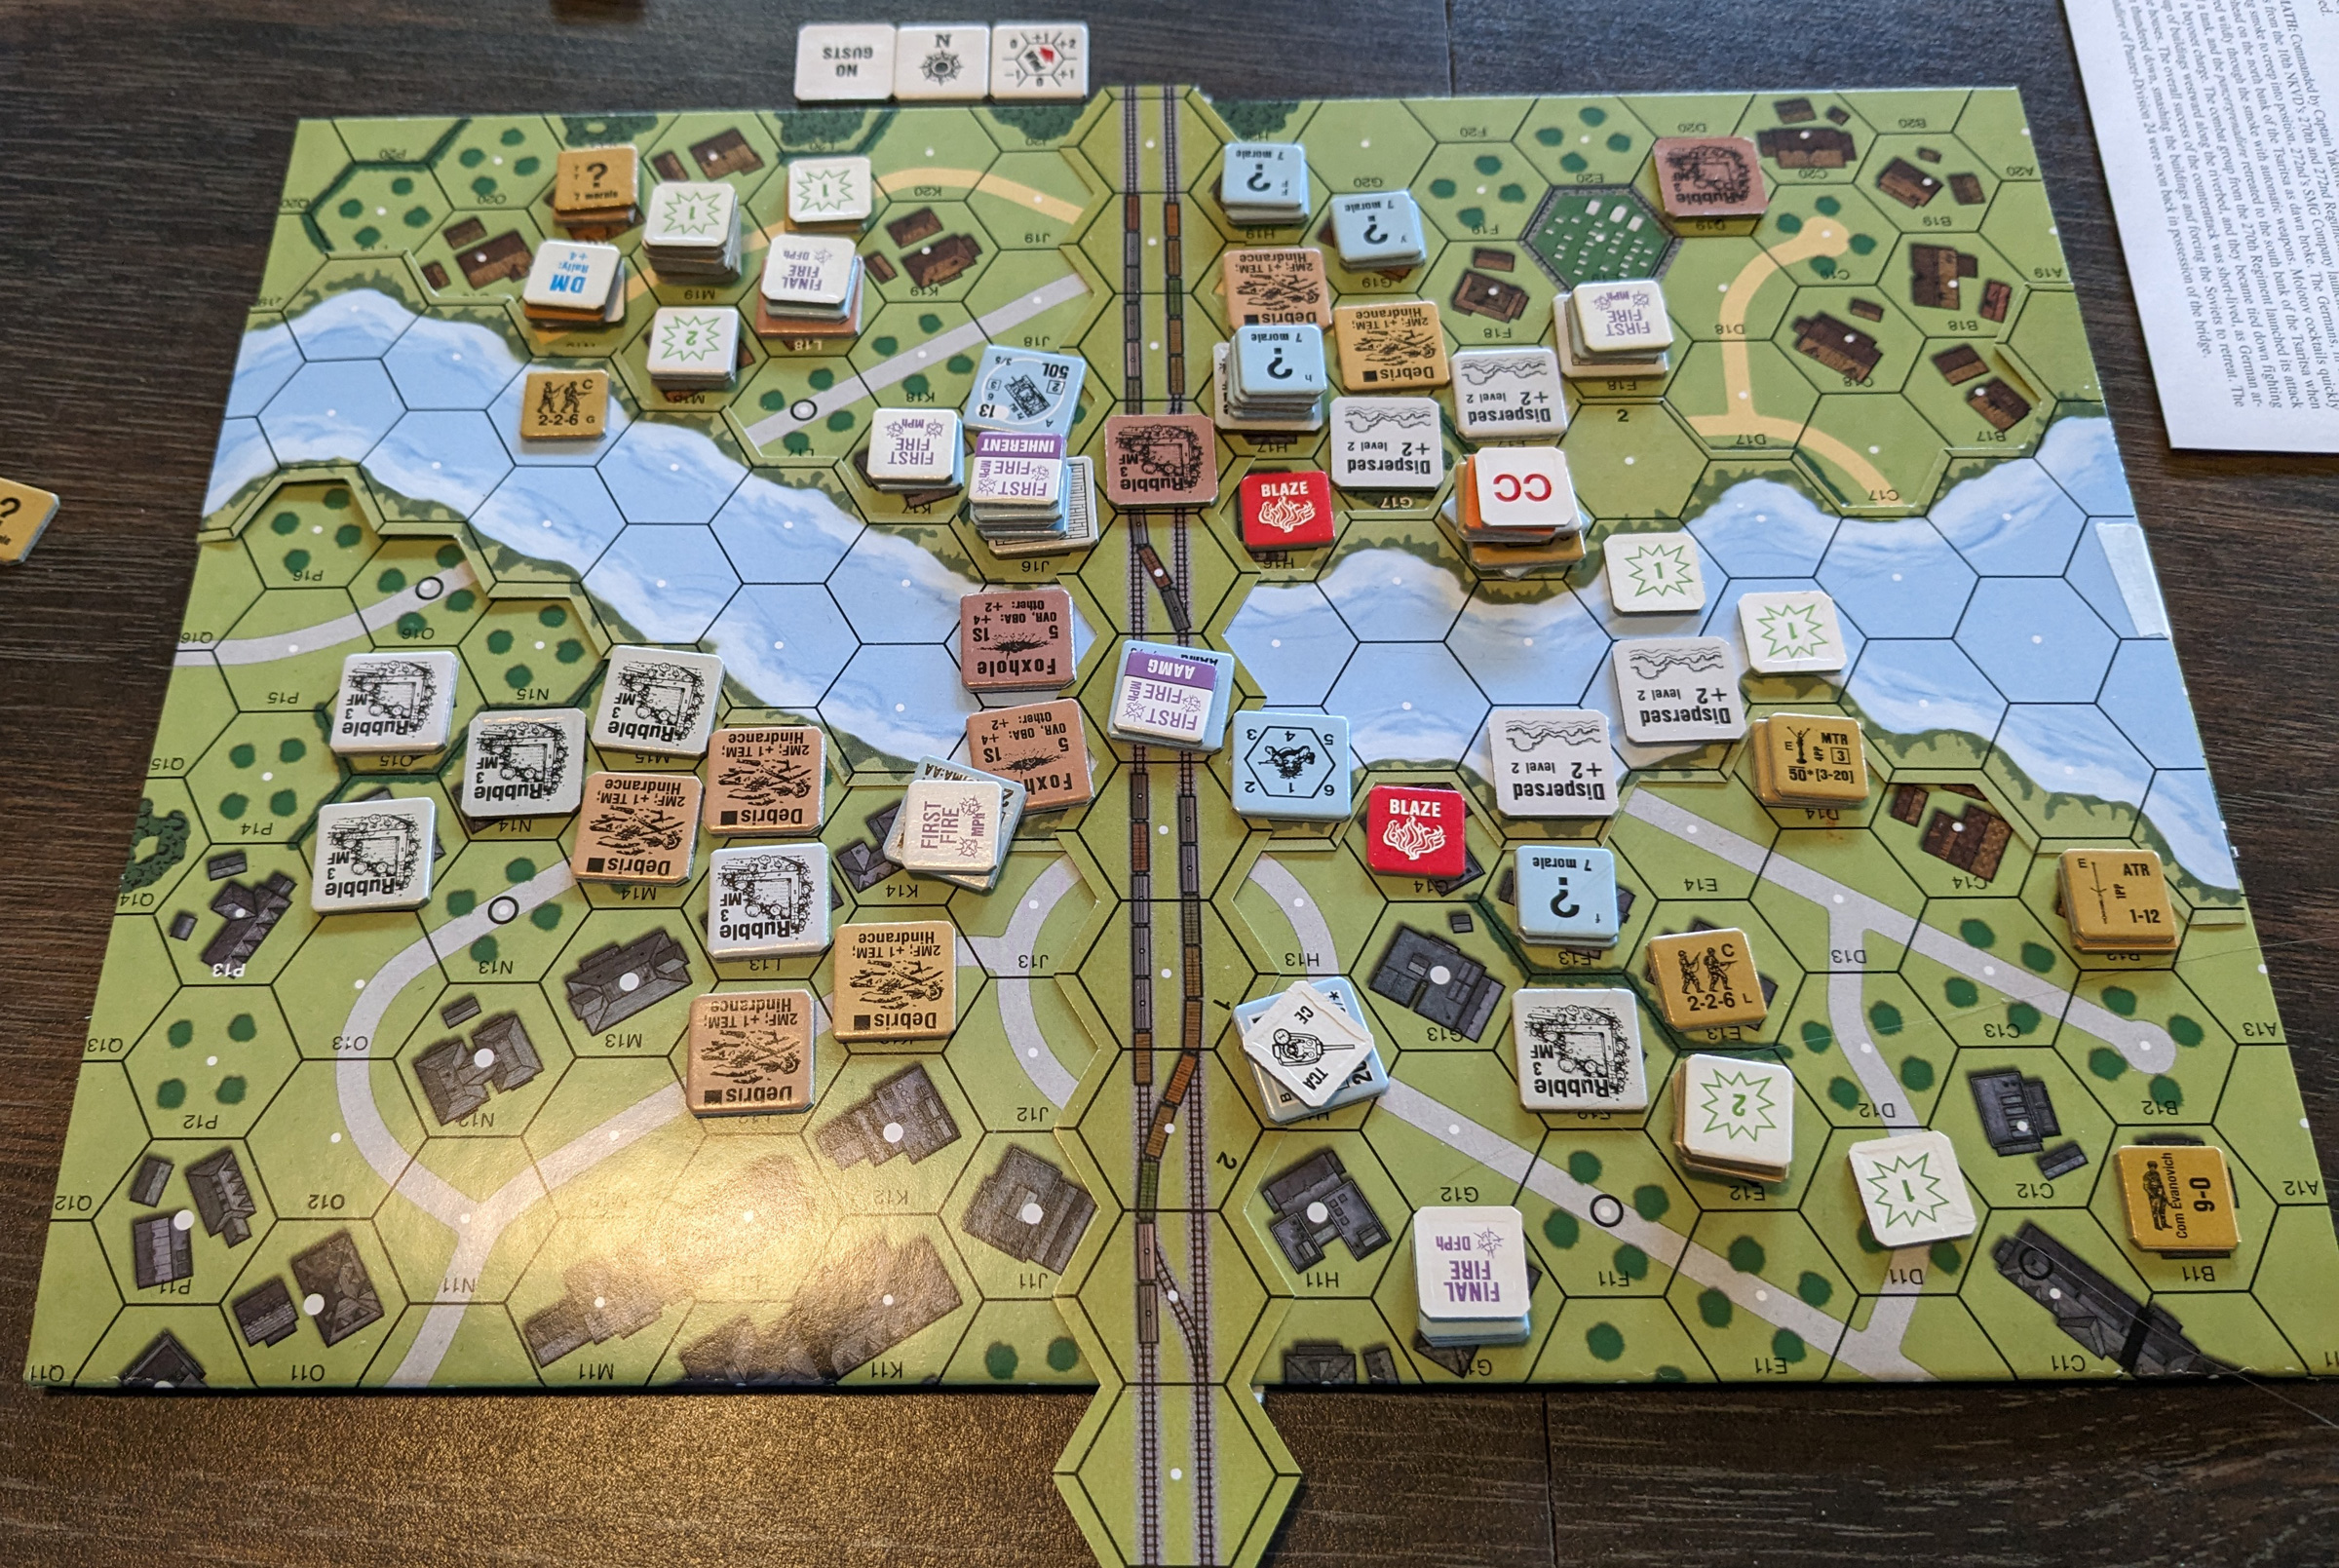
Despite limited success in the first turn, the second turn was worse. (It did not help that the ‘2’s kept on coming.) Patch manged to break most everything on the north side, including the 10-0 commissar. Thankfully, I (*I* Com Rindis) manged to rally two of the NKVD squads to help stabilize things there. On the south side, Patch was sweating, because all I really need is to be able to have an MMC on the rails down there; alternatively, if there’s no Good Order Germans north of the valley, which is more what his setup was for, as he didn’t immediately realize how little the Russians need to win in the south.
My ATR got to range one of the PSW 222, and got a hit. Sadly, it just couldn’t get the kill. My sniper did stun the other 251/1 though.
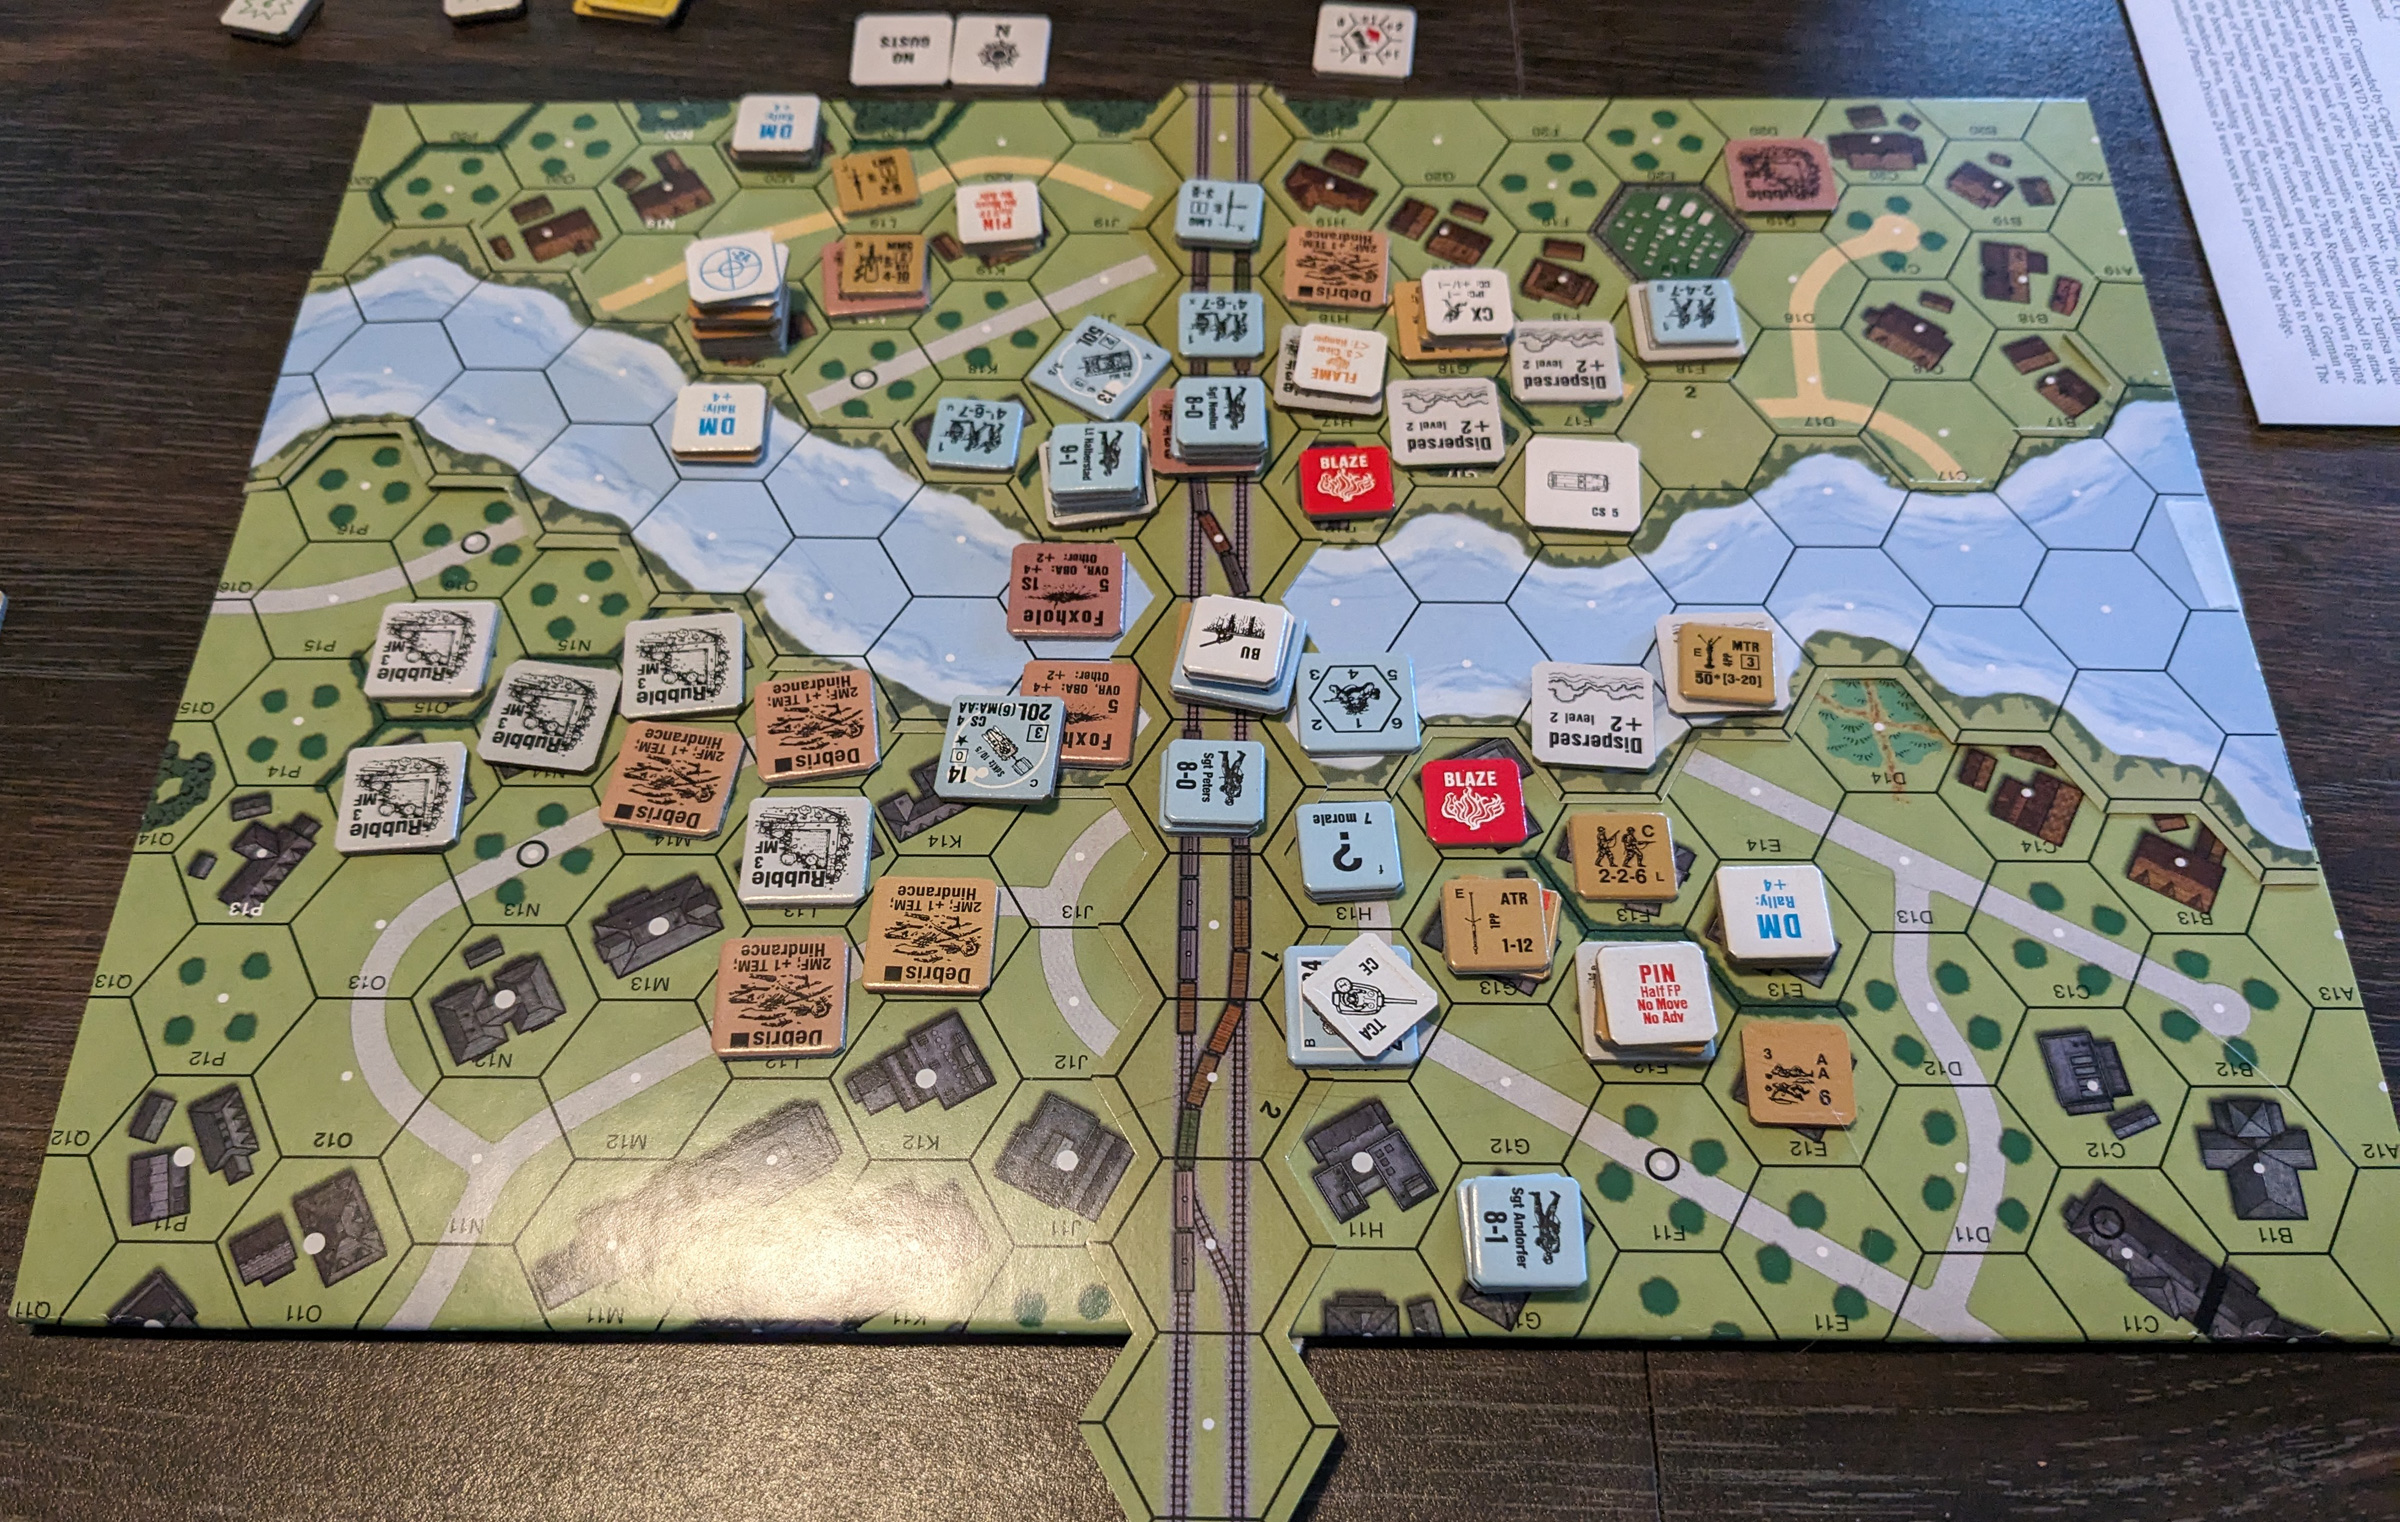
Things went rapidly downhill from that high point. Patch knocked out my ATR squad in CC, grabbed the ATR, and then self-broke to run it away from my ability to recover.
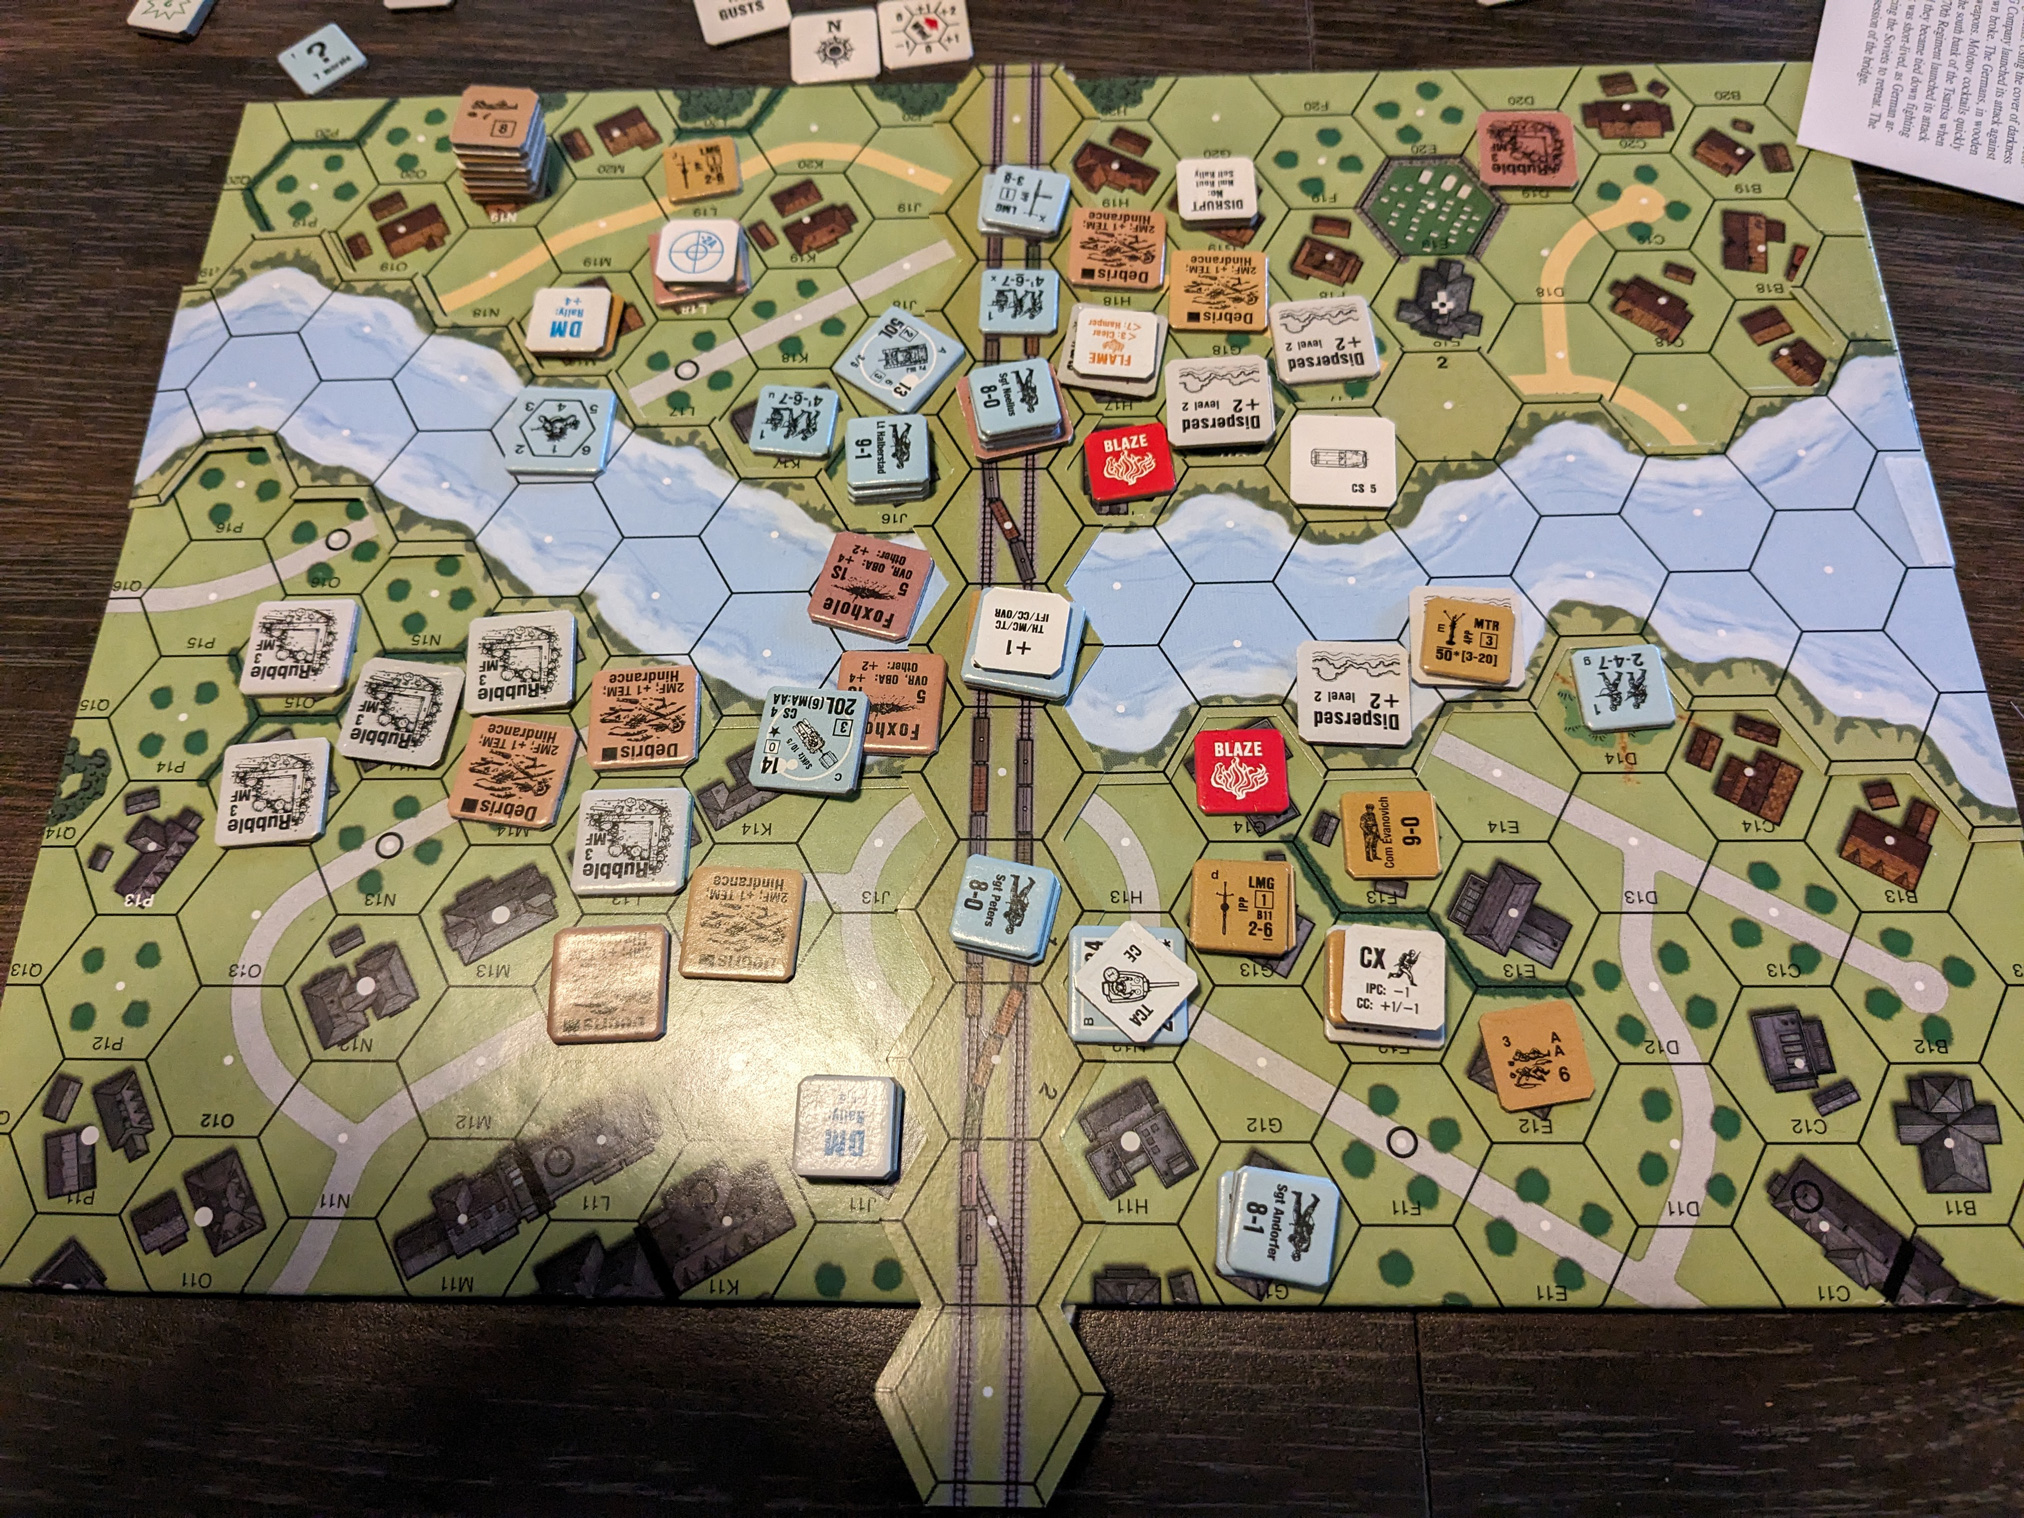
Most everything north of the valley broke, and my attempts to force the issue only made it worse, so that there was nothing left on that side. This meant that Patch could afford to shift enough forces south that I couldn’t really win there either; his eastern HS had already crossed the valley, and was going to go after the only unbroken leader I had left.
Afterword
Patch’s count was nine ‘2’s for the day, almost all of them on his fire attacks. There was one ’12’, which reduced a broken 447 to a broken HS conscript on rally.
I had enough mistakes of my own. I had tried purchasing a light mortar, hoping to use it on the shellholes and valley, but in practice, Patch was never outside of the buildings. But it was one of the few things worth 1.5, like the LMGs. Having to split my purchases between a pool of 5 and a pool of 4 was a definite problem. That said, another ATR seems to be a must, and a DC would be wise. I wanted the LMGs for flexible firepower, and to put the NKVD squads into the 8 column, but it doesn’t seem to be needed.
It’s a fun enough scenario, but my biggest problem is that I just couldn’t figure out how it was going to play ahead of time, as there’s a lot going on here.
And it was great to see Patch for the first time in a couple years, I had a fair amount of show-and-tell for him.
Discussion ¬