Undaunted: Sekigahara
Patch came over for the first time I’ve seen him face-to-face in probably a year and a half on Sat Jun 26. He drives quite a ways to get here, and I’ve always been impressed by his dedication to get here, though he naturally doesn’t do it that often. During the last year, he prodded me a couple times on when we would be clear to start gaming again, so not being able to get out has blunted the reluctance a bit.
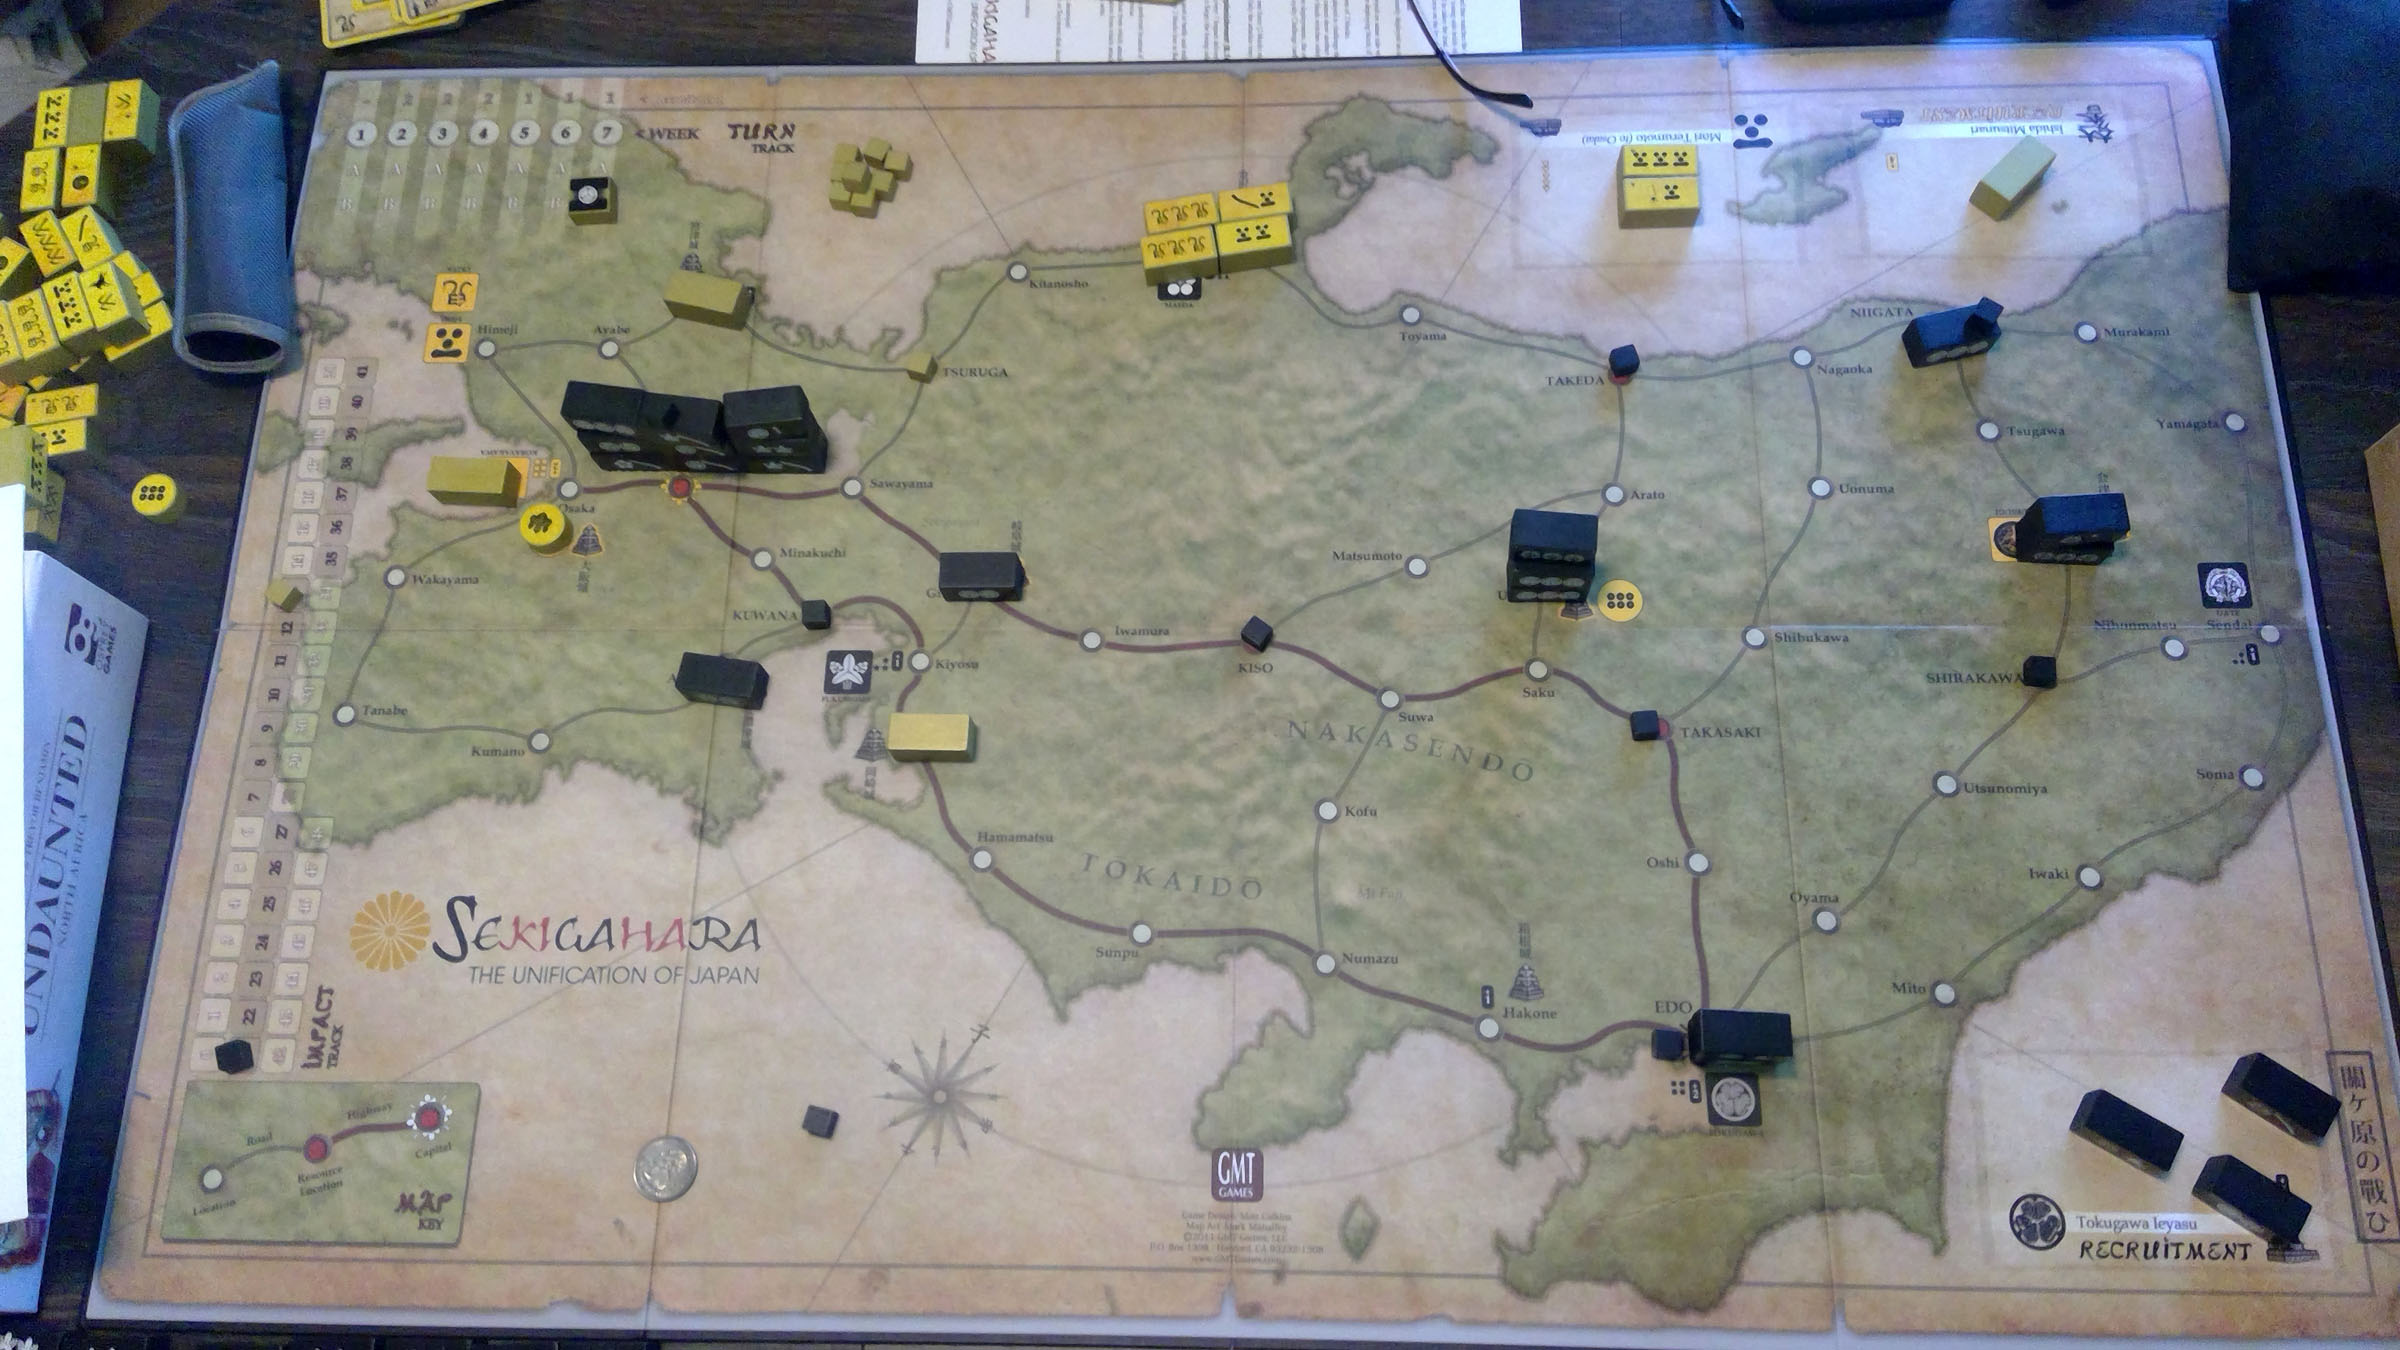
The main event was a game of Sekigahara, which he has really enjoyed, though it’s been a while, so this was a re-learning game for him (and I needed a bit of touch up on the less-obvious rules), and a random draw gave me Tokugawa. The opening was fairly quiet, though Patch demonstrated a stronger willingness to discard cards than I’m used to. Still, I wasn’t any better organized than he was and the first couple weeks were fairly quiet. I got an early lead in resources, along with the starting lead in castles.
We had a slowly escalating series of battles as I came out of the north, and generally won, fighting my way into Kyoto. That last battle was a gamble as I knew I had a good army I could command (with five blocks) against his six blocks. But the previous battles had been gambles too, and I figured I’d still be ahead with a loss. As it happened, Patch could deploy more of his army than I’d hoped but was still going to go down before 22 impact, when he decided to try a loyalty challenge on my last block. I was out of Maeda cards, and went down to a close loss (something like 14-15).
I pulled back the stump, and things quieted a bit as there were no real large armies near each other again. I started working up the Nakasendo road, and finally started getting Date cards in the second half, marching to Aizu, defeating him there and besieging the castle. Patch mustered into combat there, and drove me back out. About two weeks later, I managed to march back to Aizu, and defeated him there, and then had to slowly march another block there after mustering as the survivors couldn’t get the 7 impact to take him in a siege.
Back in the center, Patch took Kiyosu and Okazaki while I slowly took Ueda and continued west. We fought a couple times at Gifu, and in the last couple weeks, Patch sent a force north to Kanazawa to take it, but I pressed on and ended the game with another battle at Kyoto, which I won fairly handily.
Patch was at a definite disadvantage, since he’d forgotten a lot of the game; we need to get it to the table more often. However, that first victory at Kyoto made up for a lot of grief.
It was a little late for a second round, so after that we tried out Undaunted: North Africa, which I got for Christmas. I’ve looked it over, and leafed through the rules, but wasn’t sure how it was supposed to work.
Well, we got through the first scenario, and got it worked out mechanically. Mostly; there’s a few things I still wonder about. “Control” is a definite idea in the game, with control markers, and ‘scouted’ on the opposite side, and you (mostly) can’t move where you haven’t scouted. If you take Control of an area, the other side loses it (okay, great). I’m not sure if you can ever lose the ‘scouted’ status. Also, with one ability they talk about removing cards from the play area, and I’m not sure how they go into the ‘play area’ or what exactly that is (maybe just a vehicle thing?). We also forgot to add fog of war cards as we scouted at first, but at least that was an even four areas/cards apiece when we noted that. (An actual reference card, instead of the two page summary in the back of the rules would be nice.)
But past those bits, we worked it out, and it certainly cycles and plays fast. I can see this being a faster game to play than to set up once you’re used to it. I managed a win as the British. At first we were wondering just how the Italians are supposed to win, but it has occurred to me that they just need to Control the same areas (before they get blown up…), and that doesn’t even require a die roll like the demolitions does, so a bit more hustle out of them and the British will be scrambling to win before the Italians secure the area.
But… I’m having some trouble picturing what’s going on. The Italians need to scout their own air base. There’s all of three personnel tokens on each side on the board. Which seem to be one person apiece? Possibly two as you have the machine gunners without any visible reloaders. And then you have a couple commanding officers who are seen by card play, but not on the board…. I couldn’t even begin to guess what the ground scale is. Short enough that a rifleman could take a shot across an entire board (generally no farther than six hexes/squares) and still have a guaranteed minimum 10% chance of wounding someone.
The production is more than nice enough (I forgot to take a picture), and I’ll certainly be trying it a few more times to see if it starts to click now that the mechanical issues are generally understood, but I’m not quite sold on it yet.


Discussion ¬