
18 Nimy
Mark and I got to the second Mons scenario from the British Expeditionary Force expansion for Great War Commander in April, this time with Mark as the British defenders. They’re defending a canal in front of the village of Nimy with four platoons, good leadership, and a couple of Maxims manned by fire teams. There’s some cover around, and they get a couple of foxhole counters. Slightly into the game, they get another four platoons and a new leader.
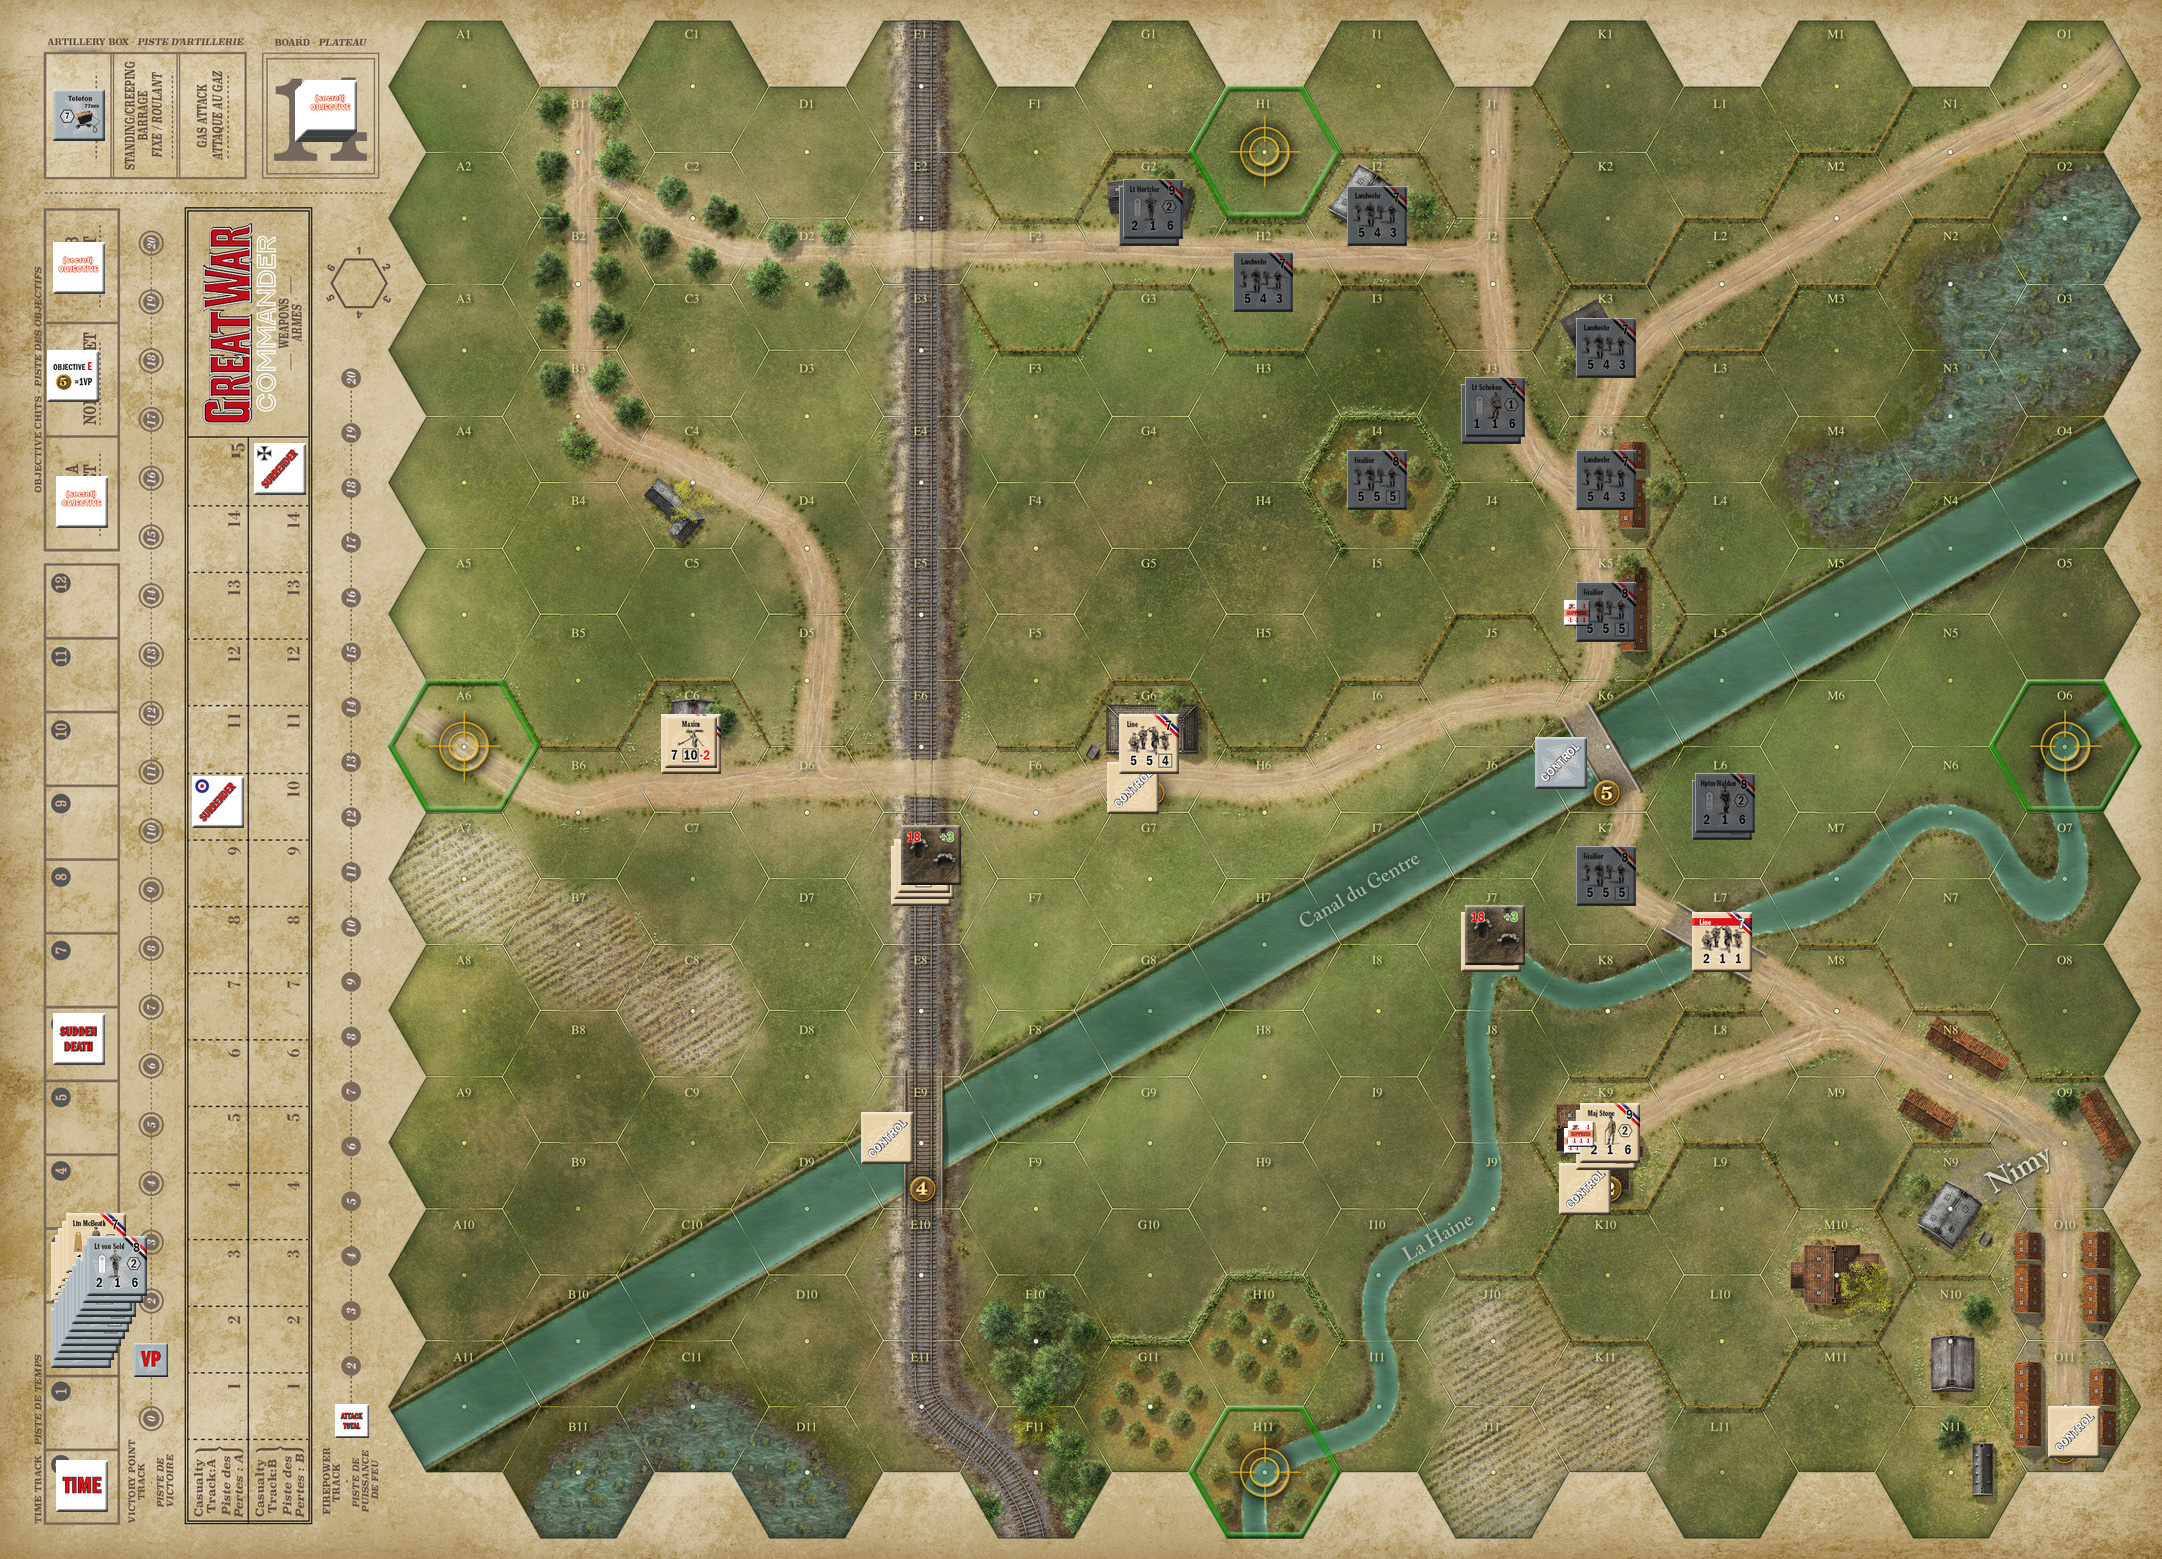
The Germans initially attack with ten platoons (a mix between fusiliers and landwehr), with good leadership and light artillery available (7 firepower—note the British don’t have artillery available at all). The turn before the British reinforcements, the Germans get another eight platoons a pair of leaders, and a heavy MG. Two of the objectives are in Nimy behind the canal (2 & 3), two more are bridges over it(4 & 5), and the last is a farmhouse in front of it (1). The expected nature of the scenario can be divined from the fact that the Germans have a a surrender limit of 15—the highest on the standard map track, and British have a limit of 10 (and they only have eight starting units). The scenario starts at turn 0 and sudden death is at 6, so there’s a decent chance of it going long by a turn or two.
By (the only) SSR, there is wire on on bridge, and Mark set up his Maxims in front of the other bridge, and the bulk of the line platoons behind the wire. The initially visible objective was 1 VP for the main (wired) bridge, while my hidden objective was 4 VPs for the same point. I set up completely east of the rail line, with my best leader in a center to head towards the buildings in front of that bridge, while the other ‘2’ leader would head towards the objective farmhouse, and the third leader could bring up some spare landwehr.
In fact, I started the game with Waldau Moving to that initial objective with five platoons, one of which took cover in a small orchard. Then an Air Assault suppressed his best leader (Major Stone) and platoon in (2). Mark then Recovered from that, and had an Air Assault of his own to suppress Waldau and his platoon. Another Air Assault suppressed Stone again, and then I Fired at the farm house (1) and the defenders of a second bridge behind the canal and broke the latter. However, Air Support (event) suppressed my second leader before I Recovered everyone.
Mark Fired, to no effect other than suppressing one of my platoons with Interdiction, and I put in an Artillery Request, which landed on the L7 bridge, but didn’t do anything. I then Moved the corner group up into Waldau’s command range, and the western group moved off its start line, but didn’t get far since it was entangled in fences. Another Move the next turn, and an Engineering Works, got me over the primary bridge and up to the second one.
The British Recovered and the platoon on the second bridge rallied. The other forward platoon then Advanced onto one of mine and killed it in melee. I went on the Offensive to get up to the farmhouse, and suppressed the platoon there, but had a couple units suppressed by a Counter Attack. I then Advanced a platoon onto the main bridge, and Waldau went after the British platoon in K7… and lost the melee (Mark drew a 12 for a total I couldn’t match… and advance to turn 2).
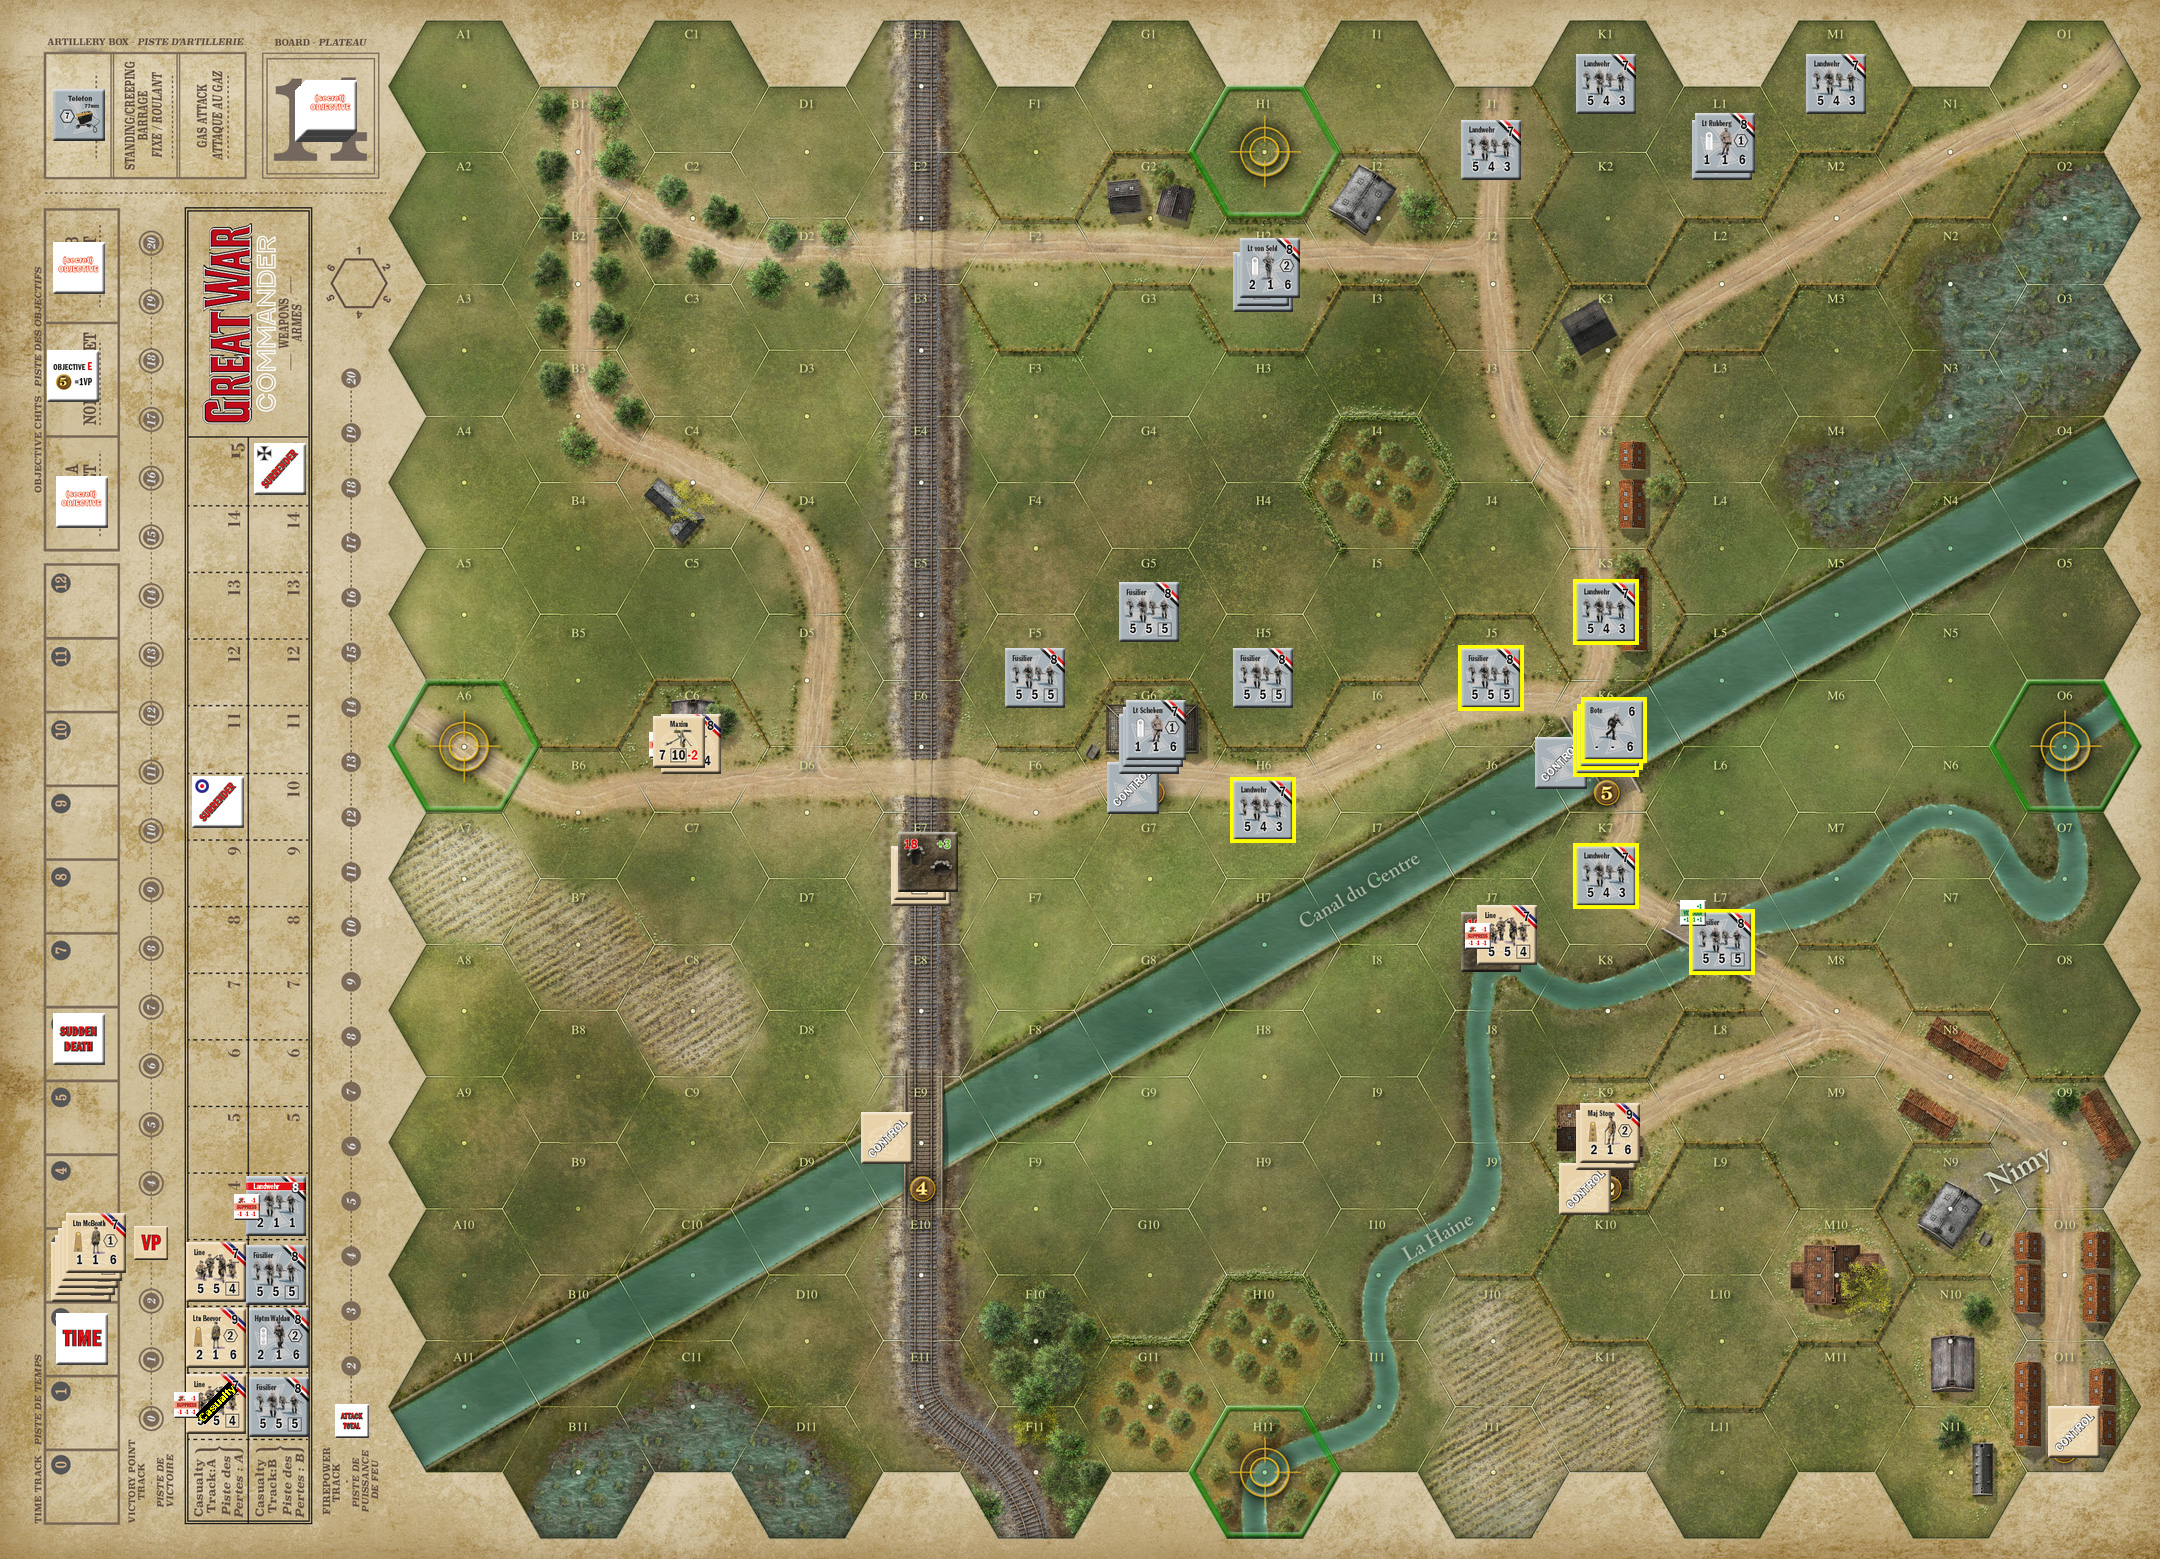
I Moved Lt Hertzler (now my senior officer) and the remaining platoons forward to reinforce the primary bridge, and Mark Recovered. Fire then broke two of my platoons and Lt Scheben next to the farmhouse, but I also got a Hero, who appeared with Scheben. Mark then tried to force a Rout on me, but to no effect. I Recovered with only the platoon with Scheben and the Hero refusing to rally, and Auftragstaktin suppressing him again. I Requested more Artillery on Mark’s senior leader, but got no effect other than a second British time trigger, and the entry of my reinforcements.
I set up entirely east of the rail tracks again, with the fusiliers on the side towards the tracks, who immediately Moved up reinforce the mob in front of the farmhouse. There was more Fire from the farmhouse and Maxims, which killed my broken platoon, but Valor made my fusiliers on the main bridge veterans, Air Support suppressed the platoon in front of them, and a sniper broke Lt Beevor directing the Maxim in E7. Mark then Advanced the just-suppressed platoon back to their foxholes.
I then Advanced, bringing Scheben, the hero and landwehrs into the farmhouse to take it in melee. Movement allowed the veterans to cross the bridge, while several other platoons shuffled forward behind them. The turn after, they all Advanced another hex, and my veterans took the rear bridge in melee (and a KIA event killed Beevor).
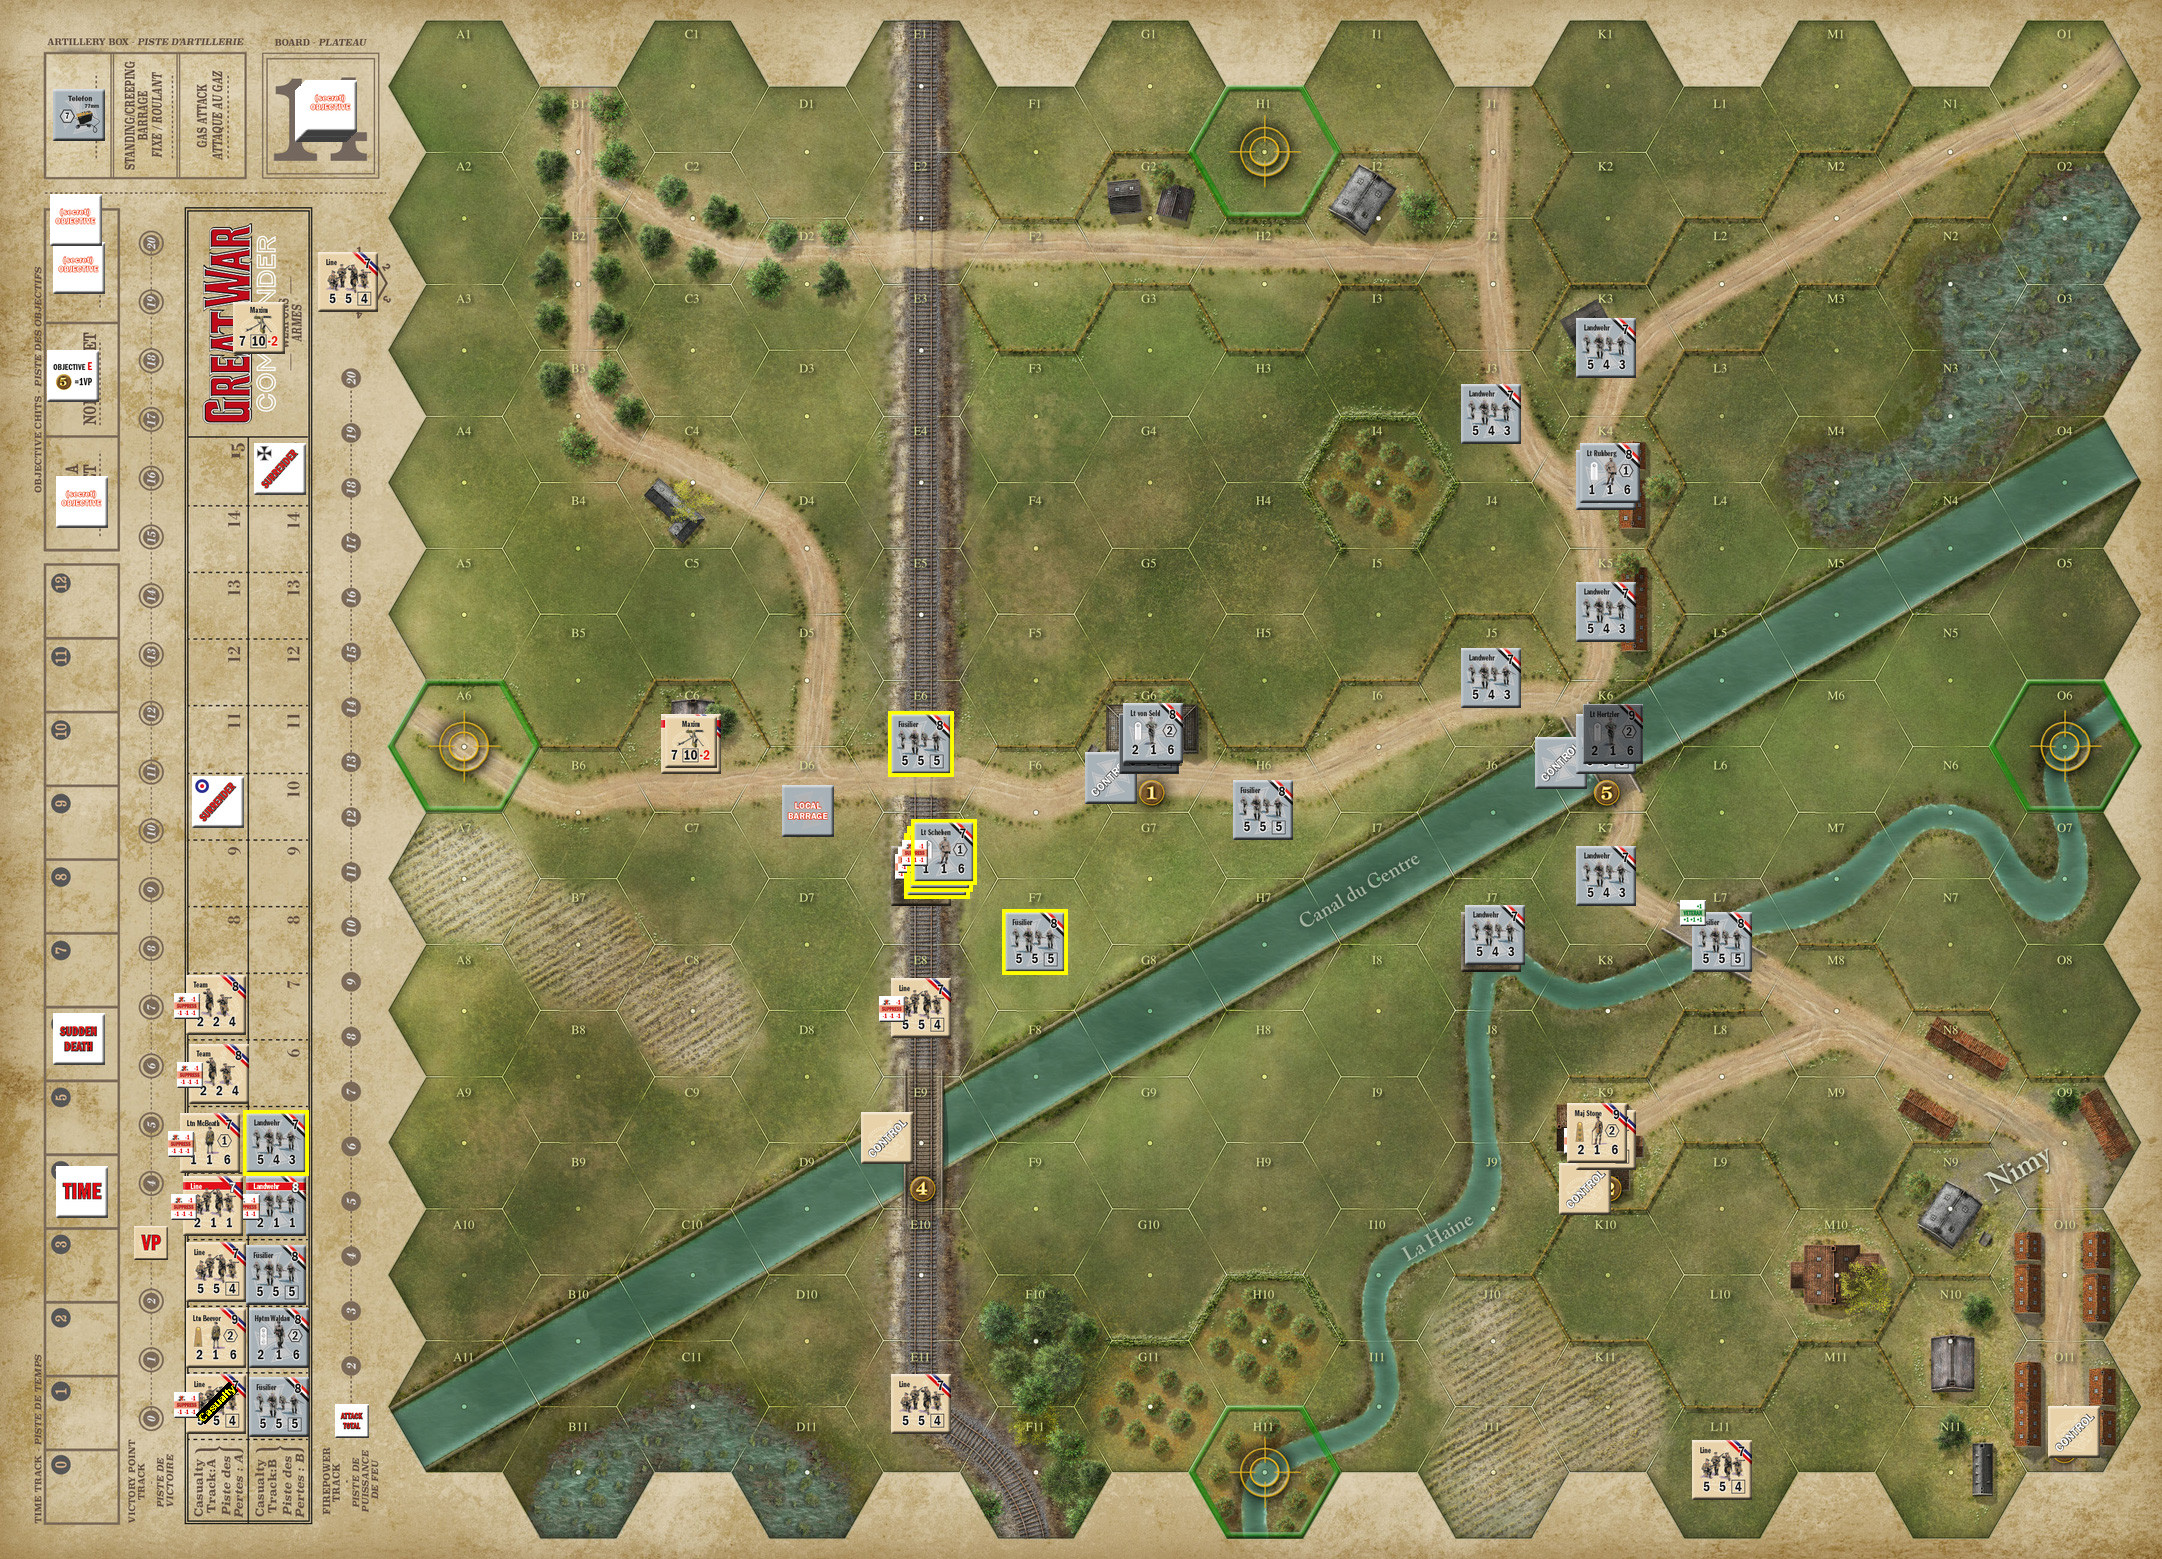
Fire from the farmhouse did nothing, but we went to turn 3 (I ran out of cards) and the British reinforcements entered, while three snipers broke two of my platoons, and the British platoon in J7. I Moved von Seld, the MG, and a couple platoons forward. Mark tried Moving a reinforcing platoon towards Nimy and the objective there, but but Fire from me broke them. An Air Assault suppressed von Seld, who immediately Recovered, and both of my broken platoons rallied. I continued Advancing in the east, and killed the J7 platoon in melee.
Mark tried Moving the bulk of his reinforcements up the rail line, which came under Fire from the farmhouse. The first platoon broke, rallied from Probe, broke again in the next hex, and was reduced to a team by Light Wounds. The second platoon and Lt McBeath broke in the same hex as the team. Also during this I got a New Mission, assigning (1) a VP. The next turn, McBeath Recovered, but the platoon stayed broken. Offensive then moved McBeath up to the Maxim+foxhole, and more Fire broke McBeath again.
I Moved towards all this activity, and got my MG into the farmhouse, followed by Moving the rear section to get it into range of Hertzler. Mark then Recovered again, with McBeath and both broken platoons rallying. Air Assault suppressed Scheben, and everyone with him, which really cut down the odds of a potential melee between him and McBeath. HMG Suppress suppressed all the British on the rail tracks, and an Artillery Request landed nearly perfectly on D6, doing no damage, but a sniper broke the team in C6, and the British had a time trigger to take us to turn 4.
I Advanced onto both British positions on the rail line, and lost in E8, but took out McBeath and the Maxim.
An Offensive brought me up the the main British command post (2) and broke Maj Stone. And now that I was a bit close for a lot of artillery work, Walter Rathenau allowed me to boost my artillery to 10 firepower (I think that’s the first time we’ve used a strategy card as something other than +1 to a roll; most of the cards don’t apply to the early war). Mark Recovered, putting his platoon still on the rail line in good order, and they Advanced onto the rail bridge. However, his broken units did not rally. I activated a lot of units to Fire on the command post, and the platoon was reduced to a team by Light Wounds, but also had a platoon broken by a sniper. I Fired again the next turn, and had two platoons suppressed to a Counter Attack, but killed Stone, and broke the team. Mark Fired from the rail bridge, and broke my hero, but a Raid killed his broken team, and he had a time trigger to go to turn 6 (with play continuing).
I Recovered, removing a lot of suppression and rallying the hero (but not J7). An Artillery Request missed, putting a shellhole in D10. I Moved up on the west, getting adjacent to the rail bridge and the broken Maxim team. Mark Fired at the former, to no effect other than a sniper breaking his platoon in E11, and Reconnaissance telling me his objective was a VP on (2) (the command post). Mark Recovered, rallying the Maxim team, but not E11. I went on the Offensive in the east, taking the empty command post (2), and getting close to Nimy (3), but taking lots of Fire from L11, which suppressed my veterans, but Valor made Scheben a veteran. I had a time trigger to go to turn 7, and fire from the Offensive broke L11.
My MG Fired at the Maxim team, getting no result other than another time trigger, which ended the game, with a final total of 9 German VP.
Afterword
I was despairing of my chances after the early loss of Waldau and two platoons. But Mark had problems all the way through, including the very unexpected loss of Beevor to an event early. Mark was also struggling with his hand, having a lot of discard turns trying to get to Fire cards to stop my movement. I only had one discard action, to clear some true deadwood from my hand.
I think this scenario stayed ‘on script’ better than most others. Its fairly obvious that the Germans will probably take a bunch of casualties early, though in this case, I never really lost anything to the Maxims. I think the usual positions for the Maxims would be guarding the main canal bridge, and one really should have been in K9/L7, but the E5 position was an interesting one, and certainly kept me away from that area for a while.
Discussion ¬