
Six Rounds of Decimum
Jason came over on August 11th to try out Commands & Colors: Medieval. He’d been the biggest promoter of CC:A in our group when it was new, so I wanted him to get to try out the new game. Somewhat by accident, we ended up going through the three Decimum scenarios, with us taking each side once. This during Belisarius’ conquest of North Africa, and things are a little different than I’ve been used to. Generally, the Byzantines hold all the toys (including MBC, HBC, and SHBC, while the only Vandal ranged combat is from their light units), and both sides use the same set of Inspired Actions. There’s a couple hill groups with different placement, but otherwise identical in each scenario, though a separate one-hex hill disappears in the second scenario, and comes back in the third.
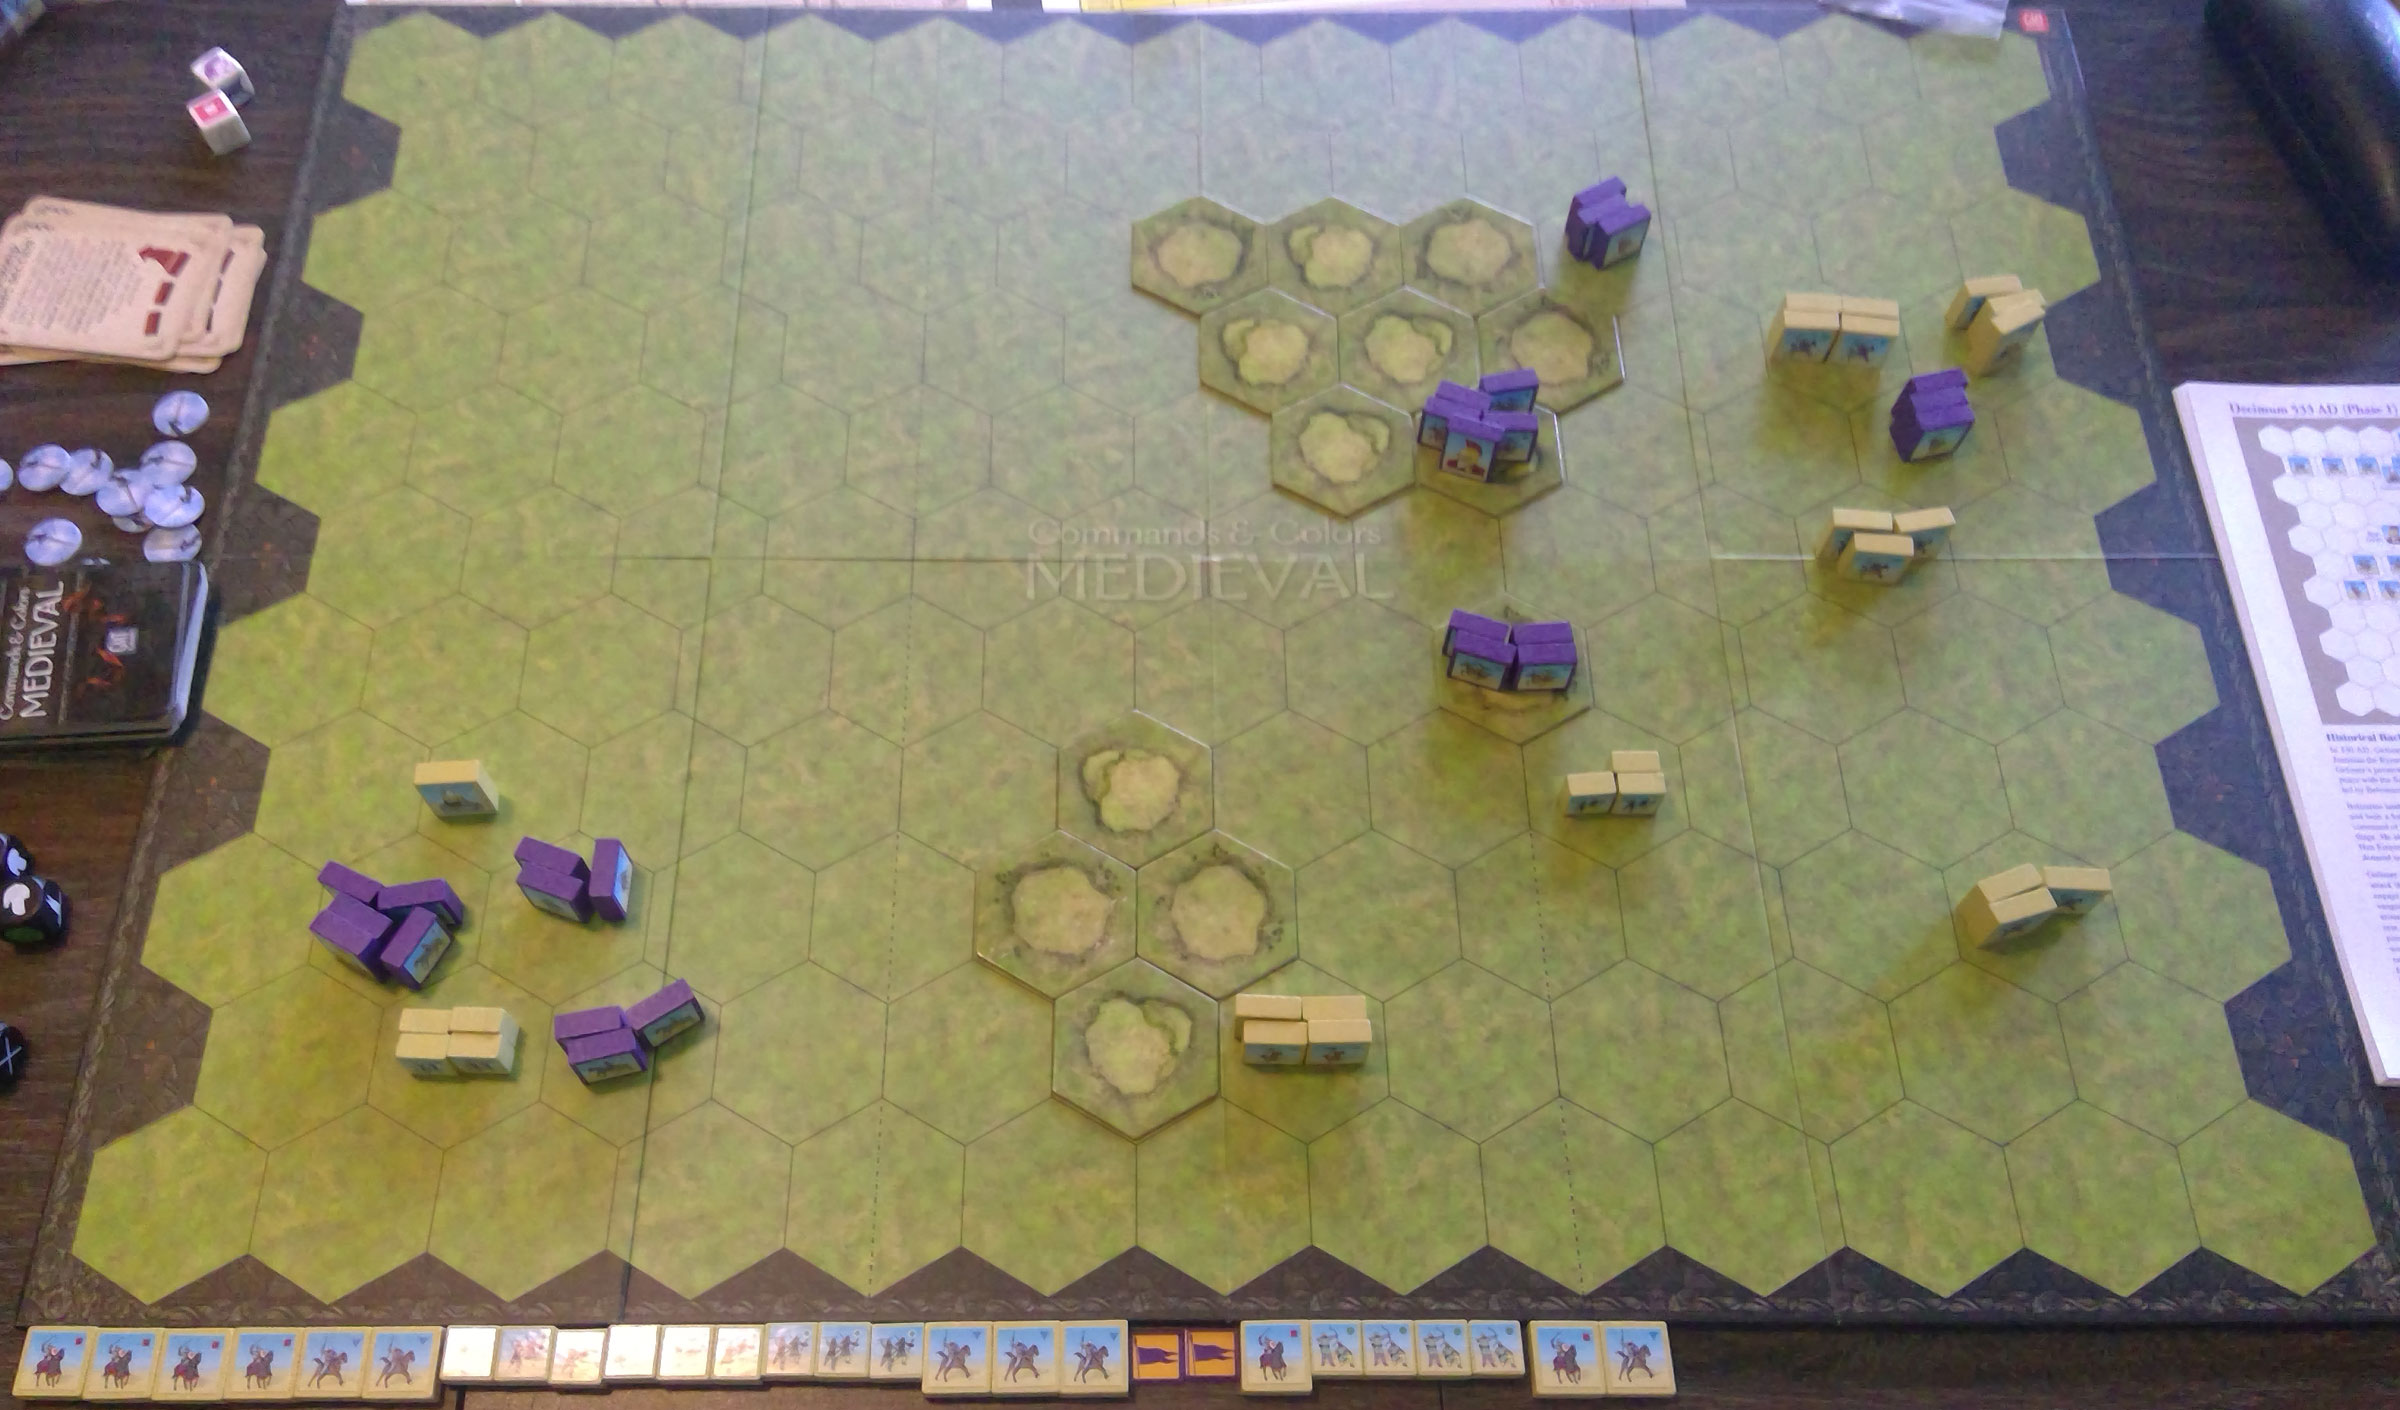
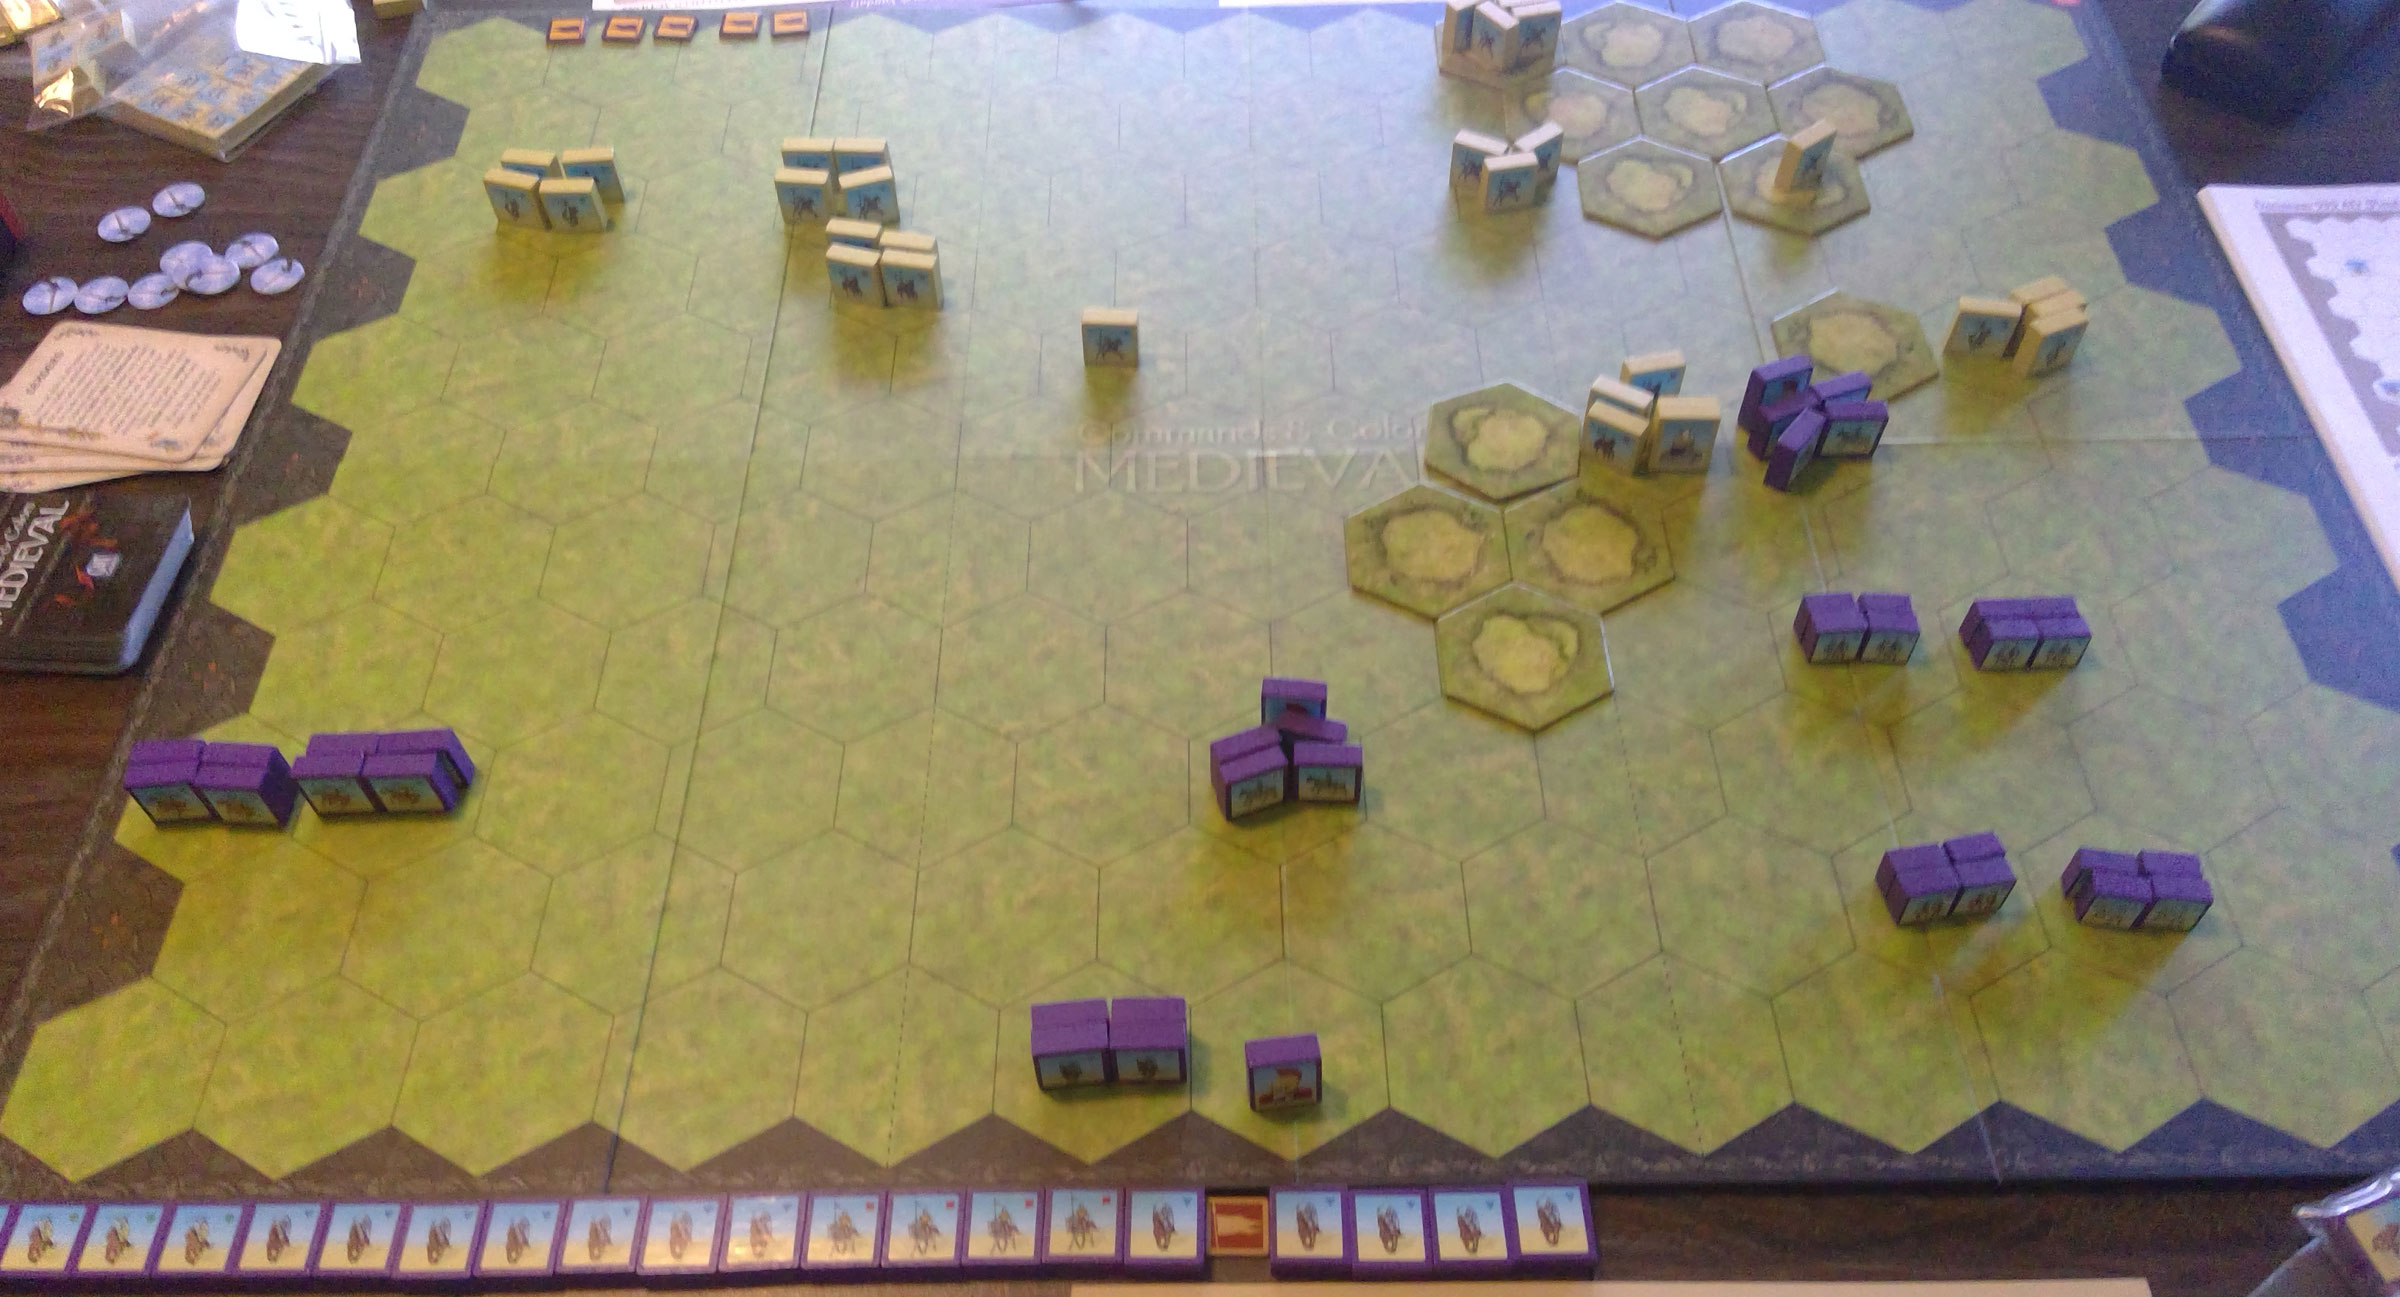
In the first phase, the Byzantines have a better army (though both sides have almost nothing in the center), more leaders, better Command, and more Inspired Actions. They can also exit units off the far side of their right to get banners, though that never happened in our playings.
I had the Vandals for the first play, and lost 2-5. As I finished set up, I noted my forward left HC and thought he was very vulnerable and exposed. And the first action of the game was Jason charging him, and wiping him out. And he steadily smashed the rest of my left from there. I eventually got my right moving enough to strike back there, but was completely helpless on the other flank, and Jason kept it moving to wrap things up.
The second round went even better for me. I didn’t get to knock out his forward HC straight off the bat, but I pressed forward on the Byzantine right and scattered the Vandals. I nearly exited a unit, but Jason shifted a unit from his right to counterattack, and destroyed the unit before it could happen. But he’d already been smashed, and while my left had been forced back, I still had a stable line. 5-1
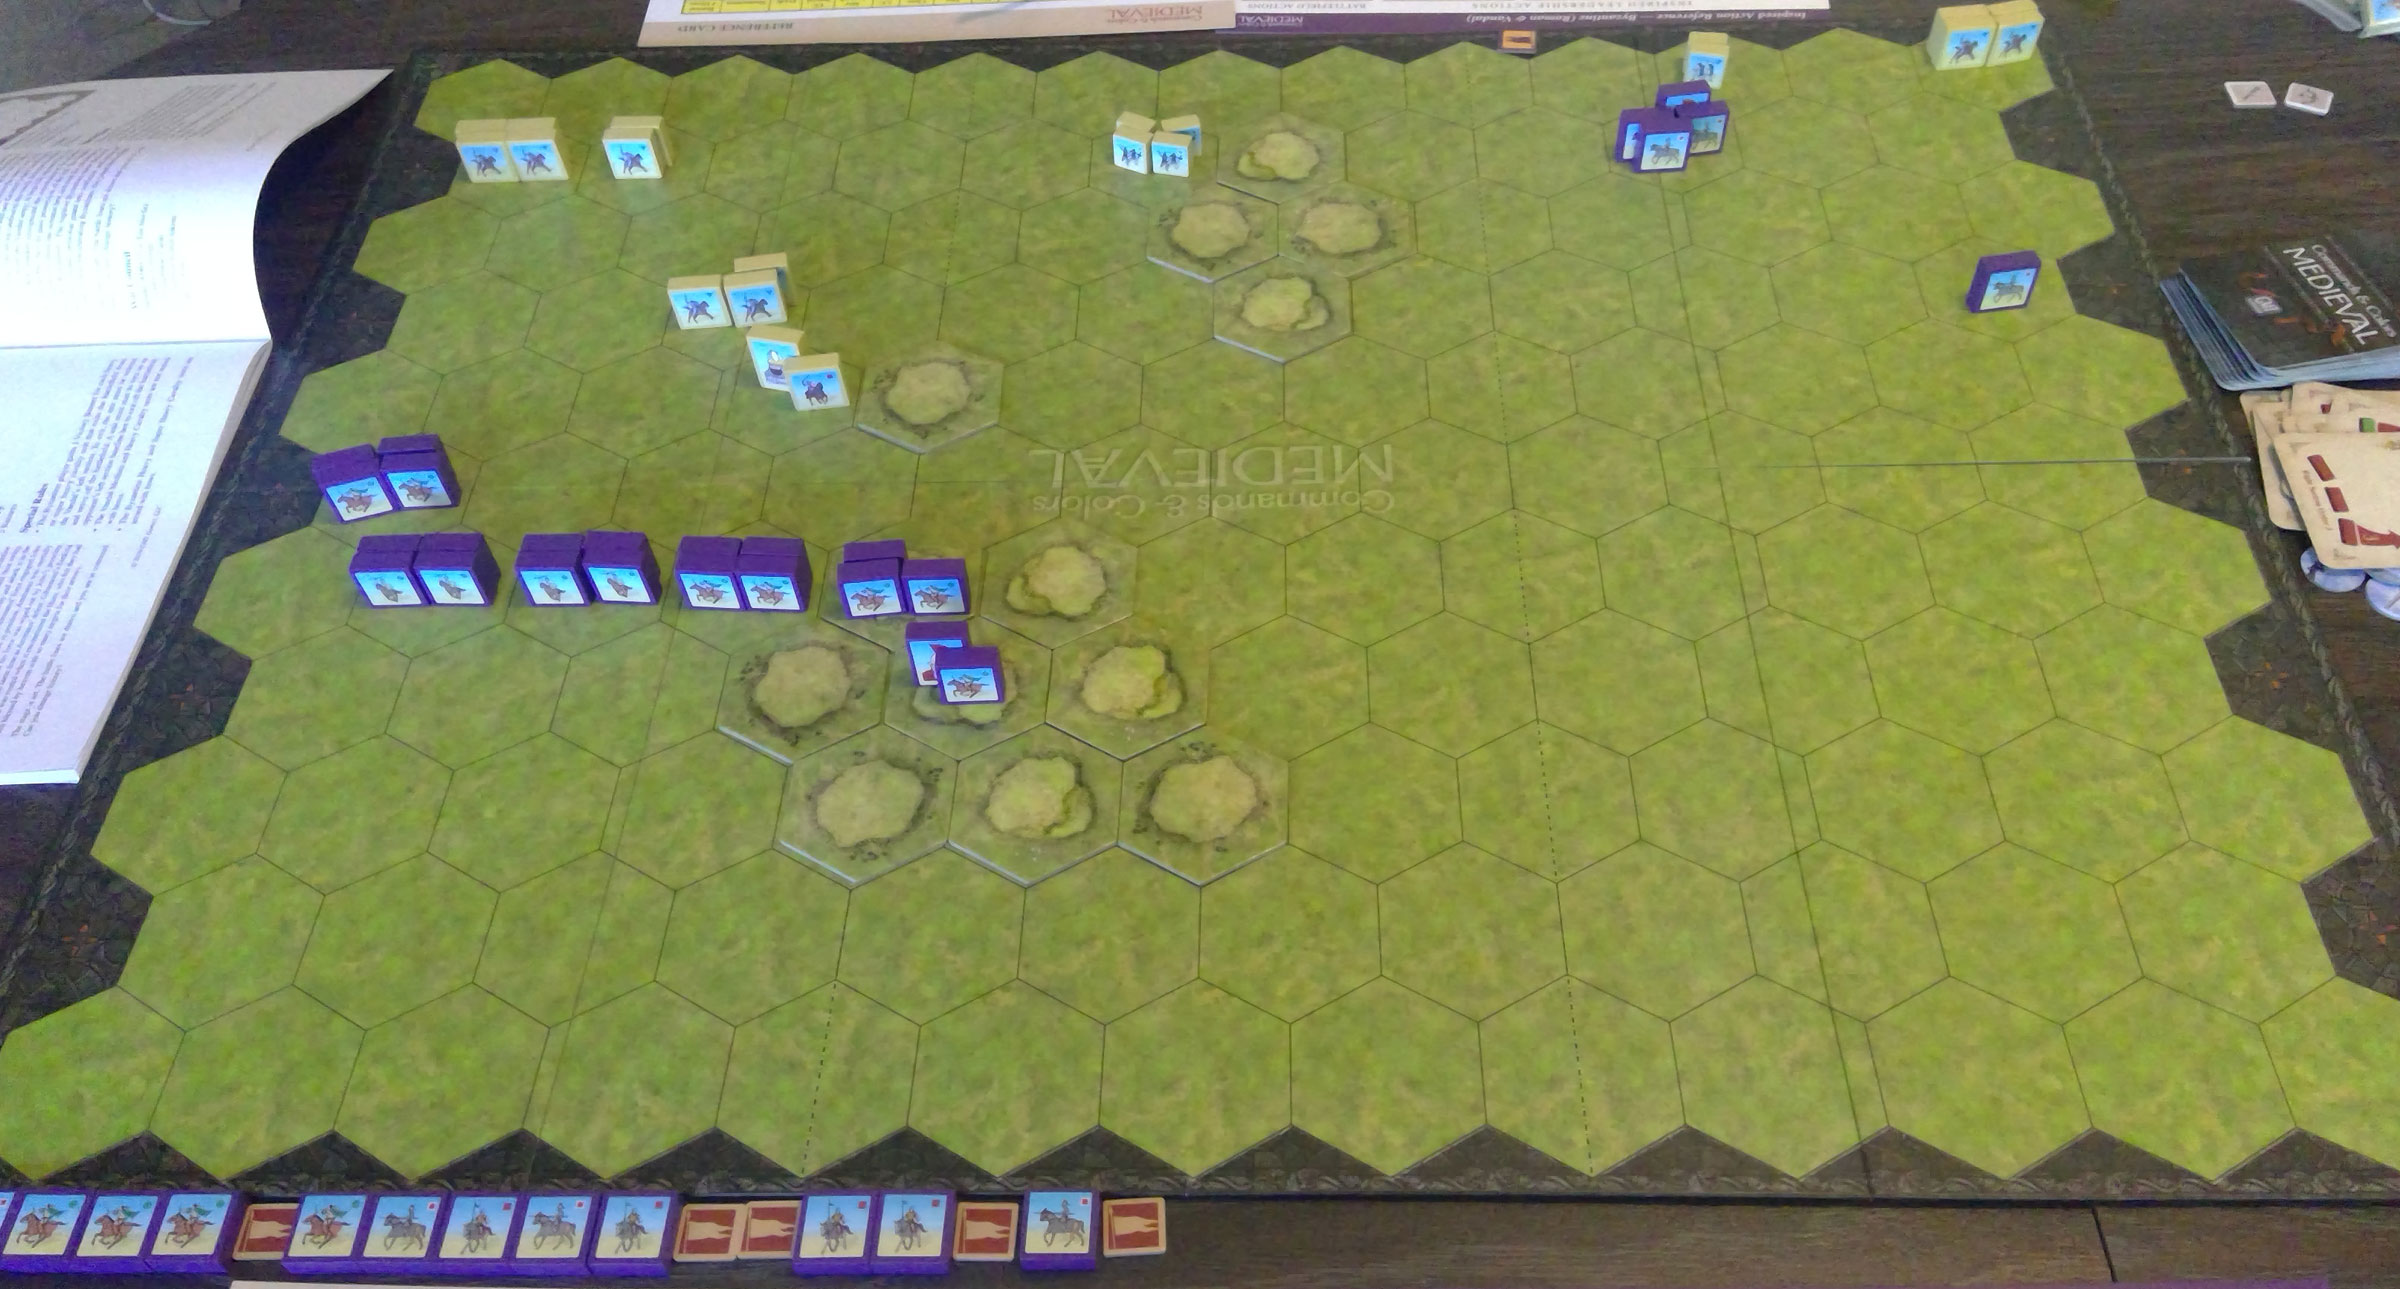
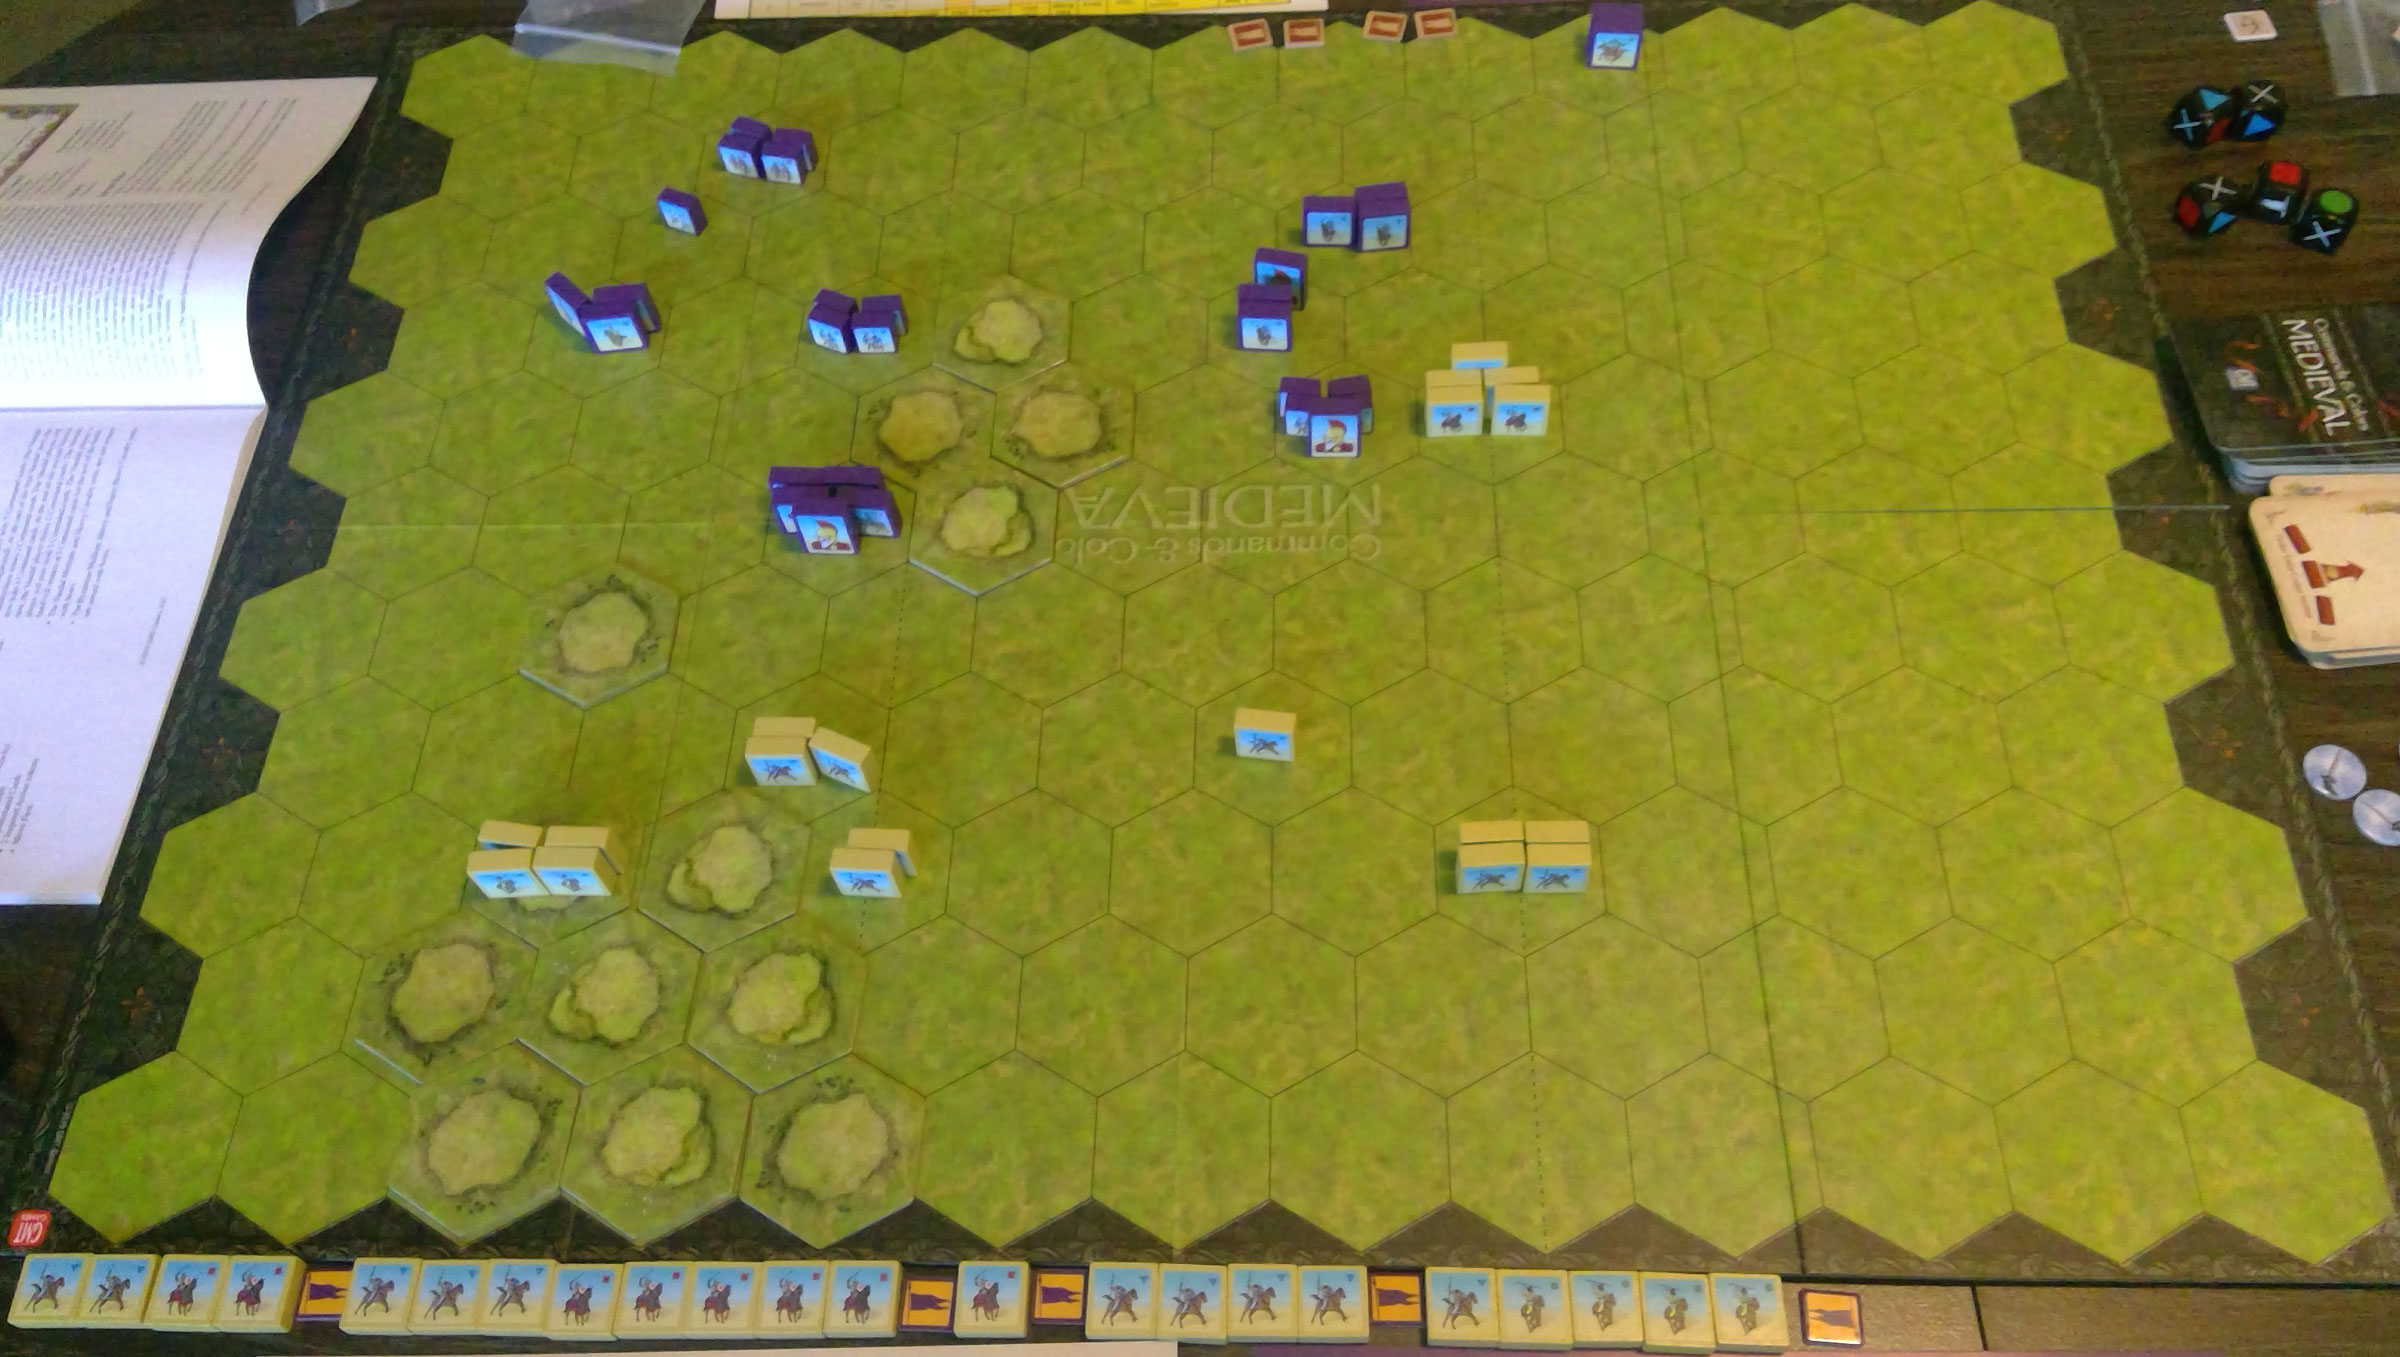
I had the Vandals again for the first round of Phase 2, and lost 4-6. Things are much more even here, with even Command and Inspired Action, and the Vandals go first. They also have a bigger army, with a prime Byzantine asset, the only Cataphract, stuck in a corner. But, the entire Vandal army is on their baseline, and takes a bit to get moving. A dangerous special rule is that anyone who starts their turn alone on top of the big hill mass gets credited with three banners, making it a ‘sudden death’ condition as the battle goes on.
I don’t remember the action, but it ended with both armies nearly wiped out, with control of the hill weighing heavily on both sides. I lost most of my MC early, before striking back, and losing my HC in the process of running up the score.
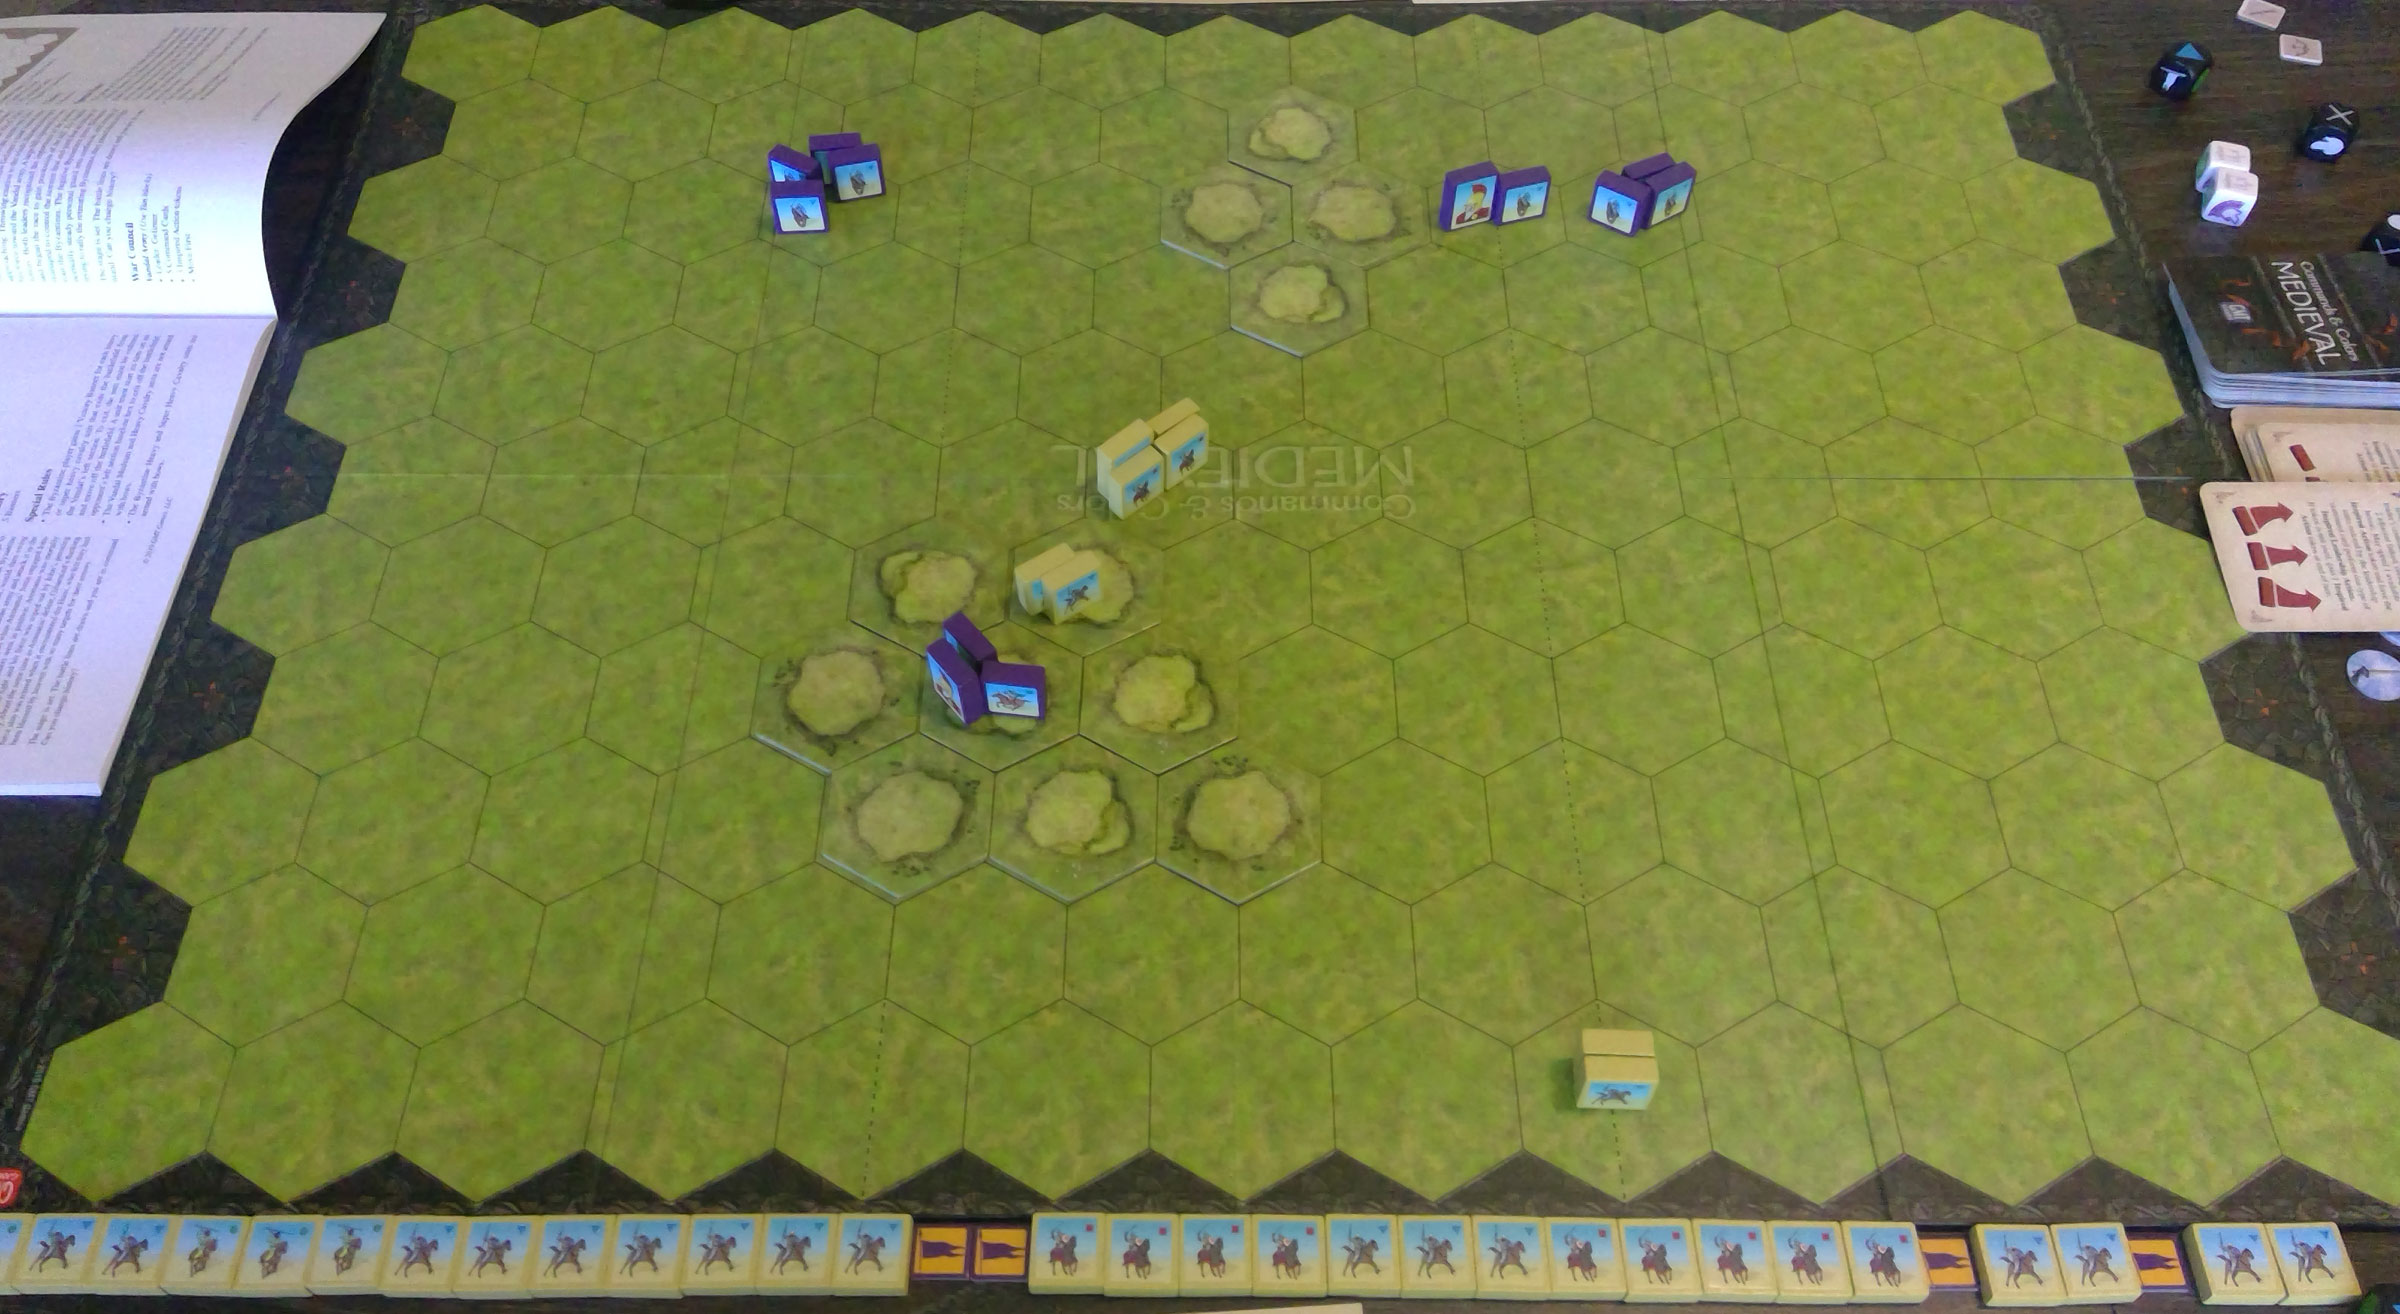
I won the second round 6-4, after a similar amount of fighting for the hill. I got off to a strong start, but Jason did a good job keeping things together, and while I got the Cataphracts into play early, they didn’t last. But I managed to put together a solid force to finish up the scenario with.
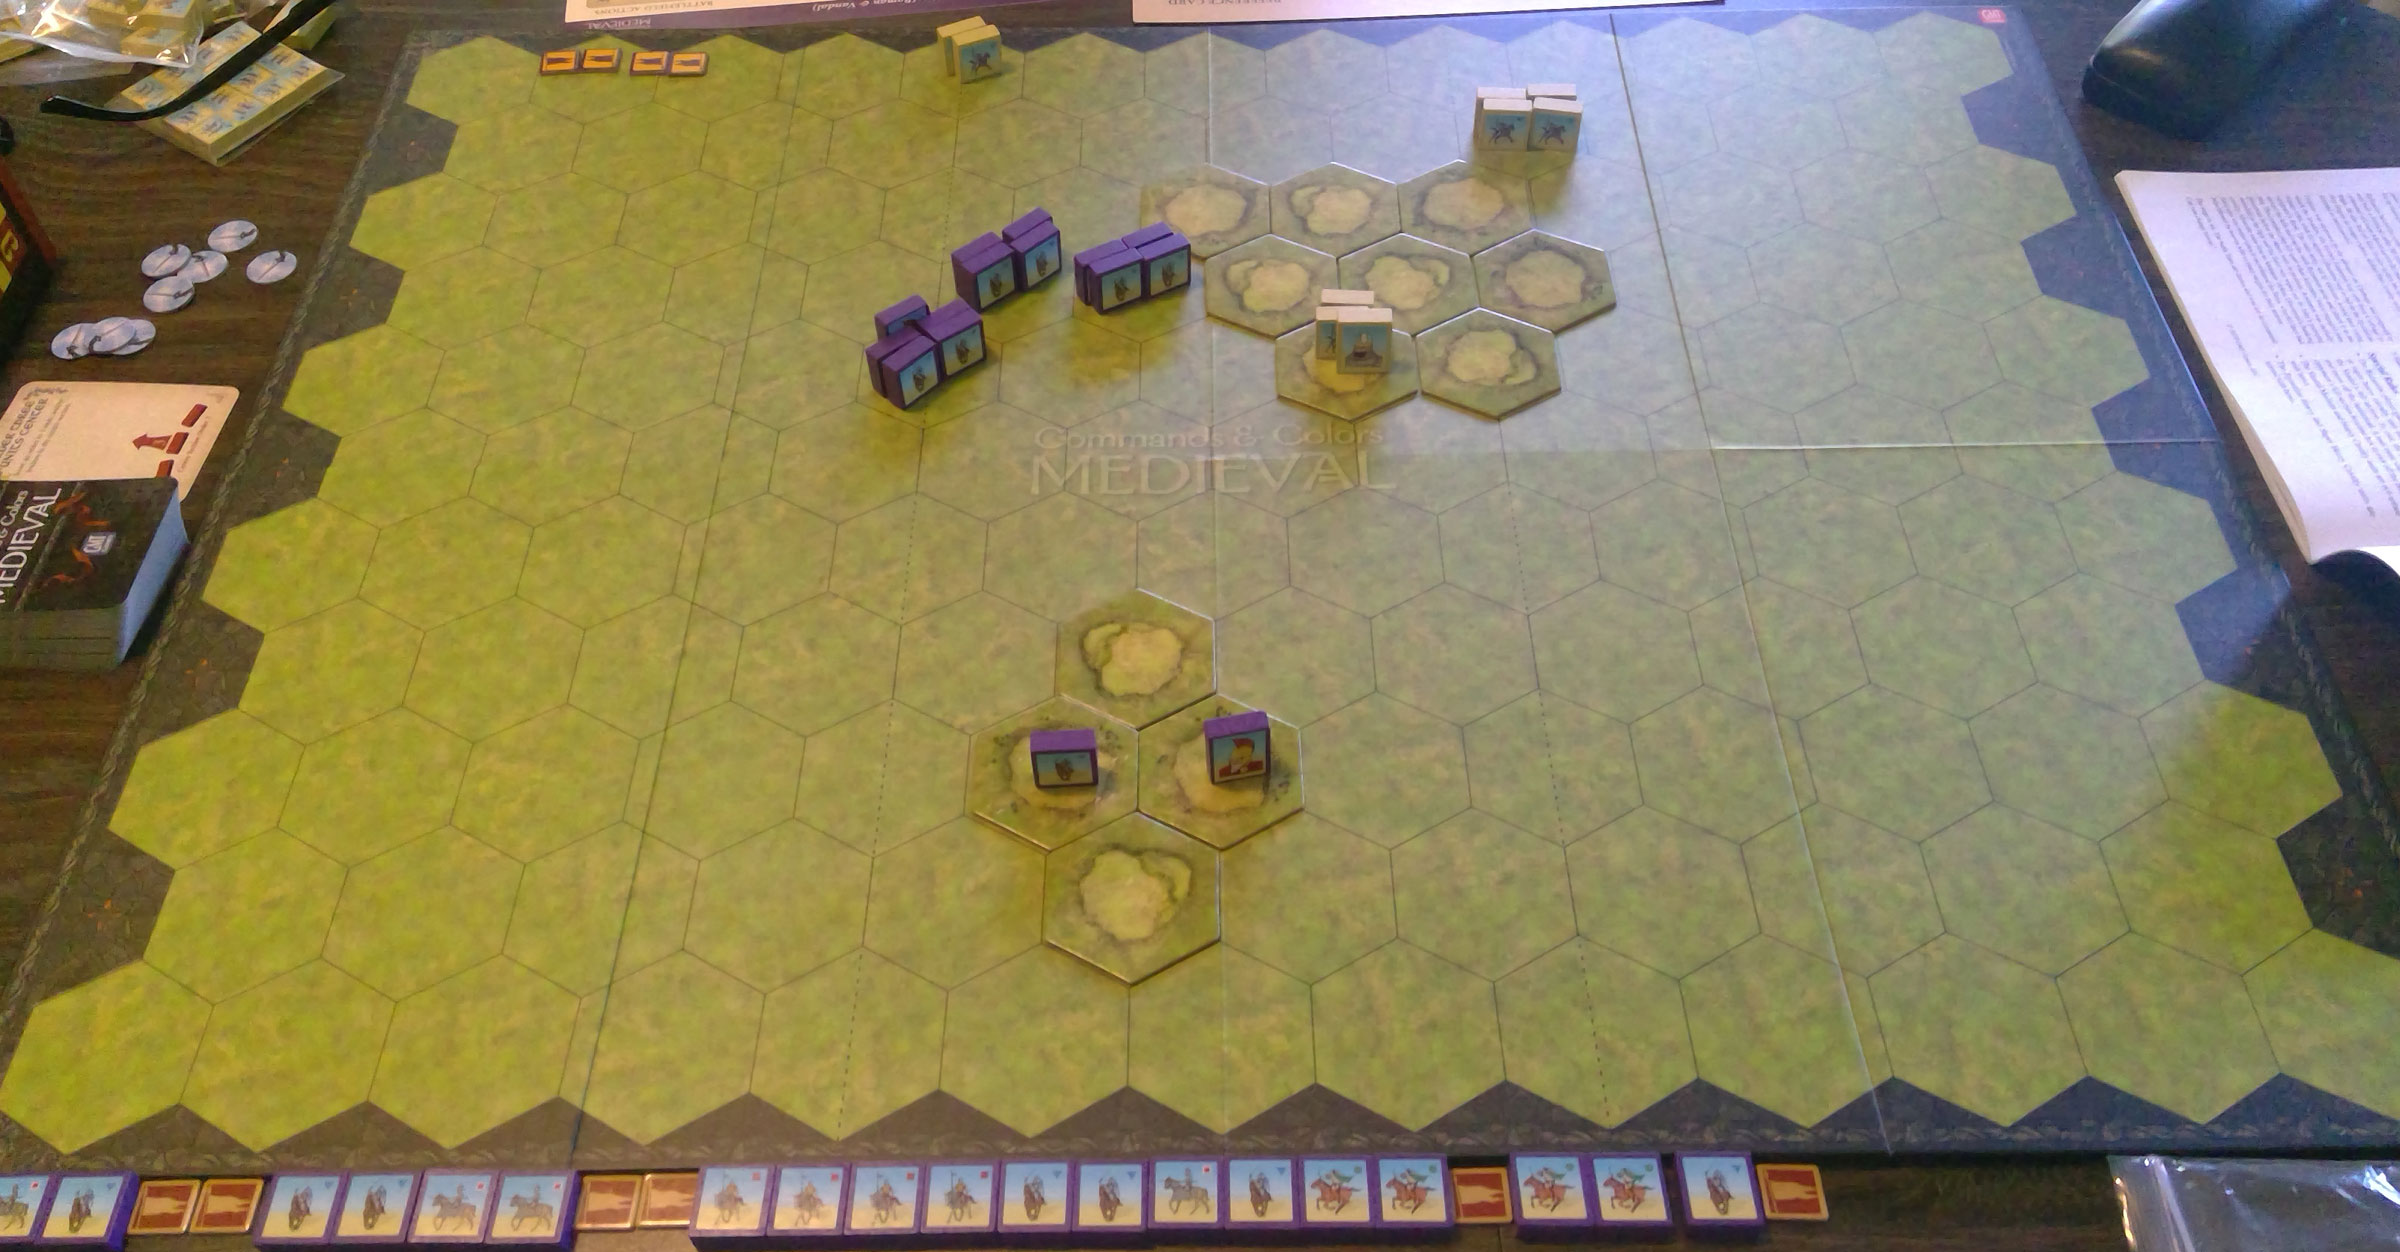
The final phase brings in a proper Byzantine army, with infantry on their right, and three leaders. The Vandals move first, but start with 3 Command, and draw their way up to 5 over the first couple turns.
I had the Byantines the first time, and went down hard, 1-5. I was maneuvering to get a mounted charge off with my Cataphracts, and Jason did it first, completely smashing the rest of my center. I couldn’t get anything going before he finished me off.
I couldn’t replicate Jason’s accomplishment, but I did win the second go 5-4. I don’t really remember the action of this one either, but concentrated on my right and center, and the left barely moved at all.
It was a fun day for the both of us. Though, all the battles went to the same side, and only Jason’s 1-5 win as the Vandals in the Final Phase bucked the pattern at all (though, it looks like it should be a Byzantine win, so both games bucked that trend). The Inspired Actions are a nice addition, but over all my games so far, I’ve mostly seen Mounted Charge, with a couple of Foot Onslaughts, and a Move-Fire-Move. The bulk of the possible actions aren’t getting used; though it may just need more experience to get into the subtleties. But its really hard to see anything other than that Mounted Charge ability when looking them over.
Discussion ¬