
Mixed Callinicum
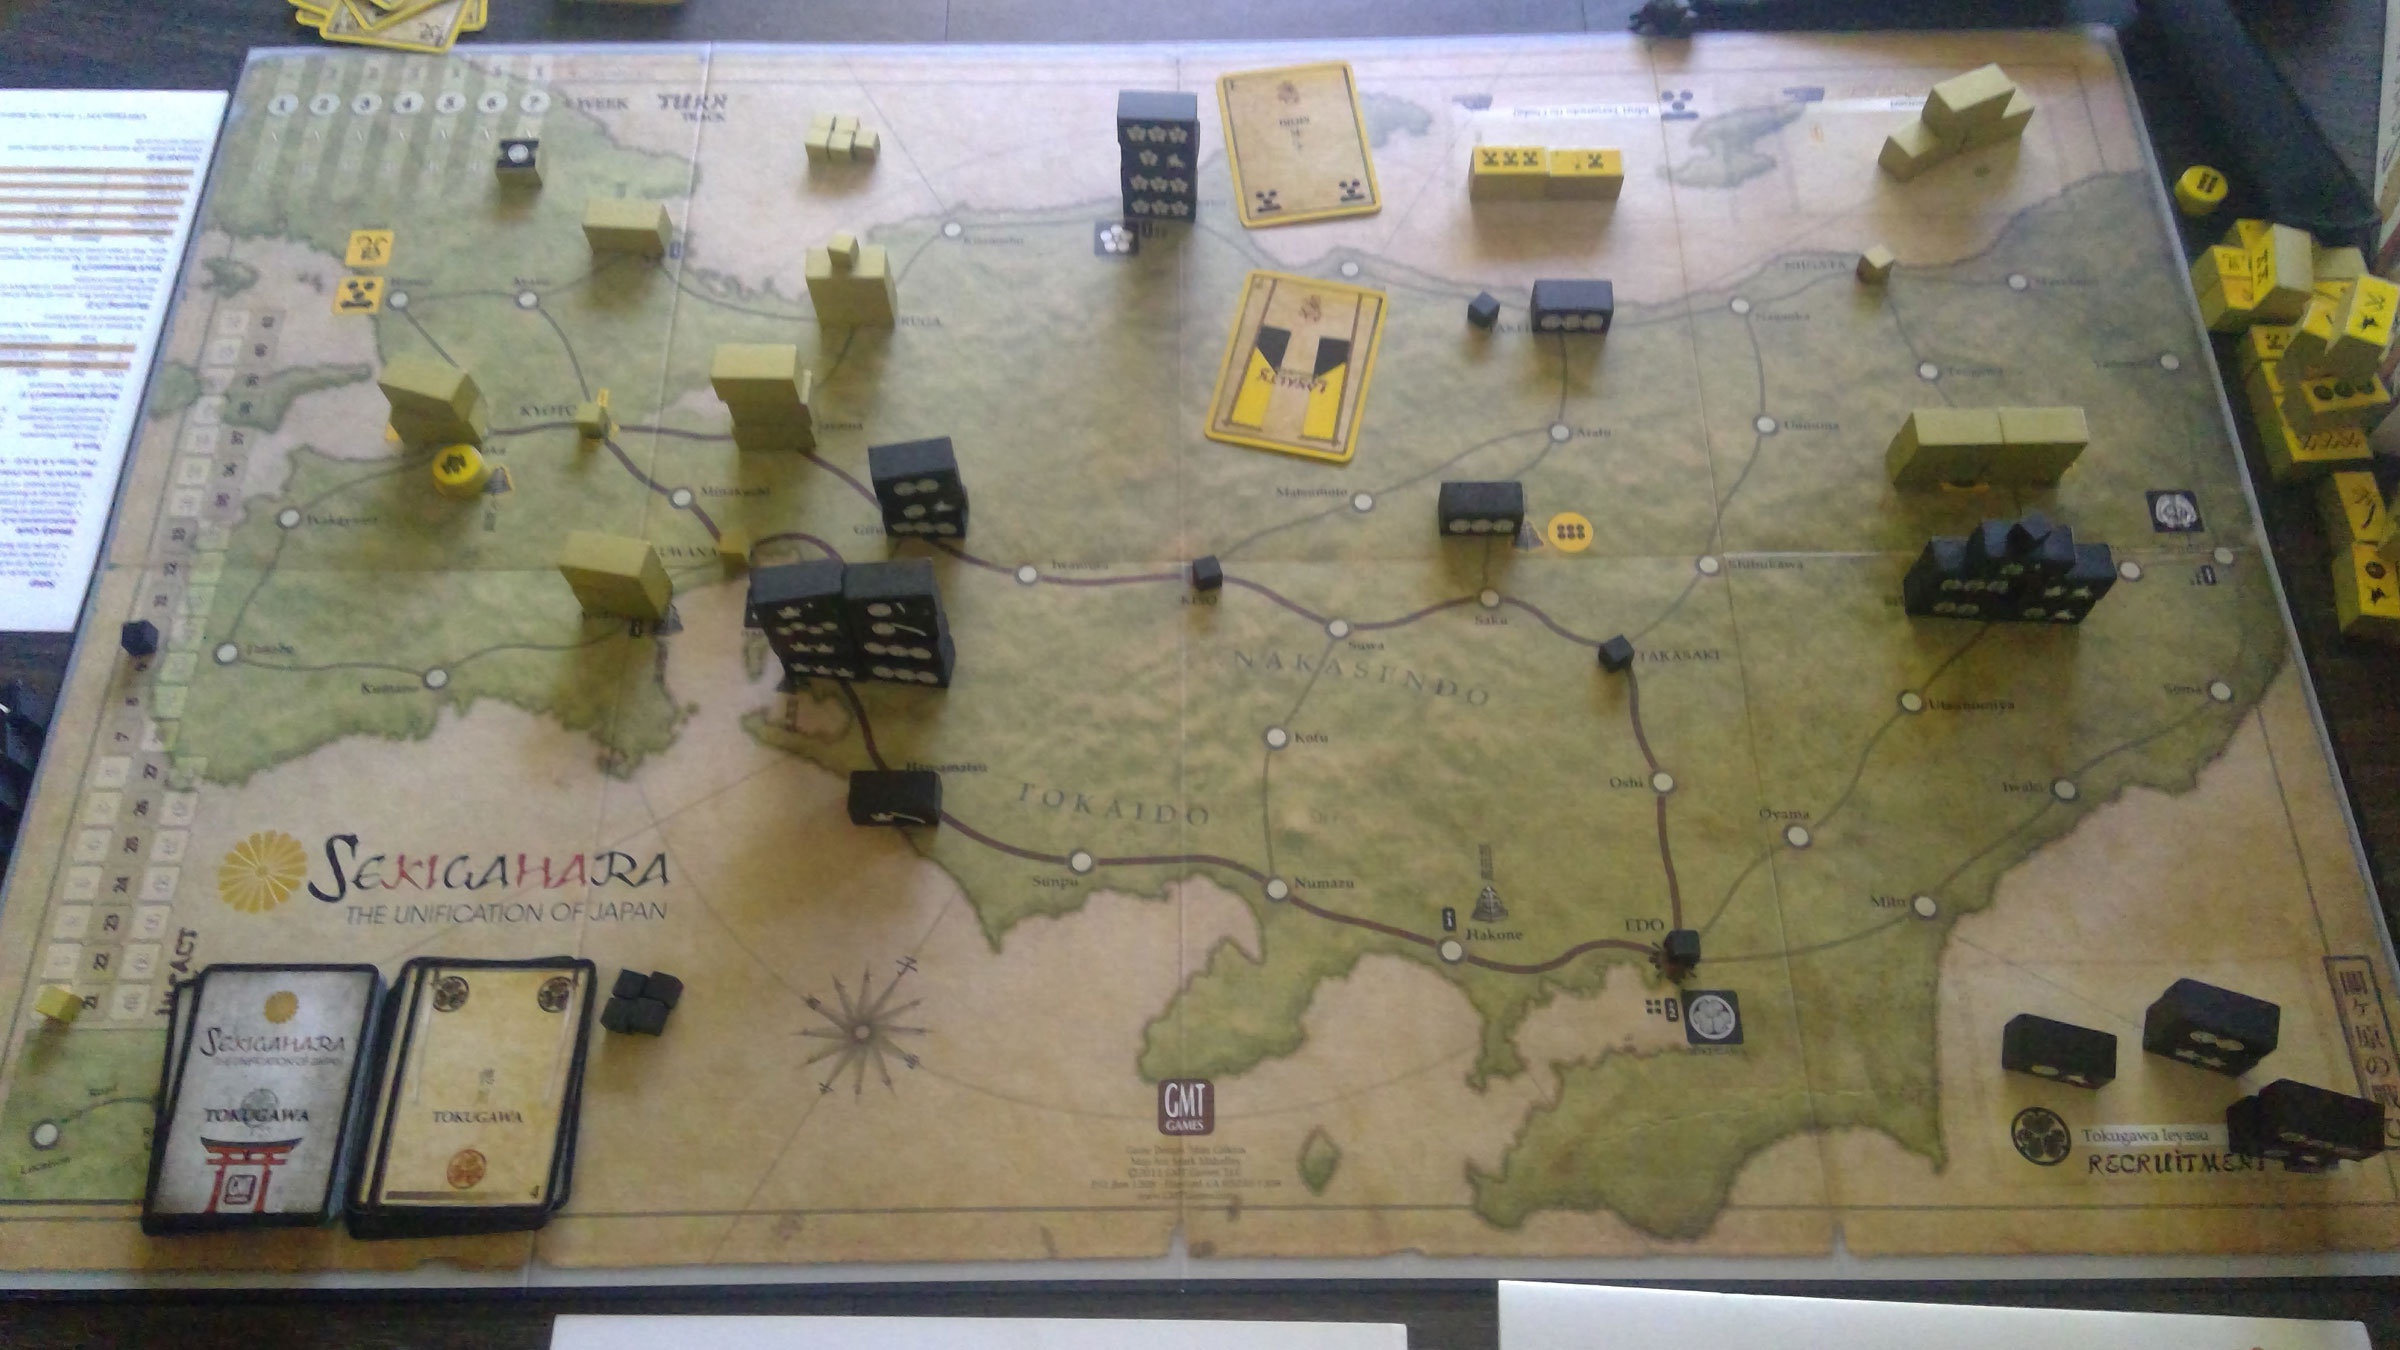
Patch came over on July 28 for a little FtF gaming. First up was a game of Sekigahara, which we don’t do too often, but Patch always enjoys.
By circumstance of how Patch set up the board, he had Ishida, which might not be the best idea when I’ve played it more recently than he had, but he certainly did a creditable job of it. I kept having problems with armies that wouldn’t fight, and had to stay a bit cautious, but despite that, I mostly stayed on the overall offense.
This was aided by early battles where Patch besieged Miyazu, and I rescued the garrison the next turn. Mid-game, he came back and took it, but by that point I was besieging Ueda castle. Our first real major battle was near Gifu, and victory there allowed him to take Okazaki, but the main Tokugawa army advanced to take Gifu, and then re-took Okazaki at the end. Patch had a good position, which he improved throughout the game, but the constant drain of blocks from combat and the occasional siege certainly kept him feeling desperate.
I’d had plans for my end game, planning on taking three different resource points, but Patch blocked access to all of them. Well, I could have have tried one block vs one block at Niigata, but figured the defense advantage on ties would kill me if nothing else. Patch tried the opposite on his last move, attacking Takeda, and lost 2:3 impact (he was surprised I had a 3-mon block, but there just hadn’t been anything else to split from the force that took Ueda).
I mostly avoided spending any cards I didn’t need to, which along with the castle advantage had me build up a pretty large hand at the end of the game. Final score was 15-12 for me.
After that, we tried out Commands & Colors: Medieval. Patch is my regular opponent for CC:A on Vassal, so it was odd (especially for him, as I’ve tried this with Mark) to be playing a physical C&C game with him again. Flipping through the rulebook, we ended up on the Battle of Callinicum (phase 1), where the Byzantines have a line of infantry on their left, mixed light units on a on the right, and cavalry in the middle, and the Sassanids are all cavalry. It’s six banners with both sides having 5 Command, but the Sassanids have more Inspired Action, and anyone on the hill while the other side isn’t on it, is counted as having one extra banner.
Patch took the Sassanids for the first go, and hit my right with his cataphracts. I then charged in with mine from the center, and did very well, knocking out the cataphracts and threatening his left. However, he smashed my medium cavalry, and also got up on the hill, scattering my light units. I chased his main unit down, but just couldn’t eliminate it before finishing off the remnants of my center for the win. 4-6

We finished the day by switching for round two. I tried getting my cataphracts in range for a Mounted Charge, but Patch beat me to the punch, and slaughtered them. I lost my mediums as well, but did have success in counterattacks, and both of our centers just disappeared. I technically was getting an edge with our remaining units, but Patch managed to pick off another medium, and was still on the hill (my left had had no opportunity to do anything). 4-6
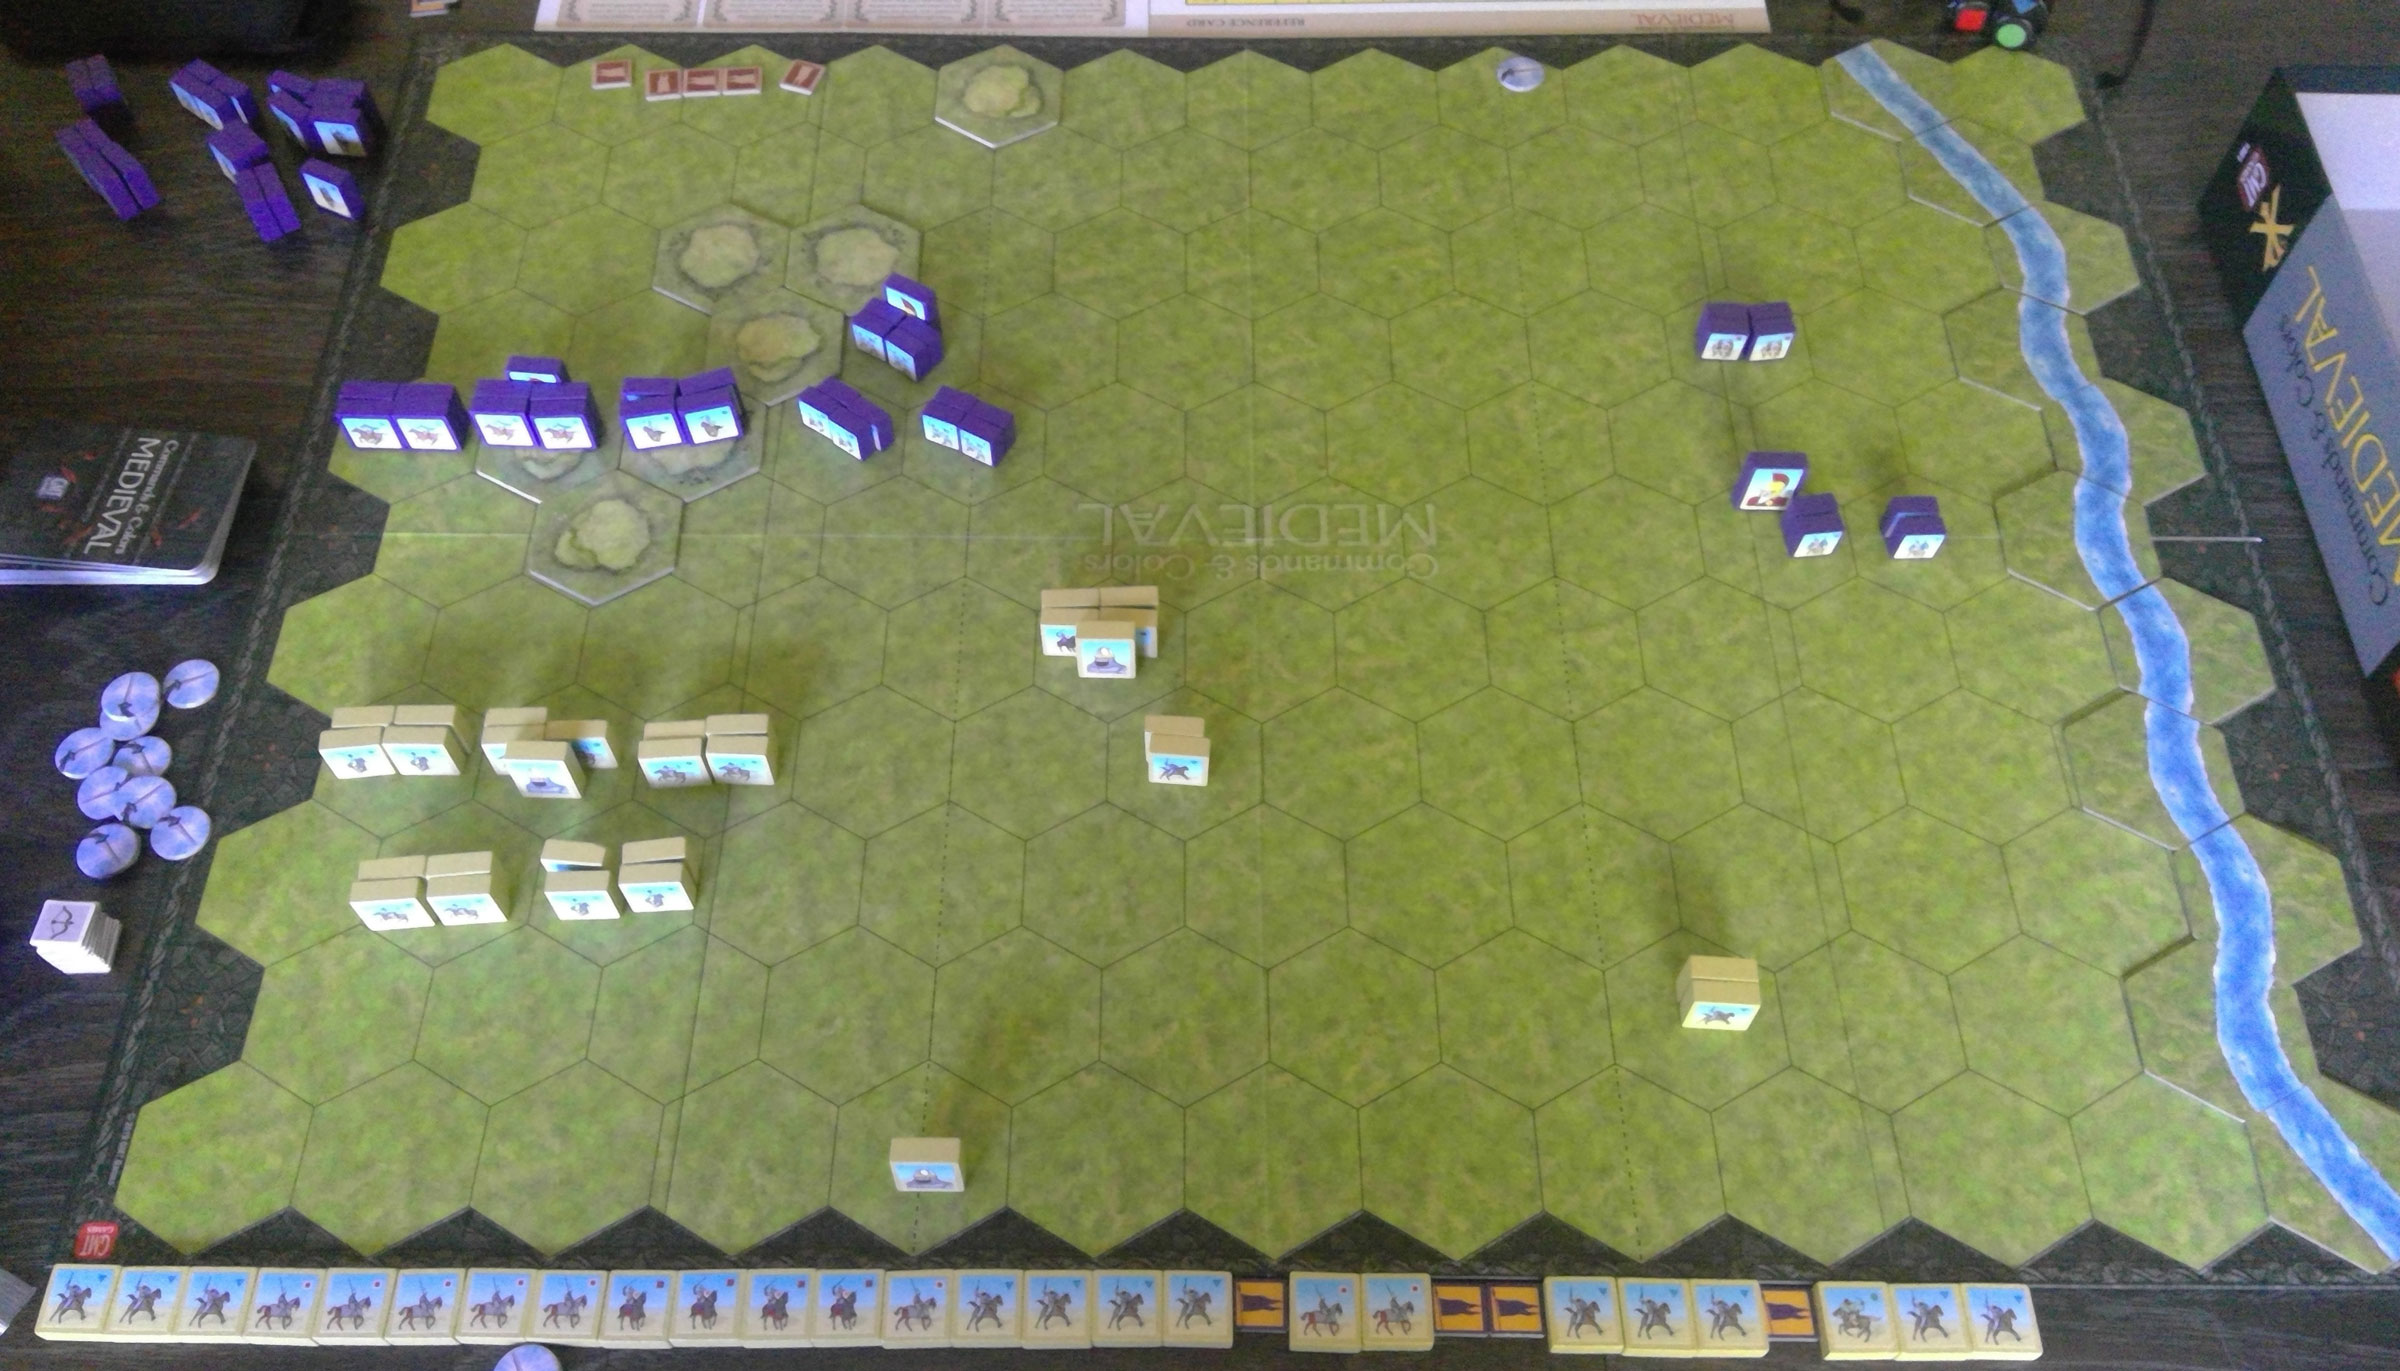
It’s a good scenario, and Patch was definitely liking the more powerful cavalry. Jason’s the other regular CC:A player in the group, so I’m going to have to make sure to try CC:M with him as well. I find it definitely feels different, but I don’t find it dramatically so.
Discussion ¬