
WO7 Hell for the Holidays
Patch made it over for some FtF gaming back on the 16th, and after some looking over the various things I’d gotten over the past few months, we ended up trying this scenario from Winter Offensive #3. It’s been a bad year for FtF, and I think this is only the fourth day I’ve had, and the first with just Patch.
The Americans are defending early in the Battle of the Bulge on the ‘double wide’ board that came with WO #3, with a forward force of three elite HS with MMG, BAZ, light AT gun, and a good number of “?”, while the bulk of the defenders are well behind them with five elite squads, another MMG, two BAZ, a DC, and some more “?”. In addition, they have four M5 Stuarts with a 9-1 AL, who start out in Motion. The Germans have six turns to take 7 hexes of stone buildings from near the middle of the board on, and have five elite squads and four elite HS to do it, supported with 3xPz IV, a JgPz IV, a SPW 251/9 and five SPW 251/1s. There is ground snow (we forgot about the movement penalty some near the middle of the game, but got it at the beginning and end), and crew survival is NA (we were wondering what that means for Passengers, but I suppose now that it’s just Crew survival is NA, not all crew survival rolls; i.e., not those for other than crews).
I had the attacking Germans, and mis-read things. First off, I didn’t realize the initial line of Americans was all HS instead of squads until writing this up. Even more importantly, I didn’t really think about timing issues until the end of the first turn, when I’d already dismounted the bulk of my forces. Patch had created two large Dummy stacks with his forward “?”, and it took me a while to catch on to the fact that with 7x”?” and my off-board entry this was even possible.
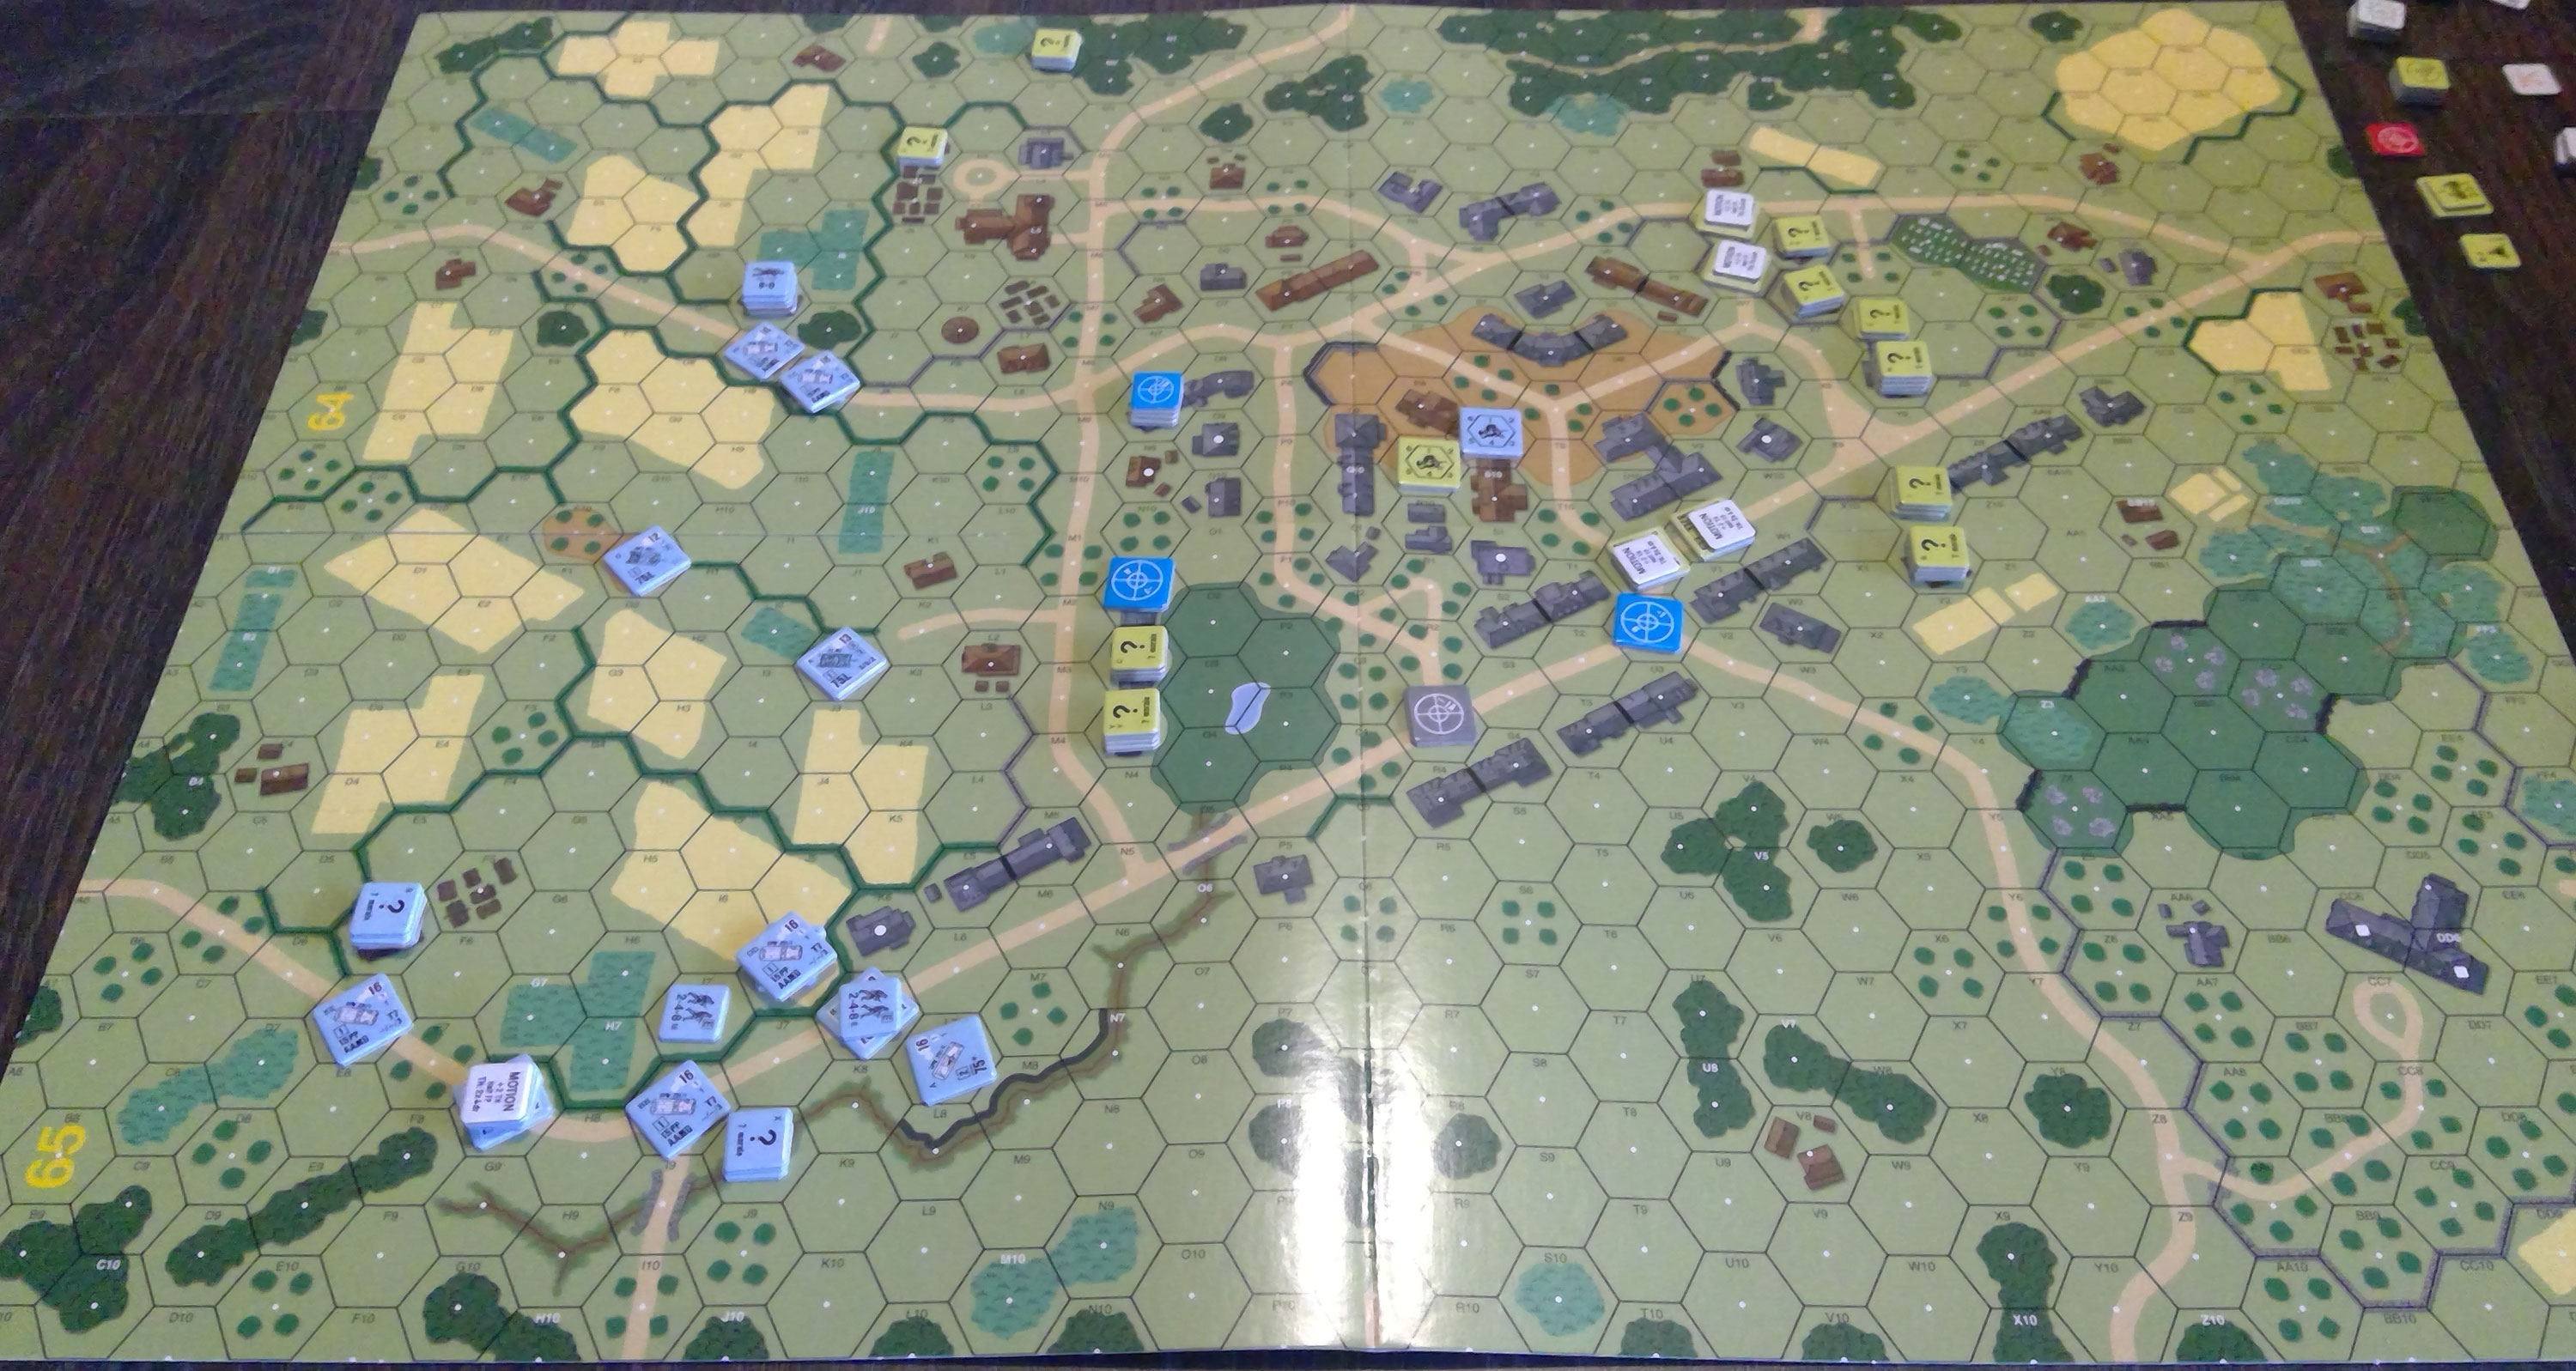
Patch had his own troubles. My best move of the first turn was parking the JgPz on the small hill in front, which meant it could shell most of his forward positions. Realizing I had already slipped behind schedule, on Turn 2 I rushed forward a Pz IV that still had riders so that it could get near some victory buildings. Of course, his ATG was set up boresighted on the obvious straight road. I raced through it, he fired, hit… 10 TK DR to bounce off the thin side hull! This roll was one that Patch regretted for quite some time. I quickly reshuffled forces to have a tank, SPW, and squad next to the ATG and outside CA.
Meanwhile, I was still hung up on the initial line of defenses. I was well aware of the fact there was a MMG in there, but not so aware that there were two large stacks of Dummies. My Turn 2 bold advance didn’t come to anything, as the American Sniper pinned the Riding HS shortly after it unloaded, and Patch burned the Pz IV with a BAZ shot from the rear. With him revealed in 65N2, he ended up slipping out the back before I could do much more. I finally realized that the intimidating-looking stack was Dummies, and rushed through the initial line on Turn 3.
Over on the other end of the line, I had sent two SPWs in as a way to hold off the Americans on that side, and they kept moving up. They were facing the forward MMG, and I knew one other stack was real (as it had stripped “?” from me) and I realized the remaining stack was more Dummies.
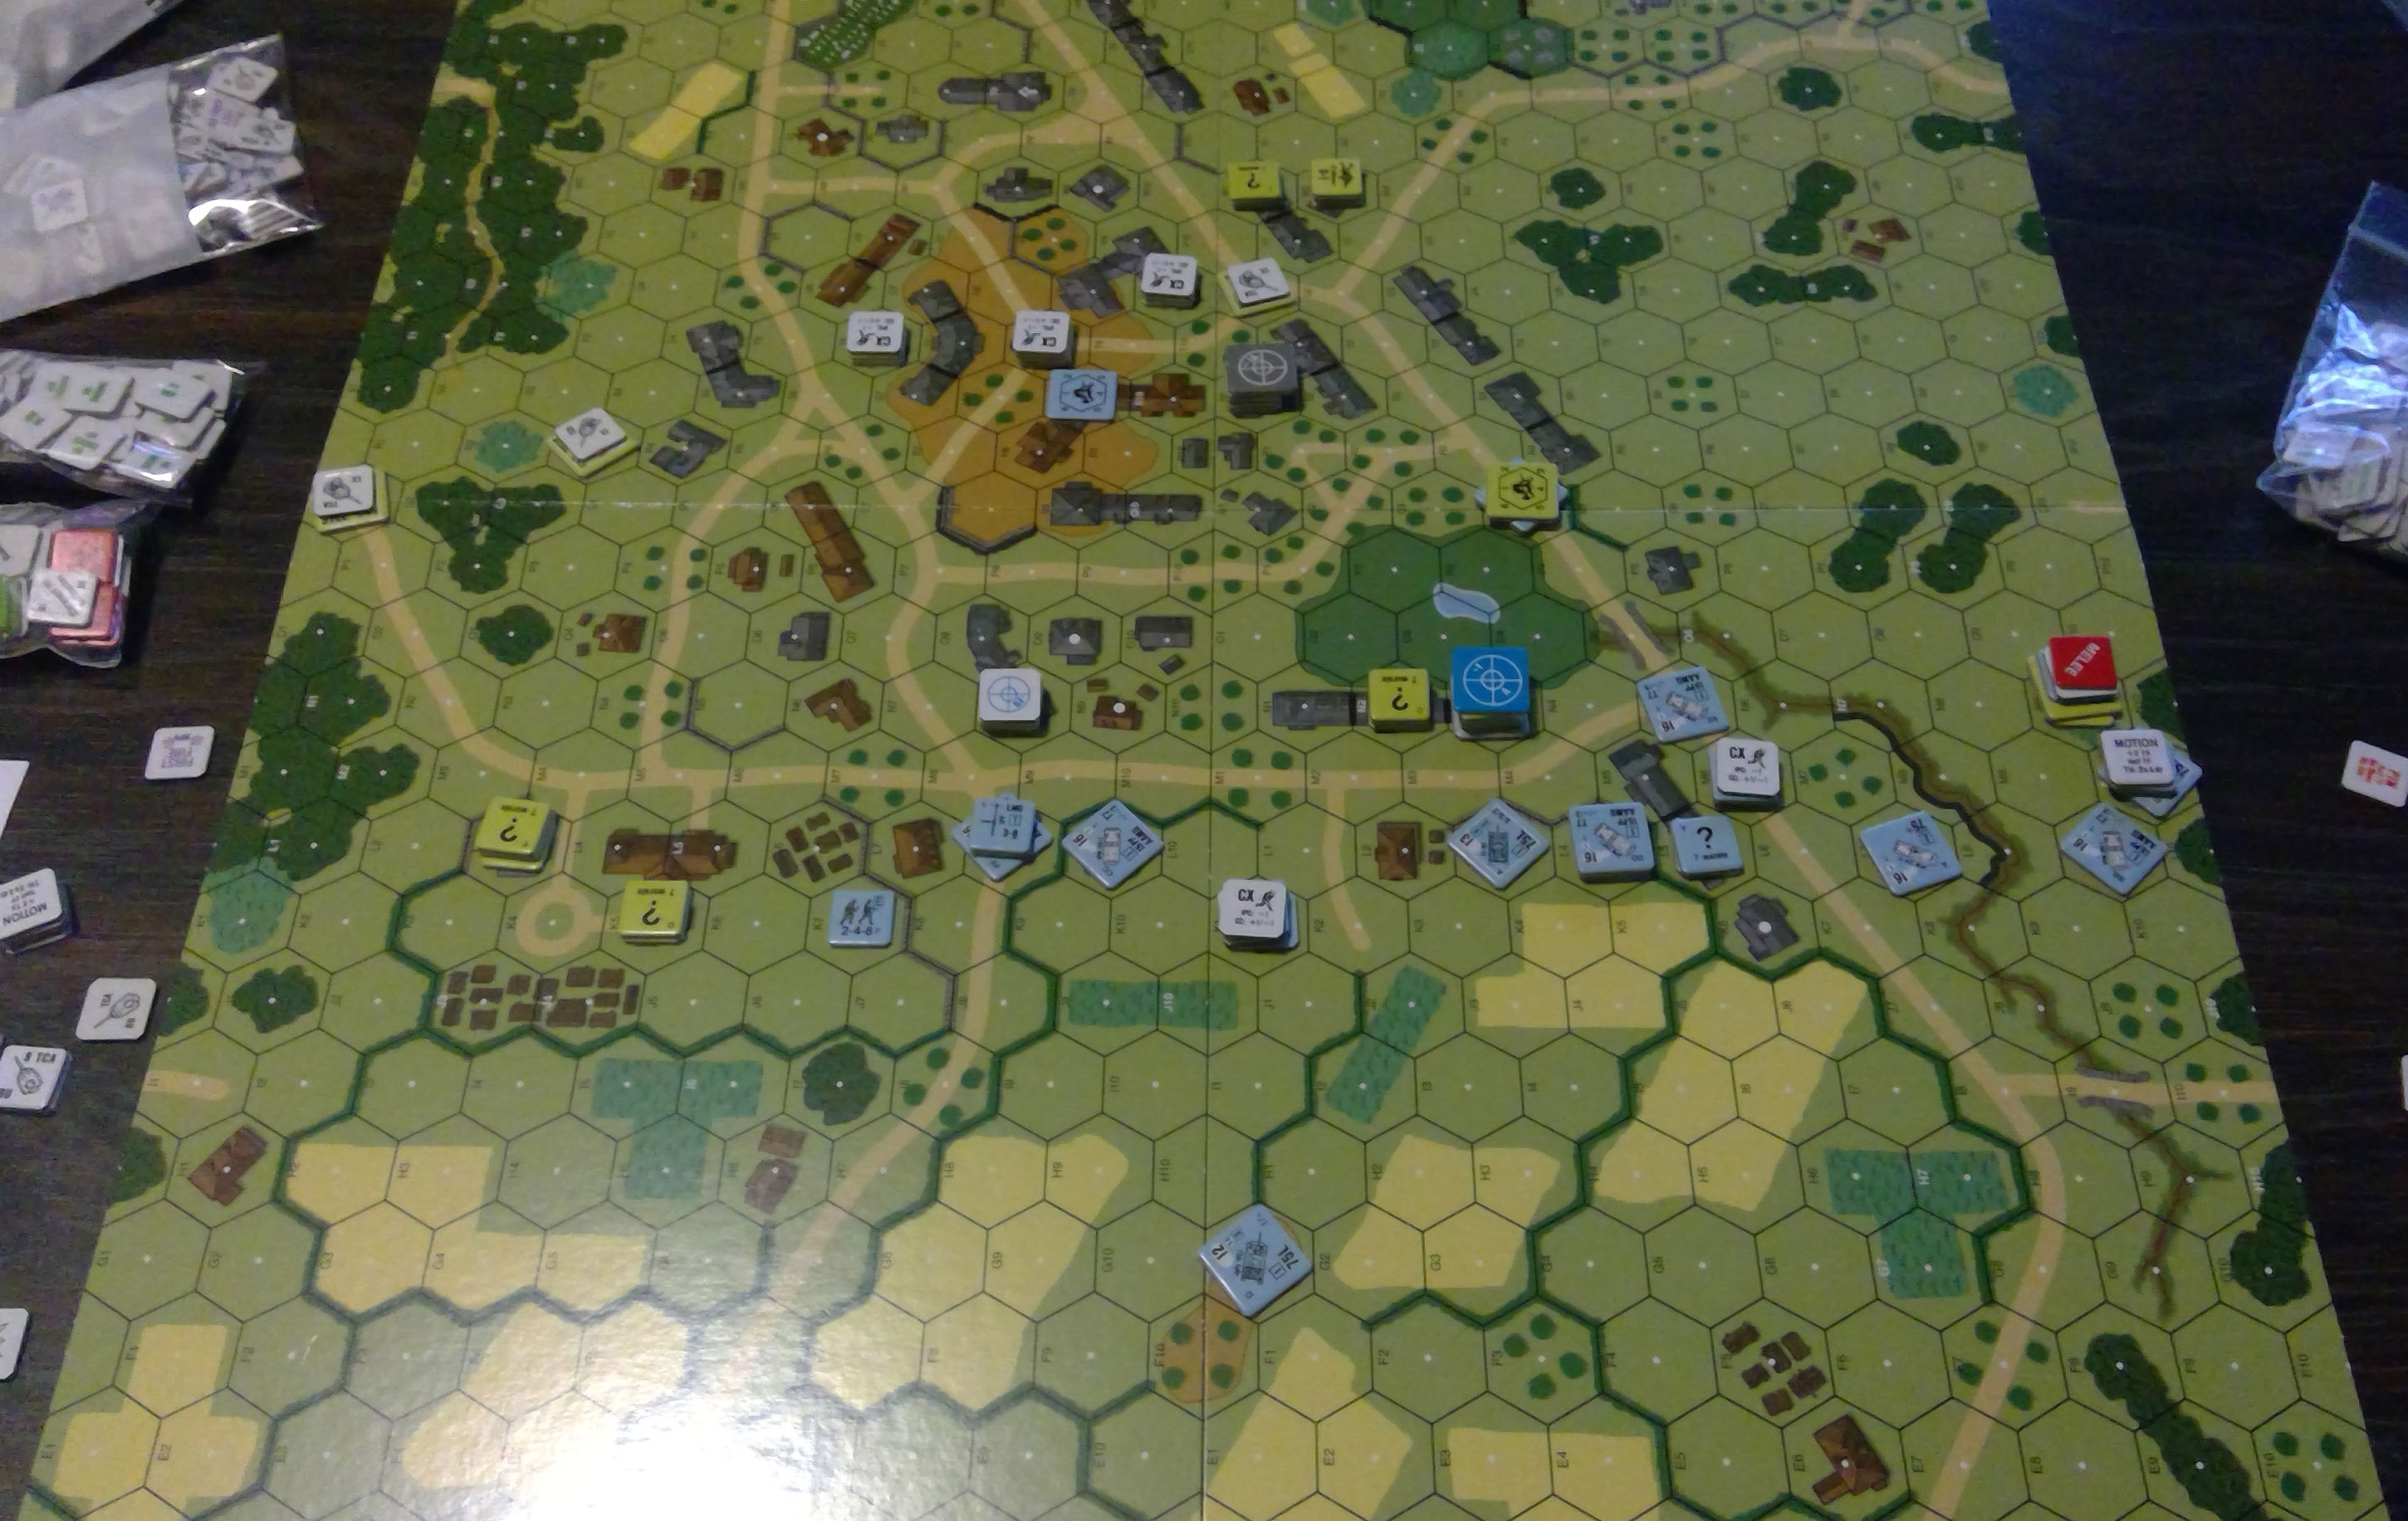
So, I engaged the ATG crew in Melee (won by me slightly later), I was pushing forward on the left with minimal forces, and I was advancing into some victory buildings on the right. But there was one major problem I couldn’t nail down: the Stuarts. Patch did a great job of shuffling them around to threaten important places every turn, while also keeping me from killing any of them. I bounced three shots off of walls that might have killed them, if I could have gotten him out from hull down. This distracted my remaining Pz IVs, and the JgPz while he slowly picked off nearly all the halftracks.
The game started slowly thanks to me being very slow for the second turn as I tried to turn my thinking around, and come up with ways to recover from my screw-up of the first turn. We went late, and did not finish, but did get through the fifth turn, and I think I might have just barely been able to get the required 7 stone hexes. But there’s no way I’d keep all of them during the following American Turn. Patch pointed out that he was worried that my PSK HS would go into the far corner and pick up a couple hexes there, which might have given me more of a fighting chance, but they had turned back to help with the 65R4 area. With another turn or two, things could get really exciting, as I had penetrated into the middle of 64 near the larger hill. I had no intention of actually going up there (too many Americans), but there were plenty of other stone buildings around to claim.
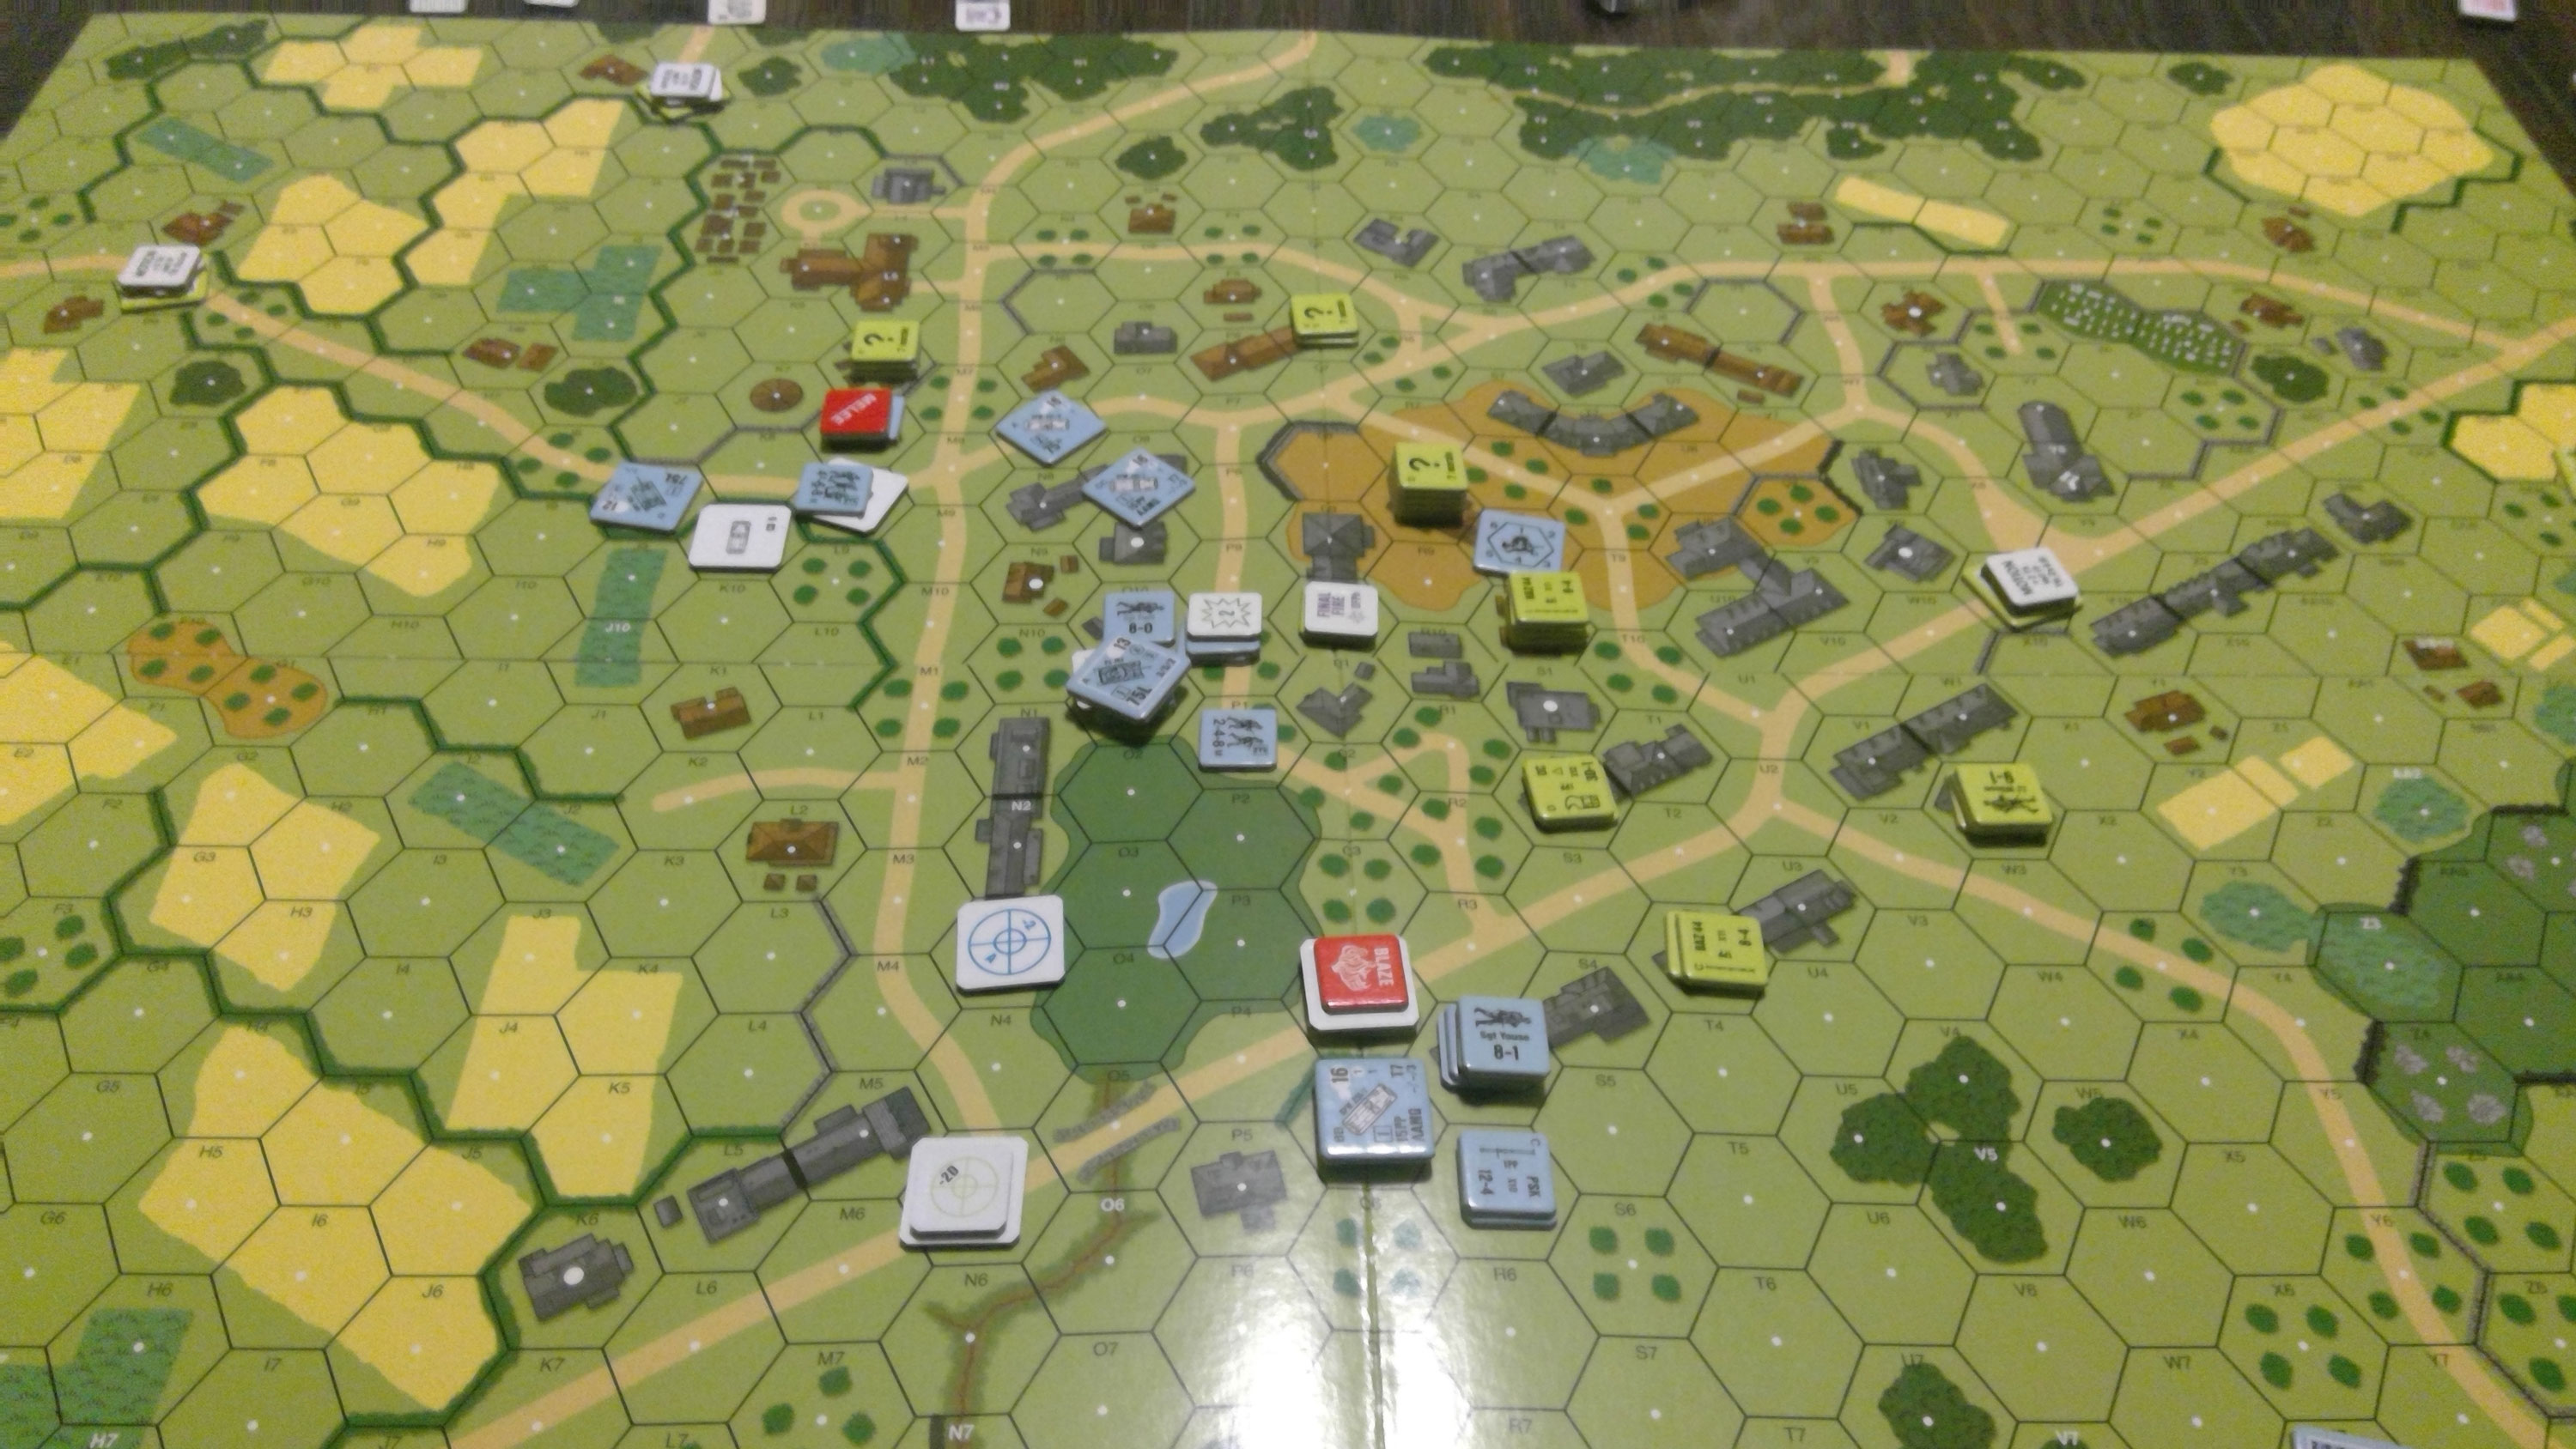
So I’m still kicking myself over not realizing that I needed to be ready for a full mobile armored assault until I finished my first turn. If I had it to do over, I might still dismount a fair number of troops, but certainly the squad+leader I dismounted in my rear (to sweep up my inevitable broken units) would have been part of the turn 2 rush. My somewhat broad approach apparently kept Patch off balance as he didn’t know where I was going. I did; the left was to help isolate the center, and that at least partially worked. If I’d been paying more attention to his OB, I would have gone a bit faster on turn 2 as I’d have realized that he had big Dummy stacks earlier.
Despite getting off on the wrong foot, at least I made a creditable stab at actually winning. Also, it took me a bit to warm up to what I was doing with armor again, but it was coming back to me fairly well by the end of the day.
Discussion ¬