
The Road to Erzurum
Jason was over again on Thursday, and we tried out the Caucasus 1916 scenario from Osmani Harbi. I contemplated trying one of the other maps in the set, but decided to keep it simple by sticking with the area and sides we’d seen already. We kept the same sides (i.e., me as the Ottomans), which meant that Jason got to be on the attack this time.
This scenario starts in early January 1916 and runs to the beginning of May, and a special rule ensures that all but the final turn are in Winter conditions. The front has advanced back into Turkey, and the Ottoman forces are exhausted, with all but a couple infantry divisions down to one strength point, and the others still down to their 2-4 side. The Russians are generally at full strength, and have 40 supply split between four HQ. Victory this time depends on taking Erzurum and keeping demoralization down.
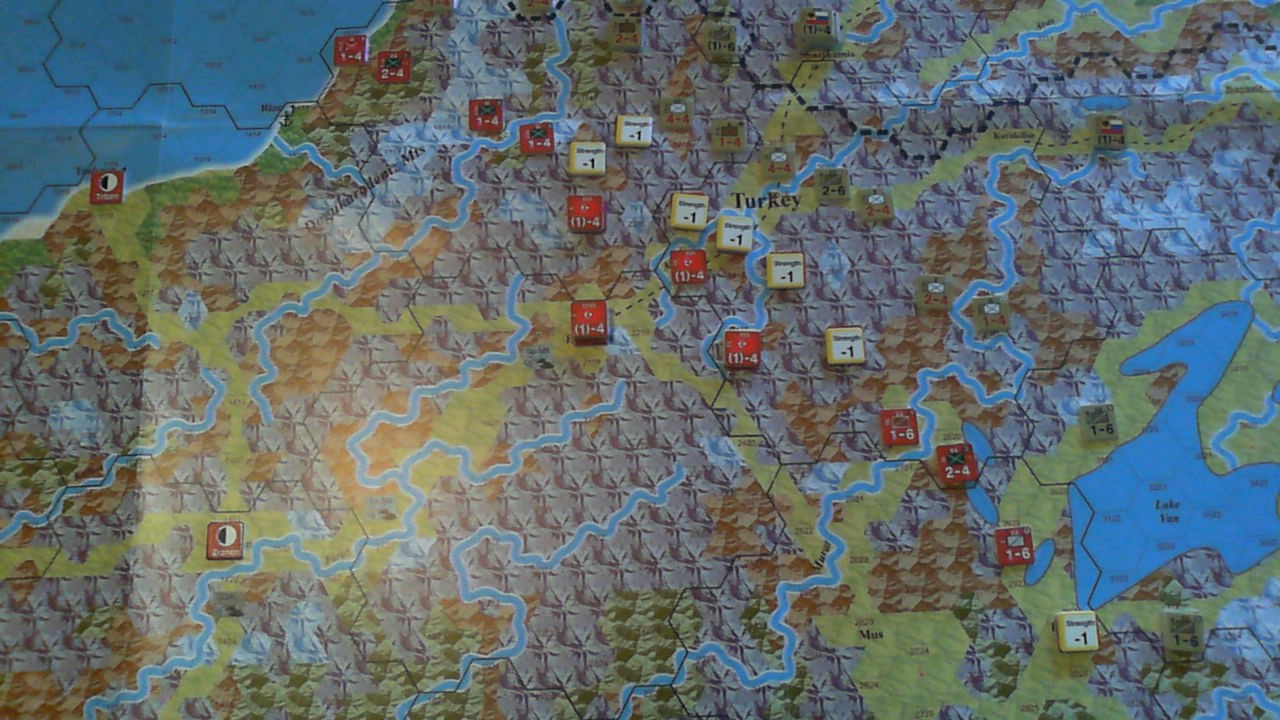
All those -1 markers are hiding Ottoman divisions that are down to 1-4.
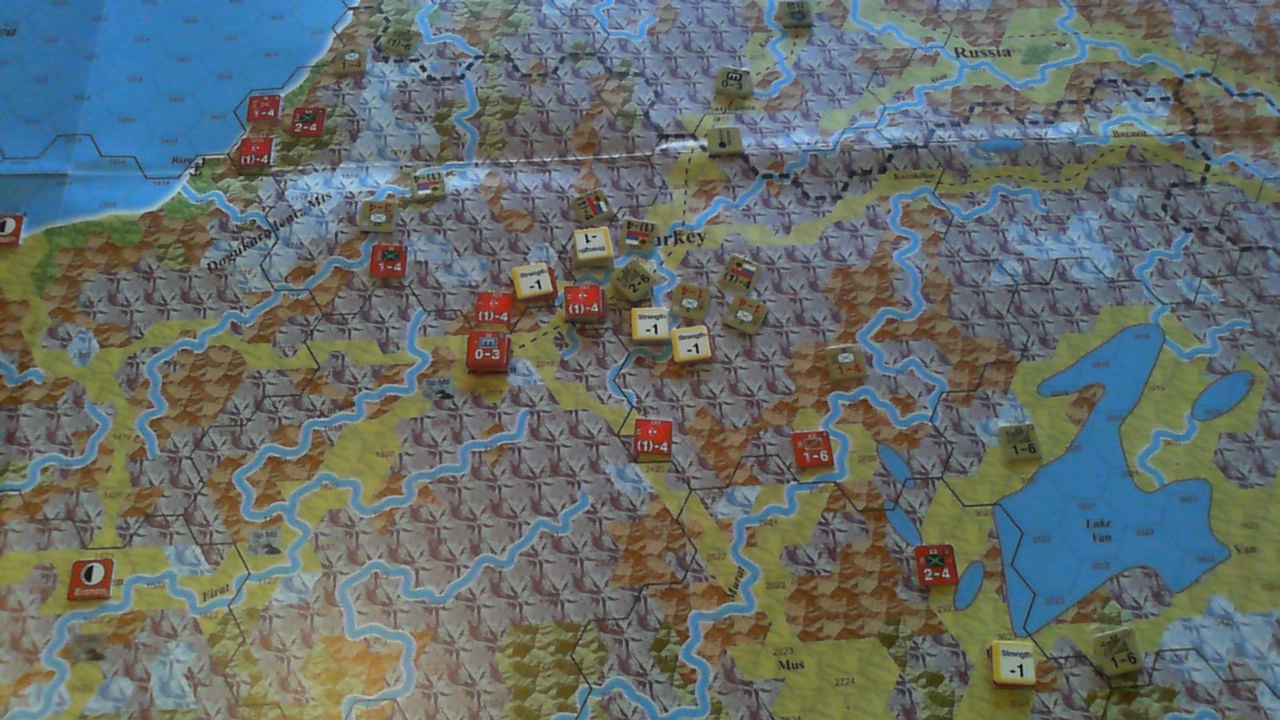
Jason moved up methodically while I did some minimal reworking of the line, and late in the month he did two sharp attacks that killed depleted divisions and blew holes in the line. Worse, the division between the two attacks was stuck in place. (Der Weltkrieg features a number of places where familiar rules have an interesting twist. It has the usual ‘1 hex minimum move’, but forbids it if you’re going from enemy ZOC to enemy ZOC and the terrain cost is 4 or more, so mountains can really stick you). Isolated, he ended up surrendering.
I anchored the center part of my line in relatively clear ground, with a hex that was nearly surrounded by rivers. Jason second another round of attacks as January came to a close, eliminating an independent regiment near the flank, and drove me out of that position. But he was gobbling up 4-5 supplies per attack, and taking pretty noticeable losses himself.
I disbanded my three lost divisions (special rule for the Ottomans) to get an extra replacement point at the start of February. I used it to rebuild the destroyed regiment, and the normal two I got headed north to rebuild a division on the line. I also started building a trench in the next hex down the valley. I wasn’t sure I’d use it even if I completed it, since trenches and mountains don’t work together, and the hex could generally get mountain terrain against an attack. But better to have it than not.
Jason spent a decent amount of February getting new supplies and troops to the front while lining up his next attack, and I strengthened my position with a new fresh division and rebuilt another to full. He hit the next hex in the valley, driving me out of it before the trench completed, and getting him within two hexes of his goal.
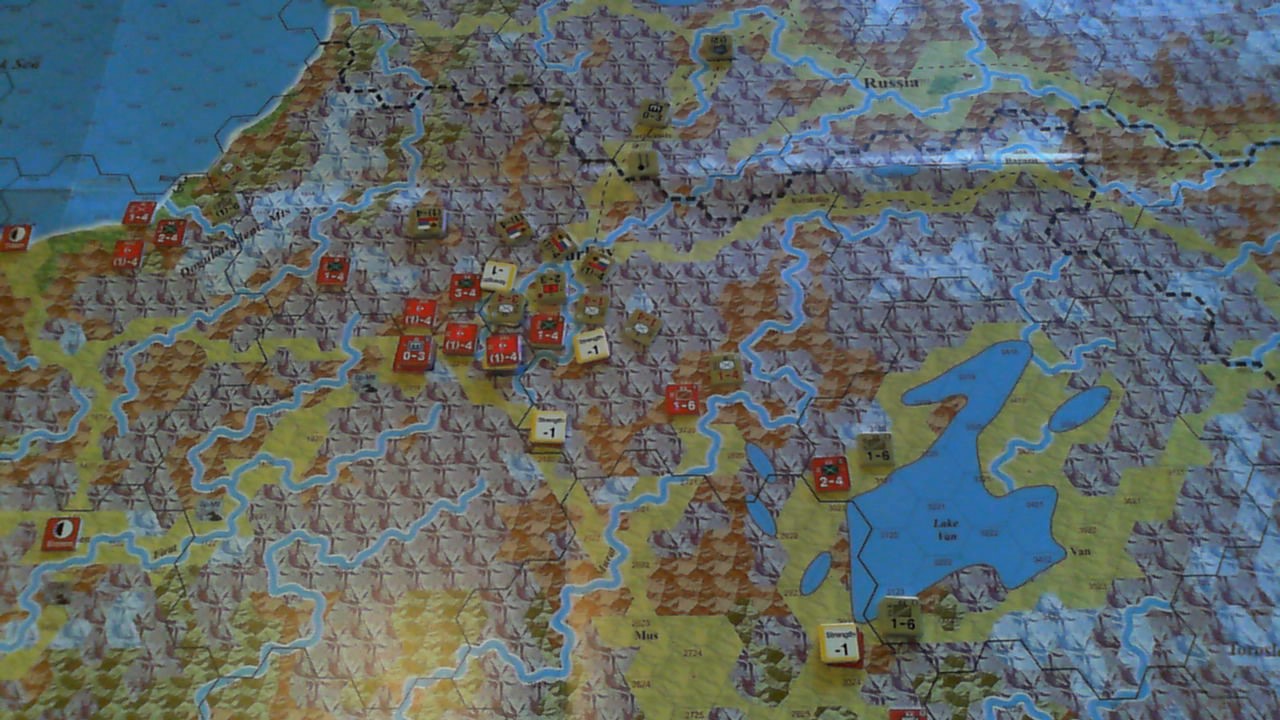
The Russians get a lot of replacements in March (9 points above the usual monthly two), while I got a couple of HQs (only one with actual supplies) and another fresh division (the Ottoman reinforcements trickle in while the 11 Russian replacement points all arrive at the beginning of the turn). I naturally started entrenching in the final hex before Erzurum.
Of course, Jason didn’t really want to take that approach anyway. Erzurum is a very limited fortress. The strength of it is fine, but it only works against one hexside: the one that faces up the valley that the Russian advance had been moving up. So Jason’s next target was the north flank of my line, which had a full-strength 3-4 division in it. Towards the end of the month, he forced me out of the hex with losses, but the trench in the other hex completed.
Meanwhile, I’d been using the latest round of reinforcements and replacements to try and cause trouble on the southern flank. It had ground to a halt early (in fact, I think all activity was from me pulling back to keep pace with the rest of the line), and was held by a series of 1-strength units on both sides. While some strength did go to shoring up the position in front of Erzurum, I did end up with a pair of 3-4s slooowly moving into position on the weak flank.
Jason’s activity in April was partially consumed with reorganizing the very limited supplies left to him, which culminated on an attack north of Erzurum which failed to dislodge me. There wasn’t much left, but he was exhausted too, and there wasn’t enough time for one turn in May to make a difference. Meanwhile, I’d hit his flank three times, using up much of my available supplies. Since he wasn’t supplied the counter attacks were at strength 1, and he rolled horribly (1s) to not do any damage to me in the first two combats. I returned the favor by merely rolling poorly to do nothing to him. On the third try we finally hurt each other, knocking out a brigade and giving him a potential problem on that flank… if I had anything to follow it up with.
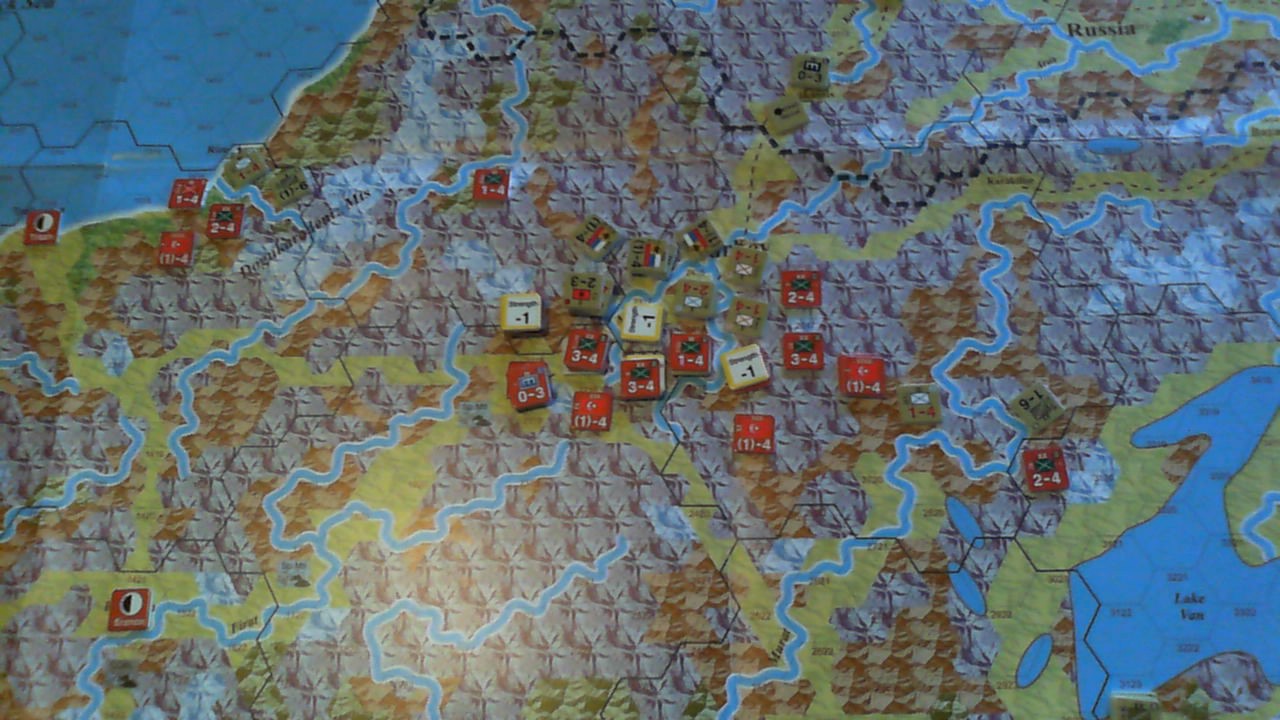
The game technically ended with an Ottoman Decisive Victory, but late in the day, we finally realized our major rules muff of the day. We’d forgotten that retreating defenders are only double strength instead of tripled. It’s hard to say exactly how much difference that made, the results chart is fairly flat in the numbers I was dealing with all day (especially with the mountain and winter +4 mods making the max result likely in most combats). Certainly the first few combats, I would have gone from strength 3 to 2, and that wouldn’t have affected anything. In the middle it’s hard to say. As it was, we were really close to 2:1 on Demorilization (~15 to ~32 by memory), so I count this as a Substantial Victory.
It’s hard to say how the Russians can do much better though. No matter what, it’s just really awful terrain to do anything but defend, and with the occasional movement problems, not always the best for that either. Even if he’d gotten that last hex, he was about out of supply, so attacking Erzurum itself was going to be a major problem.
I have to say, I’m starting to think these smaller scenarios are probably only good for 2-3 plays before being fairly exhausted (I could be missing something), but the next step up is generally a one-map ‘duration’ scenario that would be way too long. I wish I was seeing something more intermediate, like a full year.
Discussion ¬