

11 Desperate Measures
Had Jason over this last Sunday. Plans vibrated back and forth, so we ended up not quite as prepared as we could have been. At any rate, we ended up playing Last Hundred Yards. Jason had been working with a larger scenario from the initial set, using four maps, multiple complete companies, armor, and a fair amount of support. Thanks to the lack of prep, we had a slow start, and didn’t get that far into it, but it was nice to see the system handling a larger situation.
I took the Americans for “Desperate Measures”, and worked out my groupings for the various halftracks, machine guns, bazookas, and such, while Jason worked out the German defenses, which are spread out across three boards, including a hilltop fortified point, and reinforcements showing up twenty minutes into the fight.
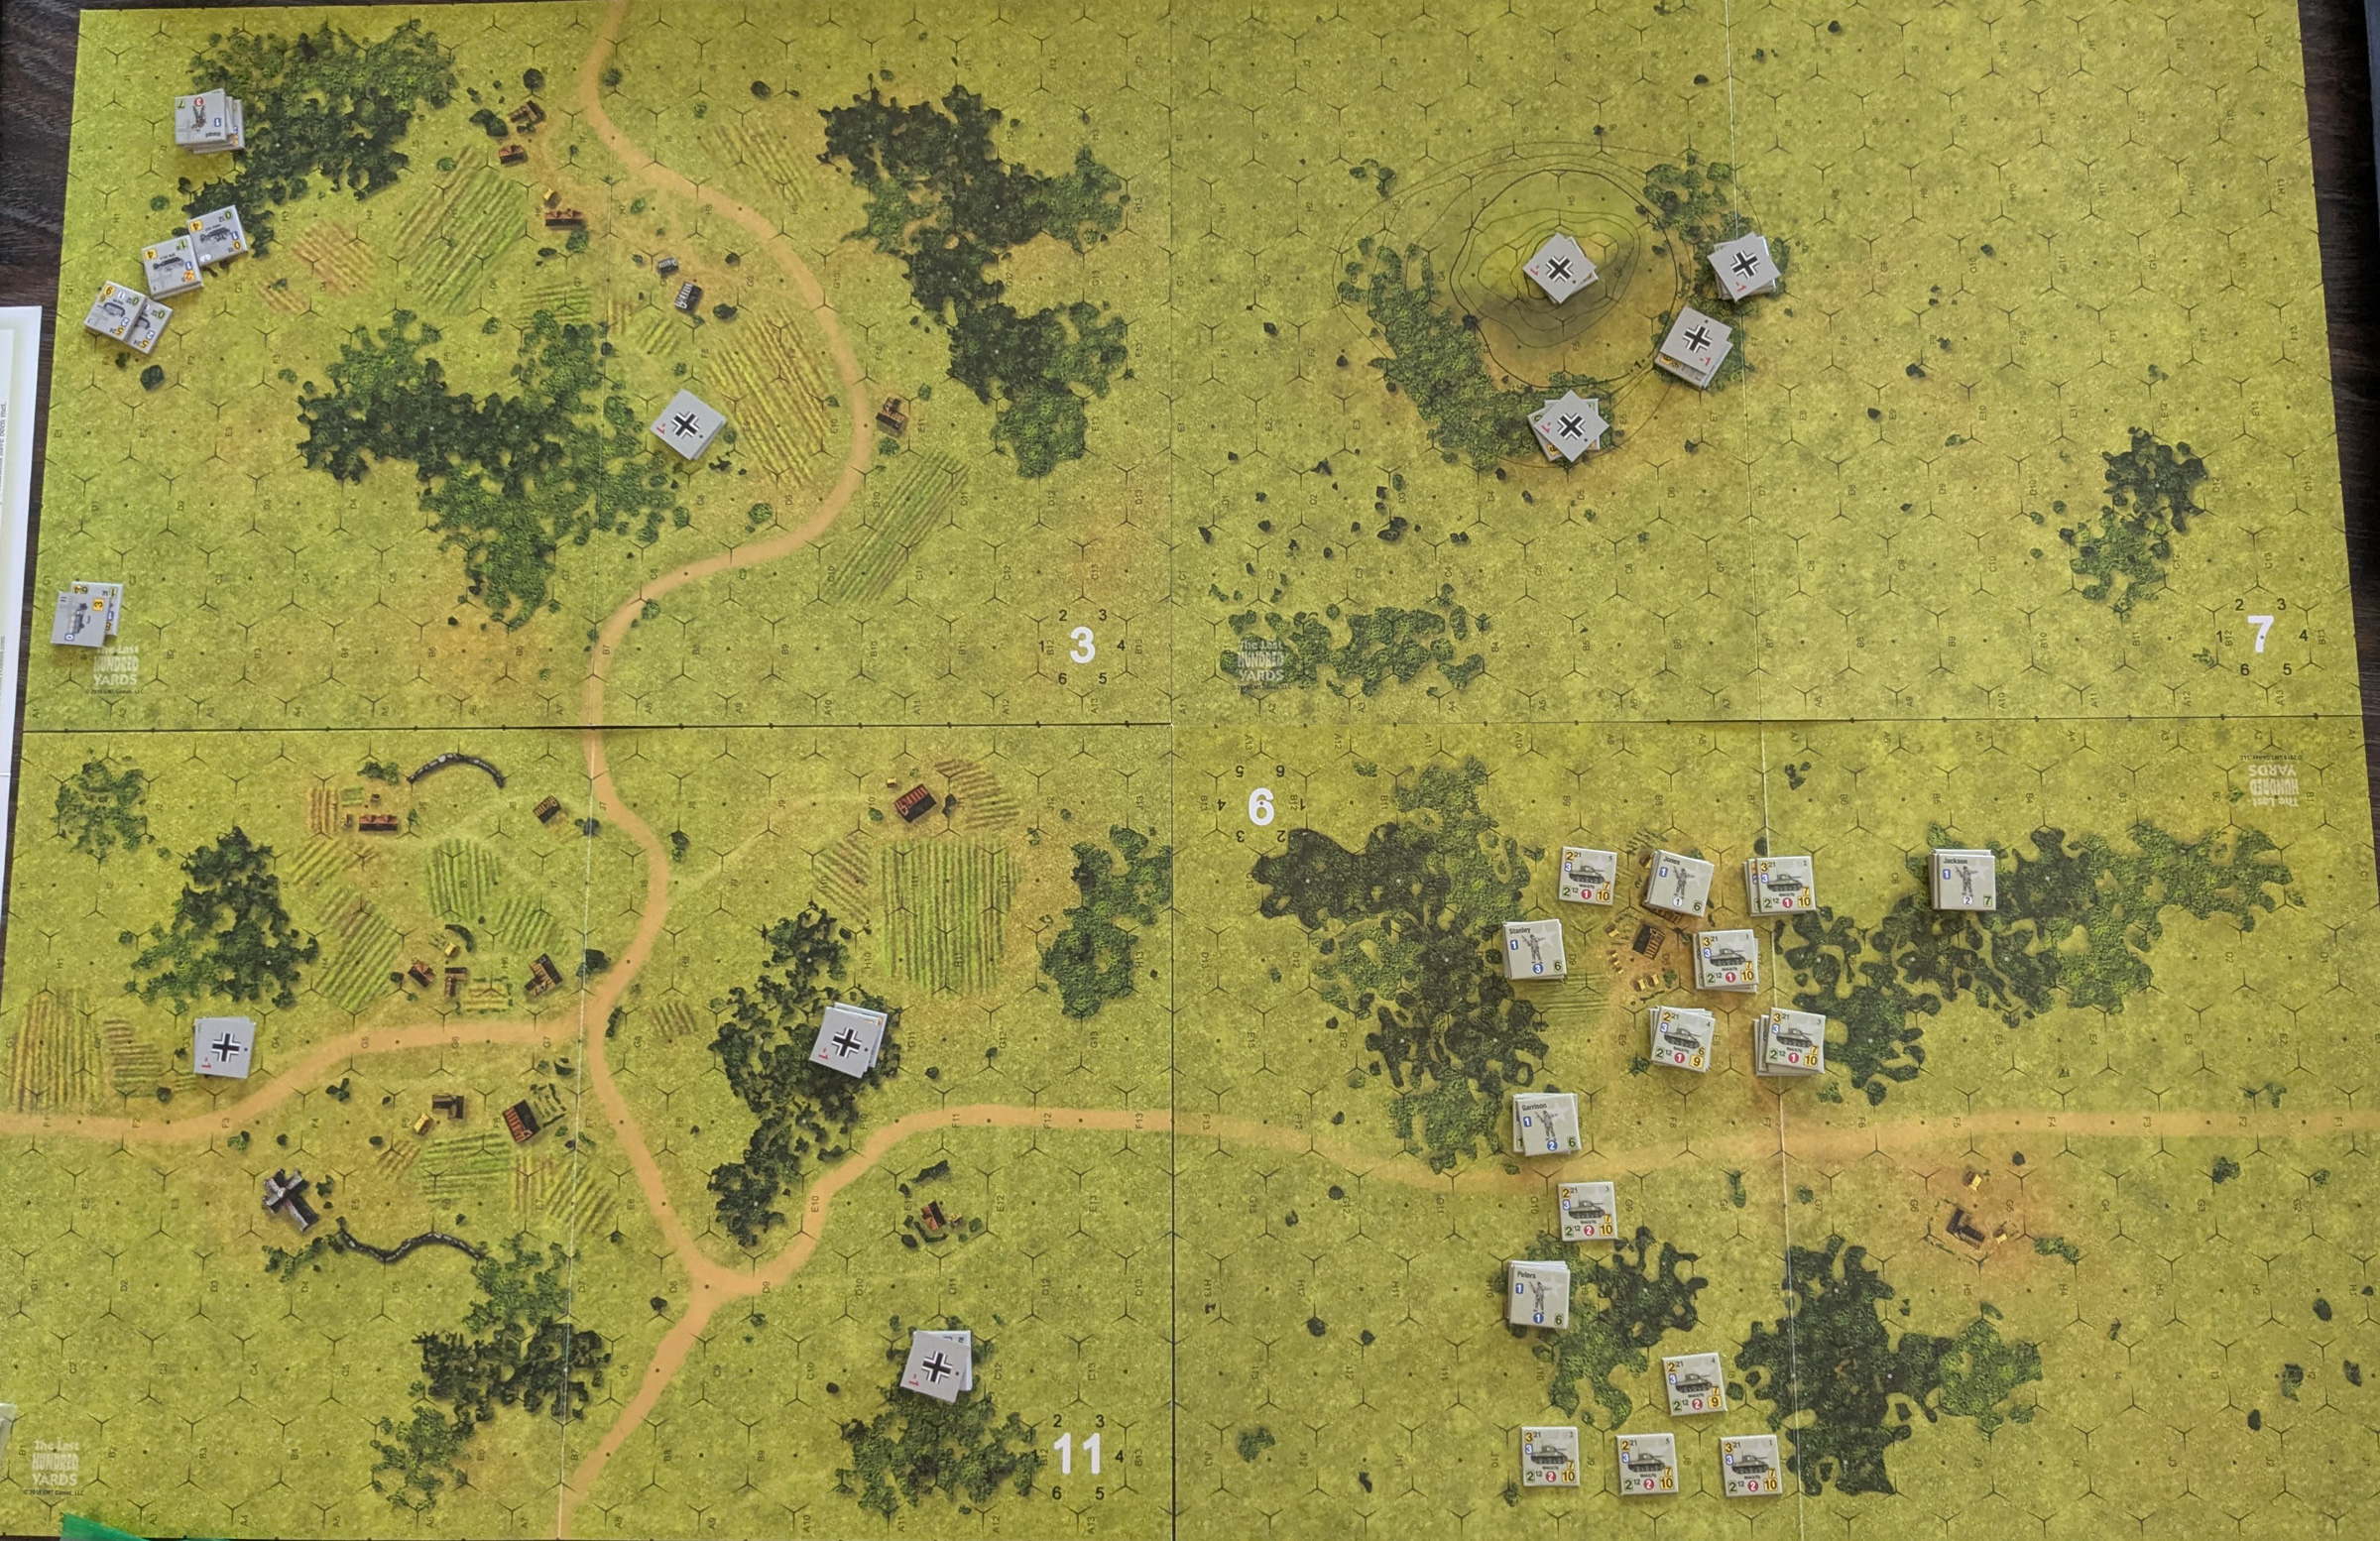
With two companies, one each was tasked in going each direction, to the east (top of the image) the goal was to envelop the fortified position and take it out before moving on. Going north, the initial goal was to get across the open ground, and then start taking the village on board 11.
Both drives ran into immediate problems. Getting at the fortified point was a challenge, and I started moving behind the treelines to get to a flank. This was complicated by the presence of some infantry at the bottom of the hill and a couple Panzer IVs. Most of my time was spent on the approach, but at the end of the day heavy fighting had been going on at the base of the hill, and I was taking plenty of casualties as the reinforcements came on headed for the area. I had knocked out a PzIV, and a heroic (/berserk) German section had started a back-and-forth that was routing half my force off into a treeline halfway back to the start line. Still, the Shermans there were in good shape, if in need of BAZ support.
The other direction was where more of my attention was. Of course there was an 88 hidden in there, which promptly opened fire on the armor protecting the infantry advance. I got very lucky with the initial attack failing to penetrate (miss?). It did score a kill on the second turn, but I also remembered what I forgot when I first started moving—off-board support in the form of three mortar batteries. Two are 60mms directly attached to the companies, but the third is a 81mm battalion battery. I put that on the 88 position, and the other two on the main positions in front of my infantry, and I was able to get in close on the north side, especially when I got continuation on the 81s. By the end of the day, the 88 and supporting infantry was gone, and the troops in the other half of the woods had waited too long and got in a lot of trouble doing a local counterattack. There was still clean up to do, but the only thing in my way on board 11 was a fortified position right behind the village.
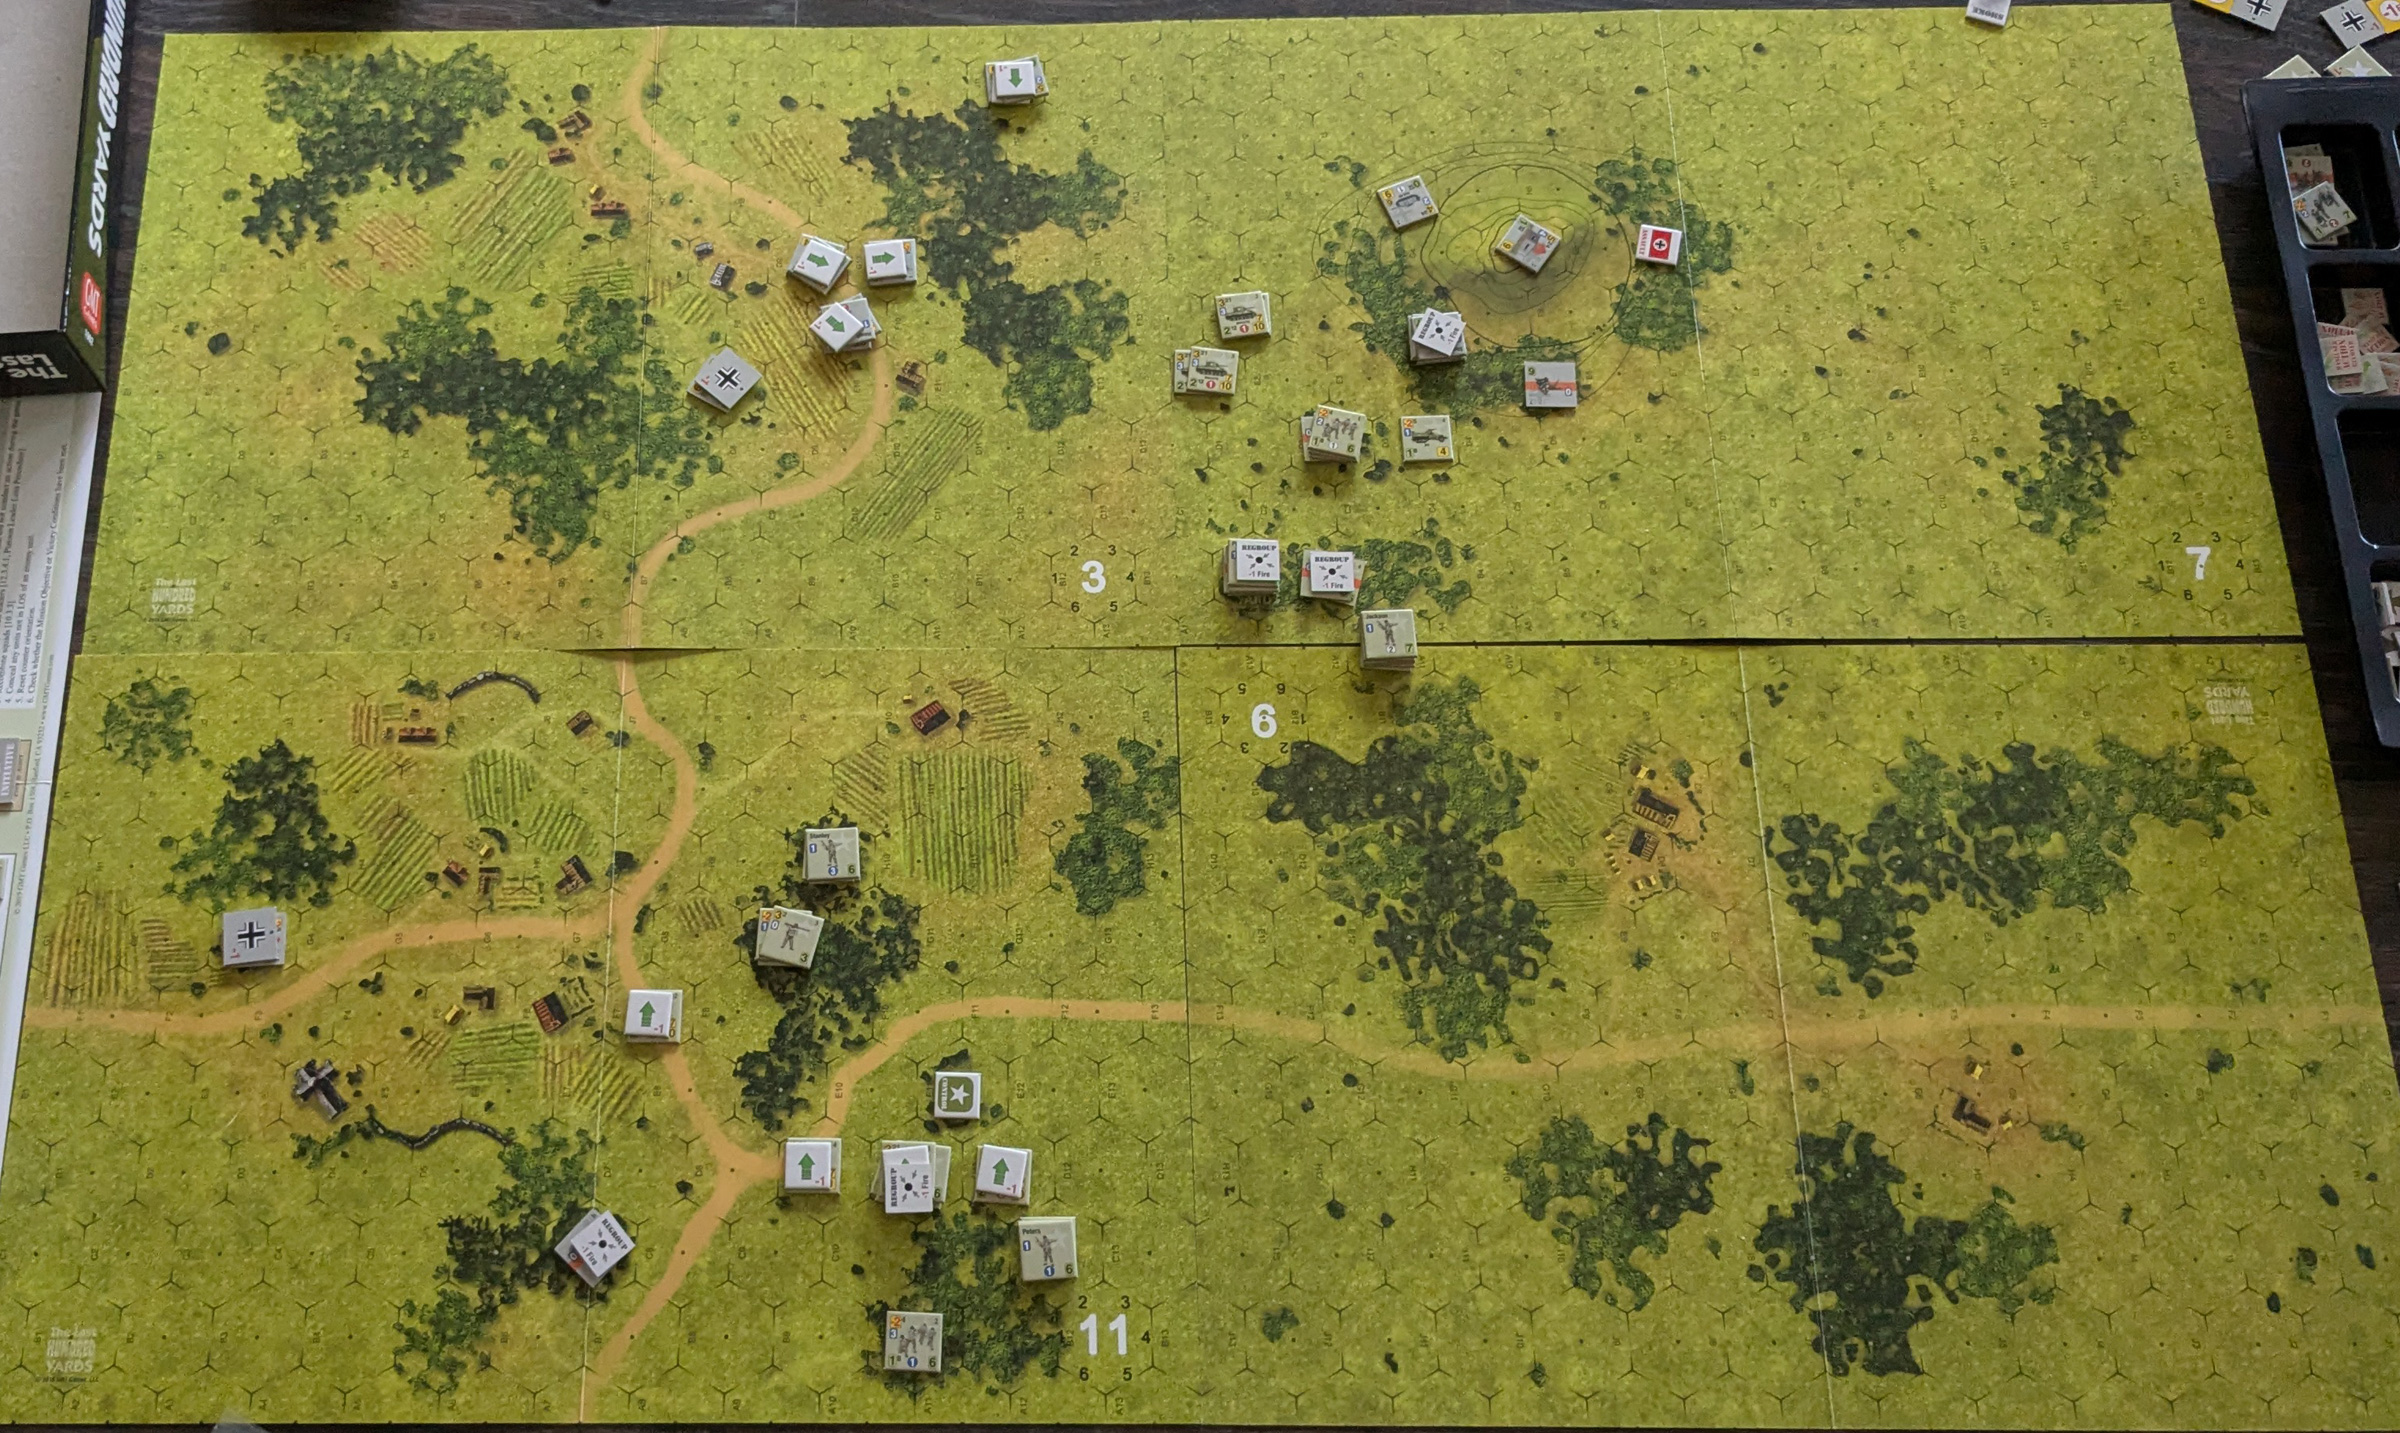
Twenty-six minutes in.
There was some serious fighting to go, but if my eastern force resisted the reinforcements, the northern group was set to places.
Afterword
In line with the general streamlining of the game, fortified points are a single counter with the protection and the weapons factors. Reasonable, but I think they’re all identical, so there’s no choice of different such positions for a scenario, no pure MG bunkers (without SSR) and the such. The other part I find odd is they have a 180-degree arc of fire with no options given. I don’t know how common various designs are, but many, if not most, had a more restricted field of fire.
I’m also noting that the armor selection in LHY resembles the original Squad Leader‘s. It seems like it should handle less “average” tanks better than SL did, but there would be some challenges. (I’m sorry, but Matildas and Char B1 bis will require using infantry movement allotments….)
That’s the nitpicks. It was good to see multiple companies in a single scenario. It didn’t really add to overhead, and you do need to keep units organized together, which is part of the point of the game. It was also nice to have action spread out a bit more. A LHY board is maybe a 1/3 of an ASL board, and while that is a decent size, I also like scenarios that have a bit more room to them.
On the other hand, I ran Jason out of green “0” fire markers. With lots of guys near the front, and only a decent target or two, I did the American thing and burned through the ammo, putting up to five fire markers on a single target. (I nearly went off to dig out a 5th d10 from my collection….)
One odd note is that initiative went back and forth the entire time; no one got two active turns in a row. With the American initiative modifier, I should have kept it at least once or twice, but couldn’t manage it; with it, I would hope things would have gone just slightly better, though reactions let you keep in motion.
Discussion ¬